
Step 1
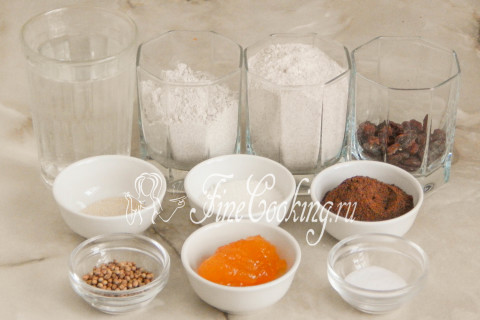
For the preparation of Karelian bread, we will need the following ingredients: second -grade wheat flour, rye flour, water, rye malt, molasses, raisins, sugar, salt, coriander and yeast (can be replaced with the same amount of dry or take 6 grams of pressed ones). I mentioned possible replacements of products above in the preface to the recipe, so you can safely use them.
Step 2
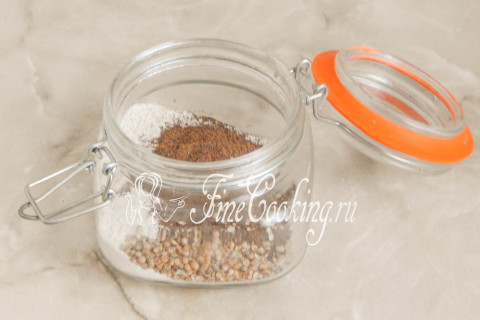
First of all, you need to prepare a tea leaves. To do this, we put 55 grams of rye flour, 28 grams of rye malt and 4 grams of coriander in any suitable dishes. The coriander must be used in a hammer, but I like it more when it is in a semi -abundant state, that is, half interpreted in a mortar (you do as you like more).
Step 3
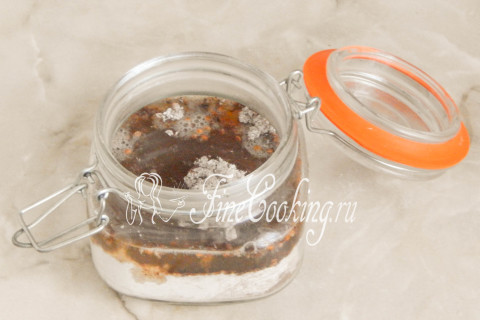
Mix everything and pour 220 milliliters of boiling water.
Step 4
We mix everything thoroughly (it is most convenient to do it with a fork) so that all the dry components are completely moistened.
Step 5
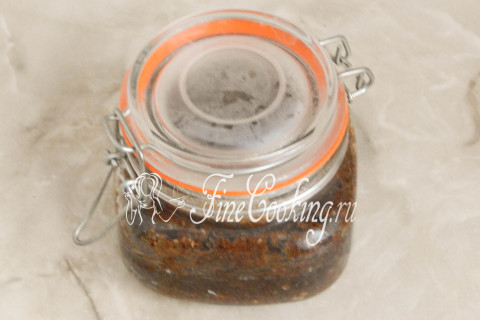
Further, our tea leaves must be allowed to brew for 3 hours. In this case, the temperature of the mixture should be maintained at 65-70 degrees. That is why I brew the ingredients in a bank with a sealed lid, wrap it in a terry towel and put it under the battery. Some cooks are advised to cook and withstand the tea leaves in the thermos, but then it should be low and wide, so that it can be washed then.
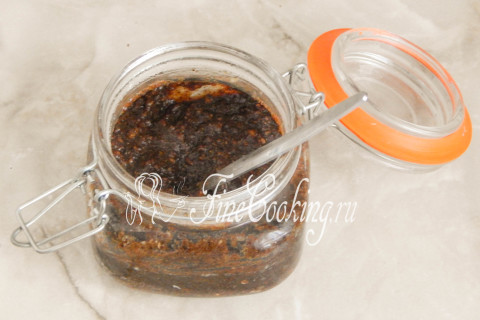
Step 6
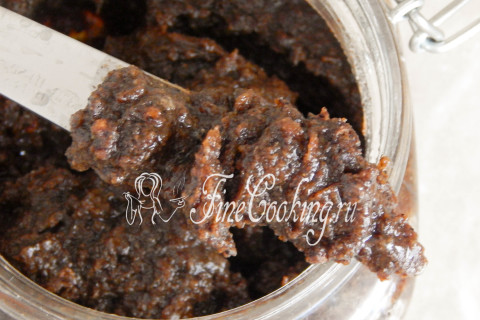
After 3 hours (or more, you can even leave it for the night) is ready. It is unusually fragrant and quite thick. True, I don’t even have anything to compare her consistency (thick slurry, probably so), so focus on the photo. We give the tea leaves to cool to about 30 degrees.
Step 7
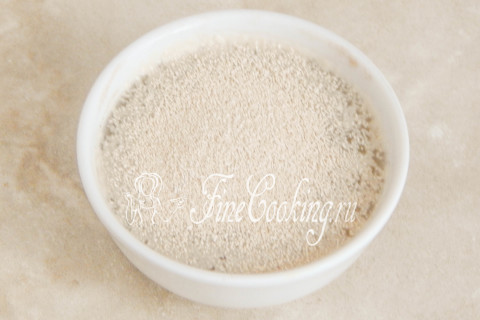
Meanwhile, in 40 milliliters of water temperature water, we dissolve the yeast (I have 2 grams of high -speed).
Step 8
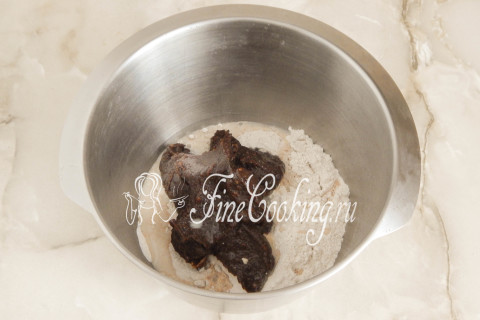
We prepare dough. In a suitable bowl, we connect 210 grams of second -grade wheat flour sifted flour, thrown out in the water and all the tea leaves, which had already managed to cool and became a little warm.
Step 9
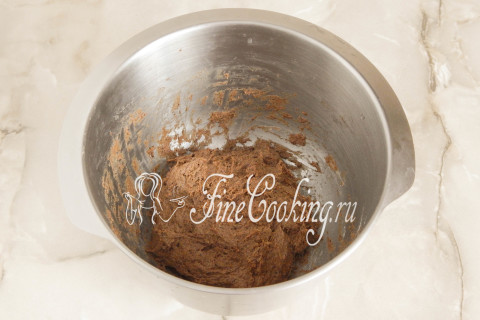
Mix everything with our hands or with the help of the dough until the mass is uniform. It turns out a sticky dough of medium density. We collect it in a ball, tighten the bowl with a baking film or cover it with a damp towel and send our thick dough to wander in a warm place for about 3 hours. Where is it better to roam the yeast dough and what does a warm place mean? There are several options. First of all, in the oven with a light bulb turned on (it turns out about 28-30 degrees — the temperature ideal for fermentation of yeast dough). Then the bowl with the dough is necessarily tightened with cling film or cover with a towel made of natural fabric (flax is best suited) so that the surface is not bent and not covered with a crust. You can also let the dough wander in a microwave, in which we pre -boil a glass of water. The dough will rise with a door closed, and the glass will stand there. Then the bowl does not need to be closed with anything, since the water will evaporate, thereby maintaining the necessary humidity. Just make sure that no one inadvertently turns on the microwave, otherwise the dough will disappear and there will be no Karelian bread with raisins.
Step 10
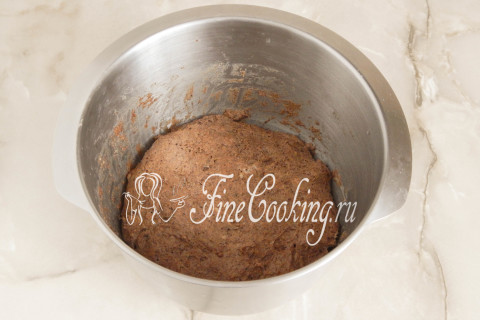
After the allotted time, the downshole will rise, increasing in the volume of times, swells and will become very magnificent.
Step 11
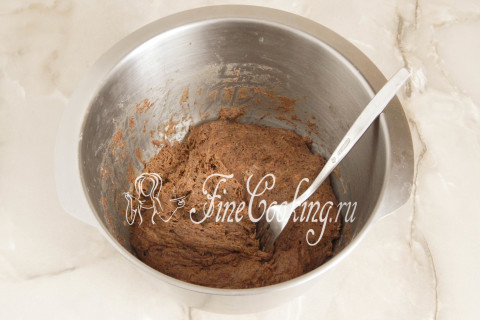
She is pierced through and through the air bubbles.
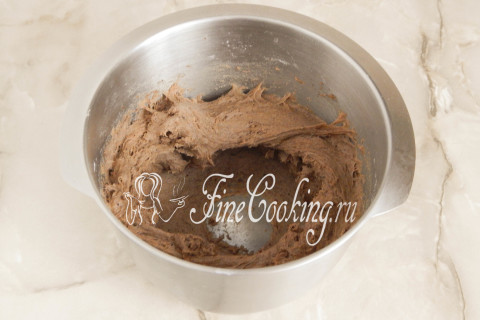
Step 12
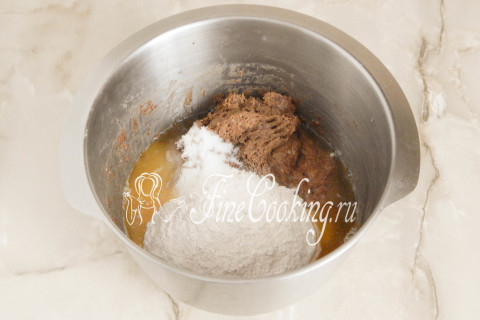
It's time to knead the dough for bread. To do this, add all the necessary products to the dough, except raisins: 215 grams of sifted wheat flour of the second grade, 20 grams of granulated sugar, 7 grams of salt, 40 grams of molasses and 70 milliliters of water temperature water. As I wrote above, for lack of pathos, I use natural honey, which I dissolve in slightly warm water.
Step 13
We knead the dough with the hands or in the test for about 5-6 minutes.
Step 14
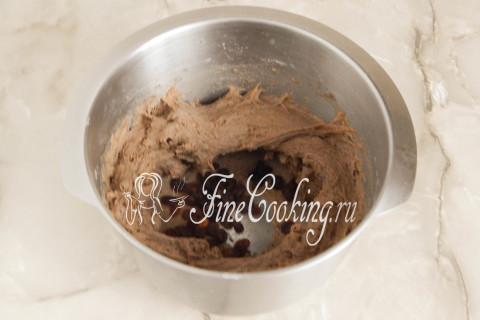
At the end, intervene 25 grams of raisins, which must first be washed and dry on a napkin or paper towel. If you came across too hard raisins, you can steam it for 5 minutes in hot water, after drying it out.
Step 15
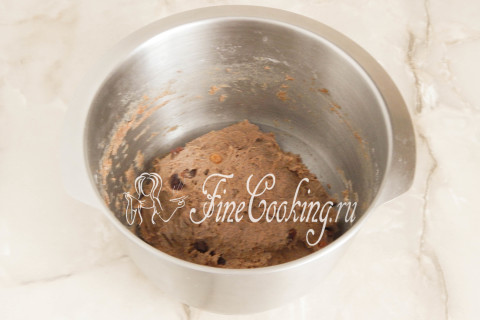
We round the dough, tighten the bowl with a film again or cover with a damp towel. We send to a warm place for 40-45 minutes, after which we gently crumple it by folding and let it rise again for 50 minutes.
Step 16
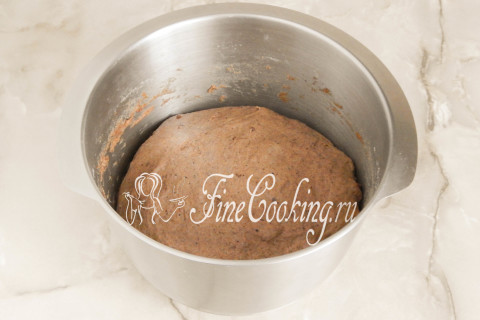
This is what the dough for Karelian bread looks after 1.5 hours of fermentation. It rose perfectly and grew in the amount of four times.
Step 17

Gently crumple it and spread it on the work surface — it is time to form the future Karelian bread. It can be baked both in the form and on the pod (that is, on a baking sheet) — it depends only on your desire and capabilities. This time I decided to bake the scorch bread — in the oven on a baking sheet.
Step 18
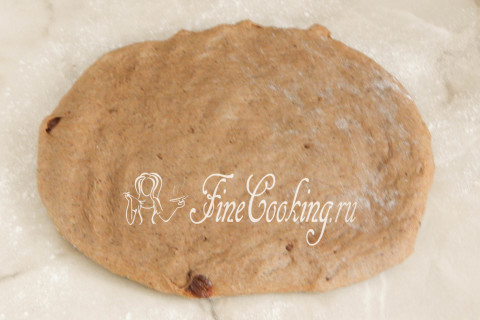
Sprinkle the working surface with rye flour (its number in the ingredients is not indicated) and knead one part of the dough into a not very thin layer with our hands.
Step 19
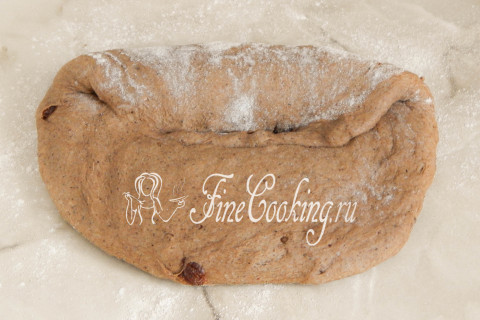
Then visually divide this layer in half. Fold the far edge of the dough to the middle and the fast movement of the rib of the palm of the palm we seal the seam.
Step 20
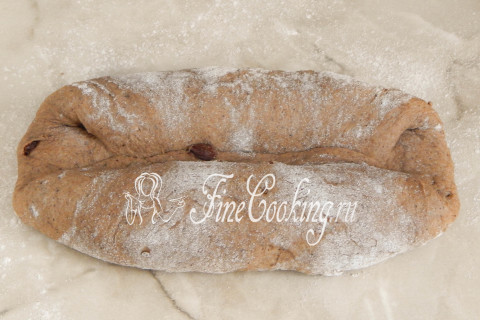
After that, we turn the workpiece 180 degrees and repeat the similar action.
Step 21
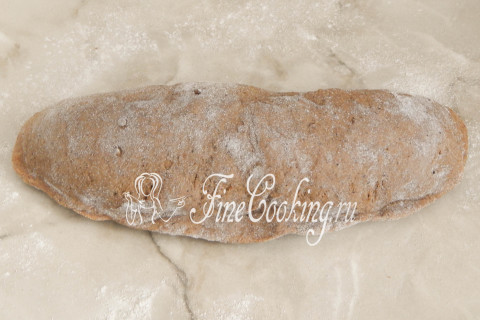
Now fold the dough in half over the seam and again fasten the seam with the edge of the palm. Gently give the workpiece the shape of the loaf.
Step 22
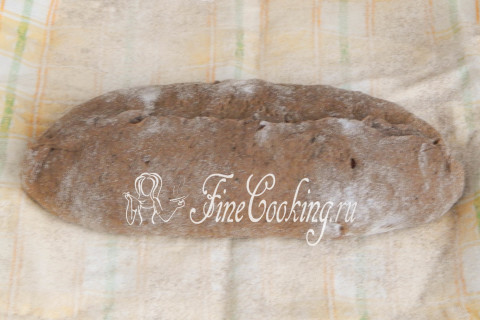
Next, the workpiece must be given distance. I do not have a special alternating basket of oval shape, so I used this design. We take the linen (or from another natural fabric) a towel, we very carefully rub it with rye flour, so that then the workpiece does not stick to the fabric. We put the future Karelian bread on a towel with a seam up.
Step 23

Along the workpiece we put two rollers (I just twisted two terry towels) — they will support the dough and it, in turn, will rise up instead of creeping to the sides. For greater confidence, she also set up mugs and glasses that perfectly supported rollers. We cover the workpiece for Karelian bread with the same towel on which it lies. We leave the dough to rise at room temperature for about 1.5 hours, but the proofing time depends on the temperature in the room (I had about 25 degrees).
Step 24
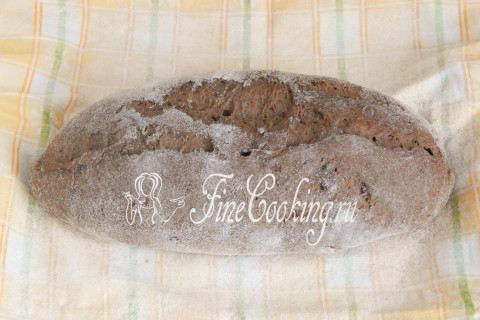
It is better, of course, to give the workpiece properly, otherwise there is a high probability of dough breaks during baking. I cooked Karelian bread almost the whole day, the evening was approaching, so I deliberately reduced the time of proofing to have time to photograph everything to the dark. In general, I had a workpiece for 1 hour 15 minutes and it was 15 minutes that he did not have enough to be perfect. In the process of baking, the bread still cracked on one side — this does not affect its taste in any way, but slightly spoils the mood.
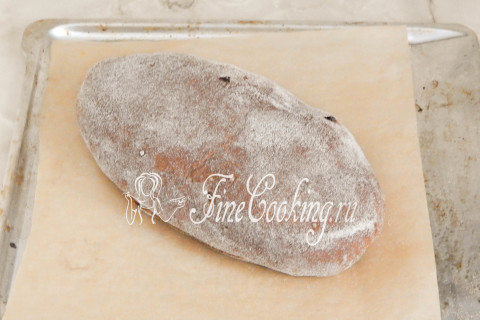
Step 25
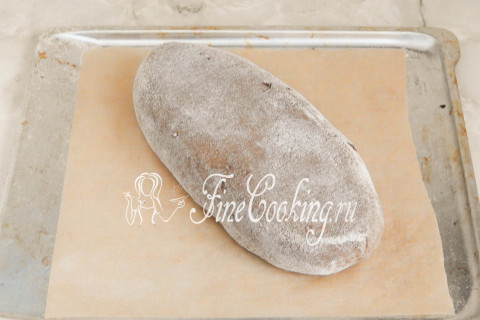
We shift the workpiece with a seam down to a baking sheet covered with baking paper, and immediately put the oven to a medium level pre -warmed to 220 degrees. We bake Karelian bread with steam for the first 15 minutes. In this case, pairs are created due to ice cubes (there is enough handful) — put a baking sheet with a workpiece, throw the ice to the bottom of the oven and immediately close the door. From high temperature, the ice instantly begins to melt, turning into steam, thanks to which the crust of future bread is moistened and will not then be thick and rough. After 15 minutes, the entire pair will end, reduce the temperature to 200 degrees and bake the bread for about 25-30 minutes (focus on your oven).
Step 26
We remove the finished bread from the baking sheet and let him completely cool on the grille. After that, it is advisable to withstand pastries for about 5-6 hours and you can eat.
Step 27
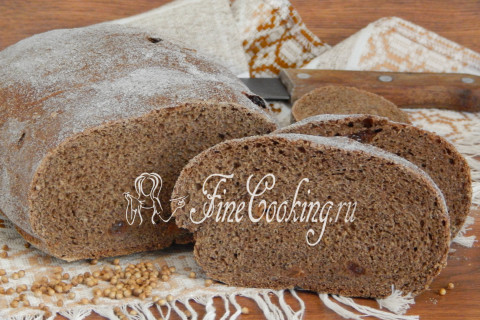
Karelian bread with raisins is a very tasty and fragrant option for connoisseurs of such baking. It miraculously combines a characteristic pleasant sweetness, an indescribable aroma of coriander and rye malt, a thin crust (it is practically absent in this bread), a dense and loose crumb. Do not spare time and prepare this home bread for your family — your efforts will pay off with more than!