Detailed step -by -step recipe with photo: Step 1
-
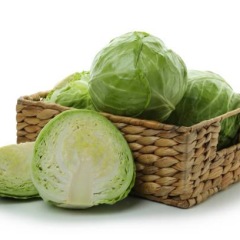
Prepare the necessary ingredients for the preparation of the girls for the winter in banks.
It is best to take late or mid -season cabbage varieties — they are more dense, juicy and crispy. The head should be tight, heavy for its size, without cracks and yellow leaves. Avoid cabbage with soft areas or sections — this can be a sign of the beginning of decay.
Fly fleshy, juicy, but not too watery varieties of tomatoes are ideal. The skin should be thin, without spots, cracks and damage. It is better to choose ripe, but not ripe tomatoes: it is easier to process, and they give the workpiece a rich color and aroma.
Carrot root crops should be bright orange, strong, without cracks and dark spots. Medium -sized carrots are best suited: large ones can be hard, and small ones are not very juicy. Carrots should be sweet to taste — this will help to balance the acid from tomatoes and vinegar.
Use strong onions without damage and soft areas. Scales should be dry and silky, tightly fit to the bulb. Best for the cabbage soup, on -white varieties with a white or golden peel are suitable — they give a soft taste and aroma.
-
Step 2
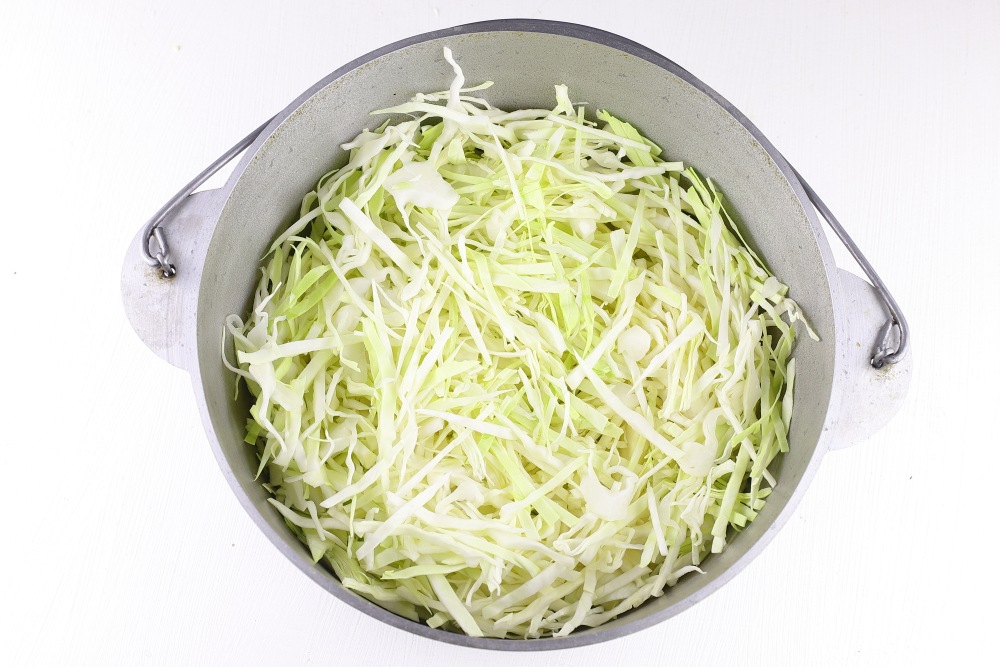
Rinse the cabbage well. Remove a pair of upper leaves, they are usually coarser and can be slightly damaged. Shake off from excess moisture or gently dry with a towel so that when extinguishing the cabbage does not give excess water. Cut into thin strips: the thinner the shirt, the more it turns out the finished dish and the faster the cabbage will be stiff. Move to a large cooking dish. I will use a cauldron, since it is convenient to extinguish a large number of vegetables in it: they warm up evenly, do not burn and retain their aroma.
How to store cabbage?
-
Step 3
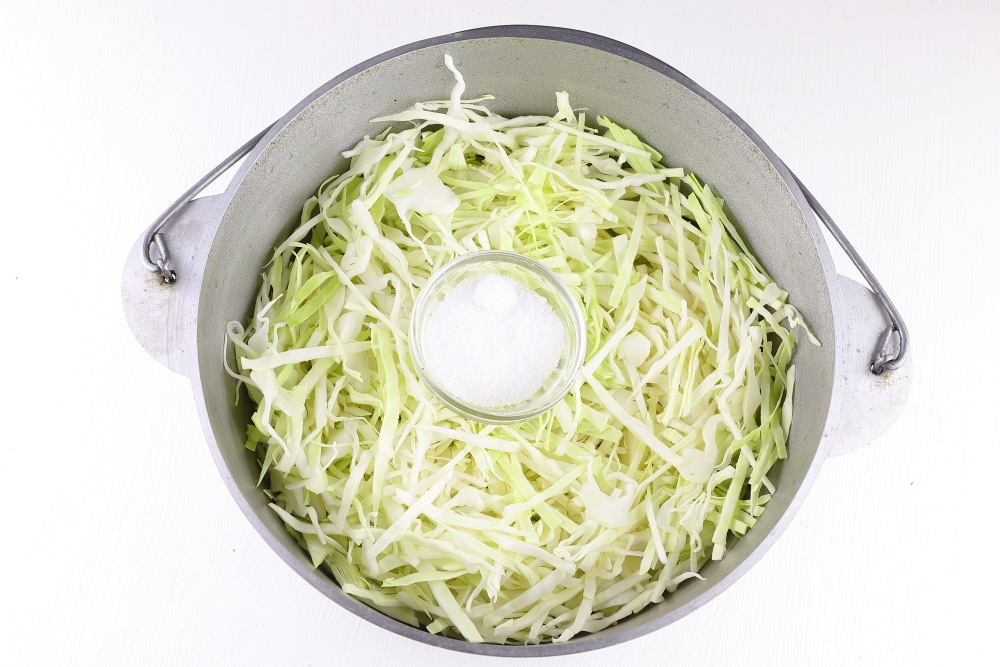
Pour salt to cabbage. It is best to use stone or large -bloodstalline food salt without additives. Such salt is evenly distributed and helps the cabbage quickly select the juice. The iodized or small “Extra” is not suitable for blanks: it can change the taste and affect the shelf life.
Watch the master class «How to spend in the kitchen no more than 1 hour a day and at the same time it is good and useful to feed» 👉🏻 here
-
Step 4
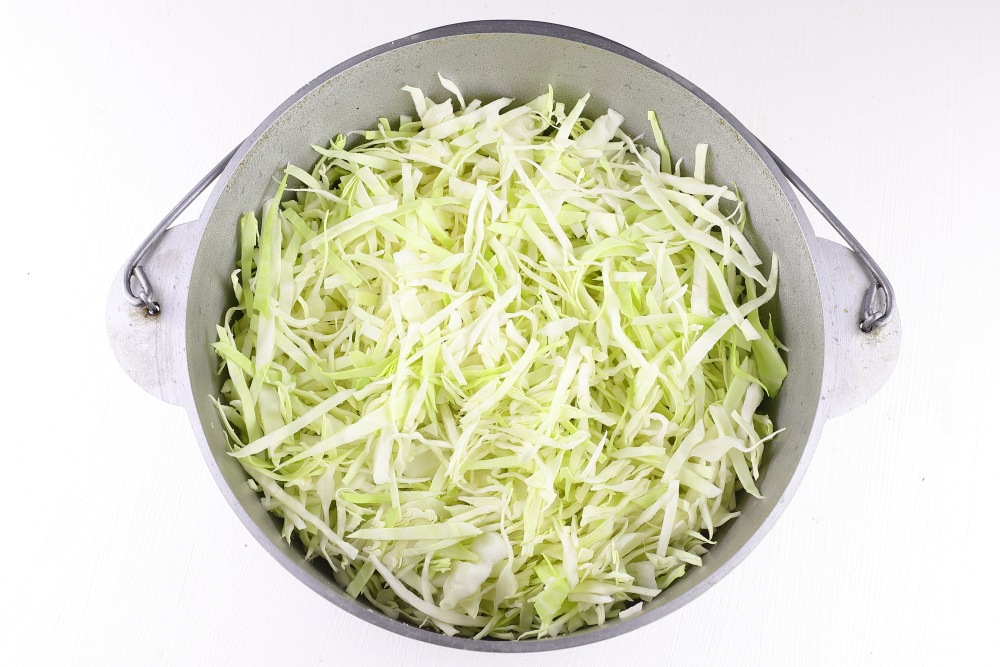
It is good to mix the cabbage with salt, slightly rubbing your hands so that the head leaves become softer and begin to secrete juice. This will help the future drove acquire a more saturated taste and aroma. After mixing, leave the cabbage for 20-30 minutes, covering the dishes with a lid or towel. During this time, she will let the juice, will settle a little and become more supple for stewing. Thanks to this preparation, the finished dish will turn out to be delicate, with a pleasant texture and light juiciness.
-
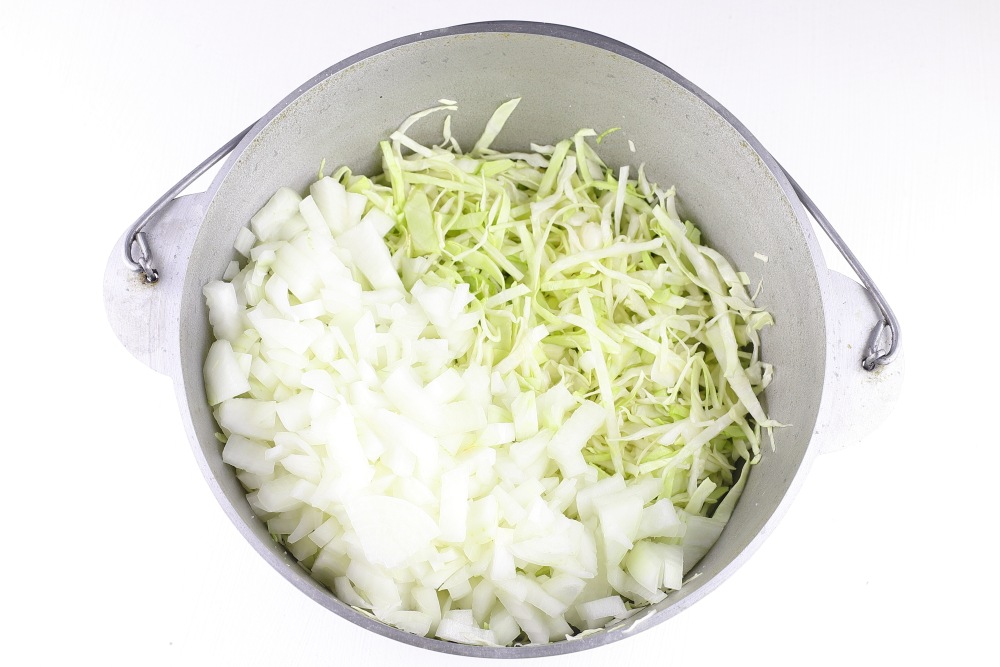
Step 5
Peel the onion and rinse well under running water to remove possible residues of dirt and bitterness. It is better to use the middle heads for the workpiece: they are juicy and give a pleasant aroma. Cut the onion in small cubes — so it will fit faster and evenly distribute in the workpiece. Add chopped onion to cabbage.
-
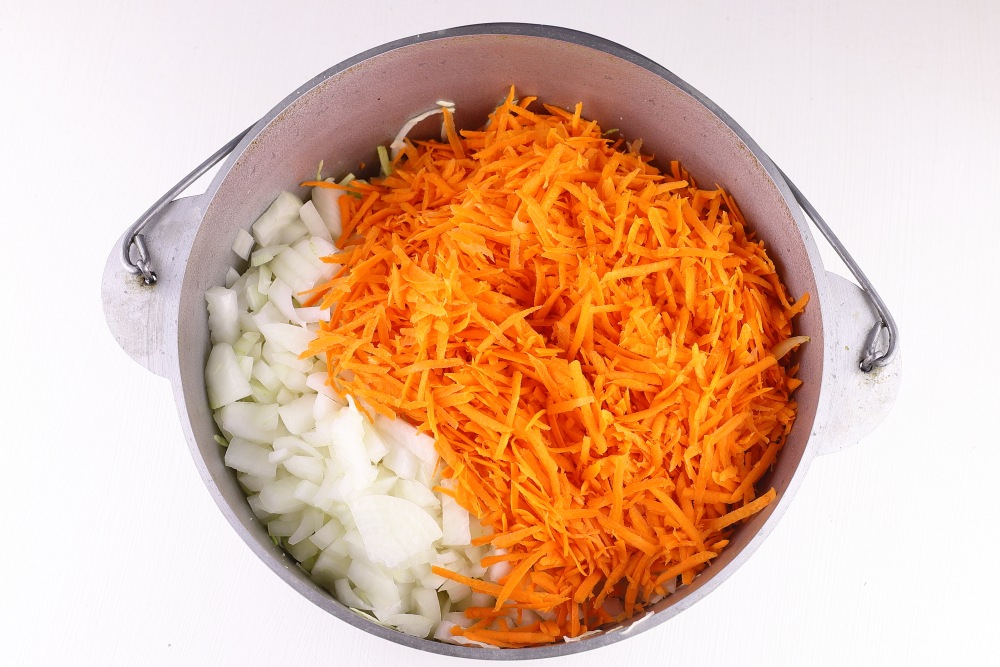
Step 6
Peel the carrots and rinse well under running water. Grate on a large grater: such shavings retain their shape when extinguishing and give the workpiece a beautiful golden color. Add carrots to cabbage and onions. Carrots will bring natural sweetness and softness of taste to future cabbage soup, and will also make a harvesting more saturated in color and appetizing in appearance.
-
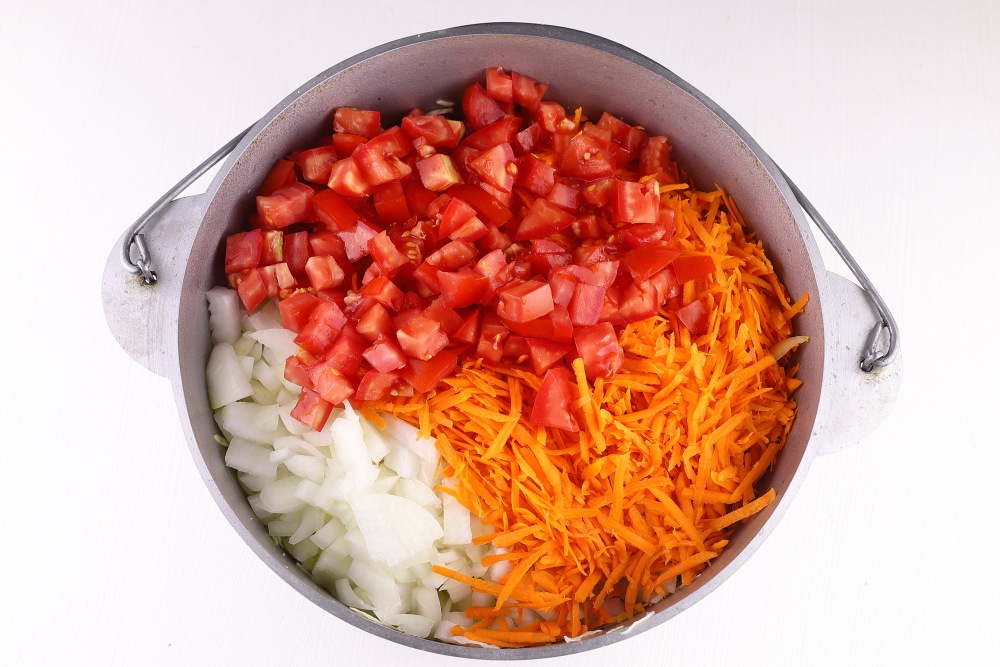
Step 7
Rinse tomatoes under running water, removing possible contaminants and a stalk. Cut medium -sized cubes: when extinguished, they will be divided, release juice and give a vegetable mixture a light sourness and aroma. Add chopped tomatoes to cabbage, onions and carrots. It is tomatoes that will become the basis of the sauce that will bind all the vegetables together and make the workpiece truly appetizing. If desired, tomatoes can be cleaned of the skin.
-
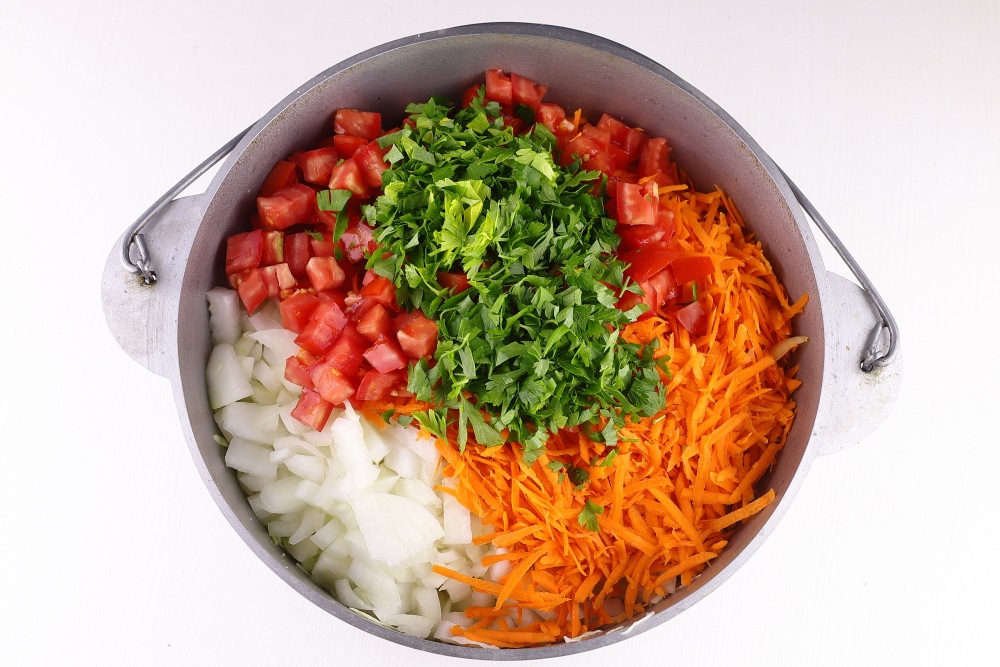
Step 8
Rinse parsley under running water to remove grains of sand and dust. Then carefully dry with a towel or paper towels. Finely chop the greens with a sharp knife so that it is evenly distributed among the vegetables and gives the workpiece a fresh aroma. Add parsley to cabbage and other vegetables.
Parsley is perfect for cabbage soup, as it gives them a light spice and a refreshing taste. In addition to parsley, for such a workpiece, you can use another greens: dill, celery, green onions.
-
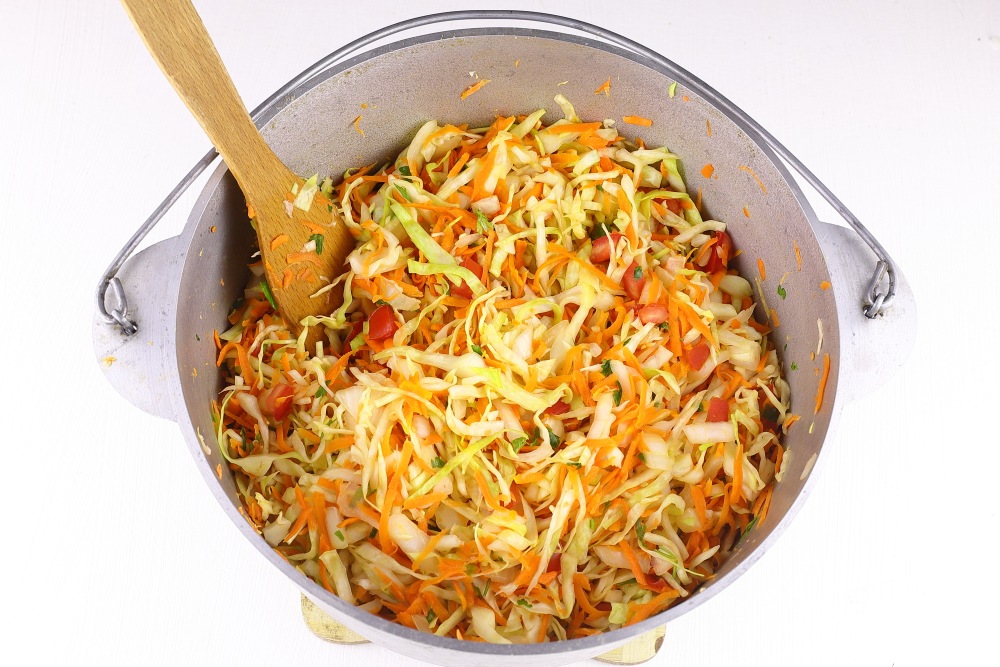
Step 9
Mix all the vegetables so that cabbage, carrots, onions, tomatoes and herbs are evenly distributed and begin to exchange juices and aromas. Put a cauldron (or other deep thick -walled dishes) on a large fire and bring the mixture to a boil, periodically stirring with a wooden or silicone spatula. This is important: if you leave the vegetables without attention, they can burn to the bottom, and this will ruin the taste of the entire workpiece. When boiling, the vegetables begin to secrete more juice, the mass becomes more homogeneous and juicy.
-
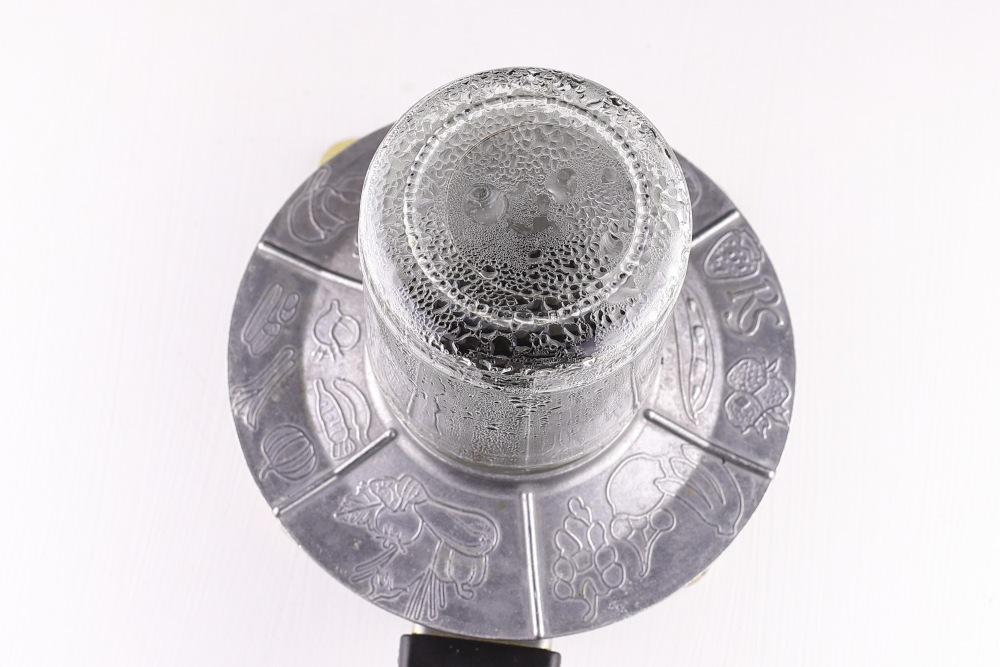
Step 10
Bars with lids are necessarily sterilized so that the workpiece is well stored all winter and does not explode. It is convenient to boil the lids in a pot of water for about 10 minutes — this time is enough to destroy all the microbes. I sterilize the banks over the steam for 10-15 minutes: I put them with a neck down on a special nozzle or just on a pan with boiling water. The steam evenly warms the glass, and the banks become absolutely clean and safe for twisting. After sterilization, I don’t wipe the cans and lids — I give it to drain the water and use them still hot, since it is more convenient to lay hot vegetables in warm containers.
-
Step 11
Add vegetable oil, sugar and pepper black peas to the boiled vegetables. Oil will help to evenly distribute the taste of spices. Sugar will soften tomato acid and slightly emphasize the natural sweetness of carrots, making cabbage soup more harmonious. Polit pepper adds a spicy note and aroma, without interrupting the taste of vegetables.

-
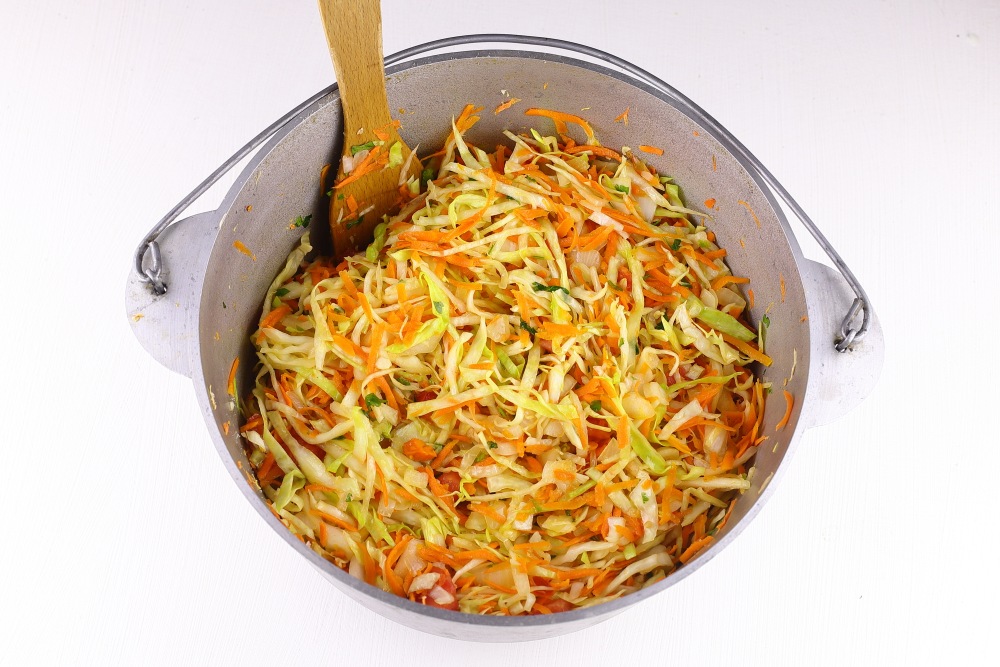
Step 12
Mix all the ingredients carefully so that spices and oil are evenly distributed over the entire mass. This step takes the workpiece of saturated, fragrant and ready to roll up. Bring to a boil. Cook on moderate heat for 10 minutes, stirring periodically.
-
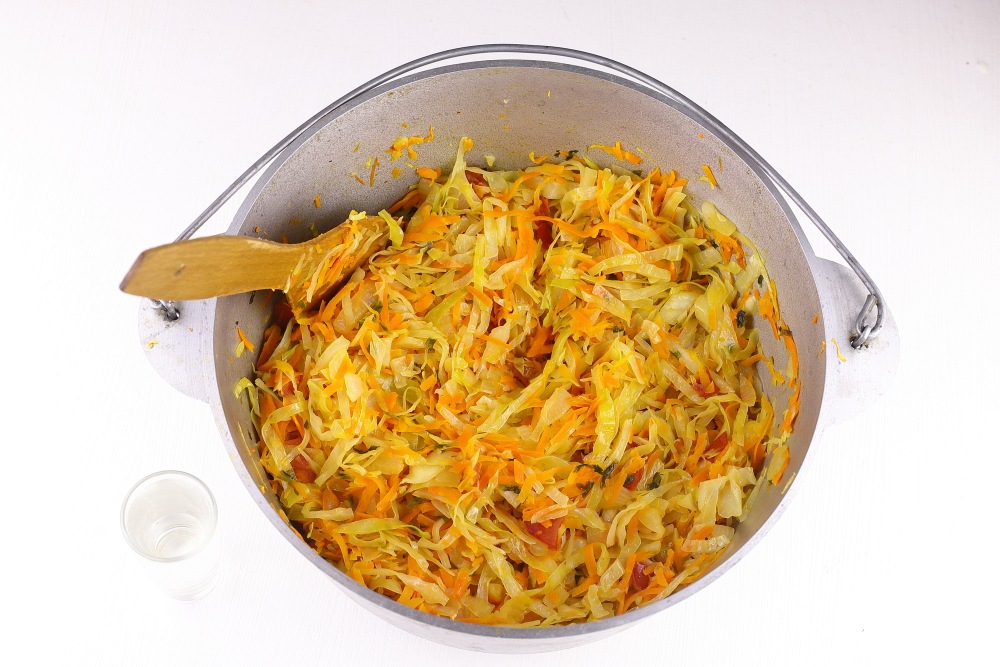
Step 13
Pour vinegar into a vegetable mass. Vinegar not only gives light sourness, but also serves as a natural preservative, so that the workpiece is well stored all winter. After adding vinegar, mix the vegetables thoroughly with a wooden or silicone spatula so that the acid is distributed evenly over the entire mass. At this stage, it is important not to miss a single piece so that each pinch of vegetables is fragrant and ready to lay down on banks. After mixing, the workpiece is completely ready for the last stage — sterilized banks.
-
Step 14
Put the vegetables in sterilized banks almost to the top, leaving a small gap — about 1-1.5 cm. It is better to tamp the vegetables with a spoon, gently pressing the mass so that there are no air bubbles. This will ensure dense placement of vegetables and uniform distribution of fluid, and also help banks be better stored in winter.

-
Step 15
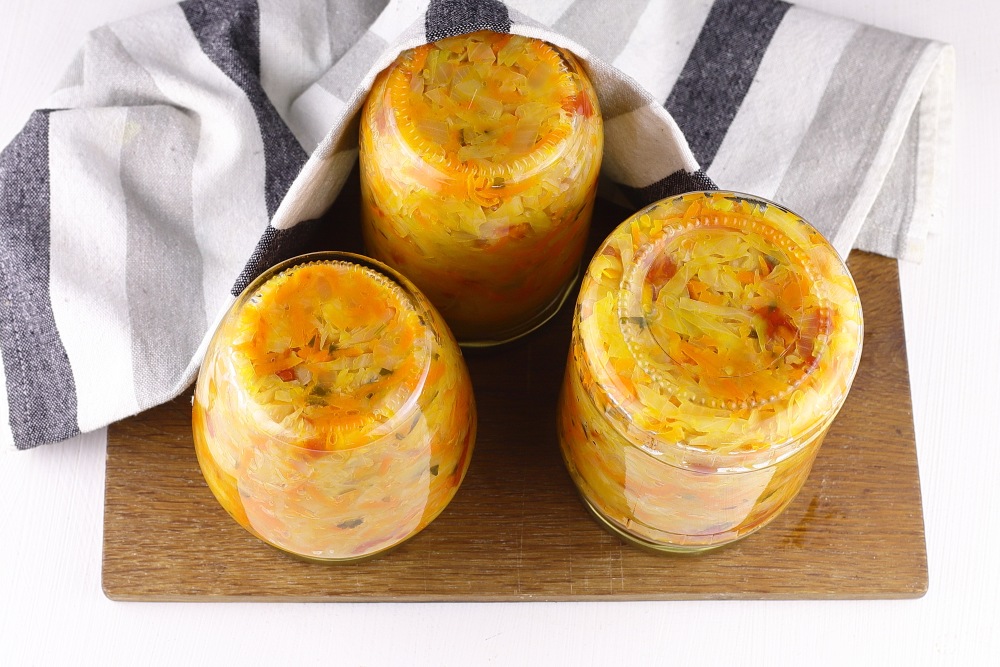
Sepuling the jars tightly with sterilized lids, making sure that they are closed hermetically. Turn the cans upside down — this creates an additional vacuum seal and helps to check the tightness. Wrap the banks with a warm towel or blanket so that they gradually cool, not exposing a sharp temperature difference.
Leaving cabbage soup in the wans in banks until completely cooled — this is important for the preservation of the harvesting and preventing cracks in the glass. After cooling, store banks in a dark, cool and dry place — a pantry, basement or refrigerator, if there is no basement.
I got three full jars of 500 g and a little to the sample.
-
Step 16
Schools for the winter in banks are ready. Bon appetit!
📌 If you liked this workpiece, look at our selection household blanks from vegetables for the winter — There are many simple and delicious ideas!