
Step 1
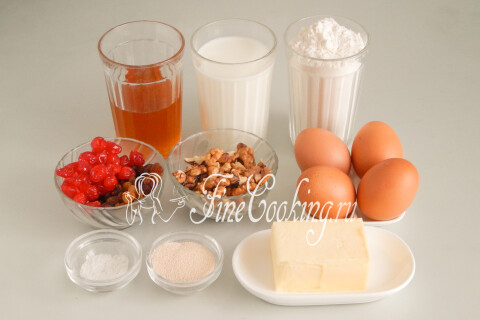
To prepare fragrant, delicious and beautiful Easter honey cakes, we need the following ingredients: high -grade wheat flour, milk, natural honey, chicken eggs, butter, high -speed yeast and salt. As a filler, I propose to use dried cranberries, raisins without bones and walnuts. All products should be at room temperature, and butter is soft (take it out of the refrigerator in a couple of hours and put it on the table).
Step 2
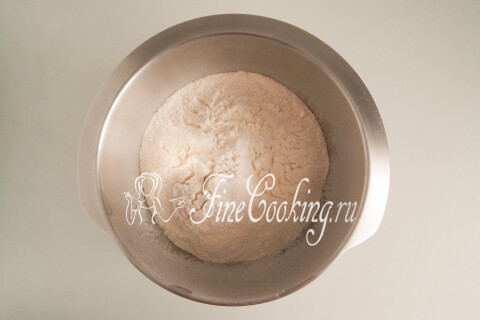
We sift 700 grams of wheat flour in the tank for kneading yeast dough to get rid of unwanted debris and additionally saturate it with oxygen.
Step 3
Add 10 grams (1 tablespoon with a small slide) of high -speed yeast and 1 teaspoon (without a slide, that is, a knife) of salt. Salt in the yeast test is an important component (strengthens gluten, helping to retain a larger amount of moisture, due to which the finished baking crumbles less).
Step 4
Mix so that all bulk products are evenly distributed according to the volume of the mixture.
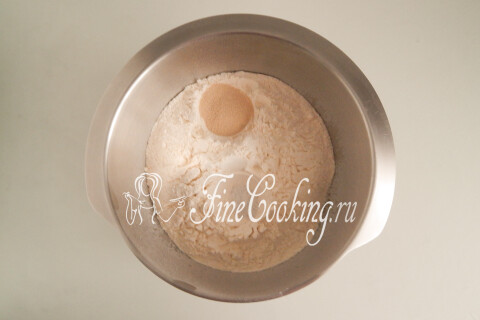
Step 5
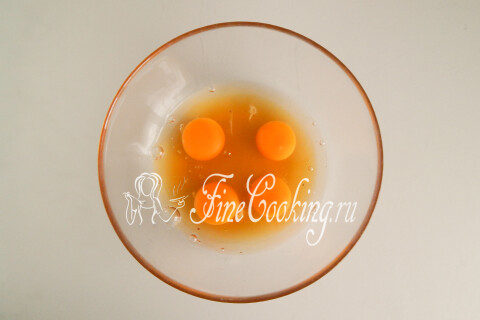
In another dishes, break 4 chicken eggs. Add 160 grams of natural honey.
Step 6
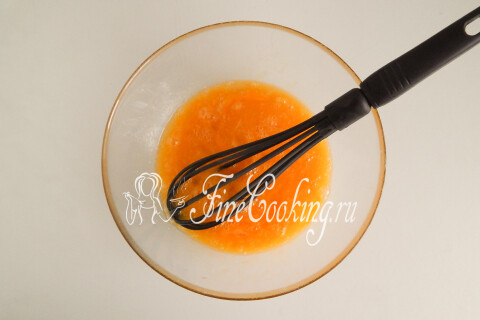
Mix with a fork or a whisk (no need to beat).
Step 7
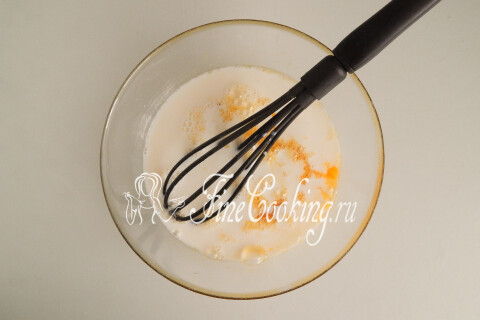
Pour 220 milliliters pleasantly warm milk.
Step 8
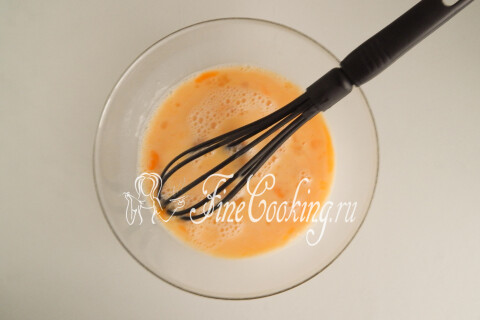
Mix actively so that the mixture becomes quite homogeneous.
Step 9
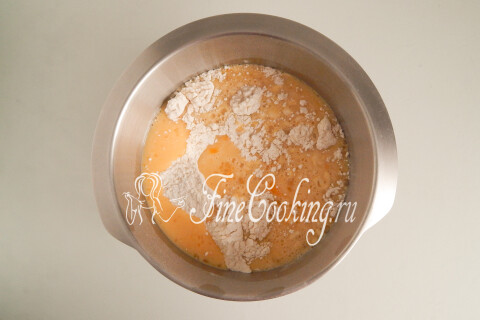
Pour the liquid mass into a container with flour.
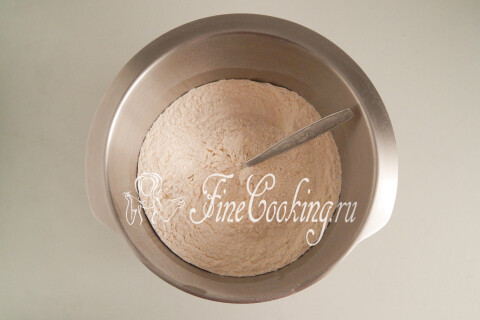
Step 10
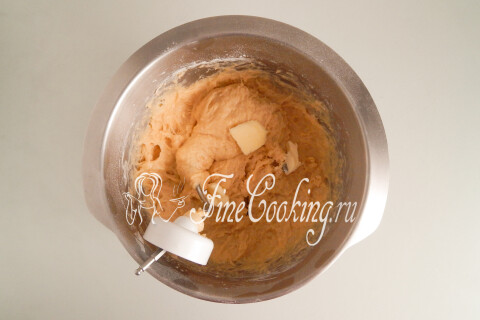
The knead of this yeast dough for honey cakes is best done using a food combine or a mixer with a hook nozzle. Of course, you can knead it with your hands (according to French technology — stretching -stooping), but you will have to work, since it is sticky and wet. Mix until the state until the flour is completely moistened. Then, in portions, literally on a teaspoon, we introduce soft butter (100 grams). We enter the next part of the oil into the dough when the previous one intervenes.
Step 11
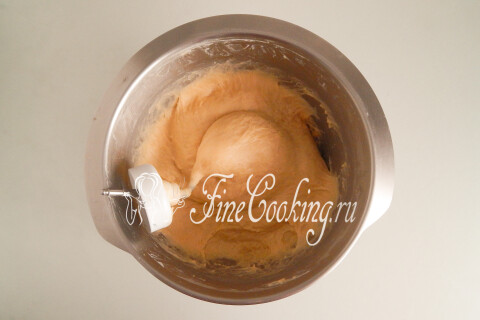
The kitchen car will cope in 15 minutes, but with your hands it will be necessary to actively work for 20-25 minutes. In the process of kneading, do not forget to help the electrodivias: stop and check so that there is no lack of (pieces with flour). During this time, gluten will develop and the dough will stretch like a chewing gum (do not break).
Step 12

Scrap the yeast dough from the walls of the dishes, round it. We cover the container with a damp towel or tighten the food so that the surface of the dough does not be swollen and is not covered with a crust. We leave in a warm place (no more than 37-38 degrees) for 1 hour for lifting. My yeast dough wanders in the oven with a light bulb turned on.
Step 13
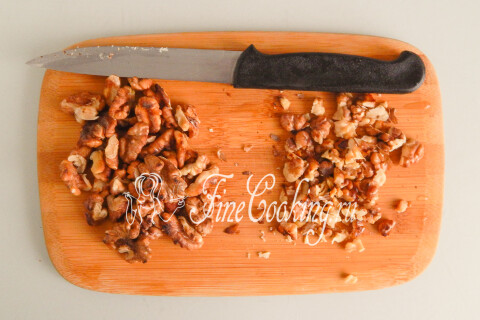
Meanwhile, we will prepare fillers for future Easter cakes. We dry 50 grams of peeled walnuts in a dry pan, cool and cut a little with a knife. It’s not worth it too small — let large pieces remain. It is very important to check each nut to avoid getting even a small fragment of the shell (you can damage your teeth!) In the dough.
Step 14
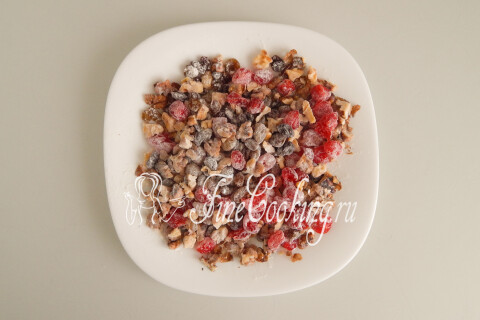
50 grams of dried cherries and 50 grams of raisins are quickly washed under cold water, dry it. Mix with nuts, sprinkle with a teaspoon of wheat flour and mix well. Due to such a breading, all pieces will firmly grip with the dough and will not then fall out when forming blanks.
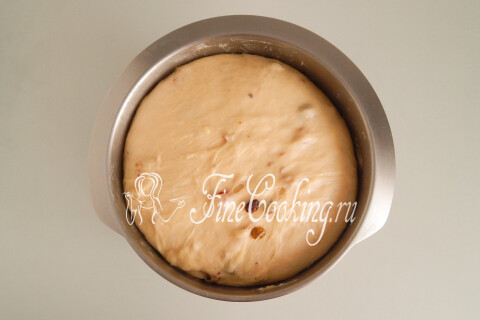
Step 15
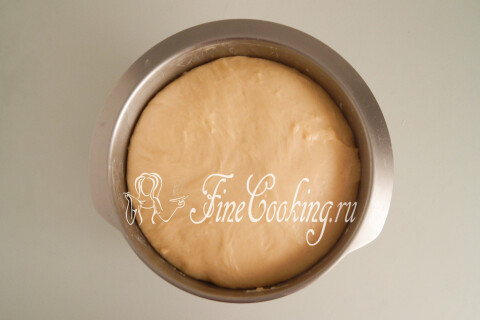
After about 1 hour of fermentation, the yeast dough will increase very well in volume. I had unusually successful yeast and the dough increased 4 times.
Step 16
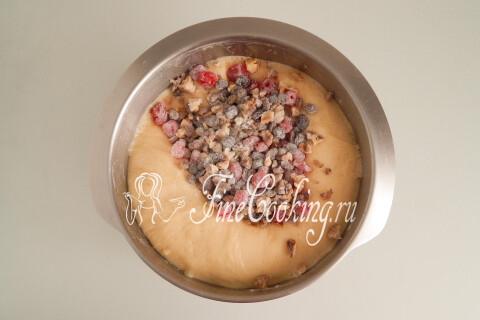
Pour delicious additives — dried cherries, walnuts and raisins.
Step 17
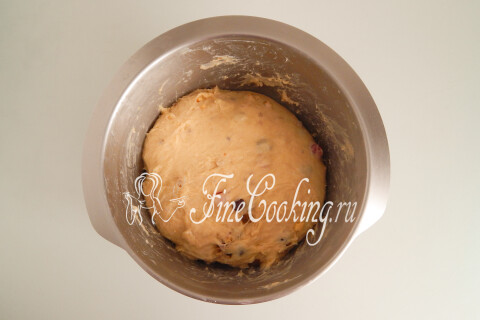
We intervene them in the dough — let the combine work for 5 minutes at low speed. If you interfere with your hands, enough 2-3 minutes. We round the dough again and give repeated fermentation for another 40 minutes.
Step 18
Periodically monitor the process so that the dough does not run away. If, on the contrary, it rises too sluggishly, then the yeast is not particularly fresh — increase the rise time. My 40 minutes was enough to grow up very well.
Step 19
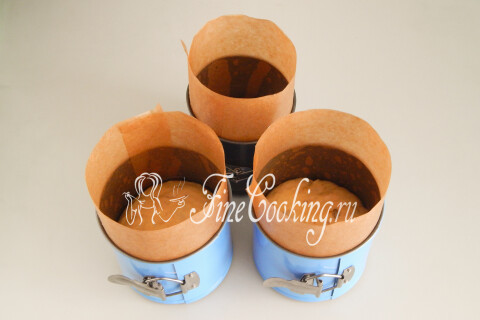
We transfer the dough to a working surface slightly lubricated with refined vegetable oil. As an option, you can mold the workpieces and with flour — as you are more convenient for you. We crush it (lubricating your hands with oil) to release excess air, and divide into the required number of parts. I decided to bake 3 rather large cakes, so I divided into 3 parts. To navigate, I will write the dimensions of my detachable forms. Two blue (diameter — 13 cm, height — 11 cm), one black (diameter — 11 cm, height — 10 cm). An important point: be sure to lay the bottom and walls of forms for baking paper so that the dough is not stuck. We round each piece of dough and put in forms, filling them on 1/3. If there is too much test, in the process of baking, Easter cakes can run away.
Step 20

We cover on top with cling film or package and send it to the proof in a warm place until the blanks grow almost to the edge of the forms.
Step 21
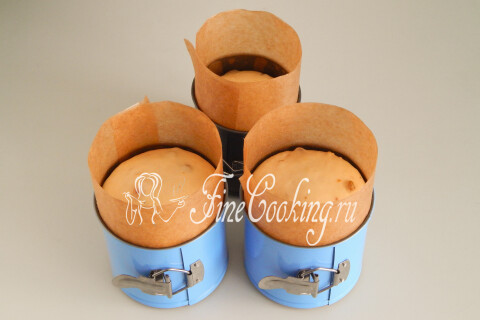
My future cakes took 40 minutes — it's time to bake them.
Step 22
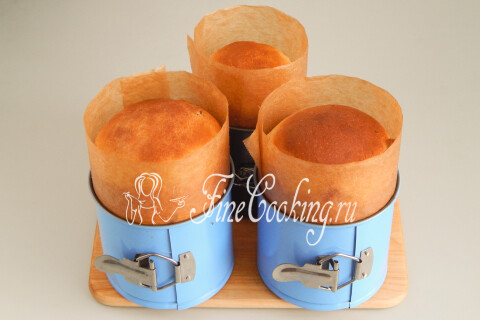
In advance, we turn on the oven heat (my electric one needs 20 minutes). We put the cakes and bake them on the lower heating without convection at 170 degrees for about 40 minutes (to a beautiful ruddy hat). You understand that each oven has different character, so focus on its features. Maybe in your Easter cakes will be ready in 20 minutes, and the other and 50 minutes will be not enough …
Step 23
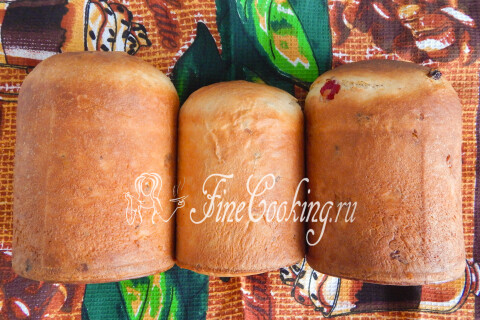
We give hot honey cakes for 5-7 minutes to stand in the forms, after which we remove them and remove parchment paper. The baking is very delicate and tall, so I advise you to cool the cakes on the soft pillow, periodically turning them from side to side.
Step 24
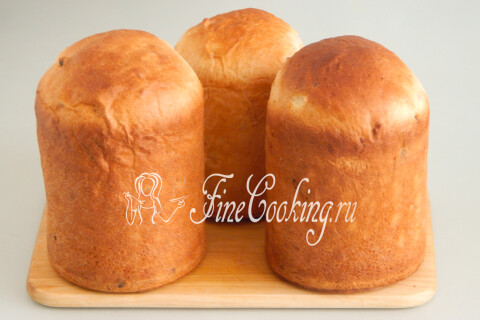
These are handsome men and you will also have a detailed step -by -step recipe. How to decorate Easter pastries to solve only you.
Step 25
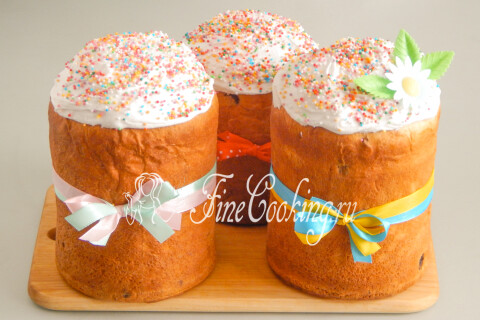
For example, I made snow -white hats from the glaze on the gelatin (you will find the recipe here) and sprinkled them with multi -colored confectionery sprinkling.
Step 26
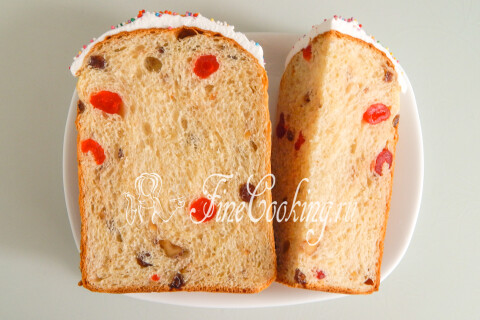
She cut the cake immediately after cooling and jewelry. The crumb is very delicate, fluffy and quite juicy. Unusually aromatic, moderately sweet pastries you will like it too.
Step 27
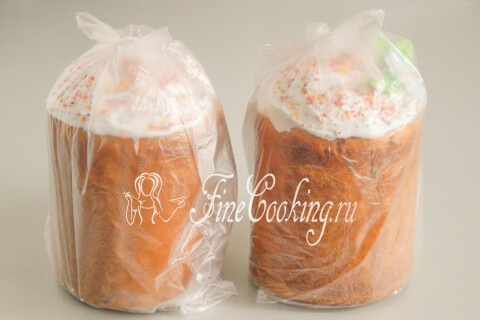
Often they ask me a question of how to store cakes so that they do not be blurred and do not stale for a long time. Just place each in a separate package, release air and tightly tie it. At room temperature or in the refrigerator — not fundamentally. Of course, if you decorate with meringue or sugar glaze, wait for a complete frozen crust. In this state, honey cakes remain fresh for 4 days. It is clear that after a while they become dry and denser, but thanks to a large amount of melting, the dough remains tasty and soft.
Step 28
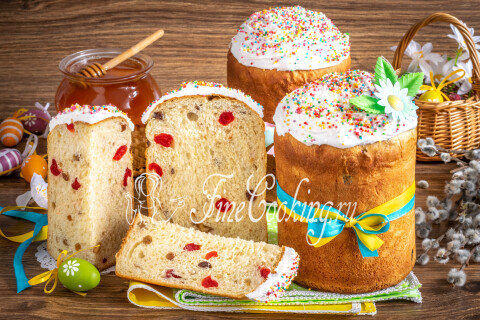
Appetizing and elegant Easter honey cakes will certainly become a real decoration of your festive table. Prepare for health, friends, good to you cakes and pleasant appetite!