
Step 1
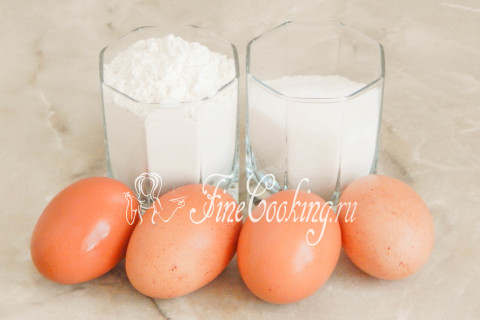
Since we will prepare a gift cake for 2 days, I deliberately divided all the photos of the necessary ingredients into several stages. First, we will prepare products for the classic biscuit: wheat flour (higher grade), granulated sugar (if desired, you can use sugar powder) and medium-sized chicken eggs (45-50 grams each).
Step 2
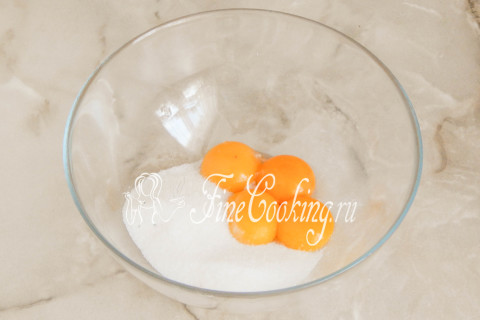
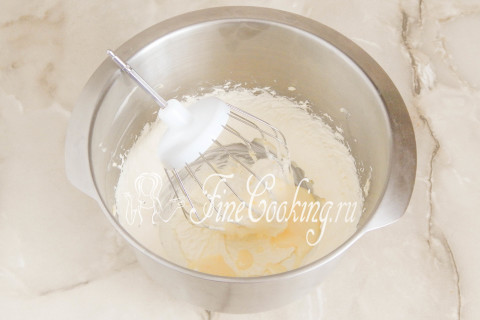
My chicken eggs are well dry and divided into proteins and yolks. Personally, I always do this as follows: I gently break each egg on the table (so the probability of damage to the yolk is minimized), after which I pour everything into the cup. I carefully take out the yolk right with my hand, passing the protein through (or through — how to correctly?), And shift with another dishes. It is this method that allows you to get a pure yolk and the maximum amount of protein. We put all 4 yolks in a bowl in which we will prepare a biscuit dough. Add 80 grams of sugar (the remaining 40 grams will be needed when whipping proteins).
Step 3
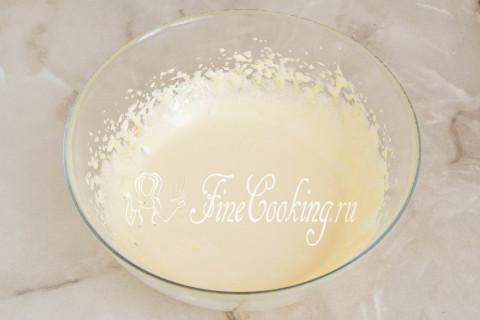
Beat everything with a whisk or mixer at high speeds for about 4-5 minutes, until the mass becomes homogeneous, smooth and light. During this time, sugar crystals should completely dissolve.
Step 4
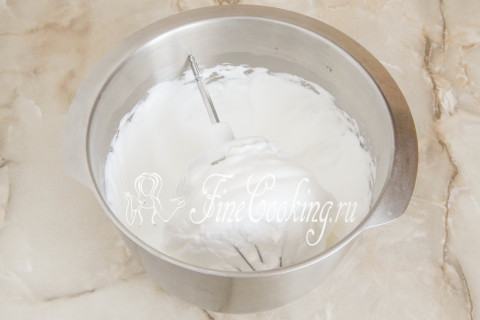
Then, in a clean, dry and low -powered (you can wipe the lemon with a slice, then wipe the bowl dry), beat 4 egg protein dishes. At first at low speed, and when the proteins turn into a light foam, we gradually increase the speed to higher than the average and continue to whisk. At this time, pour 40 grams of sugar in parts and beat the proteins into a persistent and tight snow -white foam. It turns out the French merenga — a stable protein cream that holds its shape perfectly and does not even think of moving. If it is not enough to beat the proteins, the biscuit may or not to rise properly or sore strongly after baking.
Step 5

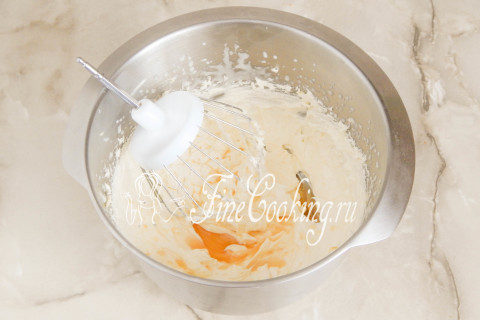
For 3-4 receptions, add whipped proteins to the yellow-sajar mass. Now no mixers, blends or combines!
Step 6
Gently interfere with the meringue in the yolks, trying not to besiege the mass.
Step 7
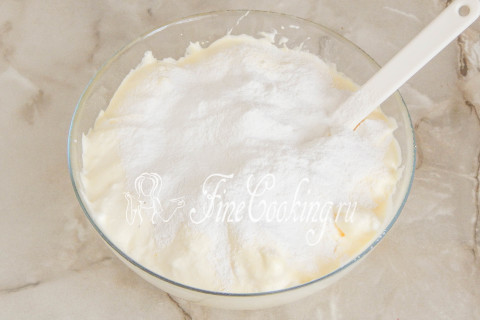
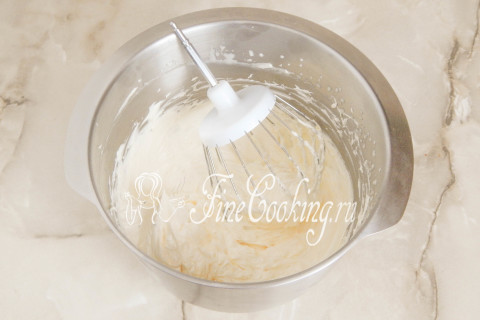
When all the proteins find themselves in a bowl, we sift there 120 grams of wheat flour of the highest grade. Only not all at once, but for 2-3 entry, each time interfering it into the air mass with folding movements (stressing from the bottom up).
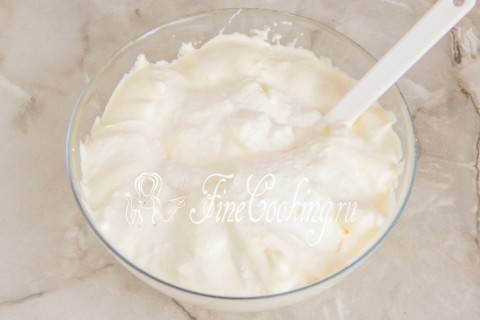
Step 8
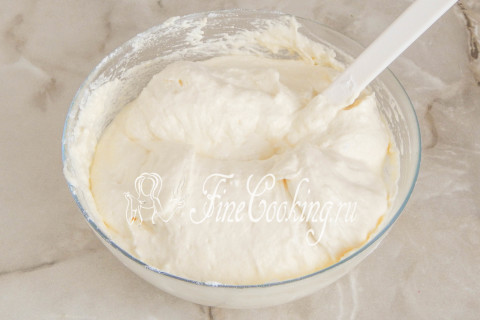
With proper preparation, the biscuit dough is obtained by air, delicate, magnificent and stable, that is, it does not flow, but holds the form.
Step 9
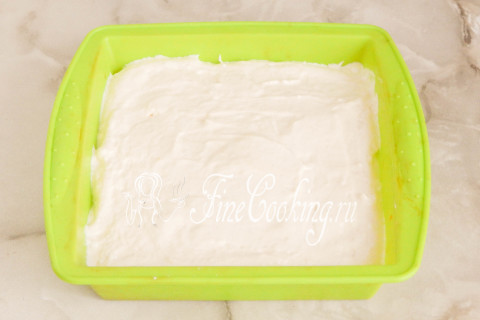
Traditionally, a gift cake is made square, but at home you can easily make it round. I have a square silicone baking form (20×20 centimeters), the bottom of which I covered with a cut of parchment paper. We do not lubricate the walls so that the biscuit dough during baking can climb them, thereby rising well. Put the dough into the shape with a spoon or spatula and level it.
Step 10
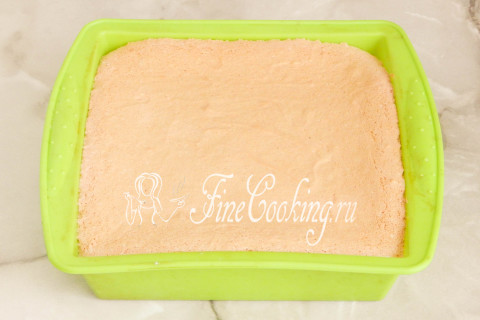
We bake the biscuit in a preheated (it is important!) Oven (only lower heating works for me) at an average level of 15 minutes at 200 degrees, and then reduce the temperature to 180 degrees and bake for another 15-20 minutes. During the baking, the oven door is not opened so that the biscuit is not a disgrace. We check the readiness with a wooden ray (toothpick or skewer), which should leave the biscuit completely dry. Let the pastries cool in a ajar, turned off the oven for about 15 minutes. My biscuit sank slightly (the slide sank and the surface became flat) — this is normal.
Step 11
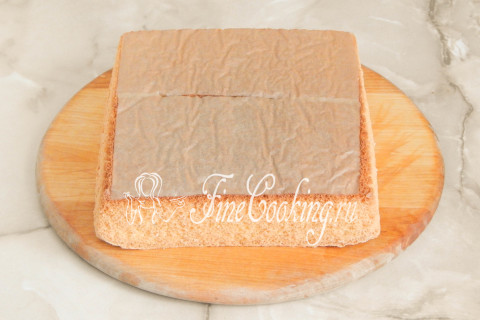
We take out the finished biscuit from the mold, turn it over and cool it on the grill or wooden board.
Step 12
We remove the baking paper — thanks to her, the biscuit does not stick to the bottom. Today, the gift preparation is completed: the biscuit must be kept at room temperature for at least 8 hours, and even better — 10-12. This is necessary so that when cutting it does not crumble, and when impregnating does not turn into porridge.
Step 13
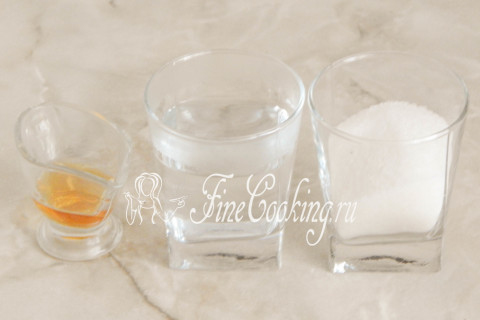
The next day (or in the evening of the same day, if you baked a biscuit in the morning), you can continue to cook a gift home cake. Here are products for impregnation: water, granulated sugar and a little cognac for aroma.
Step 14
The impregnation is made easier: in a small bowl, connect granulated sugar and hot boiled water. Mix everything thoroughly until sweet crystals dissolve, add cognac and let the impregnation cool to room temperature.
Step 15
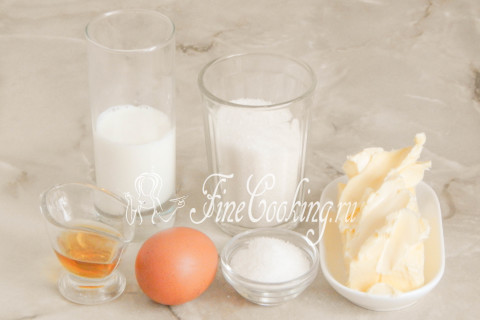
Next, we proceed to the preparation of Charlotte cream. We need butter (with a fat content of at least 72%, and 82%is even better), granulated sugar, milk (any fat content), one medium -sized chicken, vanilla sugar and cognac.
Step 16
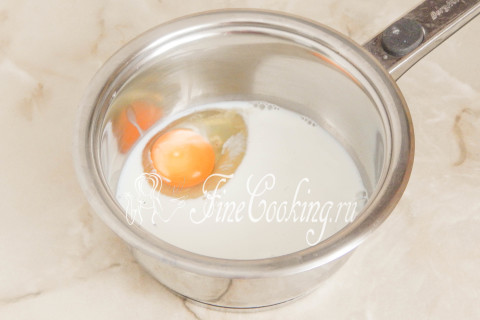
Prepare the syrup, which then add to the oil. In a small saucepan with a thick bottom or a stewpan we put a raw chicken egg, add 125 grams of sugar and 80 milliliters of milk.
Step 17
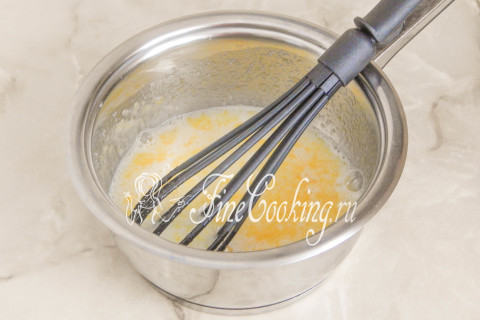
Mix everything with a whisk or with the help of a mixer until a light foam and homogeneity are formed.
Step 18
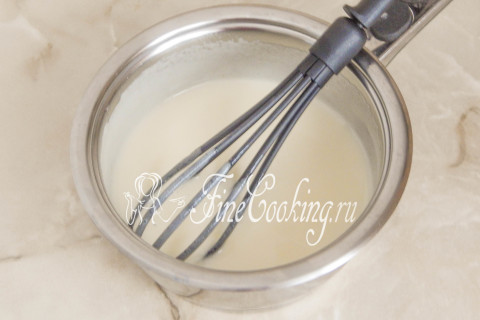
We put the dishes on a slow fire and, with constant (!) Stiring, cook the syrup for about 2-3 minutes after boiling. Do not leave the stove for a minute, since the eggs can be curled up, and the syrup to the bottom of the pan. The result is completely uniform, smooth, delicate custard, which in consistency resembles a liquid condensed milk.
Step 19
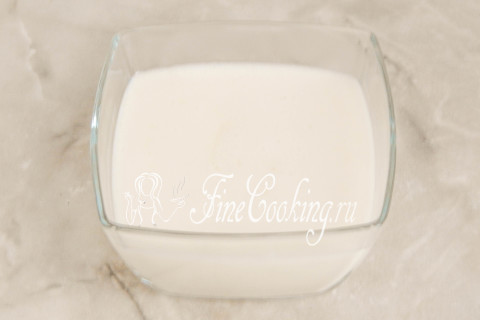
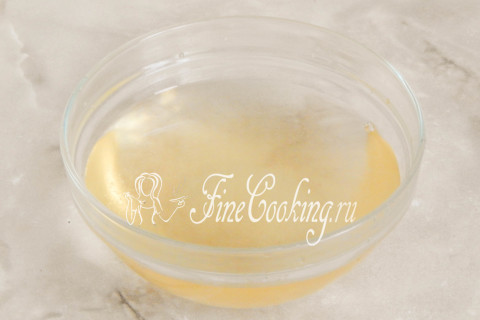
We pour the finished syrup into a bowl.
Step 20

On top we put a piece of cling film (back in so that the crust does not form) and cool to room temperature. Now it’s cold, so it is advisable to take out the cream on the balcony, where it will cool down literally in 5-7 minutes.
Step 21
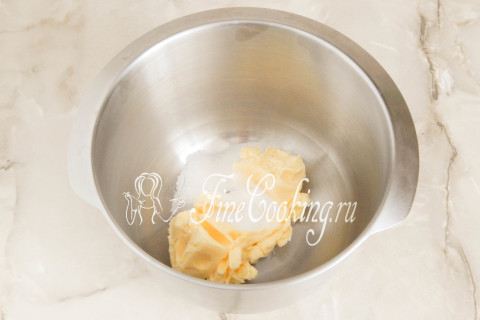
The final stage of preparation is the preparation of the Charlotte oil cream for the cake gift. In a suitable dish, put soft butter (150 grams). It must be taken out of the refrigerator in advance and left on the table for 3-4 hours. Add a tablespoon of vanilla sugar.
Step 22
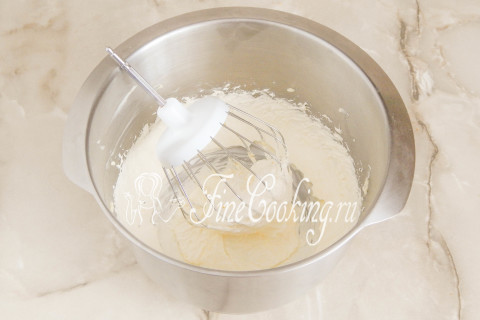
Beat everything with a mixer at high speed for at least 5 minutes, until the oil becomes airy and turns white. You will have to beat cold oil for about 20 minutes, so do not forget to let it warm up.
Step 23
Now literally add milk syrup (our custard at room temperature) in the tablespoon), continuing to whip the mass at high speed.
Step 24
When the entire syrup is connected to the oil and it turns out a lush, smooth and slightly loose cream, add a tablespoon of cognac and punch all together for about a minute.
Step 25
Cream Charlotte is ready — it is very gentle.
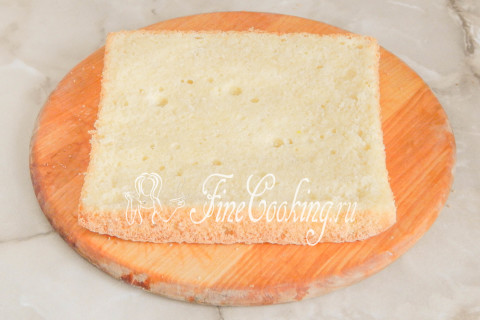
Step 26
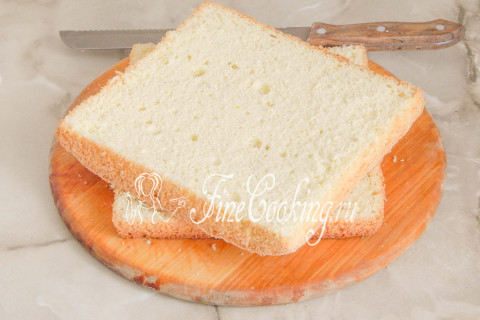
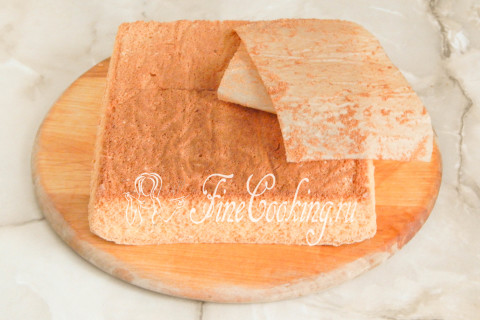
It's time to collect a gift home cake. We cut the biscuit along 2 equal cakes. This can be done using a bread knife (with zabrinki), a simple thread or a special fishing line.
Step 27
We impregnate each cake with sugar syrup with cognac — try to distribute it so that there is enough biscuit in two layers of biscuit.
Step 28
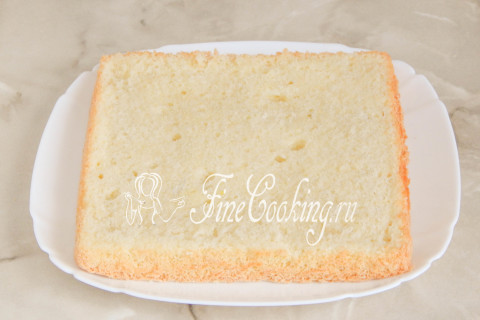
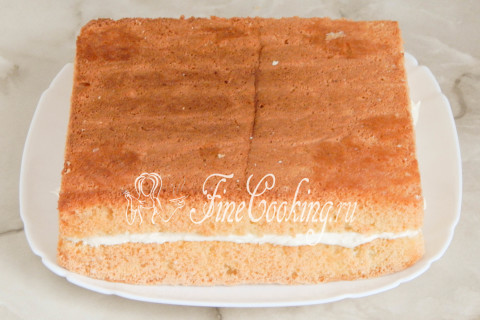
Choose a flat dish on which we will serve the cake. Put the lower saturated cake.
Step 29
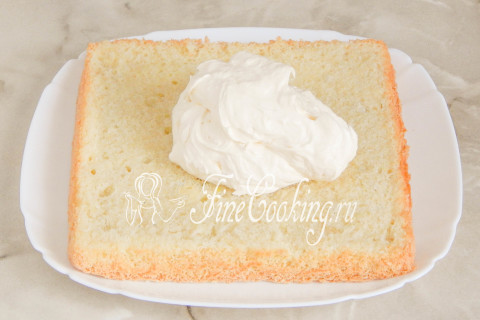
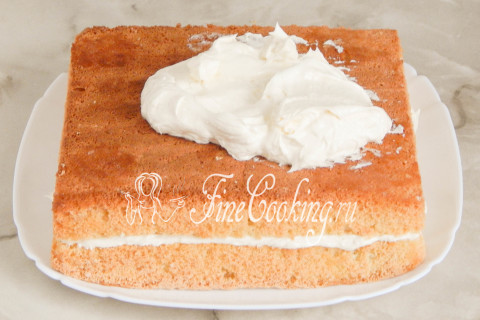
We divide the cream into 2 equal parts and apply one to a biscuit cake.
Step 30
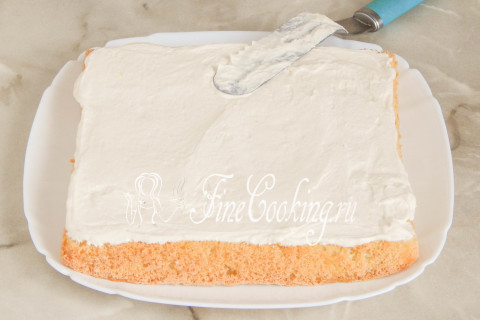
Evenly distribute the Charlotte cream over the entire surface. It is most convenient to do this with a spatula (culinary spatula).
Step 31
Cover with the second cake, slightly pressing it to the lower one.
Step 32
We apply the second part of the cream to the workpiece.
Step 33
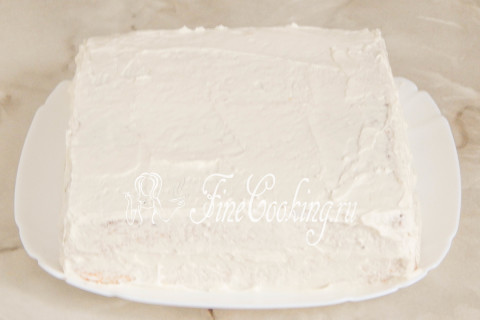
Cover the sides and top of the future cake evenly. At 15 minutes, put the workpiece in the refrigerator so that the cream grabs — so it will be easier to stick to the nuts.
Step 34
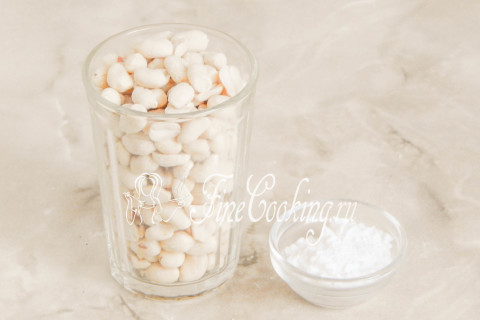
To cover and decor the cake, we need peanuts and a little sugar powder. The original needs 120 grams of nuts, but I personally use 200 grams (this amount is just enough to cover the entire cake and there are no empty places left on the surface).
Step 35
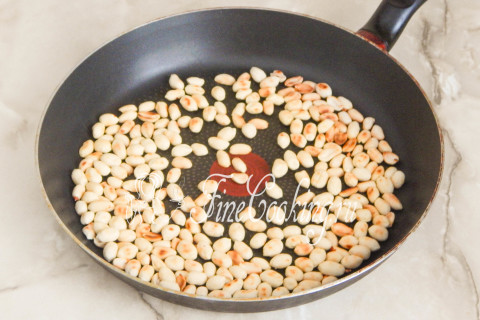
Purified peanuts must be frying so that it becomes crisp, ruddy and fragrant. You can on the stove, but you want — in the oven or microwave.
Step 36
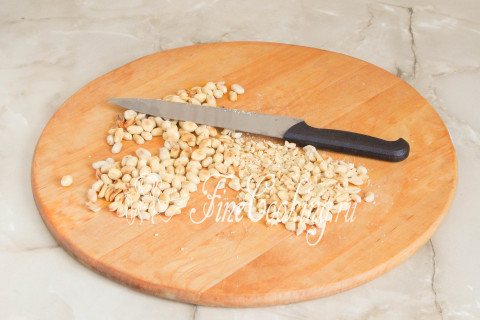
When the nuts are well browned, let them cool slightly so as not to burn their hands, and chop with a knife with a rather large crumb. I would say that this is not even a baby, but small pieces. Now completely cool the crushed nuts — if you cover the workpiece warm, the cream will flow.
Step 37
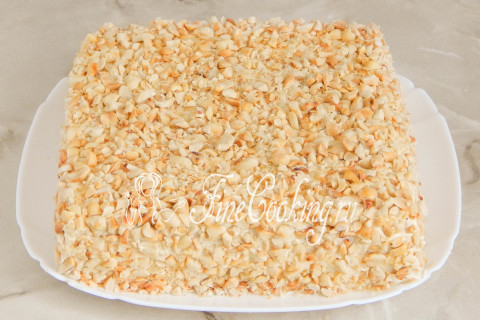
Gift decoration is more than simple — sides and top are simply sprinkled with fried peanuts, slightly pressed nuts to the surface so that they do not fall off.
Step 38
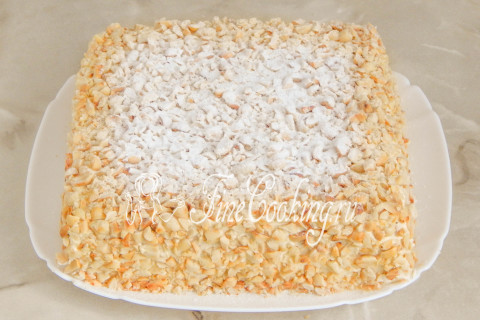
At the end, sprinkle the top with the sugar powder and everything is ready. It is necessary to store this delicious and delicate home cake in the refrigerator (2 days, I think, I have to stand), and before serving it is advisable to let it relax at room temperature for about 15 minutes so that the cream becomes softer.
Step 39
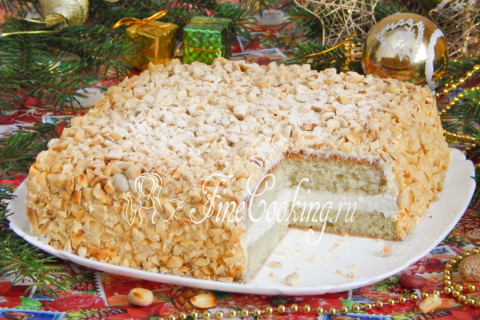
Without unnecessary modesty, I will say that this is one of the most delicious cakes that I have ever eaten. I love him since childhood: a juicy biscuit, a delicate cream and a lot of crispy peanuts — this is an extraordinary treat. Tanyusha, thank you very much for the order and the opportunity to share a detailed recipe for this wonderful cake!