
Step 1
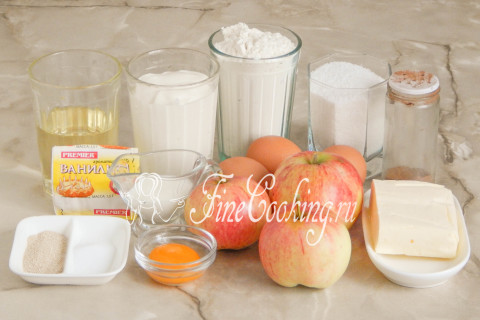
The recipe for homemade yeast dough for pies includes the following products: wheat flour of the highest grade, sour cream, chicken eggs, refined vegetable oil (I have sunflower), salt, sugar, vanillin and high -speed yeast. All ingredients should be at room temperature. For the filling, take fresh apples, granulated sugar and butter. To lubricate the pies, we will use egg yolk and a little milk of any fat content.
Step 2
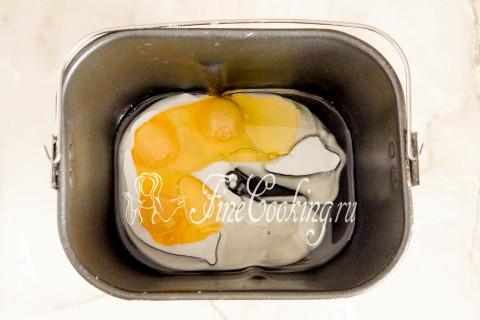
The dough can be kneaded with your hands or use kitchen assistants. I do this yeast dough in the bread machine. Depending on the model, the laying of ingredients can be of two types: first liquid, then bulk and vice versa. I have the first option. Pour vegetable oil (without smell), sour cream and break the eggs into the bakery container. We’ll chat a little.
Step 3
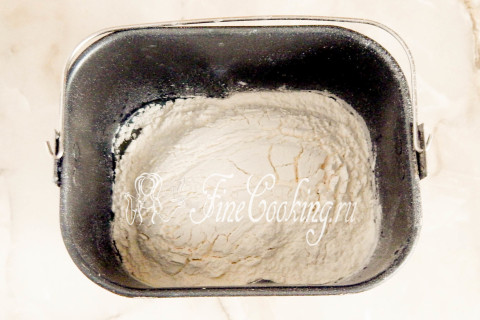
Now add sifted wheat flour of the highest grade. In general, it is according to this recipe that I always use exactly 500 grams of flour, but you may need a little more or less (depending on its humidity).
Step 4
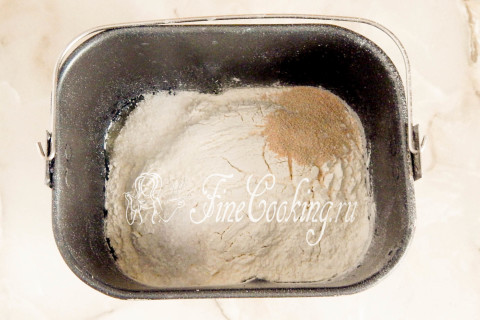
At the end, pour salt, sugar, a pinch of vanillin (can be replaced with a teaspoon of vanilla sugar) and high -speed yeast on different corners of the bowl.
Step 5
In my bread maker, the dough mode provides for the duration of kneading and proofing exactly 1 hour. But I don't like it so much, because the yeast test is at least 2 hours. That is why I recommend that you do as follows: we exhibit the main (3 hours) program or French bread (3 hours 50 minutes). The batch begins: in the first program, the first batch lasts 10 minutes, and in the second — 15 minutes. So much time is enough to knead the dough well and get an elastic, but at the same time soft and delicate bun. Literally after 5 minutes from the beginning of the batch, it must be formed. Moreover, this is a very important point, because the quality and humidity of the flour is different, therefore this product may require more or less than according to the recipe. If the bun can still not form, feel free to add a tablespoon of flour and follow the batch. When the dough completely moves away from the walls and will be quite elastic (that is, not to spread, but to keep the shape well), we stop the addition of flour. This is what my bun looked after 8 minutes of batch. Now leave the dough alone and let him grow up. It will take about 1 hour 40 minutes (main) or 2 hours 25 minutes (French bread), during which the bread machine will take a fry twice (three times). I prefer to use the second program. If you knead the dough with your hands, knead it for 10-15 minutes, then tighten the bowl with a film or cover with a towel. The fermentation of the dough lasts in the warmth for 2 hours. After 1 hour, we make a light grinder of the dough, rounding and repeated fermentation for another 1 hour.
Step 6
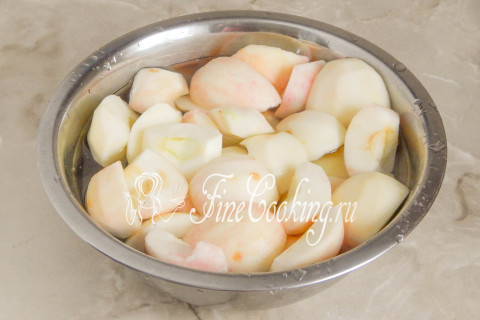
While the dough is wandering, we will do our tasty filling. To do this, take fresh apples (preferably sour or sour-sour), clean them of the skin and seed boxes. So that the apples do not get dark quickly, I advise you to put slices in a bowl of cold water, which acidify with lemon juice or citric acid. In pies, of course, you can use apples and sweet varieties, but in the finished form the filling will turn into mashed potatoes. I give a lot of apples (1 kilogram) in the already cleaned form — I love when there are a lot of fillings in the pies.
Step 7
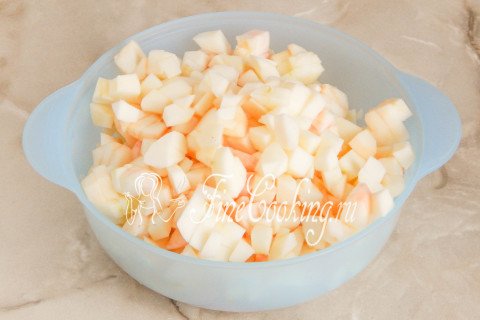
We dry the halves and cut the apples with a large cube so that they retain the shape and do not fall apart in the process of heat treatment.
Step 8
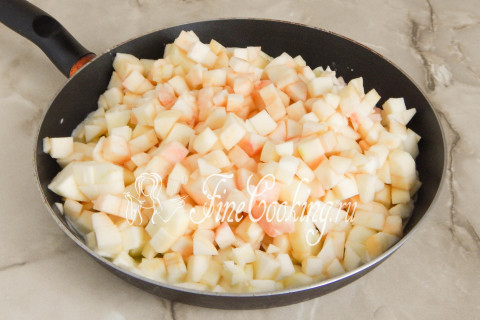
We take a larger pan (preferably wider so that the liquid evaporates faster) and heat it. We put 100 grams of butter and on medium heat let him completely melt. After that, lay out apples and cook over high heat, stirring constantly, for about 5 minutes.
Step 9
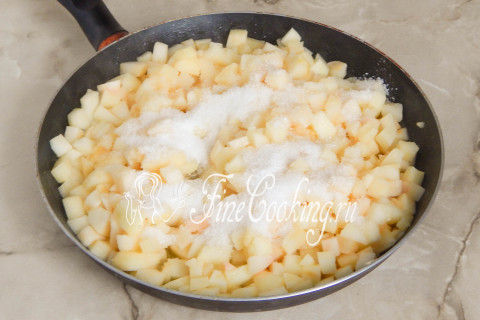
Then we pour 100 grams of sugar and cook apples again with constant stirring for about 5-7 minutes.
Step 10

When the apples are softened a little, and excess moisture evaporates, add ground cinnamon (optional), mix. Apple pieces should not fall apart and completely break through — just bring them to half -consumption.
Step 11
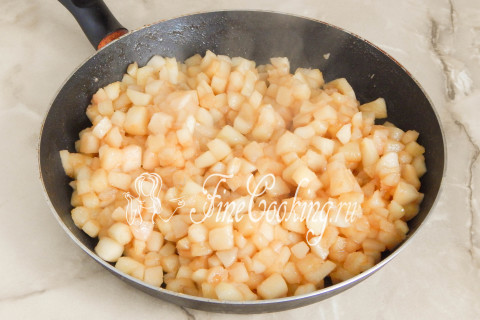
The filling for future pies with apples is ready.
Step 12
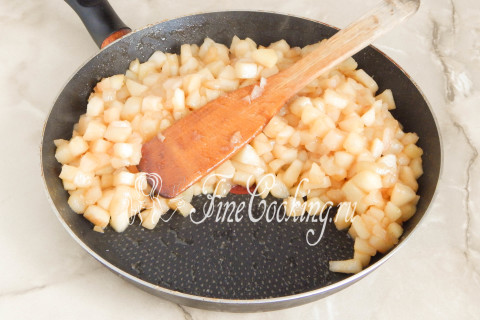
You see, there is no liquid at all at the bottom that can leak in the test. Now the filling must be cooled, since the yeast dough does not tolerate high temperature (yeast can die without surviving to the oven).
Step 13
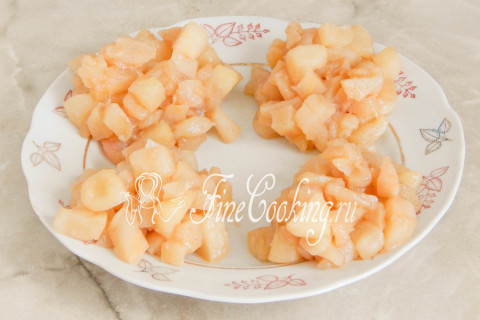
You can divide the entire filling into the same portions in advance, then quickly put the pies. I got 850 grams of filling (70 grams of filling for a portion) and I made 12 large pies.
Step 14
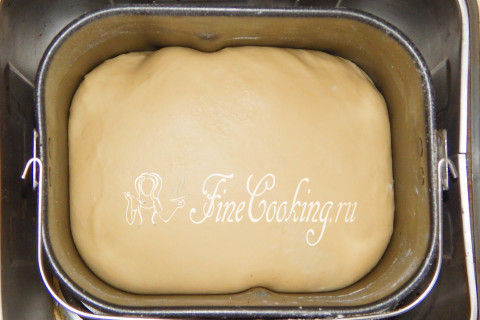
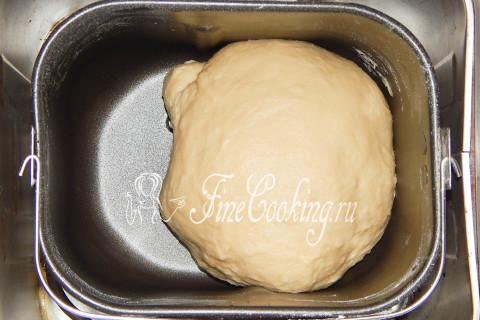
Well, the dough has already fit. Turn off the program when on the timer will be 1:10 (main and French bread). That is, we take out the dough 10 minutes before the assistant begins to bake bread.
Step 15
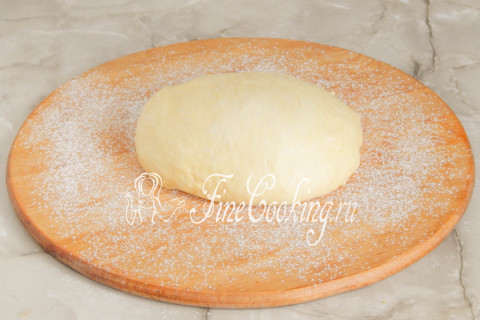
It remains to crush the yeast dough to release air, transfer it to the board and start molding pies.
Step 16
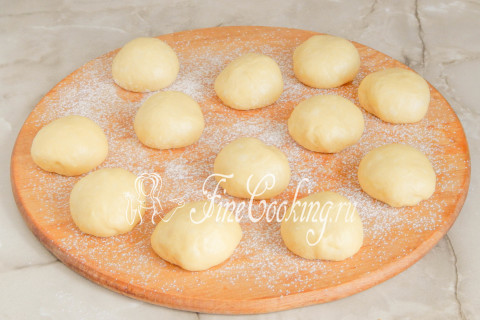
We divide the dough into pieces of the same size — I have 12 pieces (about 80-82 grams each). It is very convenient to use kitchen weights so that the blanks are of the same weight. This is important not only from an aesthetic point of view, but also in order for the baking to evenly part and bake the same way. We roll each piece in a ball and put on a board, very slightly sprinkled with flour. If you have not yet filled your hand in the modeling of pies, that is, the process takes a lot of time from you, cover all the pieces of dough with a film or towel so that you do not be blurred.
Step 17
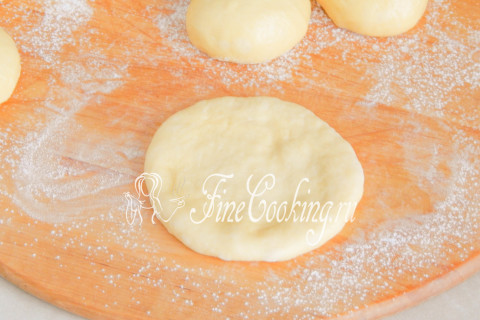
We proceed to form pies. We take one ball of dough and flatten it with a palm. If you want, you can roll out with a rolling pin — this is not fundamentally, since the dough is very tender and supple, it is perfectly stretched with your hands.
Step 18
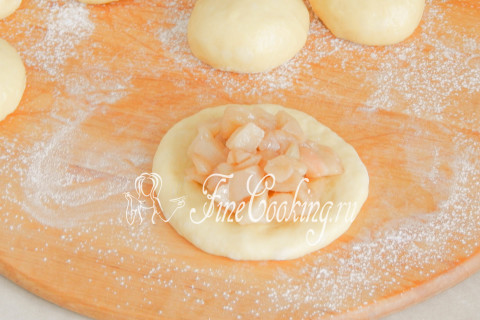
We put apple filling in the center, which has already managed to completely cool.
Step 19
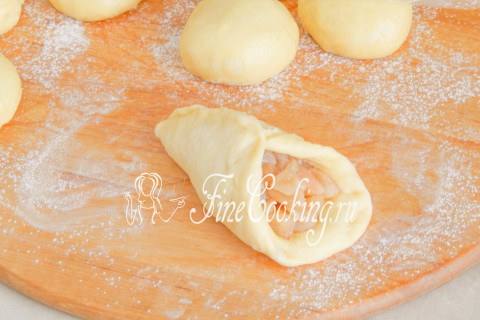
Depending on your preferences, we choose the shape for future pies with apples. I have these traditional boats.
Step 20
We pinch the dough so that the fillings are not visible. The yeast dough according to this recipe turns out to be very plastic and crawls perfectly. Literally a couple of movements and the pie is ready.
Step 21
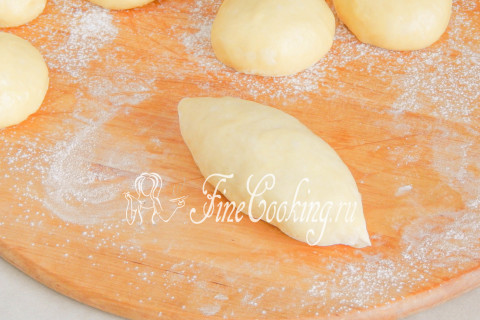
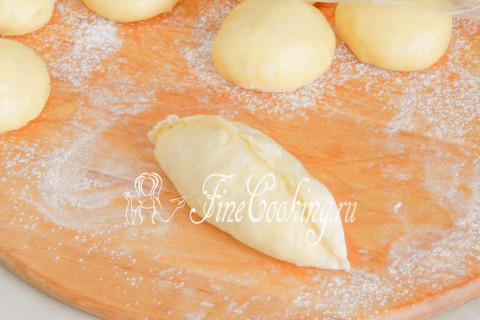
Carefully roll the workpiece in the palms to get an even shape and put the future pie with a seam down. In general, it is not necessary to make pies of this shape — you can make them round, square or triangular.
Step 22
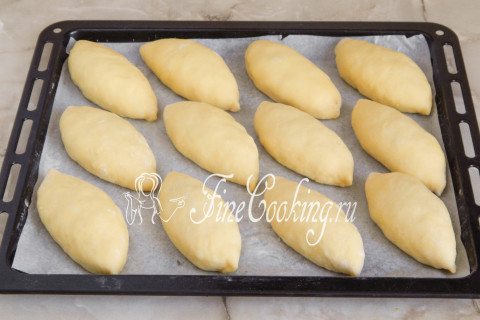
We cover the baking sheet with paper for baking and lay the blanks with a seam down on it. We cover with a towel or cling film and leave to stand up for 25-30 minutes. Immediately turn on the oven at 180 degrees.
Step 23
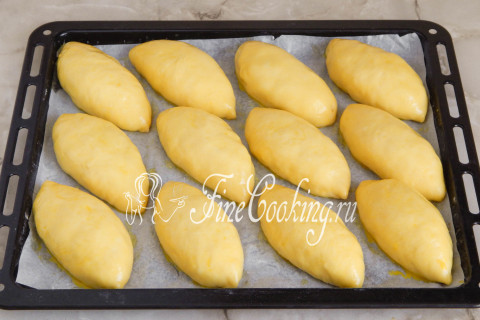
In order for apples to turn out beautiful and ruddy, I propose to lubricate them with egg yolk with milk. I have homemade eggs and yolk, respectively, directly orange. Just chat with a fork, adding a little milk, and the lubricant is ready. Small secret: if your oven does not want to blush pastries, add a pinch of powdered sugar to the yolk. Then, in the process of baking, sugar is caramelization and the top of the buns or pies will be browned. I used to do this sometimes with pastries, because the old oven sometimes failed me. We lubricate the blanks that have already managed to fit well, yellow and send to a hot oven to bake for about 25-35 minutes at 180 degrees.
Step 24
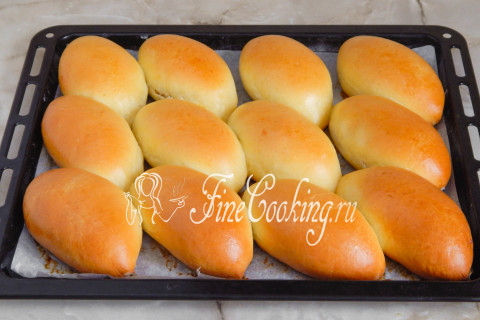
Choose the degree of blush of pies yourself-someone loves only slightly golden, and someone likes almost a brown crust.
Step 25
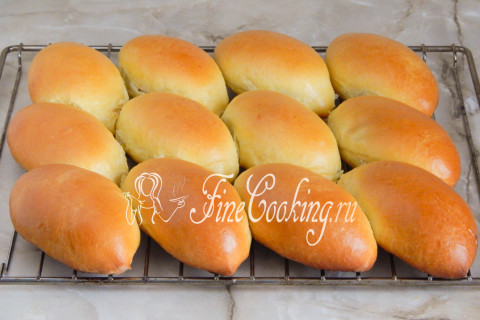
We remove hot pies from a baking sheet and let them cool on a lattice.
Step 26
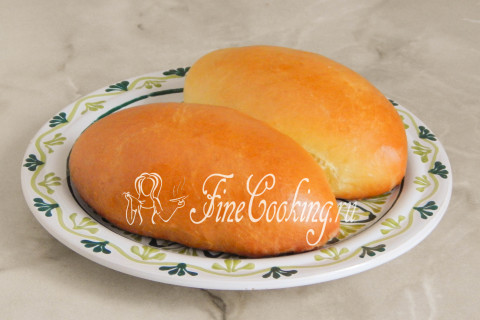
Ready -made apples pies are unusually aromatic, so delicious and very tasty.
Step 27
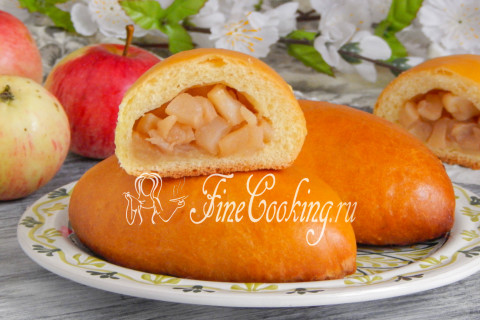
The most delicate dough that just melts in the mouth is a lot of fragrant and juicy apple filling … Well, what could be better than fresh homemade baking!?