
Step 1

The recipe for the preparation of cheese baguits includes ingredients such as: wheat flour of the highest or first grade, warm boiled water, salt, sugar, egg yolk (you can not use it, if you do not want to, it is needed to lubricate the baguettes for their more ruddy color) and high -speed yeast (can be replaced with fresh/pressed — 9 grams or dry — also 3 grams, also 3 grams, also 3 grams. That is, a teaspoon without a hill).
Step 2
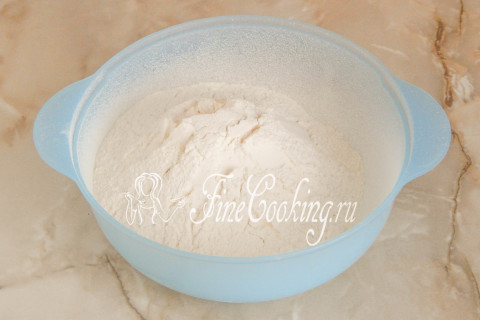
So, in a suitable dish, we sift wheat flour. It is better to take a bowl or a larger pan, since the dough in the process of fermentation will increase greatly in volume.
Step 3
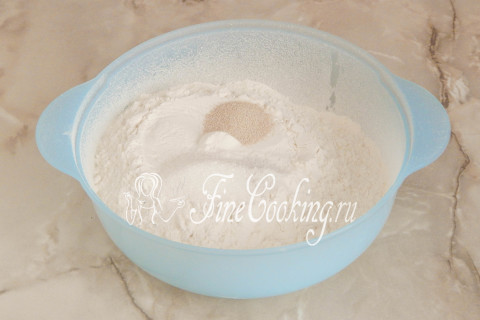
Add salt, sugar and high yeast to flour. Mix everything very thoroughly.
Step 4
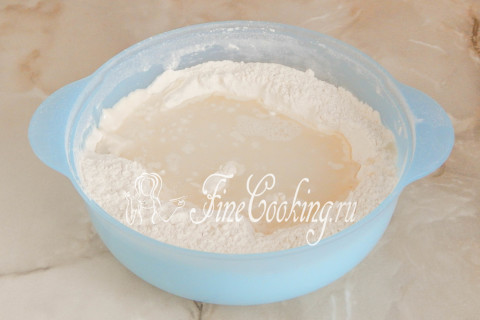
We make a recess in the center and pour a little warm water there.
Step 5
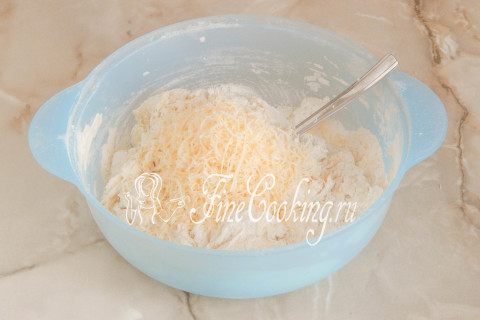
Knead the dough. When the flour moisturizes and absorbs water, add 50 grams of cheese, which is pre -chopped on a large or medium grater. Initially, the dough will be very sticky and resemble heterogeneous thick porridge, but then in the process of kneads it will become more and more elastic and smooth. It is best to knead the dough using a mixer with a hook nozzle, but it will also turn out to be worse, but longer.
Step 6

The dough should turn out to be very soft, delicate and sticky. Do not score it with flour, since on the basis of dense and tight dough, air and lush pastries will not work, and the baguettes are just the same. We round the dough into the ball and put it in a bowl, which we lubricate with a small amount (literally a teaspoon) of vegetable oil so that it does not stick to the dishes during fermentation. We send the dough to heat for 1 hour, after which we make a light degree, re -rounding and again in heat for another 1 hour. Where is it better to wander the test and what does a warm place mean? There are several options. First of all, in the oven with a light bulb turned on (it turns out about 28-30 degrees — the temperature ideal for fermentation of yeast dough). Then we tighten the bowl with the dough with cling film or cover with a towel made of natural fabric (flax is best suited) so that the surface does not be swollen and not covered with a crust. You can also let the dough wander in a microwave, in which we pre -boil a glass of water. The dough will rise with a door closed, and the glass will stand there. Then the bowl does not need to be closed with anything, since the water will evaporate, thereby maintaining the necessary humidity. Just make sure that no one inadvertently turns on the microwave, otherwise the dough will disappear and there will no longer be cheese baguettes.
Step 7
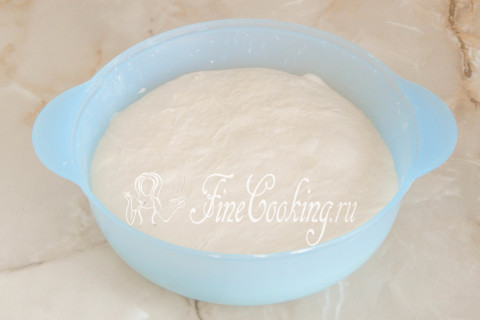
After 2 hours of fermentation (time — the concept of relative, it may take more or less) yeast dough for baguettes will rise very well, and will increase by volume three times for sure. It is very tender and fluffy, remains sticky — it should be so. If the dough rises weakly, then you came across old yeast — increase the time of fermentation.
Step 8
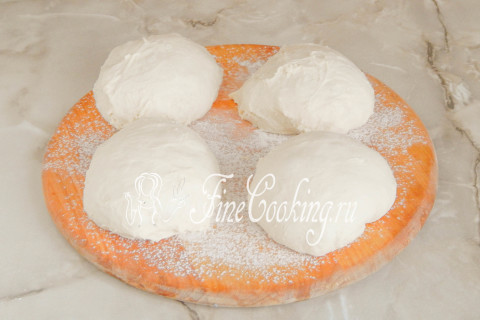
Sprinkle the working surface with wheat flour and gently dump the dough from the bowl on it, helping with a spatula or a scraper. I decided to make 4 baguits, but you can form more or less. We round the pieces of dough, giving them the shape of a bun. Let us lie down for 5 minutes so that the dough rests.
Step 9
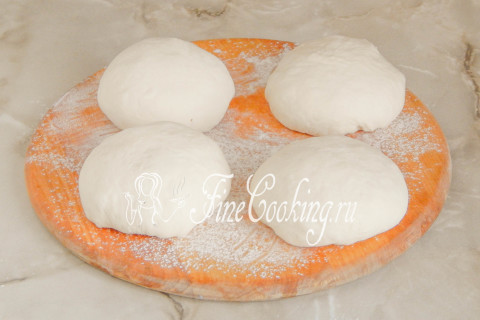
Then we round again and proceed to the molding of future cheese baguettes.
Step 10
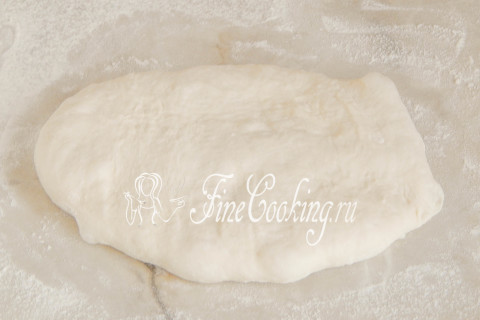
We take one piece and gently with your palms we knead it on the surface of the surface of the surface. We constantly sprinkle with flour, since the dough is very tender and sticky. Cover the rest of the pieces of dough with a towel or cling film so that they do not be swollen or covered with a crust.
Step 11
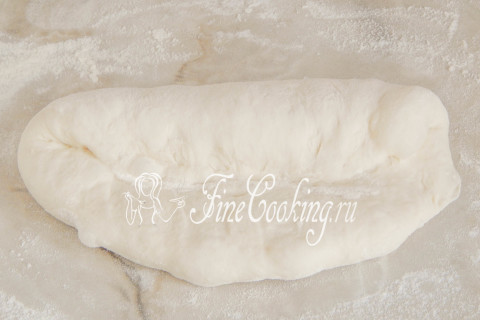
Visually divide the dough into 3 parts. We fold one edge to the center, sealed the seam with a short punching with the edge of the palm.
Step 12
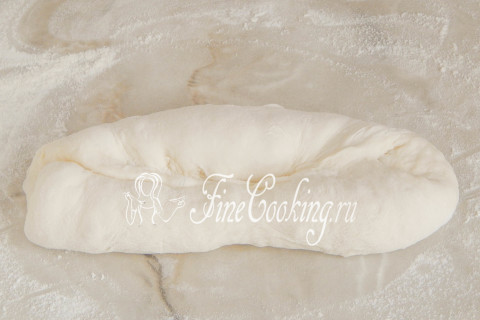
Similarly, we repeat with the second end of the workpiece.
Step 13
Now fold the dough in the seam in half and also seal the seam.
Step 14
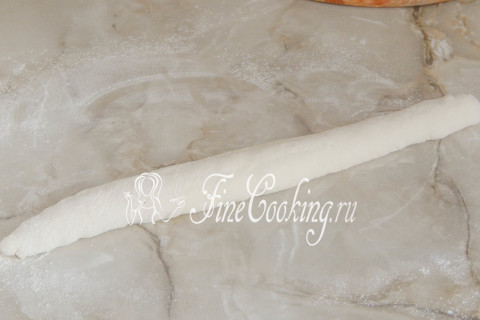
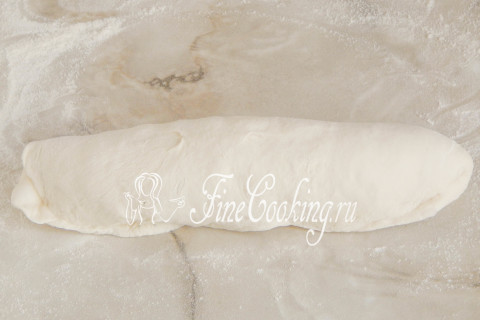
And now we skate the workpiece on the table with our palms to get such a tourniquet. About a thickness of about a couple of centimeters. Similarly, we act with the rest of the dough.
Step 15
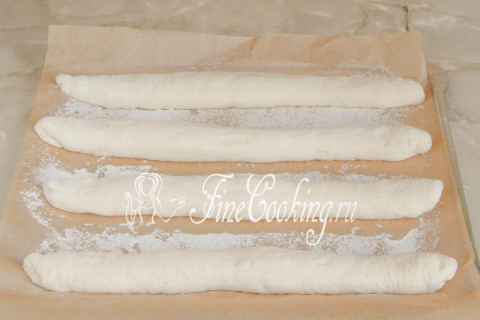
Now our workpieces for future cheese baguettes need to be distracted, that is, relax and rise. To do this, take a towel made of natural fabric (choose one and use it always — you don’t need to wash it every time, just shake off excess flour) or a piece of paper for baking. Sprinkle it with wheat flour (or rub it into the fabric) so that the dough does not stick. We put the blanks at a distance from each other, as in the photo.
Step 16
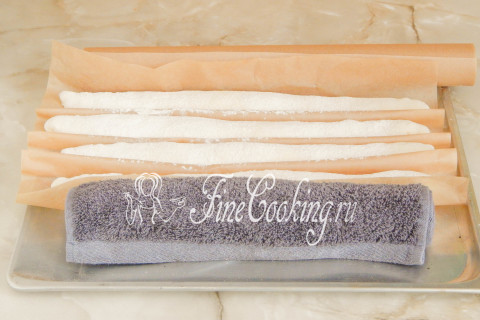
Between the baguits we make folds so that the blanks do not stick together. We cover the dough with a towel so that it does not be swollen and not covered with a crust, and leave for 1 hour. Do not forget to support the structure on both sides so that the dough does not float to the sides, but grow up. I have this twisted towel and a roll of parchment paper.
Step 17
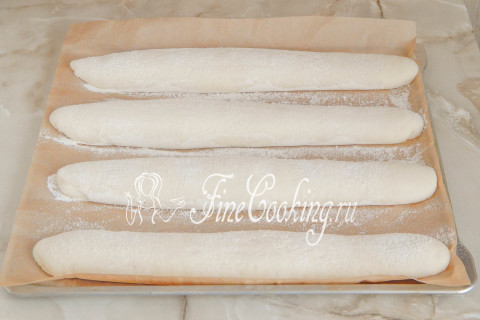
About 20 minutes before the start of baking, we turn on to warm up the oven — 250 degrees. At the bottom of the oven, put a bowl of water — cheese baguettes are baked in a water bath. The blanks were distanced and widened — we remove the supports and stretch the paper so that there are no folds.
Step 18
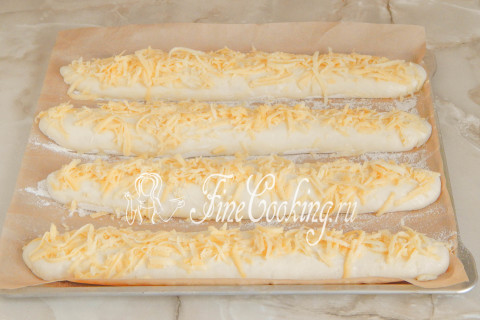
Lubricate the dough with egg yolk (you can not do this, but simply sprinkle the surface with water) and sprinkle the blanks with the remaining (100 grams) grated cheese and send the baguettes to bake at 250 degrees for a couple of the first 10 minutes. Then we remove a bowl of water, reduce the temperature to 200 degrees and bagate for about 15 minutes.
Step 19

It turns out such a delicious and rosy house baking. The molten cheese managed to bake well.
Step 20

We remove ready -made cheese baguettes from a baking sheet, cool and enjoy fresh, fragrant, crispy pastries. By the way, they are so good that are still warm that they hardly have time to completely cool with you.
Step 21
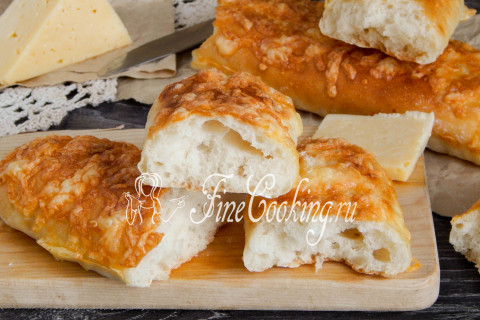
This home bread has a very interesting taste and amazing aroma. Thin crisp, cheese crust and very soft, slightly wet crumb. Be sure to try, I recommend!