
Step 1

To prepare this simple homemade bread, take wheat leaf, wheat flour, water, a refined vegetable (I use sunflower, but it is better to take olive — at that time it just ended) oil and salt.
Step 2
We take 270 grams of mature wheat sourdough and transfer it to a suitable dishes in which we plan to knead the dough.
Step 3
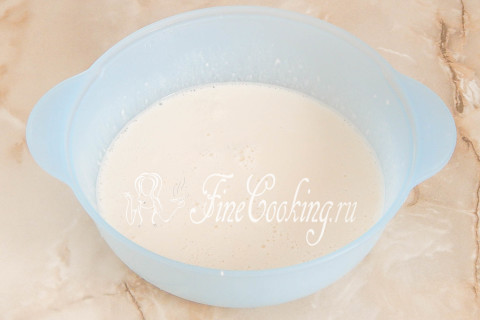
Add 160 milliliters of slightly warm water and mix everything thoroughly so that the sourdough is evenly parted throughout the liquid mass.
Step 4
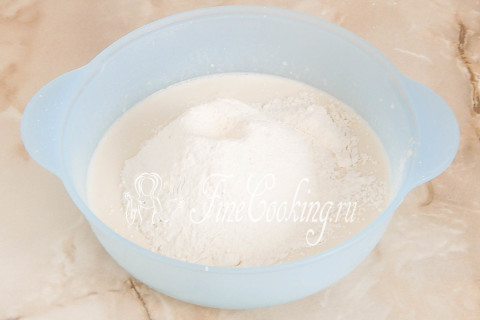
We sift and mix wheat flour of the highest grade (250 grams) with salt (1 teaspoon without a hill). Add all the flour to the sourdough diluted in the water.
Step 5
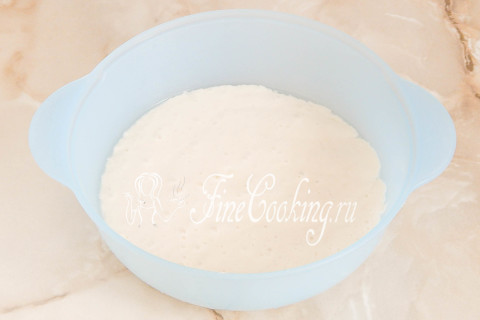
Mix all the ingredients with your hand or spoon to get a very, very soft test. It sticks very much to the hands — it should be so. We cover the bowl with a towel or cling film and leave the dough at room temperature for 10 minutes.
Step 6
During this time, the sourdough will already begin to work and the dough is slightly swollen.
Step 7
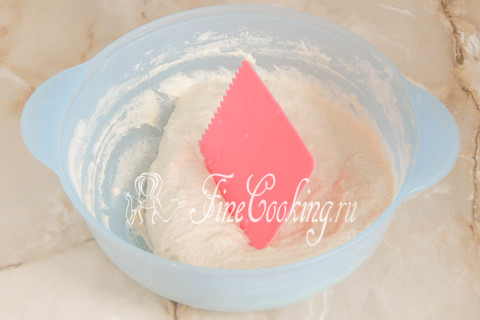
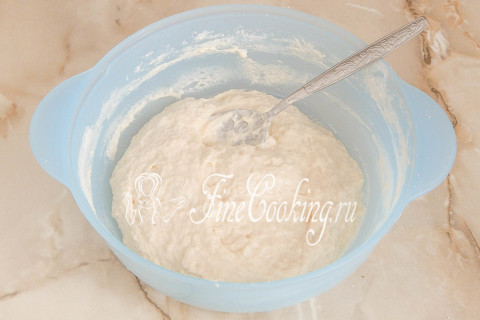
Mix it (it is most convenient to use a scraper for this purpose, since the dough is very sticky).
Step 8

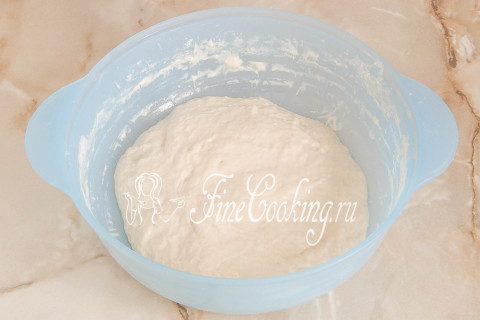
Then, completely add vegetable oil, interfering it in the dough with your hands. We transfer the dough to dry (without flour and oil) the working surface and knead with our hands until the dough begins to move away from the table and cast from the hands. This will need at least 15 minutes, so if possible use the tests with the hook nozzle.
Step 9
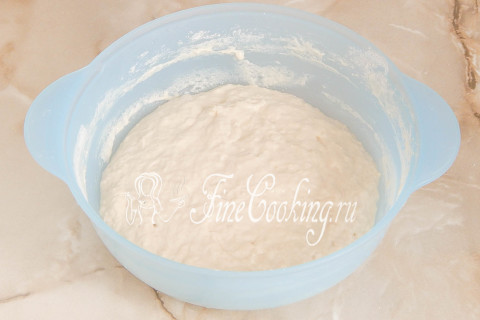
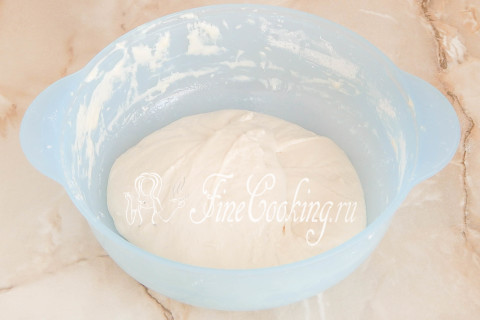
Lubricate the bowl with a small amount of vegetable oil and put the dough in it. Tighten the dishes with cling film or cover with a towel and leave the dough when wandering at room temperature for 2-2.5 hours. During this time, every 40 minutes it will be necessary to fold the dough. I clearly showed how to fold the dough in the recipe for Moscow kalachi — look in steps 7-12.
Step 10
This is what the yeast dough for Chiabatta on the sourdough looks after the first 40 minutes.
Step 11
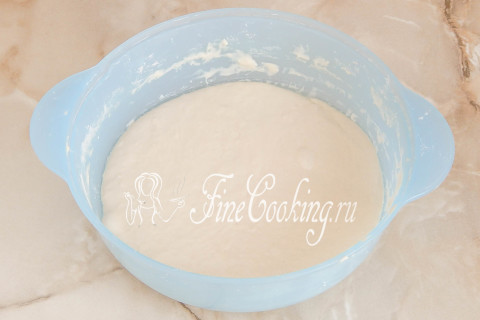
After folding, it will begin to take shape and do not immediately break through the entire bowl.
Step 12
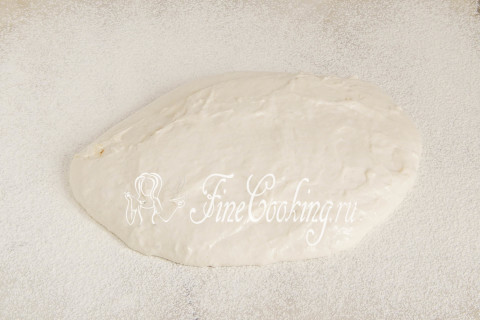
And then we put the dough in front of the third, after which we will put him in the refrigerator for 10-12 hours. Sprinkle the table with flour (quite generously) and put the dough on it.
Step 13
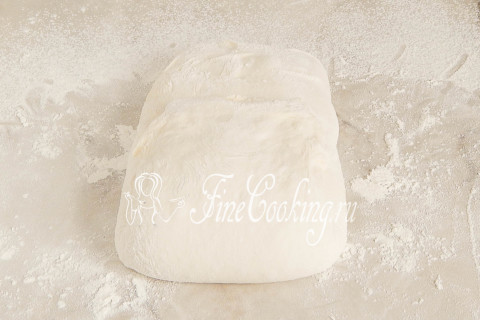
Gently stretch the dough into a square or rectangular layer, trying not to touch it from above. Now you need to fold this very layer three times, that is, like a Europath. Visually, divide the dough into 3 equal parts and put one on top of the middle third.
Step 14
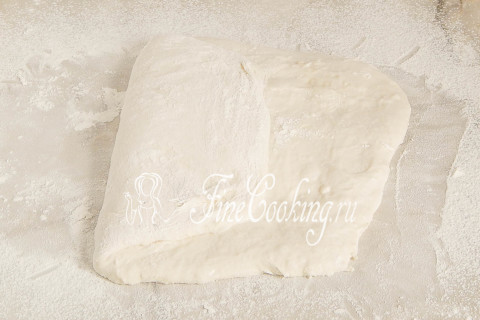
We put the remaining edge on top of two. That is, it turns out a rectangle consisting of three layers.
Step 15
Similarly, we put it in the same way three times. One edge is on the middle part.
Step 16
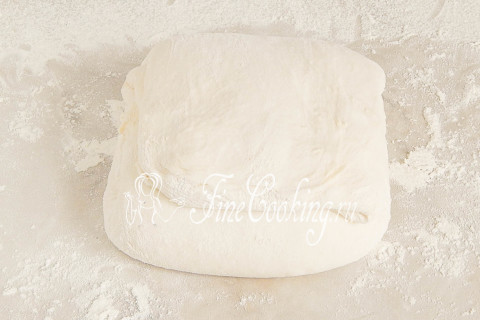
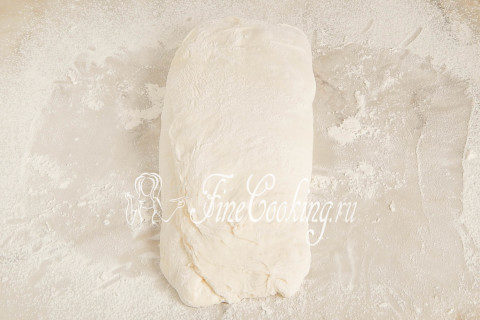
Then the third over a double layer. It turned out a chubby square.
Step 17

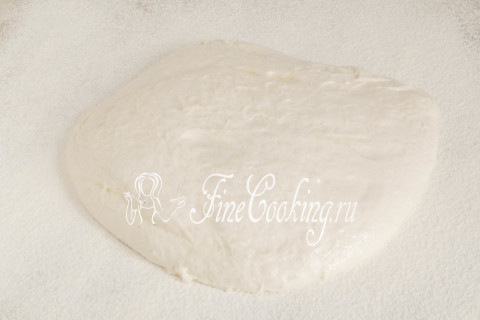
The bowl will lubricate the bowl again slightly (its number, as in the case of the first lubrication of the dishes in the ingredients, I did not indicate) and put the dough down down. Close with a lid or tighten with a film and put in the refrigerator for 10-12 hours (it is most convenient to leave the dough in the cold overnight).
Step 18
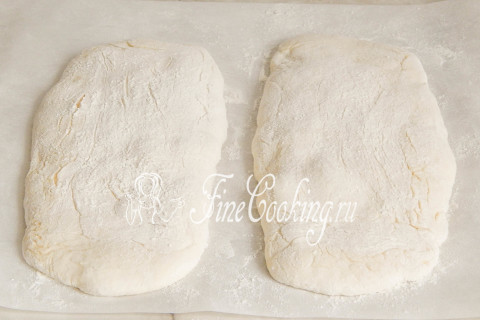
I just forgot to photograph the next step — what the dough looks like after the allotted time in the cold. It is blurred, increased in the volume of two times and will be pierced by large and smaller air bubbles. We generously sprinkle the table with wheat flour and gently spread the dough on it, trying to maintain its porosity and airiness. That is, try not to forcefully scrape it out of the bowl, but simply tilt it and let the dough crawl out slowly, slightly helping it at the walls.
Step 19
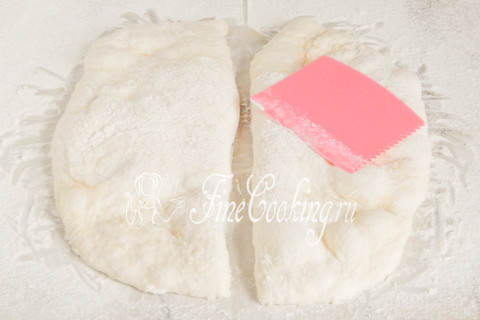
Safe the surface of the dough with flour and gently stretch it into a not very thin layer. See how many huge bubbles are in the test? This distinguishes Chiabatta from other types of bread. Depending on the desired number of products, we divide the dough into parts — best with a scraper, but you can also with a knife. I will have two rather large Chiabattas.
Step 20
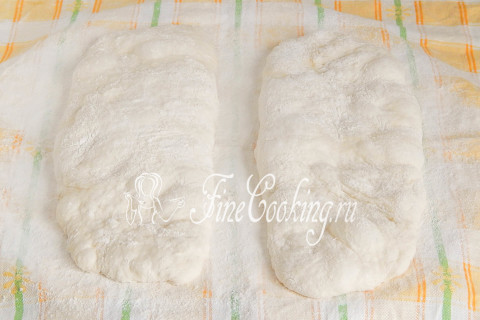
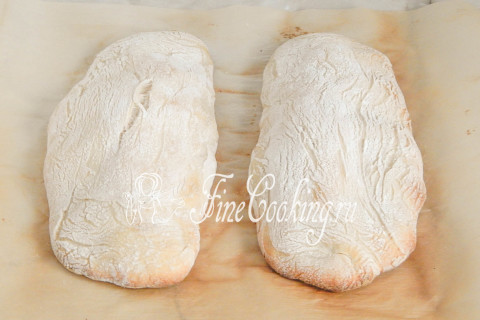
We take parchment paper or a suitable towel and sprinkle them with flour very generously. We use a towel from natural fabric (best linen) — we do not just sprinkle it, but rub the flour. If you don’t do it, then the dough will stick. We transfer both pieces of dough to the prepared surface, simultaneously slightly stretching them in length.
Step 21
We make a cradle for our future loaves — we properly support rollers of towels from both ends and in the middle we also make a separation. Cover Chiabatta with a towel and let it rest for 1.5-2 hours at room temperature.
Step 22
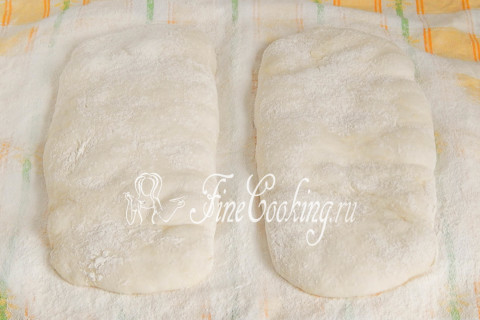
Do not forget to cover the workpieces with a film or towel from the fading.
Step 23
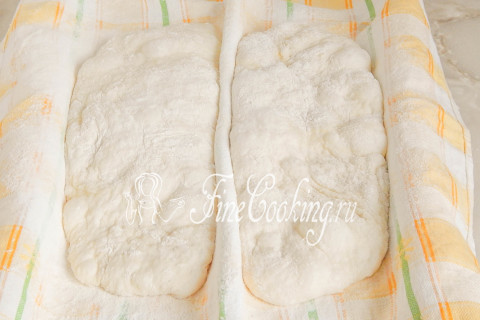
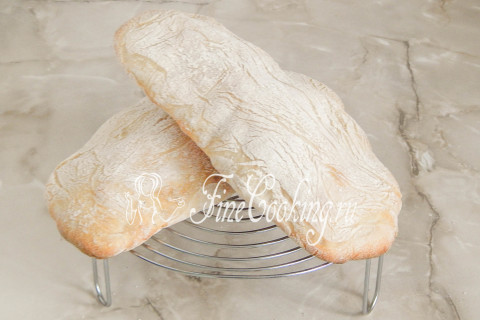
It is clear that the dough is not particularly elastic and the blanks will not rise much, but they will noticeably round and will not spread. About 20 minutes before the end of the dough, heat the oven. We remove the sides that served as a cradle.
Step 24
Gently transfer the future bread to a baking sheet covered with baking paper, the bottom side up. That is, the side on which the workpieces lay will be riding.
Step 25
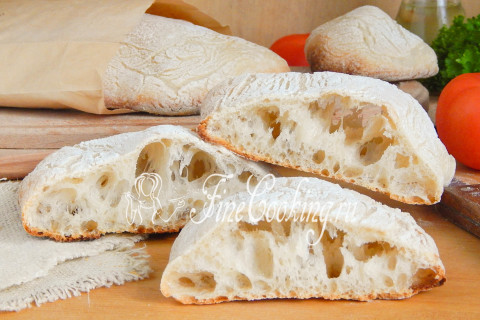
We will bake Chiabatta in the Spring Bath, that is, we will put a wide vessel with hot water to the bottom of the oven. In the process of baking at high temperatures, this water will boil and evaporate, forming the necessary humidity. It is due to this bread that will grow. We bake the blanks in the steam bath for about 30-35 minutes at 220 degrees.
Step 26
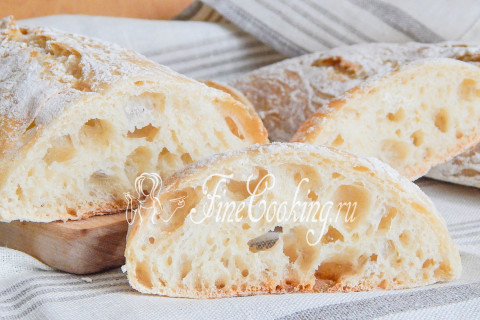
When the bread is ready, we take it out and cool it on the grill. We give a rest for Chiabatta for about 20 minutes and you can enjoy delicious Italian bread.
Step 27
Try you and this simple and easy recipe for bread that will pleasantly surprise you with a truly excellent result. Cooking Chiabatt's home bread is possible for each cook. The main thing is to have wheat leaf on hand, which can be grown or overwhelmed with rye. Prepare for health, my dear bakers!
Step 28
By the way, the site also has a recipe for Italian Chiabatta on yeast.
Step 29

As well as fragrant and incredibly tasty chiabatta with dried tomatoes.