
Step 1
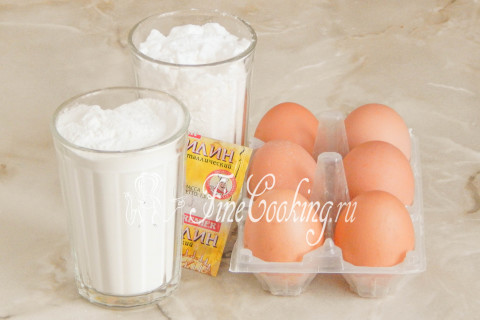
To prepare a fragrant and fluffy rice biscuit, take rice flour, chicken eggs, granulated sugar. These are three main and mandatory ingredients. I also added a little vanillin to the biscuit dough (easily replaced by a teaspoon of vanilla sugar), which is why the finished baking only won. If you do not want, you can not add it. By the way, I really advise you to try to flavor rice biscuit with lemon, for which add the crushed zest of 1 lemon to the yolks — it will turn out magical.
Step 2
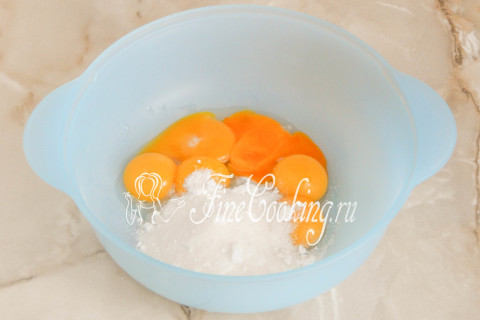
We take the dishes suitable for the preparation of biscuit dough — preferably not very small. Chicken eggs are thoroughly, wiped dry and separate the proteins from the yolks. The proteins are still a perelle in a separate bowl, and put the yolks in a bowl and add sugar and vanillin.
Step 3
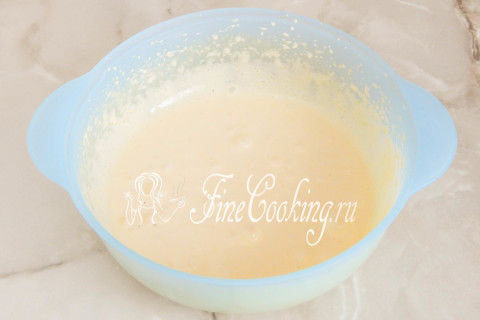
Beat everything actively with a whisk or mixer at high speed, until the mass increases much in volume, and the sugar crystals will practically dissolve. In consistency and texture, egg yolks beaten with sugar resemble condensed milk.
Step 4
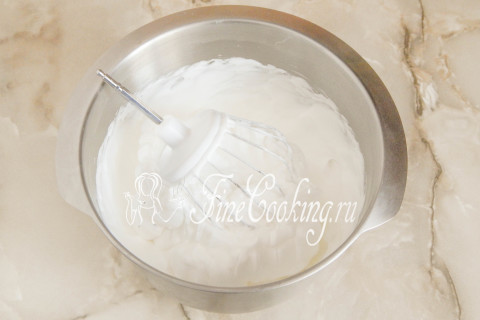
Now it's time to do egg proteins. We will whip them in a separate bowl, which should be completely clean and dry. We begin to whip the proteins with a mixer at low speed, and when large bubbles appear (it means we have already broken the structure of the protein), we gradually increase the speed to the middle one. When the proteins turn into a fine -grained muddy foam, we make maximum turns and beat to a dense snow -white mass. Well -beaten egg whites should keep the shape well and not move. This degree of whipping proteins is called «solid peaks.»
Step 5

We sift rice flour to the sweet yolk mass to additionally saturate it with oxygen. By the way, a few words about how you can do a biscuit dough (besides how I showed in this recipe). The first option: chicken eggs are beaten with sugar, after which flour is administered. Second: the yolks are beaten with part of sugar, proteins — with the remaining sugar. Whipped yolks are connected to whipped proteins, after which flour is added. And another option: everything, as in the second, only flour is found in the yolks, after which whipped proteins are added. All of them have the right to be, and in all cases, the biscuits are remarkable. You can knead the dough as it is more convenient for you: the main thing is to maximize the airiness of the dough before baking.
Step 6
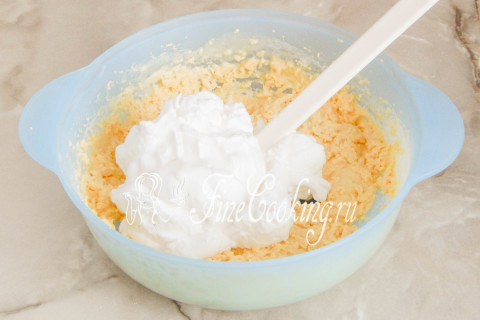
From theory to practice … Mix the whole tablespoon or spatula so that the flour is moistened. The dough is quite dense — it should be so. In parts, we begin to introduce whipped proteins into the rice base. Add the next portion when the previous one completely intervenes in the dough. The movements should be clear, neat, but quite fast, since the biscuit dough does not like to wait long.
Step 7
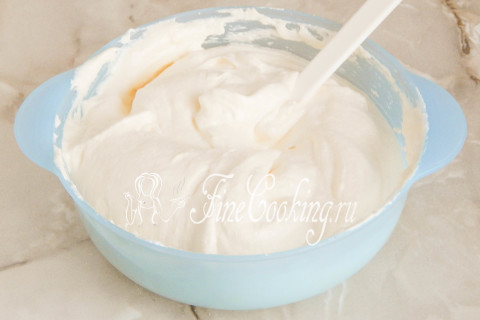
Here is such an air and fluffy dough for a rice biscuit. In no case, never connect the proteins with the base using a mixer — only with a spoon, spatula or, finally, with your hand.
Step 8
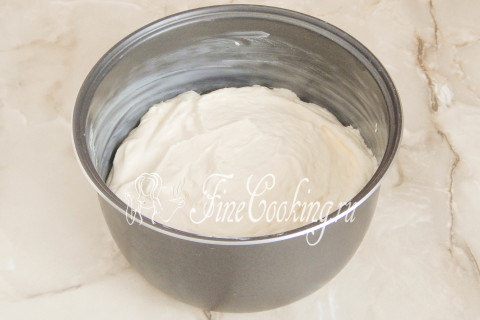
Since we will prepare a rice biscuit in a slow cooker, lubricate the bowl with any refined vegetable or butter (this time I used exactly the cream). We lay out a biscuit dough into it and turn on the baking mode. Time — 50 minutes. Depending on the power and volume of your assistant, the baking time may differ from the specified!
Step 9
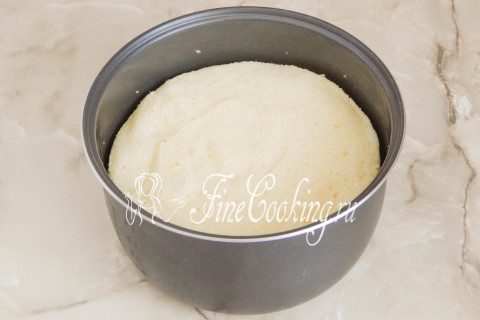
The readiness of the biscuit is checked either visually or using a wooden skewer (toothpick). If it comes out of the dough, then the pastries are ready — this technique is called «check for dry beam.»
Step 10
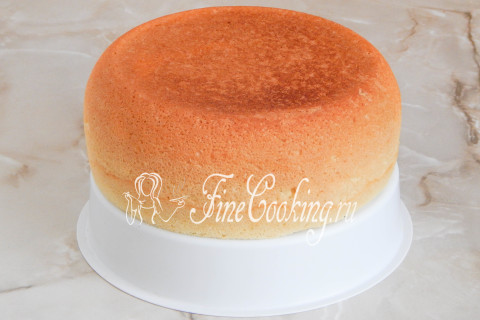
Using an insert for preparing food, we take out the finished rice biscuit and let it cool completely. If you plan to cook a cake, let the biscuit stand for at least 4-8 hours so that it cuts better and does not crumble.
Step 11
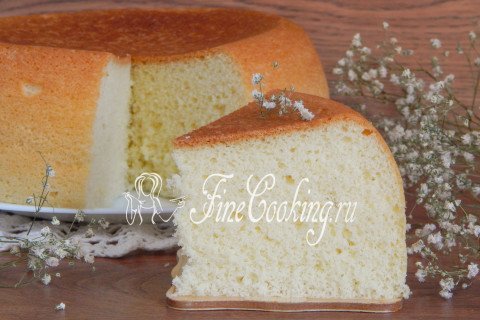
A biscuit with rice flour is very airy, delicate, not dry, lingering and fragrant. It can easily be cut into 3-4 cakes and layered by your favorite confectionery cream. We love the biscuits just like that — with tea, coffee or milk. Take a treat, friends!