
Step 1
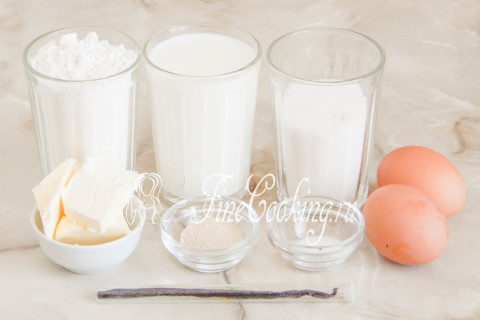
To prepare the hot vanilla buns, take the wheat flour of the highest grade, milk of any fat content (I use 2.5%), 2 medium-sized chicken (45-50 grams each), sugar, butter (with fat content of 72-82%), salt, speeding yeast (I will write about yeast a little lower) and a vanilla peppy. In general, you can flavor with a yeast dough for buns not only by natural vanilla, but also with vanilla (a couple of chips — do not get carried away, since a large amount of vanillin can give bitterness) or vanilla sugar (2 tablespoons — then they will enter the total weight of sugar). I just wanted to use a natural flavor — in the finished buns the aroma turned out to be thin and unusually pleasant.
Step 2
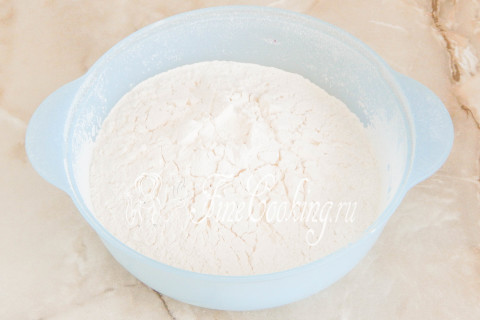
Sifting (preferably twice) wheat flour of the highest grade in a bowl. Due to this, the flour is not only loosened and saturated with oxygen, but possible garbage will also leave. Perhaps you need a little less or more flour — it depends on its quality (in particular humidity). That is why I would advise not to use all the flour at once, but to take 500 grams to begin — then you will navigate the consistency of the dough.
Step 3
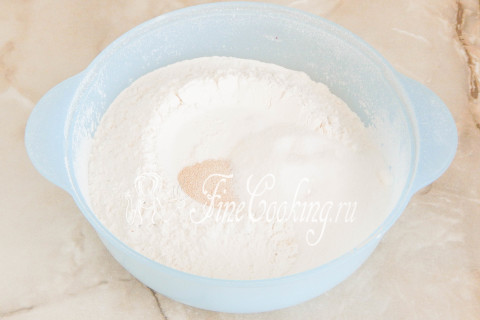
Add fast yeast to flour (1 teaspoon without a hill — this is 3 grams), sugar (1 tablespoon we put off for sprinkle) and salt. Mix everything thoroughly with a fork or a whisk. About yeast: it is not necessary to take precisely fast -acting ones — just dry are perfect (also 3 grams — this is a teaspoon without a hill) or pressed (it is needed 3 times more, that is, 9 grams). Such yeast is not immediately mixed with flour, but previously activated in a warm sweetish liquid for 10-15 minutes. In our case, you can slightly heat half a glass of milk with a tablespoon of sugar and dissolve the yeast in it.
Step 4
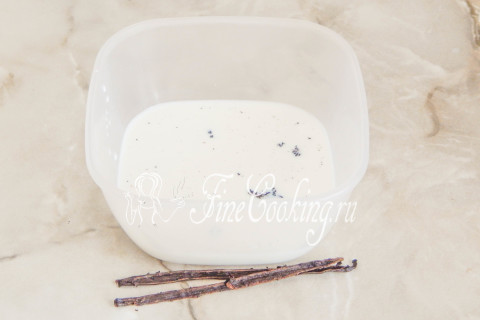
We warm the milk well to hot condition. Cut the vanilla pod with a knife along, scrape black seeds — add them to hot milk. The aroma is just amazing!
Step 5
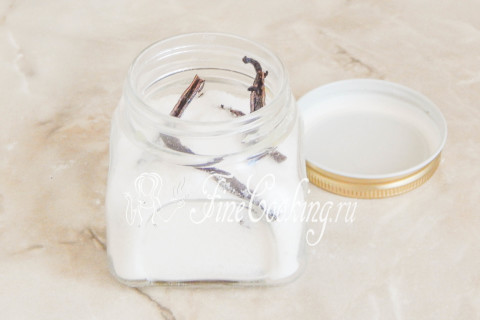
In no case do not throw away the cleaned sash of the pod — this is a great way to cook homemade vanilla sugar. Take a jar suitable in volume, fall asleep into it about a glass of granulated sugar and put the sash. Hermetically close the jar with a lid and leave sugar to infuse for two weeks, periodically actively shaking the jar.
Step 6

Again, go to the preparation of yeast dough for buns. We give milk to cool to a slightly warm state. We break into the same bowl 1 chicken egg. The second egg is also broken, but we put the yolk into a separate container, where we pour 1 tablespoon of flavored milk — this is our mixture to lubricate the buns. So far, we put it in the refrigerator. We pour the protein into a common bowl with milk and yolk. We thoroughly chat so that milk with eggs turns into an omelet mass.
Step 7
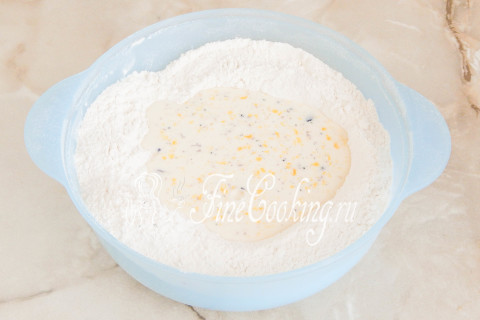
In the flour mixture we make a recess and pour warm (not hot, namely pleasant warm) milk with eggs. Mix everything with your hand or spoon so that the flour is moistened.
Step 8
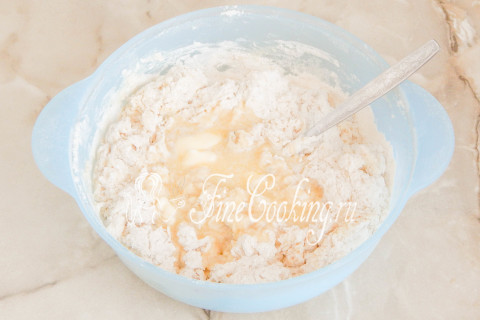
When you get such flour lumps, you can introduce melted, slightly warm butter. We begin the knead of the dough with our hands or with the help of dough (bread makers).
Step 9
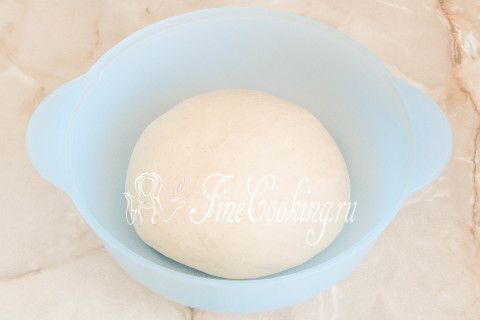
To knead this yeast dough needs for a long time — at least 10 minutes, and even better longer. As a result, you will get a smooth, completely homogeneous dough. It should be soft and very sticky. At the same time, the yeast dough holds the shape perfectly, it is quite elastic and elastic. As I wrote above, in the process of kneading it may be needed a little more or slightly less flour than I indicated in the ingredients — it depends on its humidity. We roll up the dough into the ball and leave it in a bowl (I am always my dishes in which the dough roams — I just do not like dirty). We send the dough to heat for 1 hour, after which we make a light grinder, re -rounding and again in heat for another 1 hour. Where is it better to wander the test and what does a warm place mean? There are several options. First of all, in the oven with a light bulb turned on (it turns out about 28-30 degrees — the temperature ideal for fermentation of yeast dough). Then we tighten the bowl with the dough with cling film or cover with a towel made of natural fabric (flax is best suited) so that the surface does not be swollen and not covered with a crust. You can also let the dough wander in a microwave, in which we pre -boil a glass of water. The dough will rise with a door closed, and the glass will stand there. Then the bowl does not need to be closed with anything, since the water will evaporate, thereby maintaining the necessary humidity. Just make sure that no one inadvertently turns on the microwave, otherwise the dough will disappear and there will be no vanilla buns.
Step 10
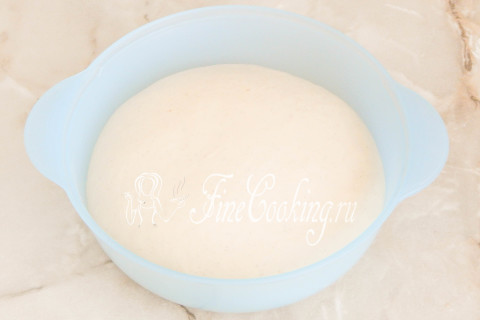
After about 1 hour, the yeast dough is well suited in warmth — it will grow in volume at least 2-2.5 times.
Step 11
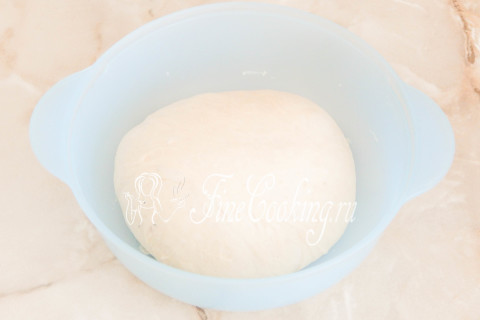
We crush it, releasing excess gas, round and again in a warm place for another 1 hour.
Step 12
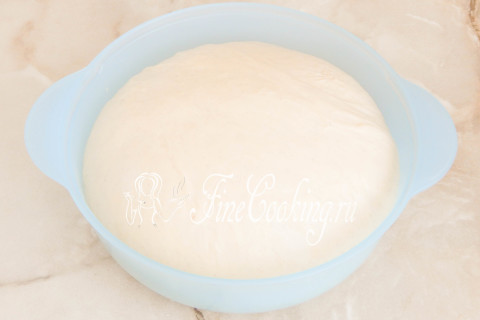
For the second time, the yeast dough will grow even more — exactly 3 times, and maybe 4 times. By the way, I want to talk a little about the time of fermentation of the yeast dough and the proofing of the workpieces. I hope you understand that this concept is relative. What does it mean? Well, for example, the recipe says that the test should be given to rest for 1 hour. You understand that 1 hour is the time that the author of this recipe was needed. +/- 10-15 minutes- quite acceptable deviation, the entire time of fermentation of the yeast test depends on many factors. Freshness (and as a result of activity) of yeast, the quality of flour, the temperature in the room, the amount of dough — this all affects the time of fermentation and proofing. Therefore, never clearly follow these recommendations — you must feel the dough, understand what he needs and then you will cook it purely intuitively.
Step 13
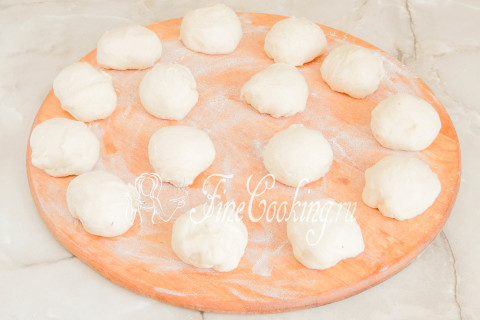
We divide the dough into pieces of the same size — I have 15 pieces, each weighing about 65-67 grams. It is very convenient to use kitchen weights so that the blanks are of the same weight. This is important not only from an aesthetic point of view, but also in order for the baking to evenly part and bake the same way. You can divide the dough into as many parts as you need.
Step 14
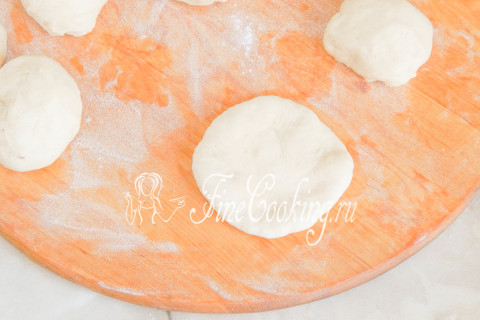
The molding of the butt vanilla buns is very simple and straightforward. Sprinkle a piece of the dough with wheat flour so that it is not linked to the hands. Then, with your palm, we beat off the dough several times into a cake to remove excess air — in the finished buns, there are useless pores. If you have little experience in working with yeast dough and the molding of the blanks takes a lot of time, cover the rest of the dough dough with cling film so that they do not be swollen and not covered with a crust.
Step 15
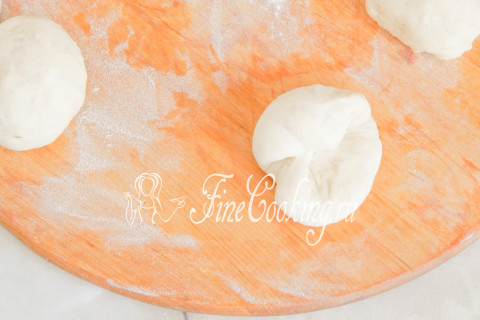
Now round the workpiece — pull the dough from the edges to the center, pressing with your fingers so that it does not spread back. I do this in the palm of my hand, but for the photo I transferred the dough to a cutting board.
Step 16
We chop the seam well so that the workpieces do not deform during the proofing process.
Step 17
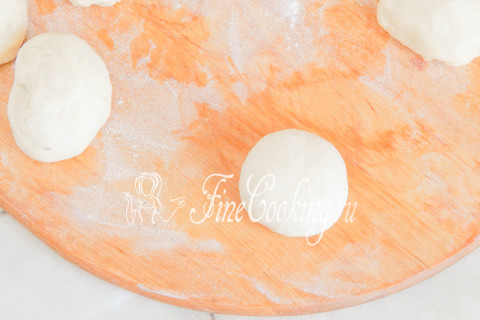
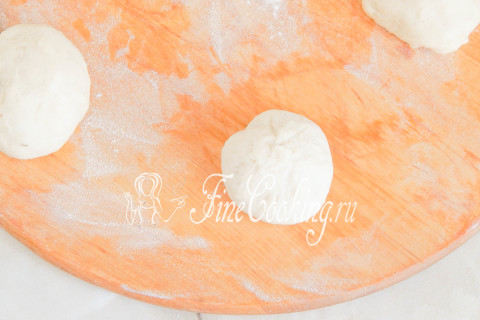
We turn the ball of dough with a seam down and round the future buns. It is quite difficult for me to show the process without video, but I will try to describe. We squeeze the work palm, spreading our fingers, as if holding a large orange. Cover the workpiece with the palm in this position and begin to rotate the dough ball counterclockwise. Everything happens easily and effortlessly, while we, as it were, slightly bend the dough inward with 4 fingers, but without pressure. Thus, we roll up all 15 blanks for buns. They are neat and smooth.
Step 18
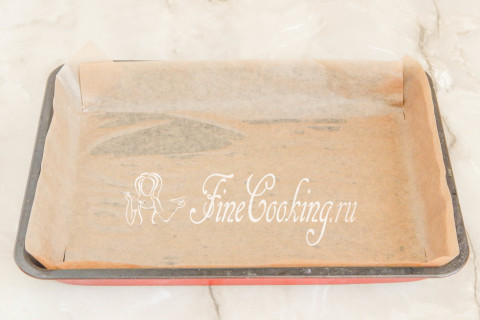
You can bake butter bunches both on a baking sheet and in shape. In the first case, the buns will not turn out very high, while in the form they will grow up. We cover the baking dish or a baking sheet with parchment paper (then we don’t need to lubricate it) or lubricate with a thin layer of vegetable oil without smell.
Step 19
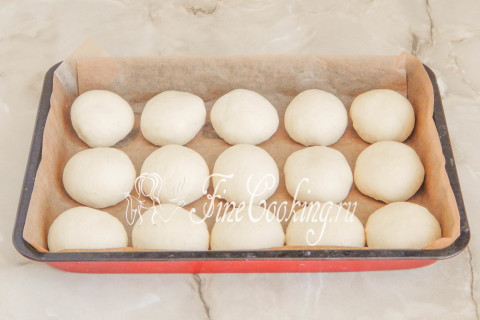
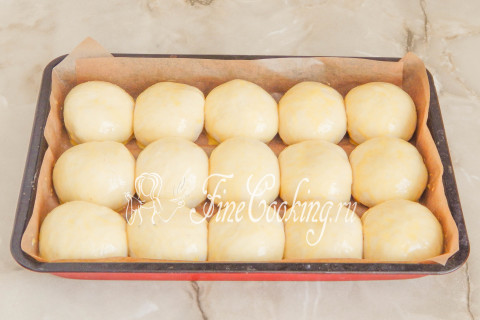
We shift the bunks or a baking sheet.
Step 20
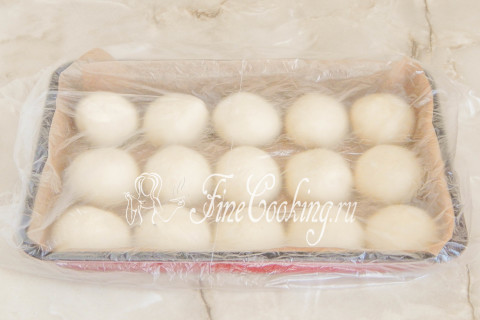
We cover the workpieces with a light towel made of natural fabric or cling film. We leave in a warm place for 35-40 minutes.
Step 21
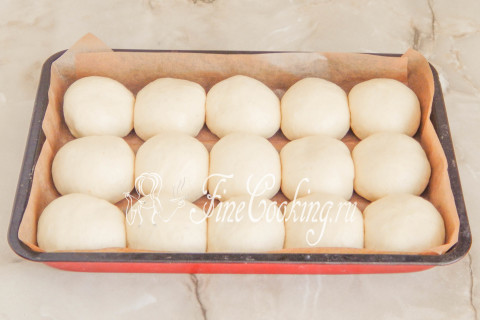
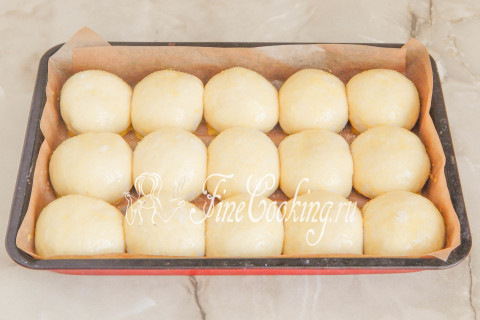
When the blanks grow up well and increase in volume at least twice, they still bake them.
Step 22
Before planting in the oven, we lubricate the future buns with a yellow-milk mixture (step 6), which we take out from the refrigerator for 15 minutes and let it warm on the table.
Step 23
I sprinkled buns with sugar from above (we laid a tablespoon in step 3), but this is not a mandatory moment.
Step 24
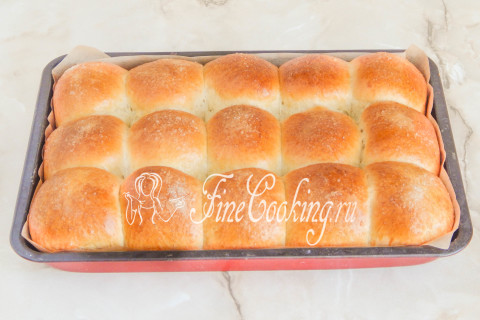
We bake butter vanilla buns in a preheated oven at an average level at 180-185 degrees. Baking time varies from 30 to 45 minutes (depending on the size of the workpieces). My buns spent 35 minutes in the oven — they got up well and turned up beautifully.
Step 25
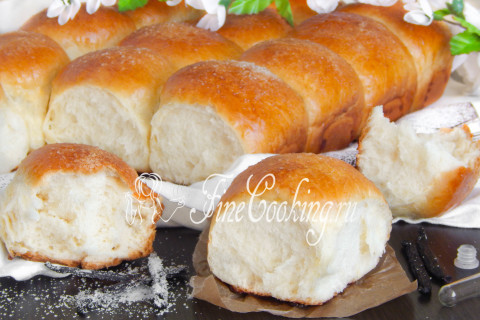
Undoubtedly, freshly prepared, all the more hot baking is not recommended, but how to resist? The buns is very fragrant, with a thin crisp, the most delicate crumb. A glass of milk or a cup of tea is an excellent addition to this delightful home baking. Tanyusha, many thanks for this amazing order — I hope the recipe will come in handy. Enjoy appetite, friends!