
Step 1

For the preparation of Dutch Easter bread, we need wheat flour of the highest grade, milk of any fat content (I have 2.5%), high-quality butter (with a fat content of at least 72%), medium-sized chicken eggs (45-50 grams each), sugar powder and vanilla sugar, zucocation, peeled walnuts, peeled nuts, orange juice, orange juice. yeast, chicken eggs, salt. In addition, for the filling, take marzipan and egg yolks, grease the blanks with a mixture of milk and egg yolk.
Step 2
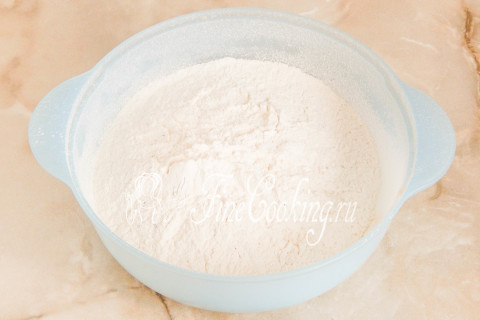
We sift (preferably twice) in a large bowl of the highest grade wheat flour. Due to this, the flour is not only loosened and saturated with oxygen, but possible garbage will also leave. Perhaps you need a little less or more flour — it depends on its quality (in particular humidity). That is why I would advise you to use not all the flour at once, but take 450 grams to begin — then you will navigate the consistency of the dough.
Step 3
Add fast yeast to flour (6 grams — 2 teaspoons under the knife), vanilla sugar and salt. Mix everything thoroughly with a fork or a whisk. About yeast: it is not necessary to take precisely fast -acting ones — just dry (also 6 grams) or pressed (3 times more, that is, 18 grams) are perfectly suitable. Such yeast is not immediately mixed with flour, but previously activated in a warm sweetish liquid for 10-15 minutes. In our case, you can slightly heat half a glass of milk with vanilla sugar and dissolve the yeast in it.
Step 4
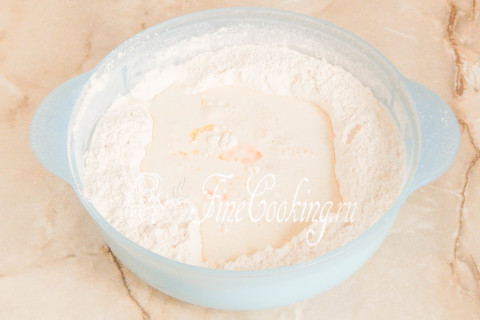
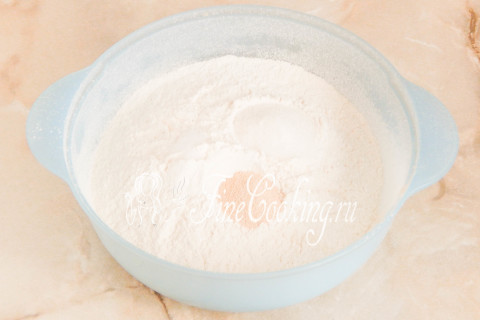
In the flour mixture, we make a recess and pour warm (not hot, namely pleasant warm) milk into it, break the pair of chicken eggs. Mix everything with your hand or spoon so that the flour is moistened.
Step 5
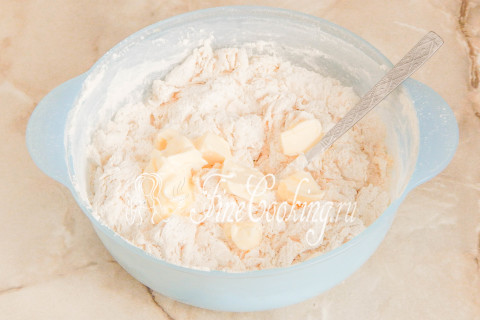
When you get such flour lumps, you can introduce soft butter (take it out of the refrigerator in advance and leave to soften on the table). We begin the knead of the dough with our hands or with the help of dough (bread makers).
Step 6
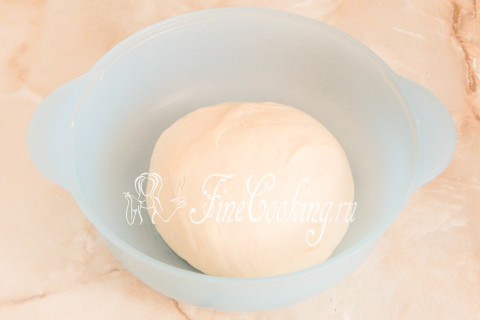
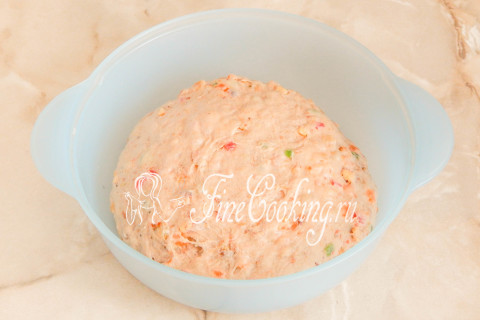
To knead this yeast dough needs for a long time — at least 10 minutes, and even better longer. As a result, you will get a smooth, completely homogeneous dough. It should be soft and not at all sticky. At the same time, the yeast dough holds the shape perfectly, it is quite elastic and elastic. As I wrote above, in the process of kneading it may be needed a little more or slightly less flour than I indicated in the ingredients (I needed exactly 500 grams for the test) — it depends on its humidity. We roll up the dough into the ball and leave it in a bowl (I am always my dishes in which the dough roams — I just do not like dirty). We send the dough to heat for 1 hour.
Step 7
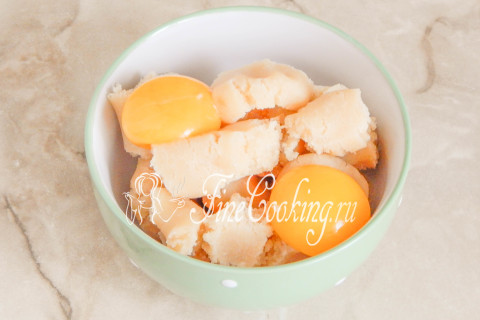
While the dough wanders, we will make the filling. To do this, you just need to combine marzipan with egg yolks.
Step 8
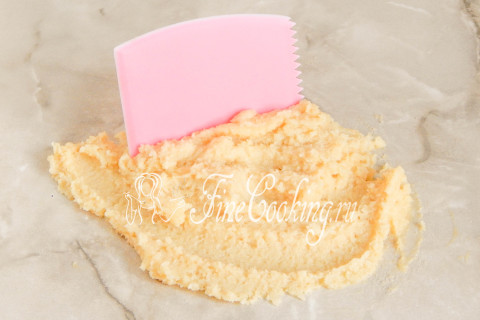
Since the mass turns out to be very sticky, it is most convenient to mix on my work surface, helping myself with a scraper.
Step 9
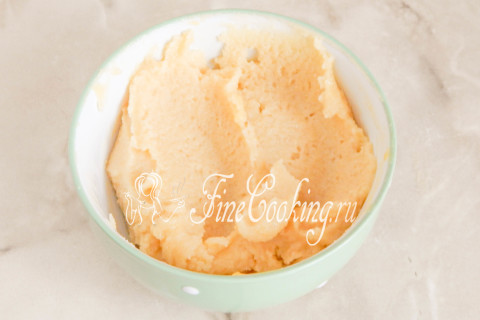
We shift the marzipan filling into the dishes, tighten it with cling film and while putting it in the freezer.
Step 10
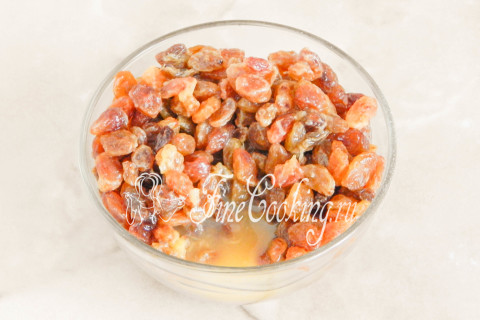
Rinse raisins without bones, dry it and pour freshly squeezed orange juice (or fragrant alcohol). If the raisins are soft enough, do not soak it for a long time (for the soft enough for 5-10 minutes), otherwise it will soften (this is how it happened to me, but more on that later).
Step 11
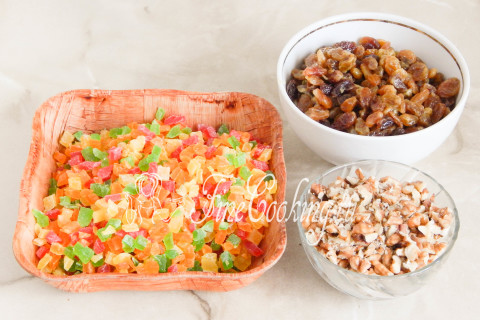
Along along with a small cube, cut multi -colored candied fruits. Be sure to sort out the peeled walnuts and chop it with a knife with rather large pieces. This time I got a little excited and crushed the nuts very much (this is the second point that I will talk about below). By the way, I really advise you to pre -fry the nuts in a dry pan, then it will be crispy and more fragrant.
Step 12
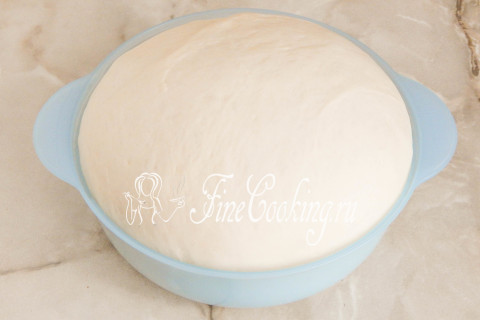
After about 1 hour, the yeast dough should fit very well. It has grown a lot after 50 minutes and increased in the amount of 5 times (high -quality yeast came across). A little traditional lyrics for those who first came to visit me: where is it better to wander the test and what does a warm place mean? There are several options. First of all, in the oven with a light bulb turned on (it turns out about 28-30 degrees — the temperature ideal for fermentation of yeast dough). Then we tighten the bowl with the dough with cling film or cover with a towel made of natural fabric (flax is best suited) so that the surface does not be swollen and not covered with a crust. You can also let the dough wander in a microwave, in which we pre -boil a glass of water. The dough will rise with a door closed, and the glass will stand there. Then the bowl does not need to be closed with anything, since the water will evaporate, thereby maintaining the necessary humidity. Just make sure that no one inadvertently turns on the microwave, otherwise the dough will disappear and there will be no Easter bread.
Step 13
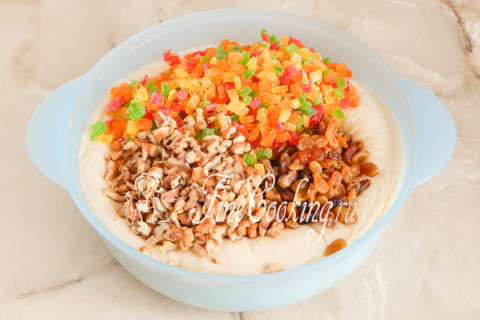
At this stage, we will introduce fillers into the dough. We multiply it and add nuts, centers and raisins with juice (or alcohol).
Step 14
It is most convenient to interfere with the additives on the work surface, so lay out the dough on the table and start the batch. If necessary, add a little more wheat flour, if the dough is too sticky and is very spread on the table, just do not get carried away. When all the nuts and dried fruits are evenly distributed over the dough, collect it into the ball, transfer it back into a bowl and give the rest in the heat for another 30-40 minutes. The photo shows that my dough was darkened: this is precisely due to the fact that too softening raisins — partially he simply fell apart and became part of the test. And also a small nut crush also did its job, coloring the dough. This did not affect the taste in any way, but the baking turned out not as bright as it should be.
Step 15
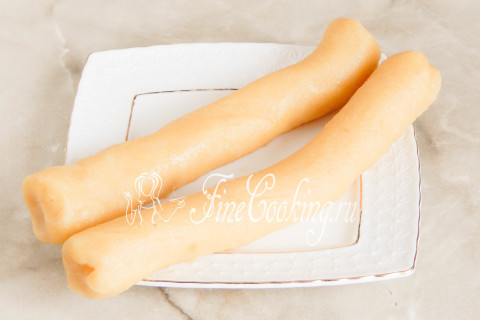
When the dough remains until the end of the dough remains for 5-10 minutes, we take out a marzipan mass from the freezer. Divide it into 2 equal parts and roll each into a thick sausage. Since Marcipan cooled well and even partially froze, it does not stick so much to his hands and holds the form perfectly.
Step 16
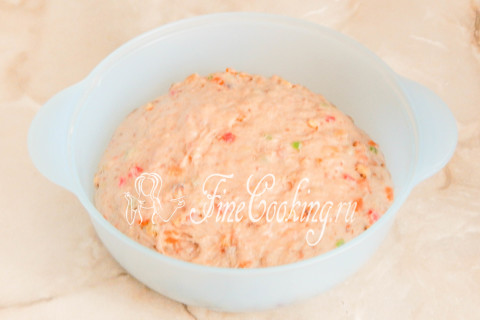
The yeast dough with additives in half an hour rested and increased a little more in volume.
Step 17
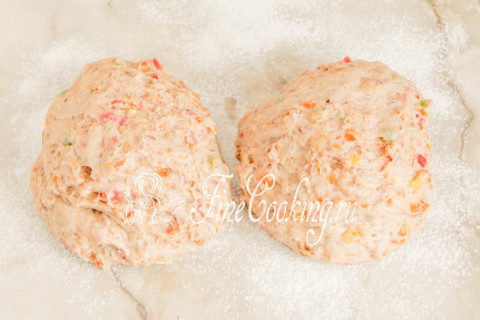
We move on to the molding of the future Easter bread Paasbrod. I baked 2 large loaves, so I divided the dough into 2 equal parts, rolling each in a bun. You can bake 3 and smaller products (then the marzipan mass is divided into the corresponding amount of equal parts). Sprinkle the working surface with a small amount of wheat flour — I did not indicate the weight in the ingredients.
Step 18
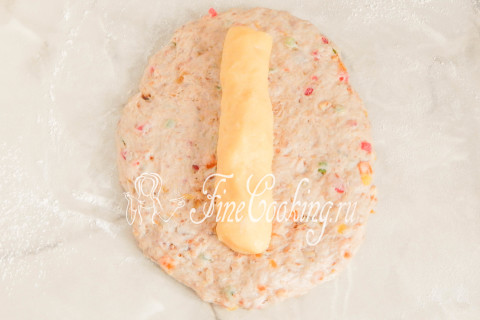
We take one part of the dough and knead it with our hands in a not very thin oval layer. In the center we put a sausage of marzipan and yolks.
Step 19
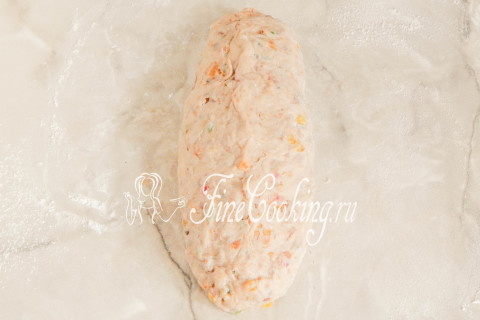
Wrap the filling with dough, tightly pinching the seam. With your palms, gently smoothing the workpiece, giving it an even shape of the loaf. If necessary, slightly sprinkle hands with flour.
Step 20
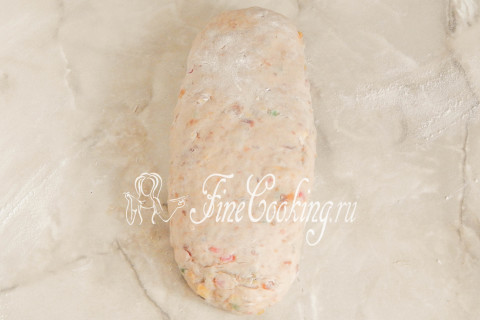
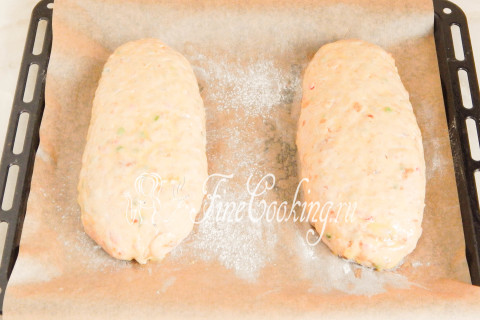
We turn the future Easter bread with a seam down. Similarly, we form the second workpiece.
Step 21
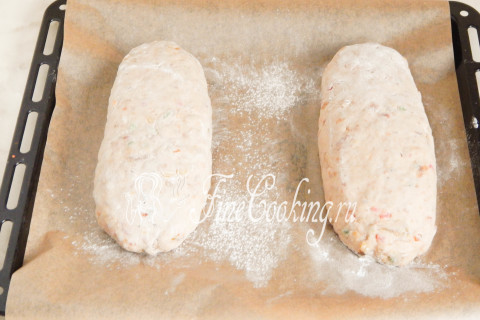
Further future pastries need to be given time to distance it. To do this, put a large piece of paper for baking on a baking sheet, slightly sprinkle with wheat flour. We place the blanks at a decent distance from each other. We cover the dough with a cling film or towel so that the surface does not utter and is not covered with a crust. Leave on the table for 40 minutes.
Step 22
During this time, the workpieces will increase markedly in volume — it is time to bake them. For brown, lubricate the surface with a talus of 1 teaspoon of milk and 1 egg yolk.
Step 23
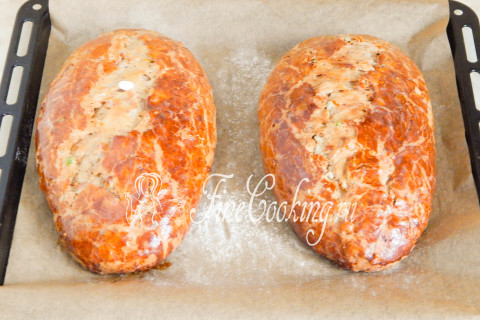
We bake Easter bread in a preheated oven at an average level at 180 degrees. Baking time depends on the size and number of loaves. My loaves were ready after 1 hour, and you focus on the features of your oven. We give the finished baking to rest for a couple of minutes, after which we grease the surface with butter (1 tablespoon for both bread is enough).
Step 24
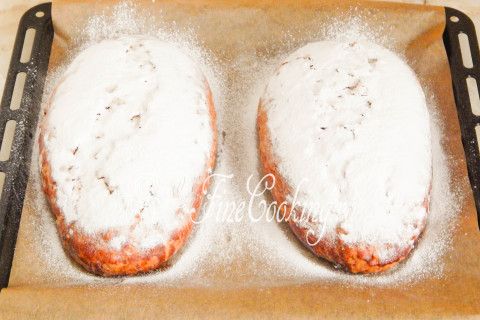
It remains to sprinkle baking with powdered sugar (I had 2 tablespoons with a slide).
Step 25
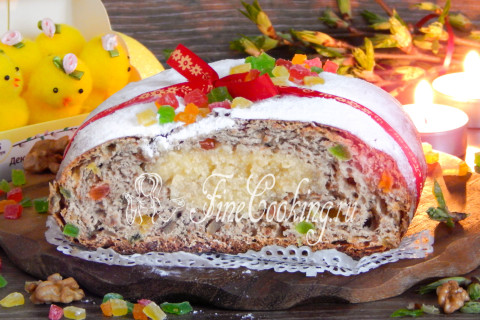
When the passing is completely cooled, it can be cut into portioned pieces. Undoubtedly, fresh pastries are always tastier, but it is customary to cook this Dutch sweet bread a couple of days before Easter. It is perfectly stored both at room temperature and in the refrigerator — just wrap it with cling film and put it in a bag. By the way, on the fourth day I liked it the most: I keep a paasquers in the refrigerator and, if desired, cut off the piece. Under a cup of coffee — just excellent. Prepare for health, friends!