
Step 1

The recipe for a fragrant, tasty and hearty cheesecake includes the following ingredients: sand cookies, cream cheese, granulated sugar, vanilla sugar, corn starch, butter, cocoa powder, sour cream, chicken eggs and orange zest. All products must be (!) At room temperature, so take them out of the refrigerator in advance and leave them on the kitchen table.
Step 2
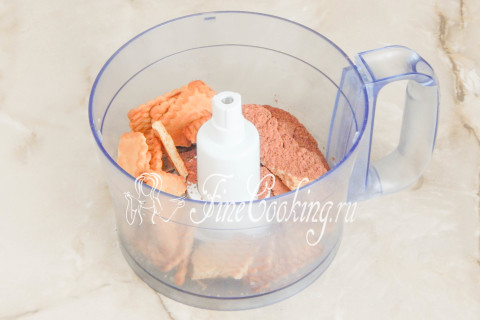
Immediately turn on the oven at 180 degrees. In the meantime, we will prepare the basis for the cheesecake. We take 100 grams of any sand cookies and in a convenient way we turn it into small crumbs along with 15 grams of unsweetened cocoa powder. If desired, you can safely replace simple sand cookies with cocoa with ready -made chocolate cookies — it will turn out the same.
Step 3

I like the most likely to prepare the basis for cheesecakes in a blender (nozzle — a metal knife): I broke cookies, literally 20 seconds and the baby is ready. If you do not have such a blender, you can break cookies, put in a bag and roll with a rolling pin. So, when the cookies and cocoa powder turn into a crumb (adjust the degree of grinding to your own taste), add 50 grams of butter. It can be melted in advance (on the stove or in the microwave), let it be cooled to room temperature or use soft (first let it lie down at room temperature). We combine the sandy crumbs with butter and mix everything thoroughly with your hands (spoon/fork), if you cook just in a bowl. In a blender, we break through everything very quickly so that the mass does not turn out to be tight and dense.
Step 4
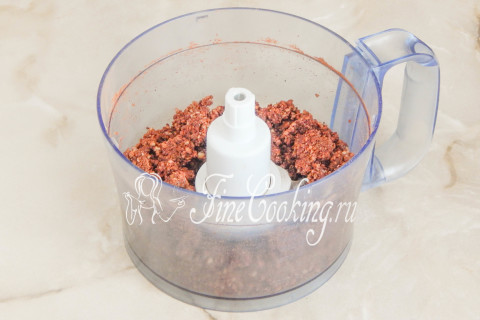
As a result, small crumbs will absorb oil and get such lumps. Do not bother for a long time, this is useless.
Step 5
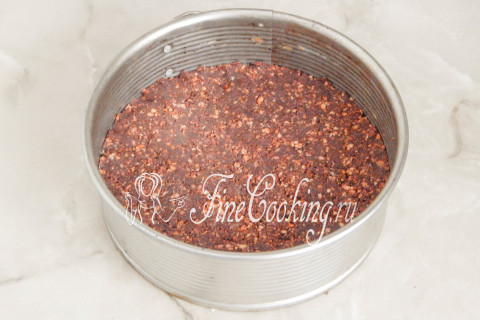
We take a detachable shape (with a diameter of 16-20 cm — I have 18 cm), the bottom of which is covered with baking paper. We shift the chocolate crumb into it and gently level it with your fingers. You can help yourself with an ordinary glass — we pass the bottom on the basis of the future pumpkin cheesecake, slightly tight and even. We put a form with a workpiece in an average oven to an average level to 180 degrees and bake for about 10-15 minutes. During this time, the sand base should grasp. If this is not done, moisture from the filling will simply absorb into the chocolate layer and it will soften.
Step 6
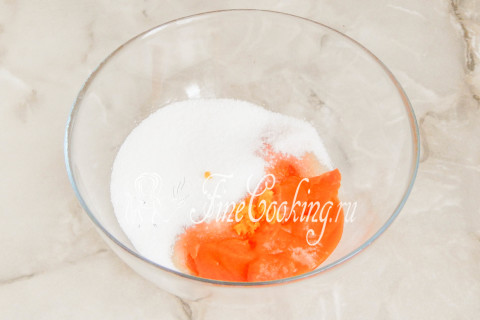
Meanwhile, we will take up a chiskey filling. In a separate bowl, connect pumpkin puree (250 grams), granulated sugar (150 grams) and vanilla sugar (1 tablespoon). In addition, I also strongly recommend using orange zest, which will help to disguise it, albeit a slight, but still pumpkin taste. We remove the zest from the orange with a fine grater (only carefully so as not to touch the white layer — it is bitter).
Step 7
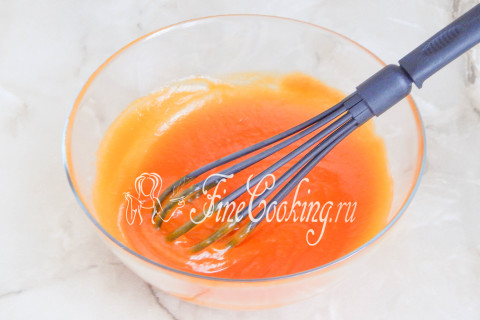
Mix everything thoroughly so that the sweet crystals are completely dissolved.
Step 8
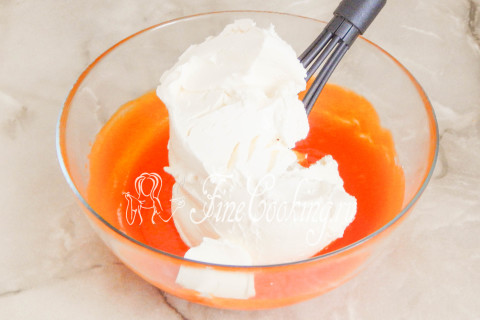
Add 500 grams of cream cheese at room temperature.
Step 9
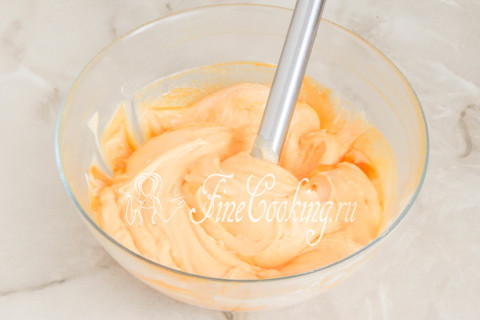
At this stage, you can (and even need) use a submersible blender, if you have it. Thanks to such an assistant, the filling in the finished cheesecake will turn out to be perfectly smooth and homogeneous. We break through the sweet pumpkin puree with cream cheese until everything turns into a single whole.
Step 10
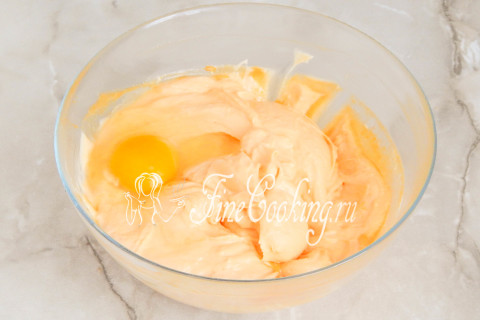
Then we introduce raw chicken eggs (2 pieces) of room temperature. We interfere (spoon or fork) first into the filling, achieving the homogeneity of the mass, only after that add the second egg. You can’t beat, because in this case, air bubbles will appear in the mass, and in the cheesecake they are useless.
Step 11
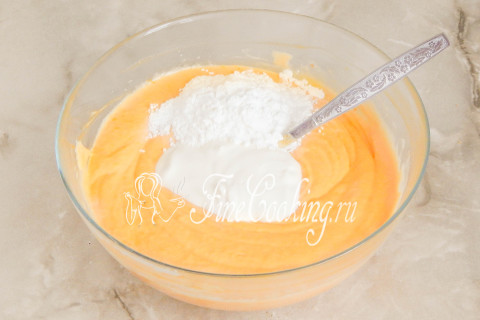
Add 50 grams of sour cream and 25 grams of corn starch (can be replaced with 20 grams of potato starch). We rub everything to uniformity so that there are no lumps left.
Step 12
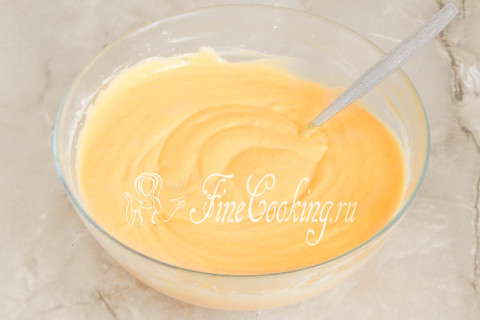
As a result, it turns out an absolutely smooth and silky cheese-tied filling, which in texture and consistency resembles a very, very soft butter.
Step 13
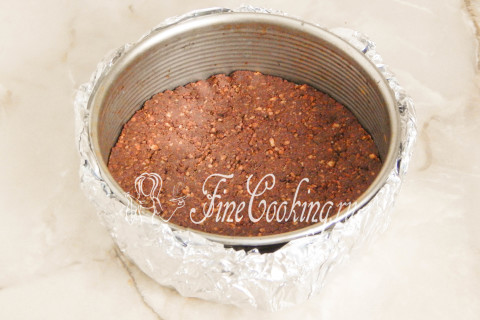
During this time, I managed to bake a chocolate sand base for our future dessert. We take out the shape of the oven and let the coat cool to room temperature. Now it is very cold outside, so to speed up the process you can take out a form on the balcony for 5-10 minutes. Then we wrap the shape of a baking foil in 3-4 layers so that a waterproof Pantsyr is obtained. The fact is that we will prepare a cheesecake in a water bath, so it is important that the water cannot penetrate the form. We do not turn off the oven itself, but only reduce the temperature to 160 degrees.
Step 14
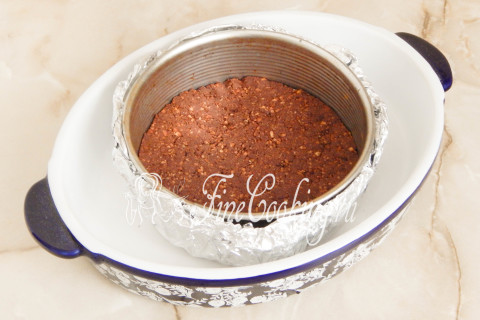
We build a water bath that is necessary for baking cheesecake (in this case, it will be evenly baked, will not rise and does not crack). To do this, we place the shape with a future cheesecake in a deep dishes (shape or baking sheet) of a larger size.
Step 15
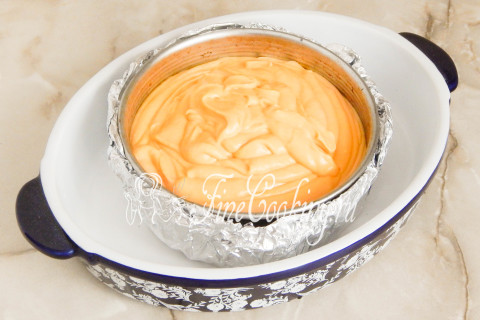
We shift the cheese-tone filling onto the sand base. See what its consistency is — the mass does not spread, retains the shape, while it is smooth and incredibly tender.
Step 16
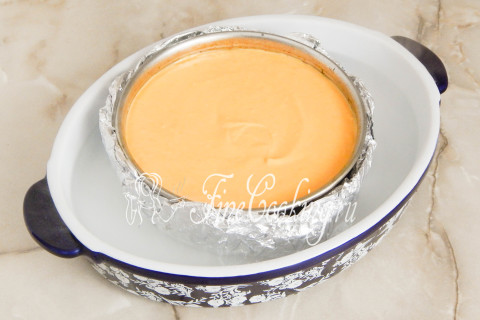
Drive the creamy mass with a spoon or spatula. Pour boiling water into a large form so that the water level reaches the middle of the height of the mold with dessert.
Step 17
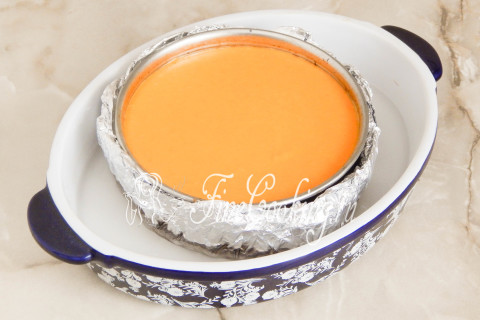
We put the structure in a hot oven to an average level and prepare at 160 degrees 60-75 minutes. The cooking time depends on the features of your oven and may differ. We check the readiness of the pumpkin cheesecake: if you slightly push the shape with the dessert, its middle will tremble a little (like jelly). Turn off the oven, take out the shape with a cheesecake from a water bath and leave it in an already turned off oven with a straightened door for an hour and a half.
Step 18
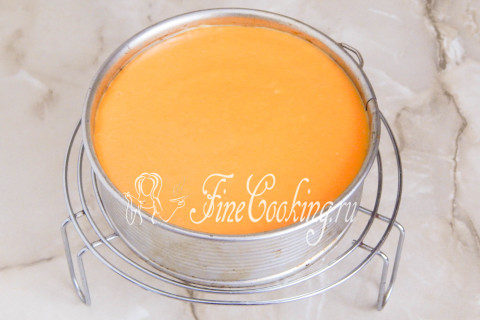
After that, we give the dessert completely cool on the table to room temperature. In fact, the pumpkin cheesecake is ready, but he still needs time to mature. To do this, we tighten the top of the shape with cling film and put the dessert in the refrigerator for 6-8 hours, and even better at night.
Step 19
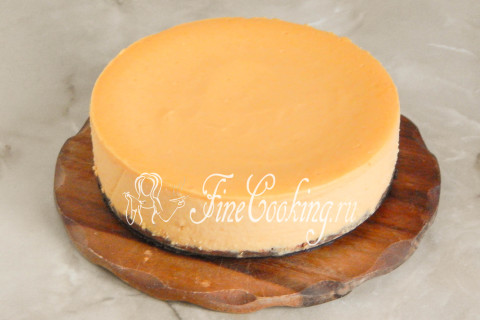
During this time, the cheese filling will be compacted and the dessert can be served. To gently extract it from the mold, we take a long thin knife, smear it in hot water, quickly dry it with a towel and draw it along the side. Thus, we separate the cheesecake from the walls of the form. Remove the detachable ring. To shift the cheesecake itself to a flat dish or plate, you can use two blades. Or, as an option, to do as follows: cover the cheesecake with something flat (I have this plastic cutting board), neatly, but quickly turn the dessert on it. Remove the bottom of the mold with baking paper and cover with a plate on which we will give dessert. Once again we turn the structure — our mouth -watering home cheesecake is ready to serve!
Step 20
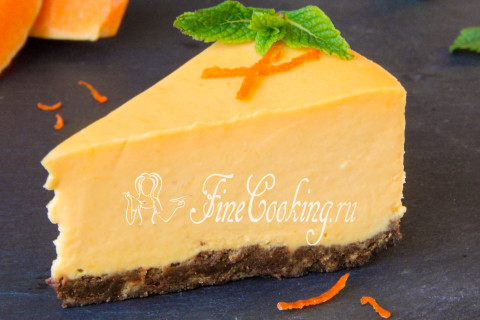
Cut this dessert, like all cheesecakes, you need a sharp hot knife. After each incision, we can blame the blade, heat in boiling water and quickly dry. This is if you don’t care how even, smooth and neat will turn out to be a slice. A pumpkin cheesecake is an incredibly delicate, tasty and hearty treat. One small piece is enough to not only enjoy this dessert, but also get enough. By the way, if you like such desserts, I really advise you to look into the recipe for the classic Chizkek New York — there I shared many subtleties and nuances of cooking. Enjoy appetite, my dear sweet tooth!