Detailed step -by -step recipe with photo: Step 1
-
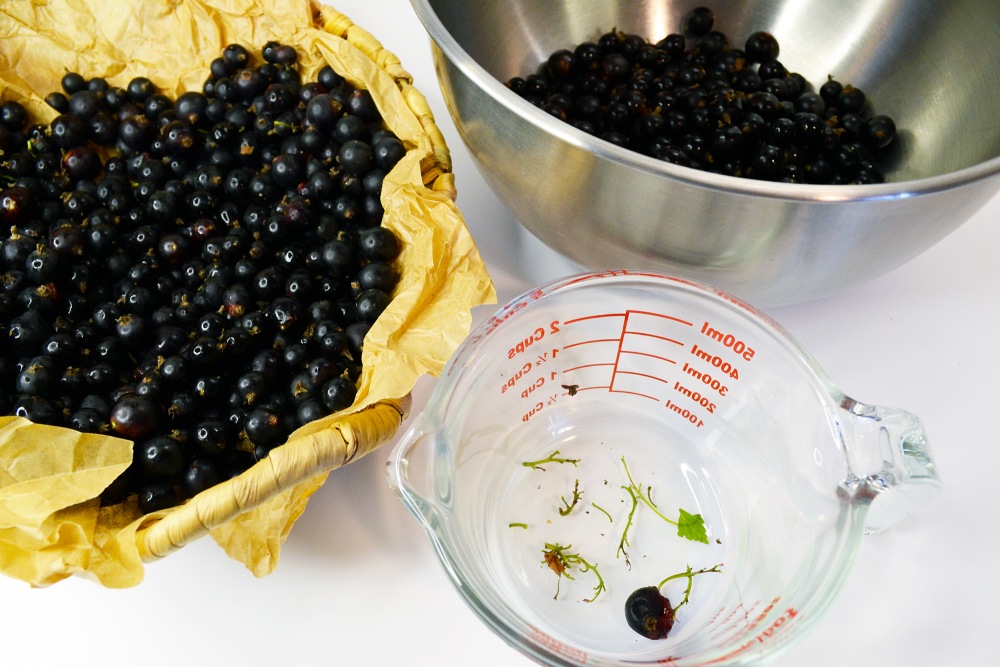
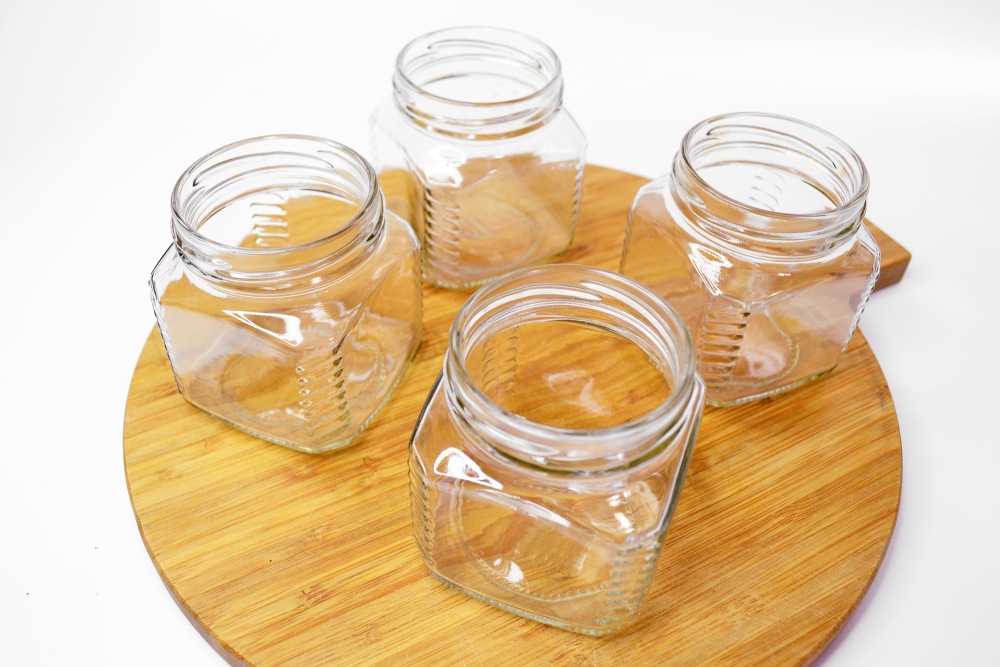
Prepare ingredients for currants with sugar, as well as lids and jars. For the indicated number of products, I required 5 cans of 0.25 liters and 2 cans per 0.5 l. But their number can vary depending on the juiciness of the berry.
Tip: Black currant is considered ripe if, when collecting, it is easily disconnected from twigs. If the berries were in the thicket of the bush, they can have a brown skin, but remain ripe.
If you do not want to use sugar, then there is only one way out — freeze the berry. In this case, the sweetener can not be added at all. Or use brown sugar, Jerusalem artichoke syrup, stevia or other substitutes.
-
Step 2
Sort the berry: remove the cracked fruits, remove twigs and large garbage.
Other currant recipes, see 👉🏻 HERE
-
Step 3
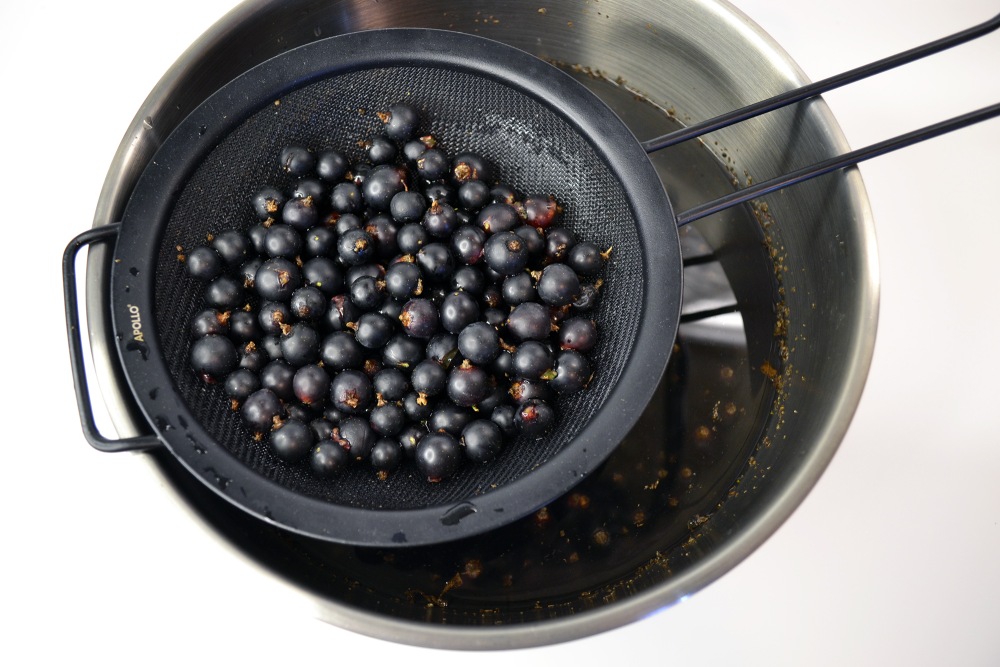
Rinse currants in a large bowl. Chat a little with your hands and leave for a couple of minutes.
Important: do not wash under a stream of water — this can damage the fruits.
Watch the master class «How to spend in the kitchen no more than 1 hour a day and at the same time it is good and useful to feed» 👉🏻 here
-
Step 4
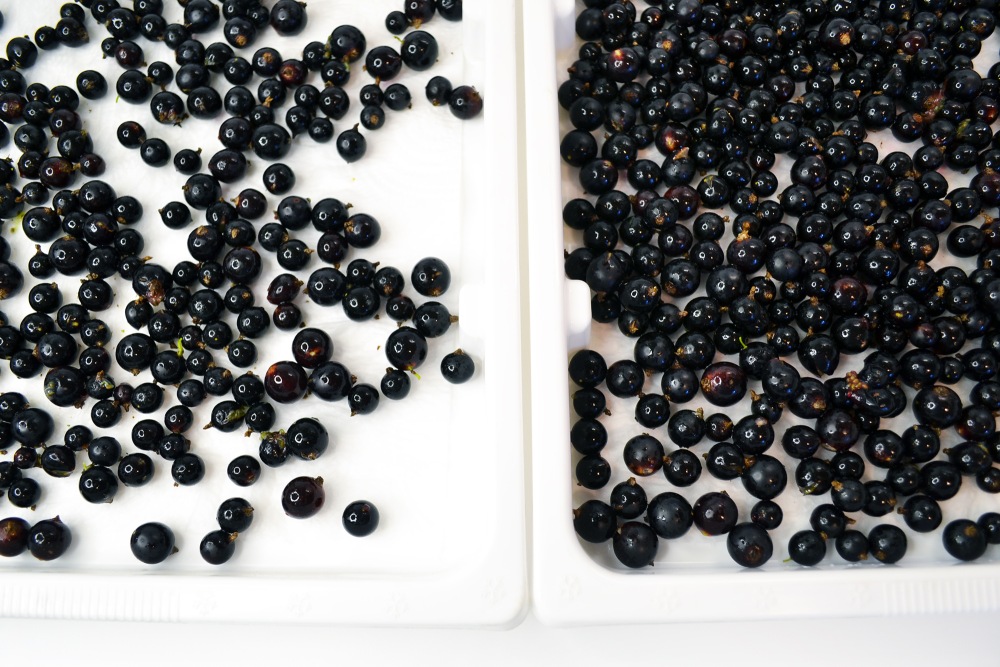
Get the berry and put it on prepared baking sheets or flat trays covered with paper towels. Leave the berry dry for 1-2 hours.
Tip: you can use ceramic or glass forms. The main thing is to lay in a thin layer.
-
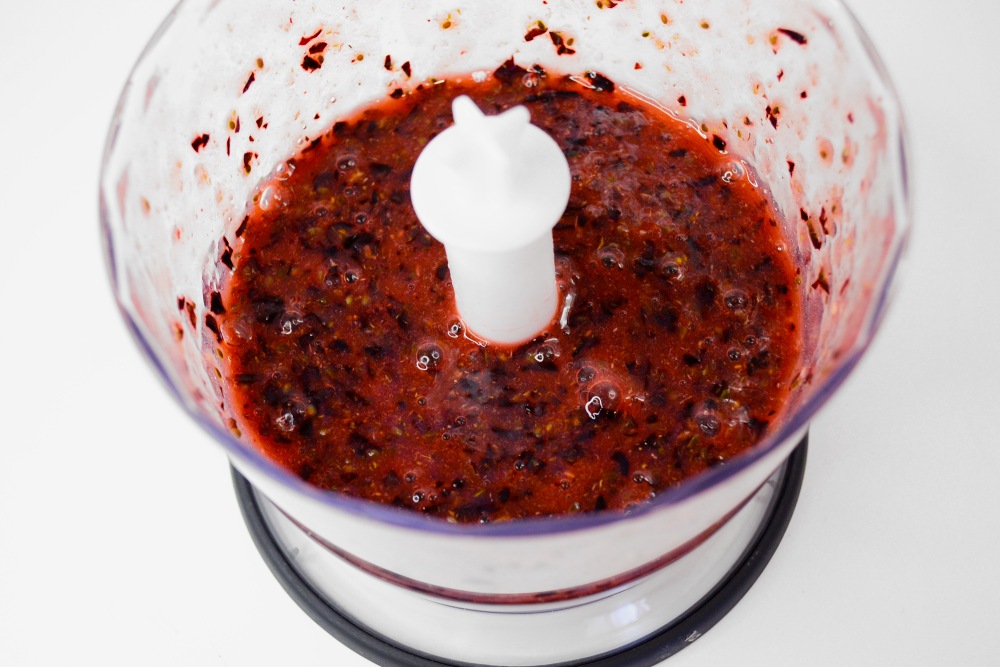
Step 5
Grind the currant with a blender or meat grinder. When using a blender, the bones are crushed better.
-
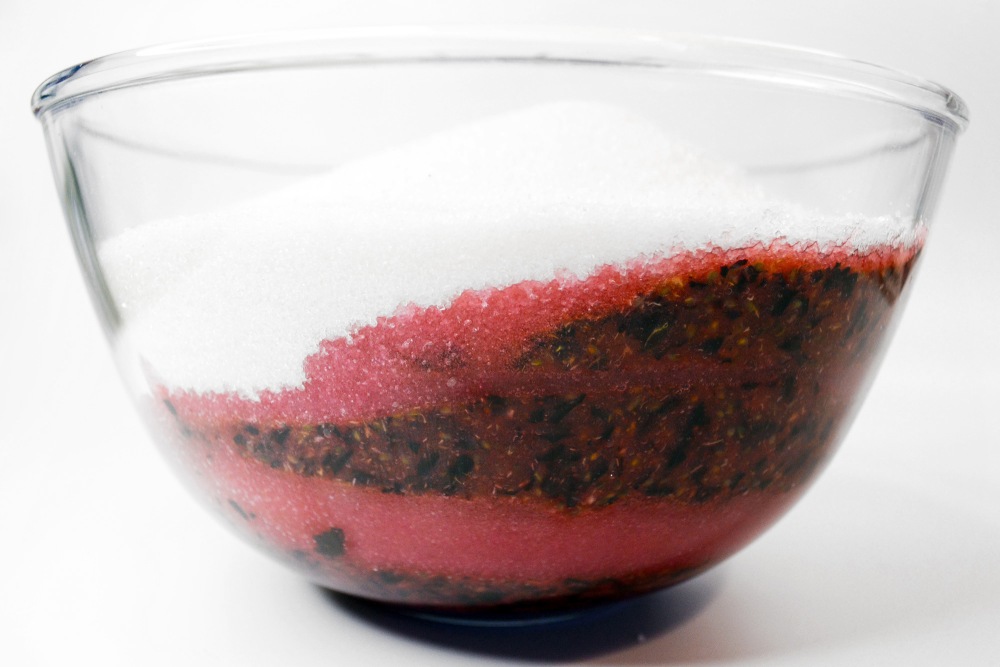
Step 6
Put the wiped currants and sugar in a bowl in layers.
-
Step 7
Mix products, breaking sugar lumps. Let it brew 3-5 hours so that the sugar melts a little. Cover the bowl with a towel or cling film.
-
Step 8
Prepare jars 30-40 minutes before laying jam. Wash them thoroughly with a detergent. Sterilize banks is most convenient in the oven: put in cold, turn on the temperature of 110 degrees and detect 12-15 minutes after reaching the specified parameters.
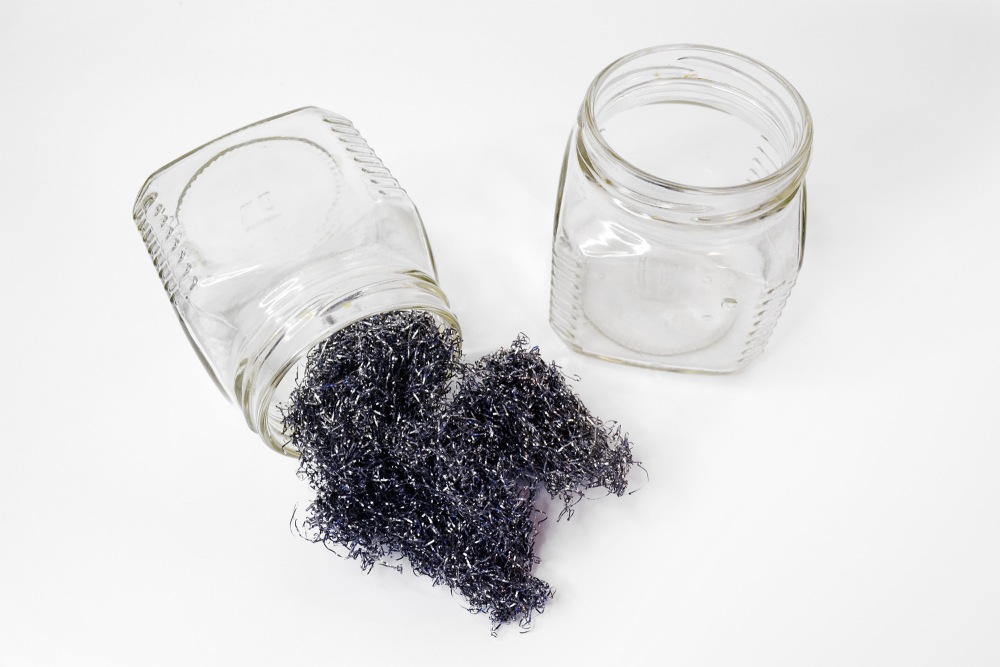
Tip: If banks from last year's blanks are used, they should be cleaned well, paying special attention to the neck. To remove pollution, you can use a metal washcloth.
How to sterilize banks in a pan, on a teapot, in the oven, microwave, double boiler, slow cooker, dishwasher
-
Step 9
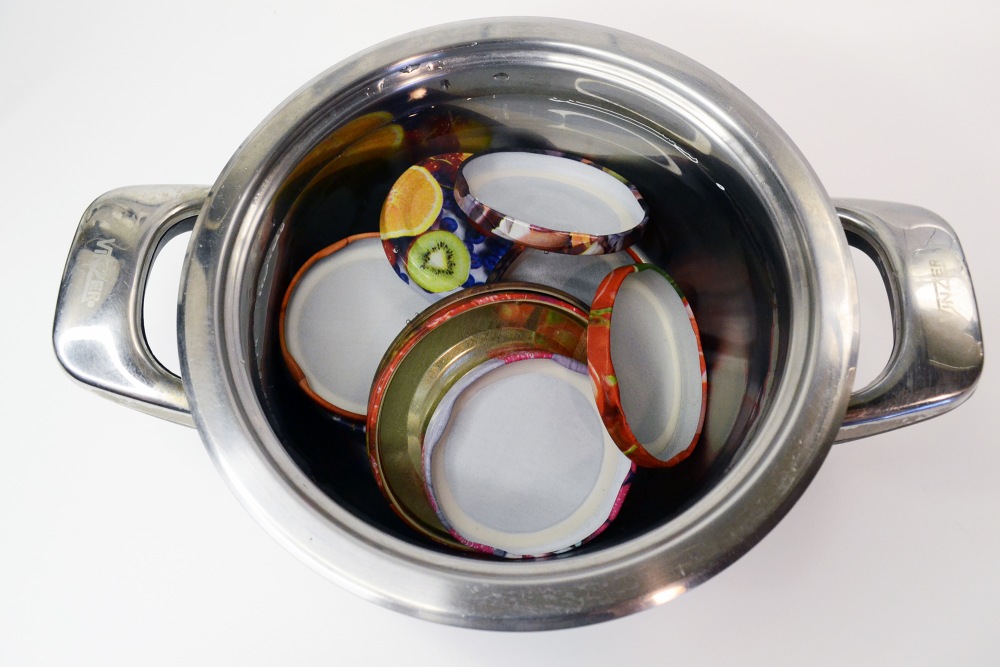
Sterminal covers: put them in a pan, pour water and boil for 7-10 minutes.
-
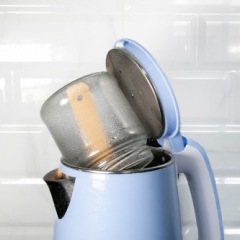
Step 10
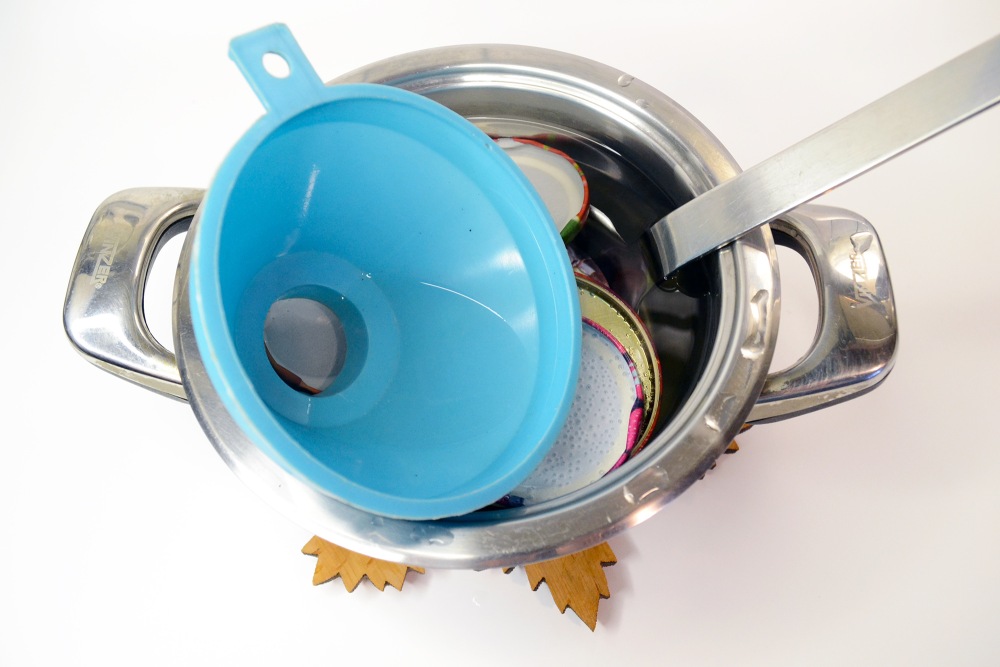
When the lids are boiled for 5-6 minutes, put a ladle in the water, which has to pour jam, as well as a funnel with a wide opening for spilling currants into banks. Boil for 2-3 minutes.
-
Step 11
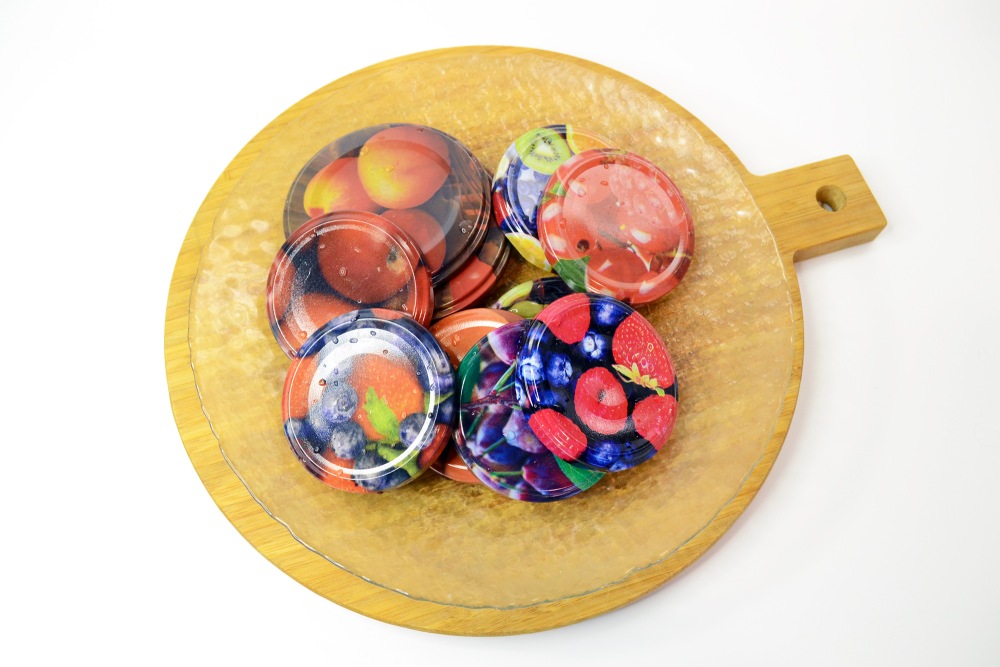
Remove the lids and put on a clean plate.
-
Step 12
After sterilization, banks to cool a little in the oven. Then get and cool to a temperature at which it will be easy to touch them. So they do not burst when laying out cool jam.
-
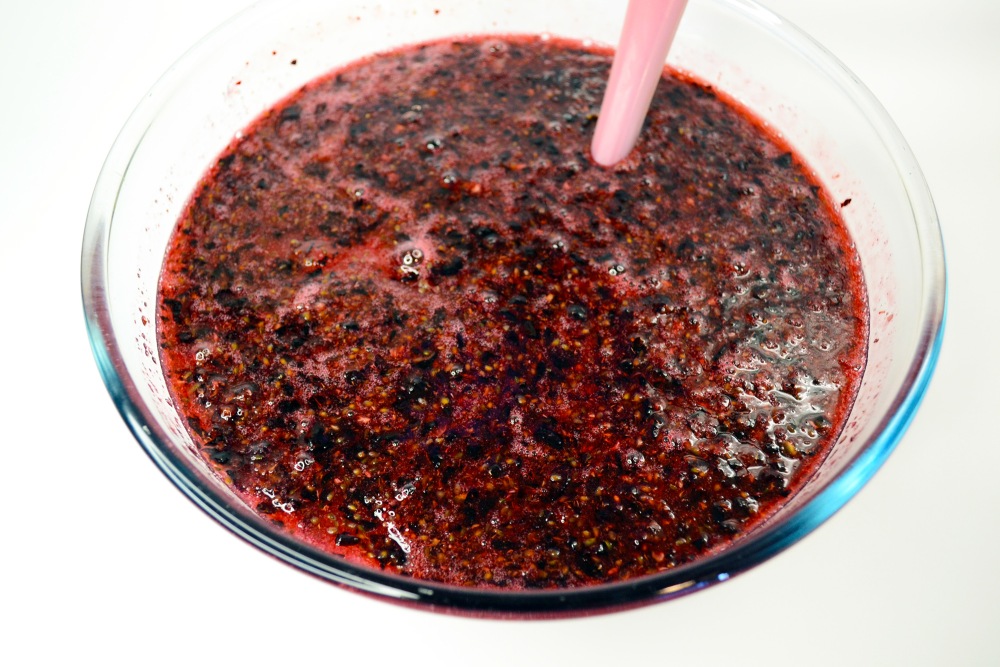
Step 13
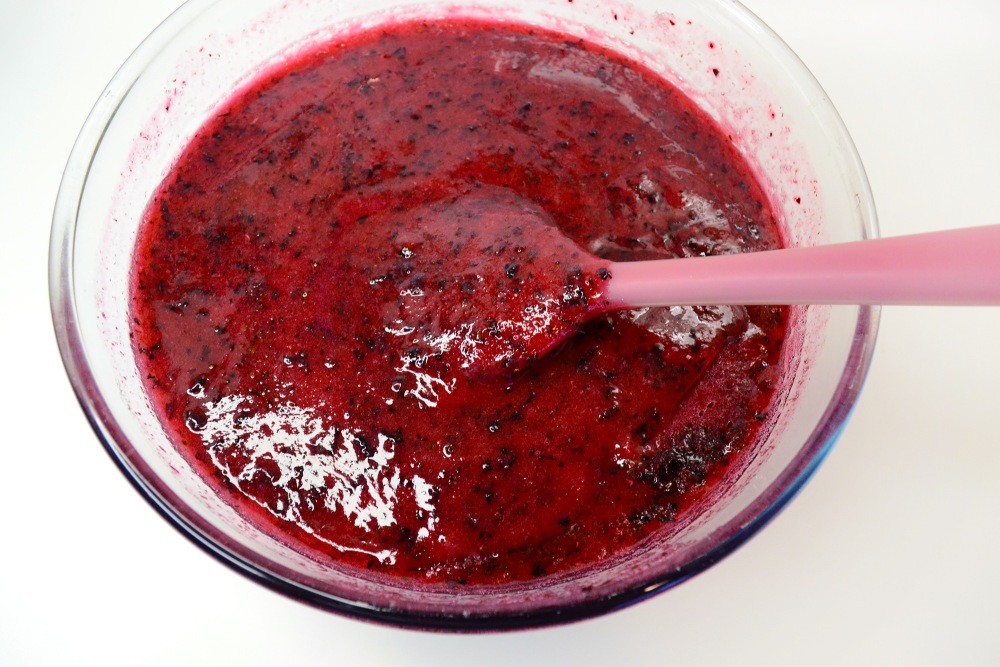
Mix currant with sugar again — it is clear that the sugar was well distributed, the mixture has become more homogeneous.
-
Step 14
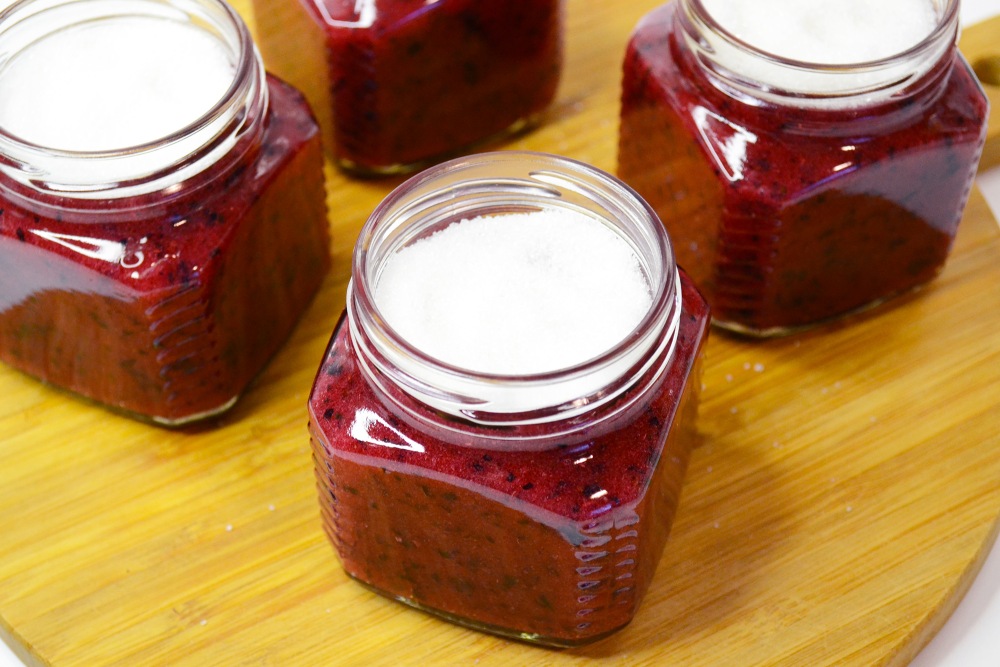
Lay the jam in jars using a funnel with a wide hole. Such an accessory will prevent jam pollution, which is especially important for the neck of the neck in contact with the lid.
Pour the currants with sugar to the neck, but without filling it.

-
Step 15
In each jar, fall asleep sugar so that it forms a layer of 1 cm in the neck.
-
Step 16
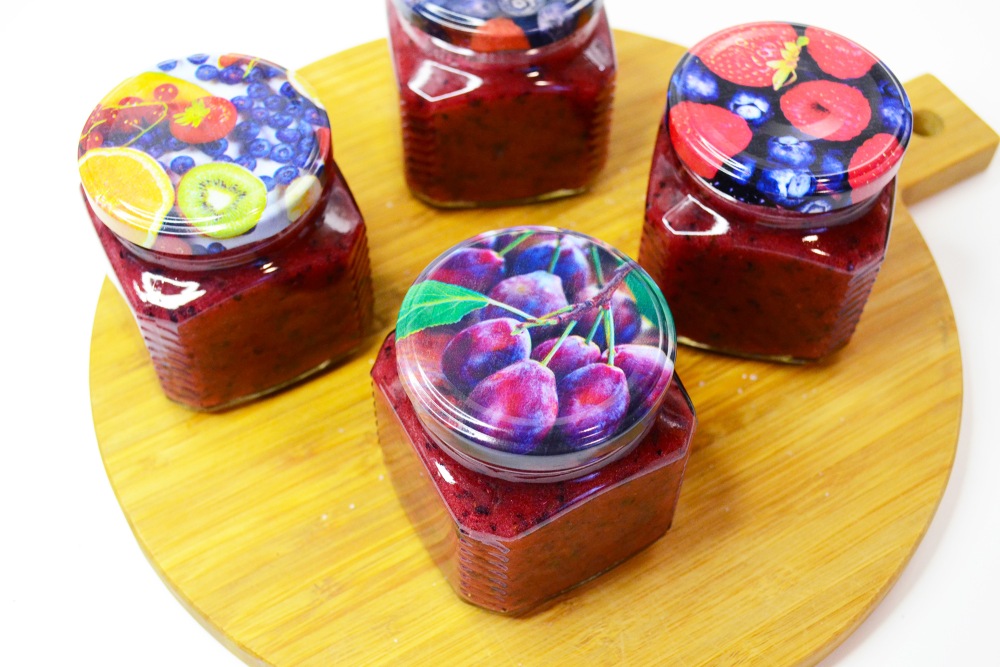
With clean hands take the lid, shake off the remaining water a couple of times. Apply the can of the can and twist carefully.
-
Step 17
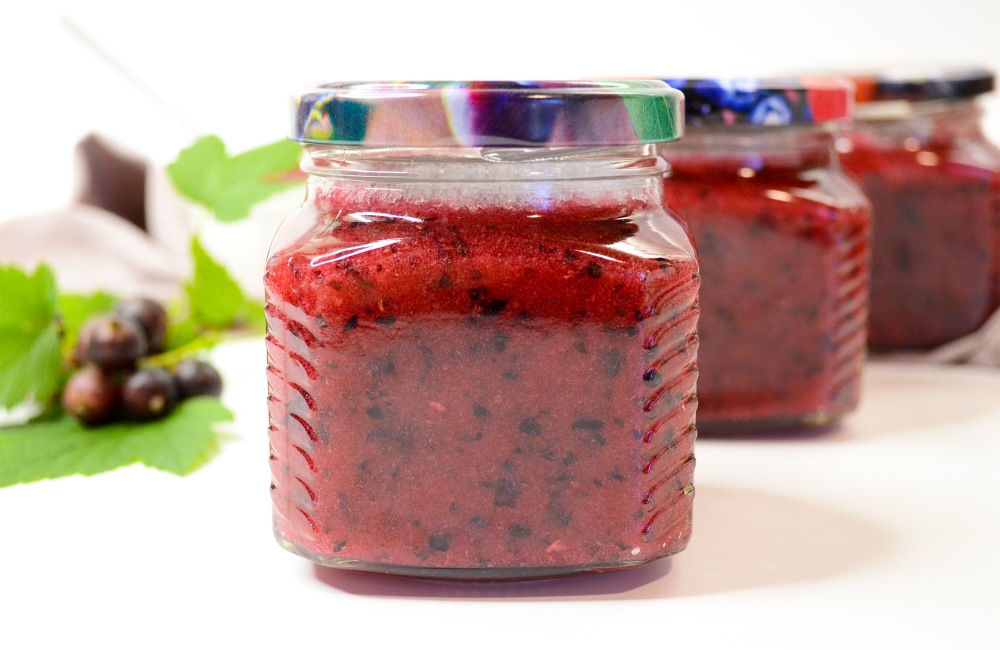
Currant with sugar for the winter is ready! At first it will be sugar enough, but gradually the consistency will change. If you get the jam after 2-3 months, transfer it to a bowl and mix, it will become liquid, and the sugar will dissolve significantly.
📌 We also advise you to see A selection of blanks from berries for the winter — There are many interesting ideas!