Detailed step -by -step recipe with photo: Step 1
-
Prepare all products in advance. Remove oil and condensed milk from the refrigerator at least 1.5–2 hours before the start of cooking. It is important that both ingredients are of the same temperature so that the cream does not spread.
Be sure to use only high -quality butter without plant additives. Margarine or a spread will not work, because they will give a watery and unstable texture.
It is also careful to read the composition of the condensed milk — it should only have milk and sugar. If there are vegetable fats in the list, this is no longer a real condensed milk, and the cream may not work.
-
Step 2
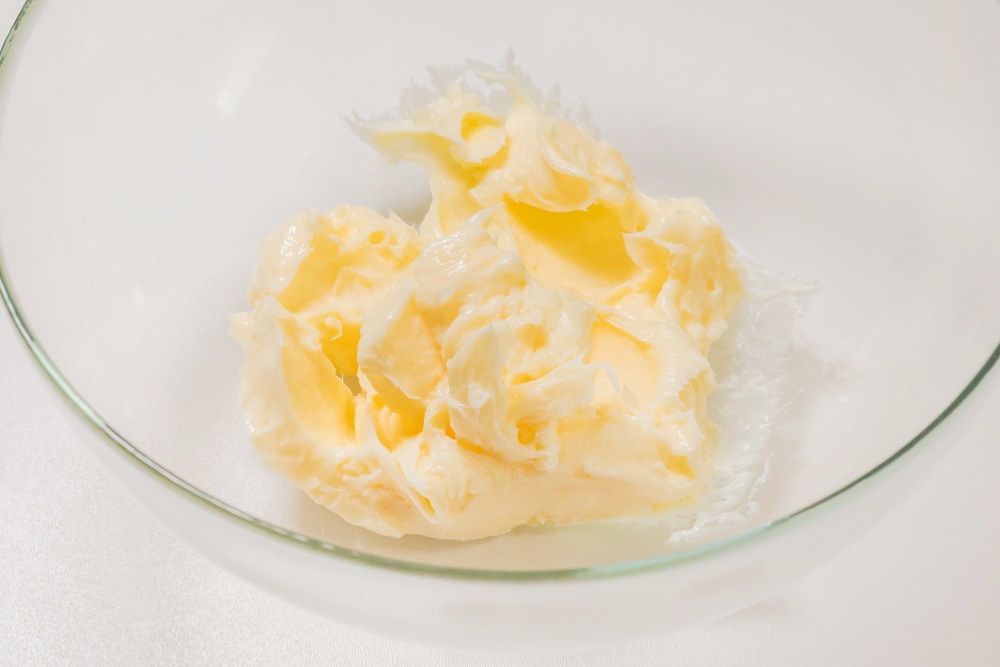
Cut the butter in small pieces and shift into a deep bowl. This will accelerate the softening process and facilitate whipping.
Leave the oil at room temperature until soft. It should be easily crumpled with a fork, but not to be melted. If the oil is too hard, the cream will not turn out to be airy.
Watch the master class «How to spend in the kitchen no more than 1 hour a day and at the same time it is good and useful to feed» 👉🏻 here
-
Step 3
Add vanilla sugar. Beat the oil with a mixer at an average speed of 2-3 minutes. It should become light, magnificent and airy. No need to use high speed — otherwise you can kill the oil, and it will begin to exfoliate fat.
Vanil will add a light dessert shade to the cream. You can interpret the vanilla extract.

-
Step 4
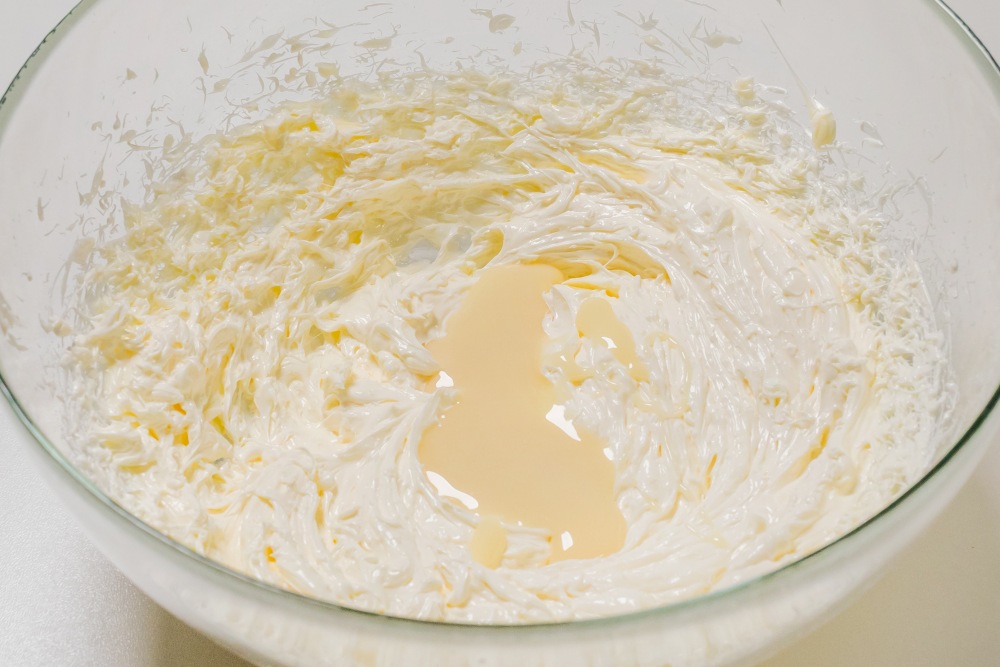
Start introducing a condensed milk by one tablespoon, each time whipping thoroughly until smooth.
Do not add everything at once — it can break the texture. Gradually interfere with the entire condensed milk, continuing to whisk after each addition. The main thing here is not to rush — the splendor and stability of the cream depend on this.
-
Step 5
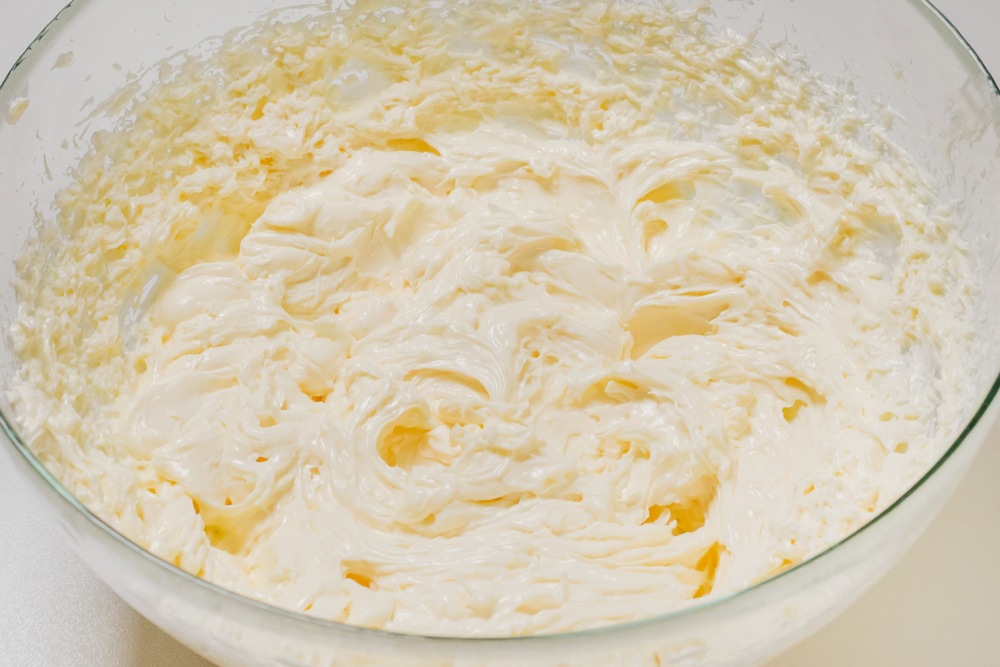
After entering the condensed milk, beat the cream for another 1-2 minutes so that the mass becomes smooth, shiny and dense.
If it is hot in the room, reduce whipping time so that the cream does not begin to melt. If the cream has become torn: you can try to save it, heating the mixture in a water bath, stirring constantly, until it becomes homogeneous again.
-
Step 6
Check the texture. The cream should be easily kept in shape. If it seems liquid, add another 30-50 g of soft oil and beat to the desired density.
-
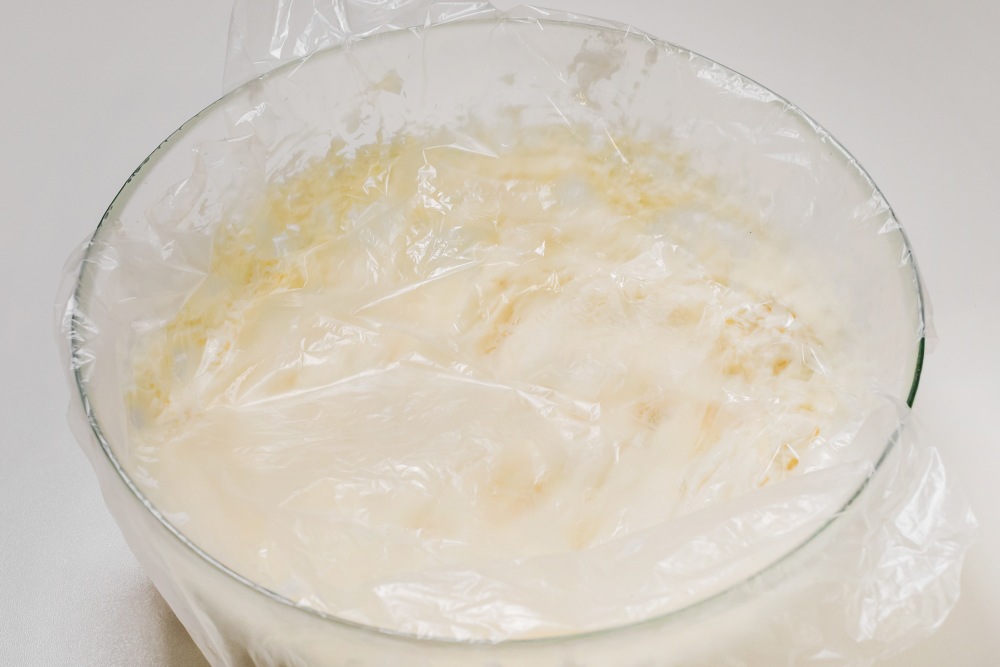
Step 7
Cover the cream for a cake made of oil and condensed milk with a baking film in contact and put in the refrigerator for 15–20 minutes, especially if you use it for decor.
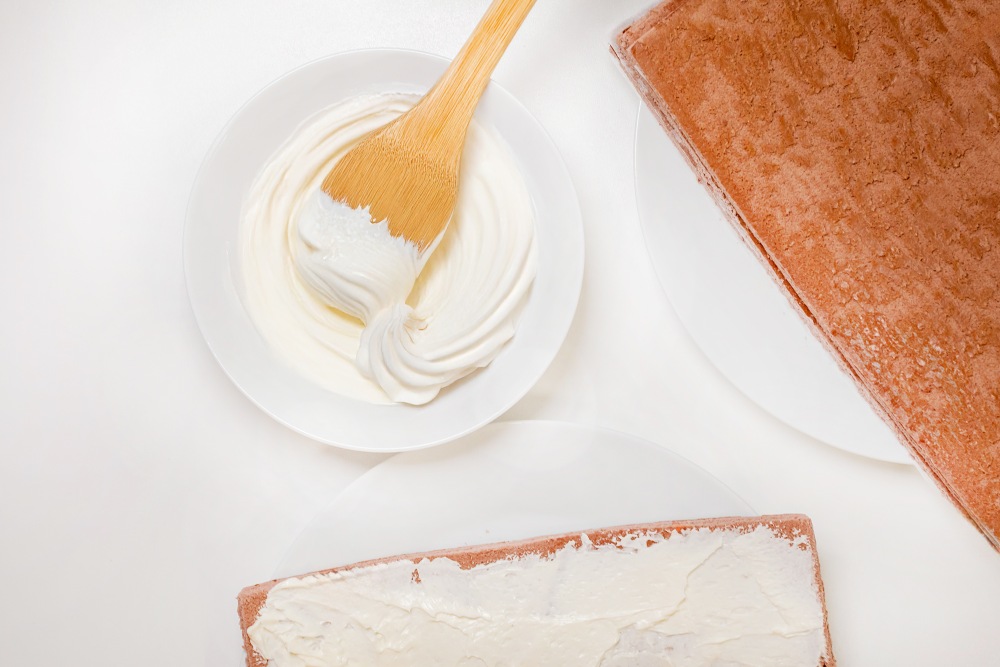
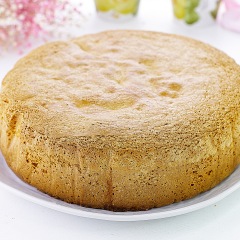
Simple biscuit cake for a cake
-
Step 8
Cream for a cake from condensed milk is ready!
If necessary, paint the cream in the desired color with gel dyes. For a chocolate option, you can set up 1-2 tsp. sifted cocoa. The tastes of coffee, coconut or a little alcohol are also well combined.
Use cream for assembling cakes, fill them with tubes, baskets or eclairs. It is conveniently applied with a spatula, a spoon or with a confectionery bag with a nozzle.
The finished cream can be stored in a sealed container in the refrigerator for up to 3 days. Before repeated use — get it in 20-30 minutes to become soft.
💡 Do you want more delicious and proven ideas? Look at ours A selection of the best cream creams for cakes — With step -by -step photos, videos and useful tips. There you will find recipes for all cases: from custard to chocolate!