
Step 1
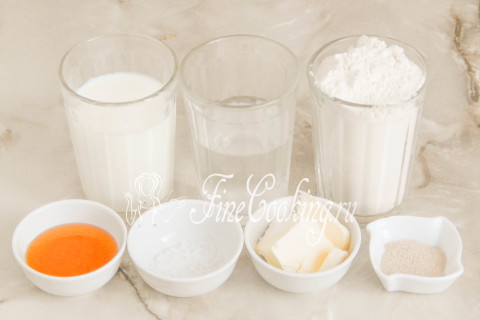
We will cook this airy and very tasty home bread from wheat flour of the highest grade, milk, water, natural honey, butter, salt and yeast. The yeast is not necessary to take fast -acting — just dry are perfect (also 3 grams — this is 1 teaspoon without a slide) or pressed (3 times more, that is, 9 grams). Such yeast is not immediately mixed with flour, but previously activated in a warm sweetish liquid for 10-15 minutes. In our case, you can slightly warm the water with honey and dissolve the yeast in it.
Step 2
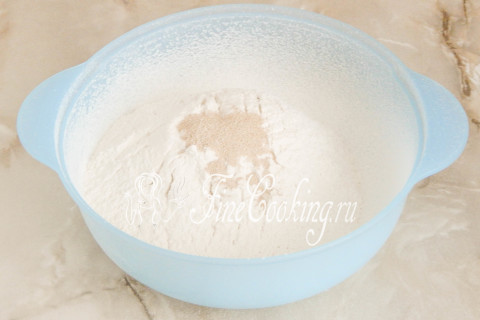
Sift the wheat flour of the highest grade, add the same yeast there and mix everything thoroughly.
Step 3
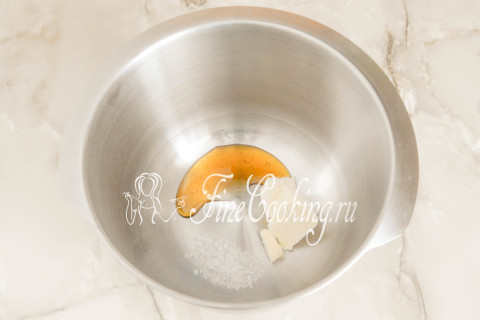
In the dishes in which you will knead the yeast dough, put honey, salt and soft butter.
Step 4
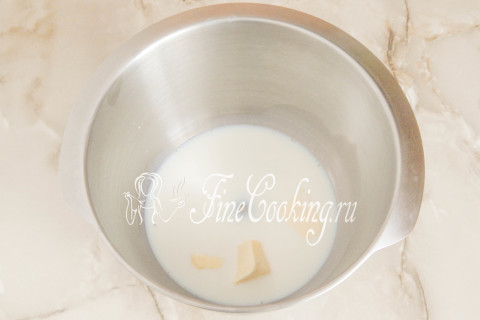
Add warm milk that you need to pre -prepare. To do this, bring it to a boil, after which we withstand in a thermos (or in a thick -walled dish, wrapped in a thick towel) for half an hour, and then cool to a pleasantly warm state. Mix milk, honey, butter and salt until a homogeneous state. Add slightly warm water and mix everything again.
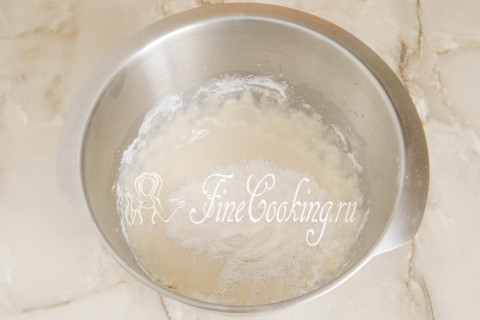
Step 5

We pour about half of the sifted flour with yeast into the liquid mass.
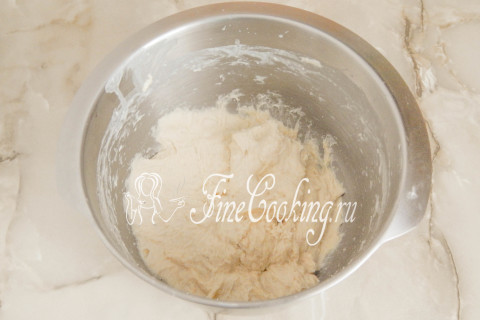
Step 6
Mix everything, then gradually add the rest of the flour. In the process of kneading, adjust the amount of flour — it took me exactly 450 grams, and you may need a little more or less.
Step 7
We knead the dough for this wheat bread until smooth. As a result, it should be very soft and sticky. Just do not clog the dough with flour, otherwise the finished bread will not turn out to be light and airy. We leave the dough to rest at room temperature for 20 minutes, tightening the bowl with a baking film or covering with a towel.
Step 8
During this time, the dough will swell slightly.
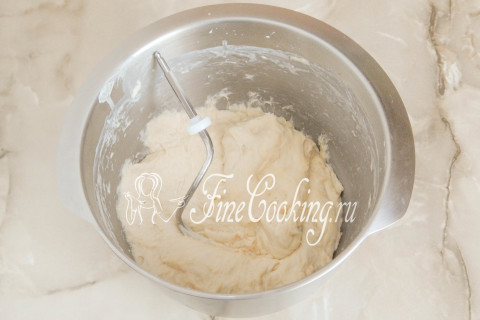
Step 9
We knead the yeast dough for bread further. For a long time — at least 10 minutes, and even better longer. As a result, you will get a smooth, completely homogeneous dough. It should be very soft, but it will stop sticking to the hands. I more like to use a kitchen combine with a hook for delicate types of yeast dough. We roll up the dough into the ball and leave it in a bowl for 1 hour at room temperature, after which we make a slight grinding, re -rounding and again fermentation for another 1 hour.
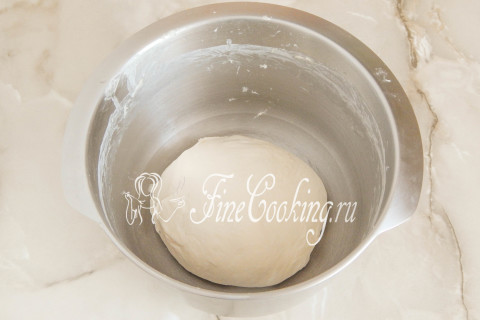
Step 10
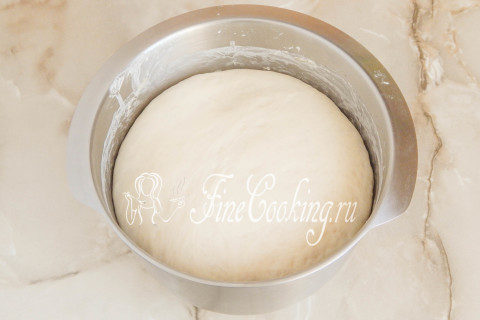
After about 2 hours, the dough is well suited and will increase in volume by exactly 3, and maybe 4 times.
Step 11
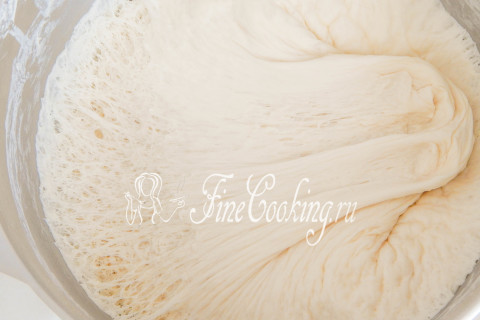
It is pierced through the air bubbles. By the way, I want to talk a little about the time of fermentation of the yeast dough and the proofing of the workpieces. I hope you understand that this concept is relative. What does it mean? Well, for example, the recipe says that the test should be given to rest for 1 hour. You understand that 1 hour is the time that the author of this recipe was needed. +/- 10-15 minutes- quite acceptable deviation, the entire time of fermentation of the yeast test depends on many factors. Freshness (and as a result of activity) of yeast, the quality of flour, the temperature in the room, the amount of dough — this all affects the time of fermentation and proofing. Therefore, never clearly follow these recommendations — you must feel the dough, understand what he needs and then you will cook it purely intuitively.
Step 12
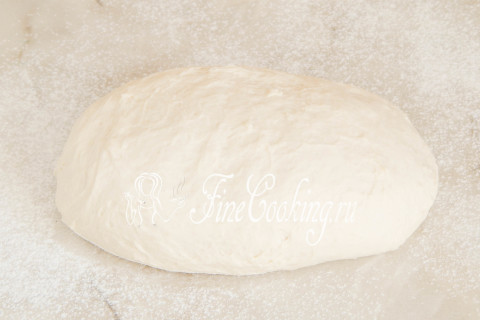
We take out the dough from the dishes in which it wanders, measure and shift to a working surface drunk with wheat flour (the weight in the ingredients is not indicated).
Step 13
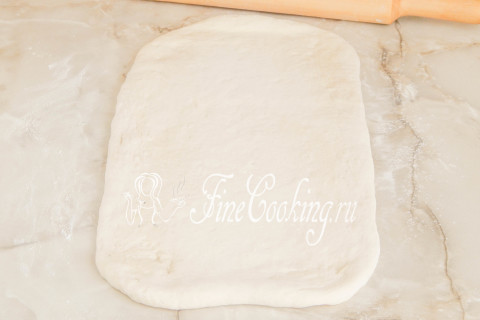
We roll the dough into a not very thin rectangular layer. The narrow side should be equal to the length of your baking dish.
Step 14
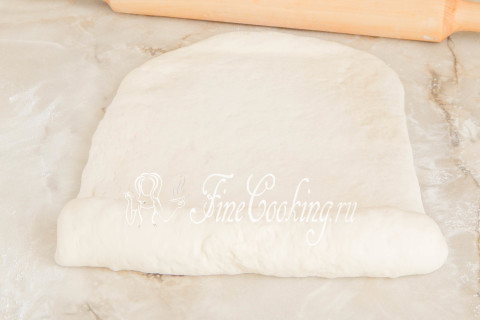
We roll the layer into a rather dense roll. After each turnover, we must press the roller to the layer, so that later there are no voids in the finished bread (that is, large air bubbles).
Step 15
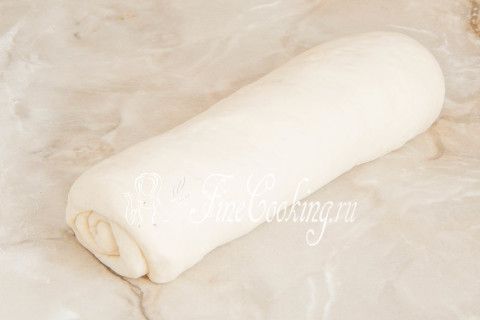
Here is such a steering from the dough you should also get you.
Step 16
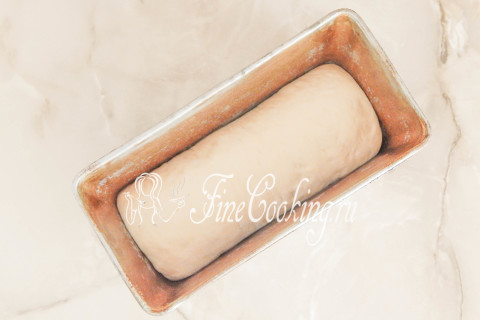
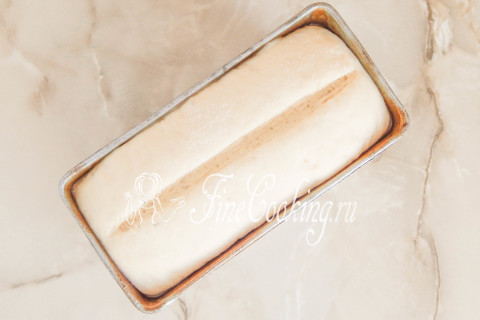
Now we lay the workpiece in the baking dish, which we lubricate with a small amount of vegetable oil. I also did not indicate him in the ingredients — there is literally a teaspoon. Here I use one of my favorite bread forms. You can bake white mountain bake in any suitable form, but consider that the dough during baking will grow three or four times for sure. I do not advise the score, that is, right on a baking sheet, this bread, as this delicate dough will simply crawl to the sides, and he needs to grow up. We cover the workpiece with a towel or cling film and leave the distance for 40 minutes. The time again depends on the temperature in the kitchen and the activity of the yeast. The main thing is that the dough grows well. At this time, we smear the oven (200 degrees).
Step 17
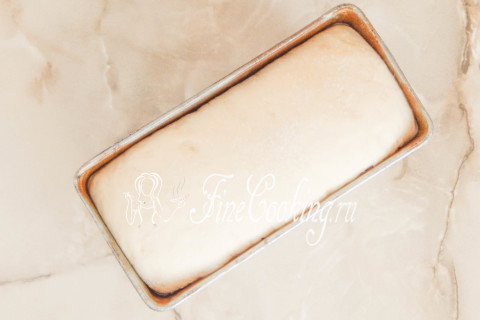
When the workpiece doubles or slightly more, you can put future bread in a hot oven. But before that we will make an incision (not more than 1.5 centimeters with a depth) with a blade or a very sharp knife.
Step 18
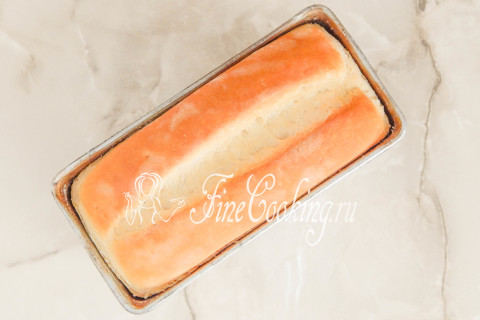
The surface of the workpiece, if desired, you can slightly grease with milk or sprinkle with water. We bake the bread white mountain at 200 degrees 15 minutes for a couple, after which we reduce the temperature to 180 degrees and bake for another 20-25 minutes without a pair. How to make steam? Firstly, just throw several large ice cubes in the already warmed oven at the very bottom. Or put a bowl of water on the bottom in advance. In the process of baking bread, steam will rise up, thereby helping the product rise, and the section is opened. In addition, a couple of pastries contribute to the fact that finished bread products do not have too rough and hard crust.
Step 19
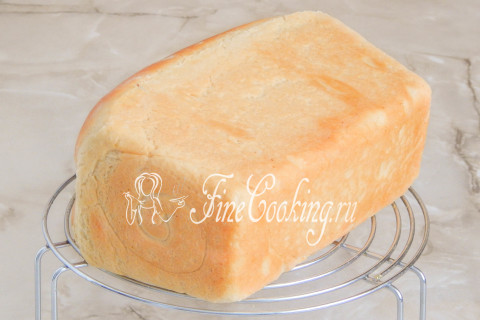
As you can see, the baking has grown very well and was perfectly browned. My incision was not completely opened and I will even say why. The fact is that the dough in the form of me completely distance before baking, so he already had nowhere to grow. In other words, you need to make an incision 15 minutes before the complete proofing of the workpiece.
Step 20
We take out the finished loaf out of the mold, cool (it is better to cool high bread on the side) and enjoy fresh, fragrant, delicate pastries. By the way, he is so good that is still warm that he will hardly have time to completely cool with you. But, as you know, hot and even warm bread cannot be eaten, so tolerate.
Step 21
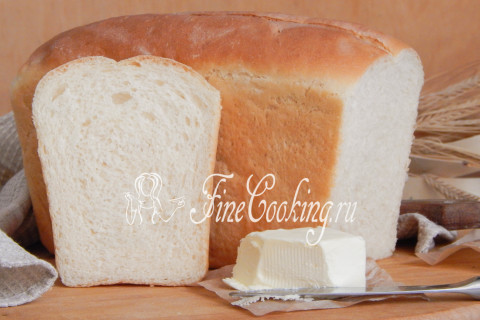
I hope that in the very near future you will definitely repeat this simple recipe for delicious and aromatic bread. Enjoy appetite, friends!