
Step 1
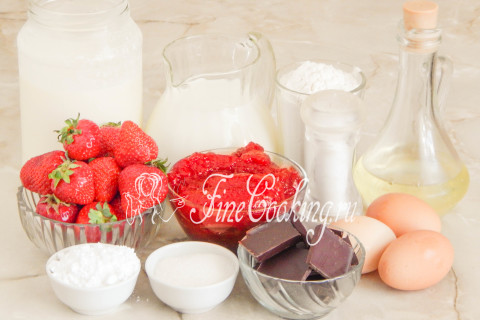
To prepare the pancake cake, we need the following products: milk of any fat content (I used 3.5%), wheat flour, fat cream (with a fat content of at least 30-33%), strawberry jam and fresh selected strawberries, medium-sized chicken eggs (45-50 grams each), rapinized vegetable (I have sunflower) Oil, sugar and sugar powder, bitter chocolate (you can replace milk, if you like) and a little salt for taste. All products for pancake dough should be at room temperature, so take them out of the refrigerator in advance.
Step 2
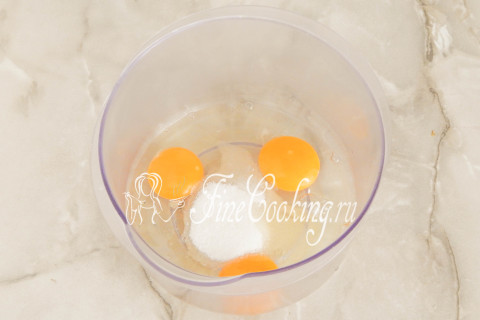
You can cook dough for pancakes in any deep bowl. We break 3 chicken eggs into a container, add 2 tablespoons of sugar and a pinch of salt. If you want, you can flavor pancake dough with vanilla or vanilla sugar.
Step 3

Beat the eggs with sugar with a mixer or a manual whisk for about a minute to get a homogeneous air mass, and sugar crystals are completely dissolved.
Step 4
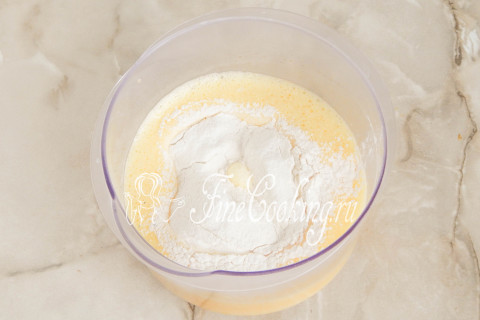
After that, pour about half the milk (300 milliliters) into the container and sift all the wheat flour (300 grams).
Step 5

Beat everything again with a mixer to get a completely homogeneous dough without lumps. If you add all the milk at once, the pancake dough can be with lumps, and we do not need it.
Step 6
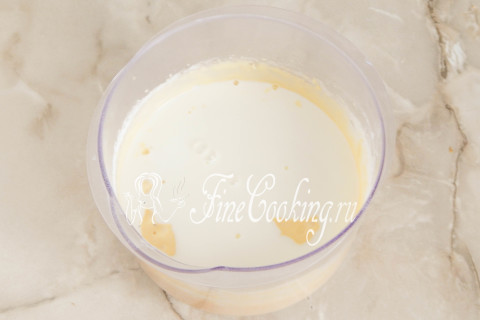
Pour the rest of the milk (another 300 milliliters) and beat with a mixer or mix with a spoon.
Step 7
At the end, add a couple of tablespoons of vegetable oil without smell and manually (that is, without using a mixer), intervene it in the dough.
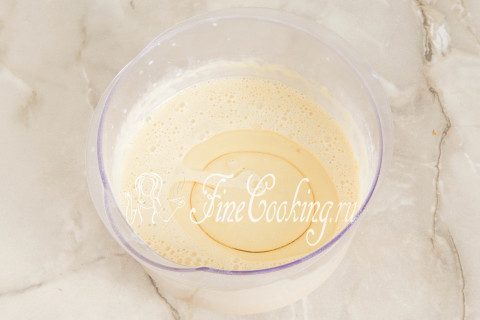
Step 8
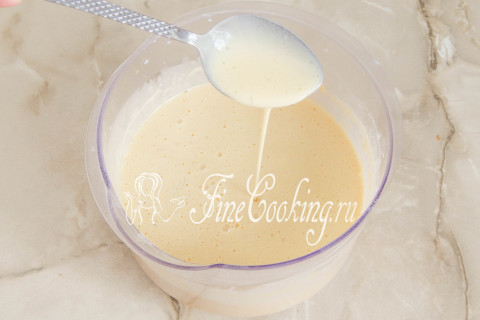
We leave the dough for pancakes on the table for 10-15 minutes so that the gluten of the flour is swelled. After rest, the pancake dough is quite liquid, but much thicker is just milk. If the dough is thick (it depends on the moisture content of wheat flour), dilute it with milk or water to the desired consistency.
Step 9
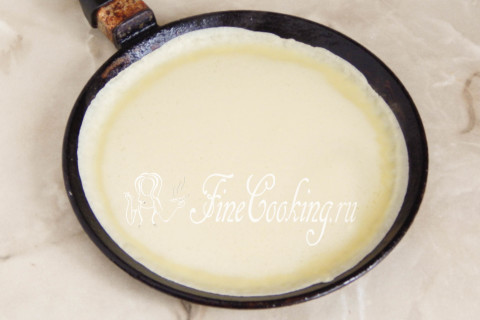
Now we heat the pan, lubricate it for the first pancake with oil and pour the dough. With a quick motion, evenly distribute the dough over the entire surface and bake the pancake until the lower side is browned over medium heat.
Step 10
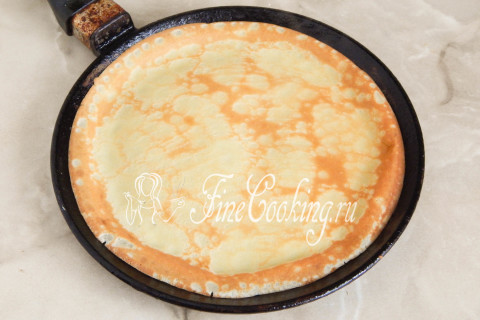
Then we turn the pancake and cook for about half a minute so that the second side becomes golden.
Step 11
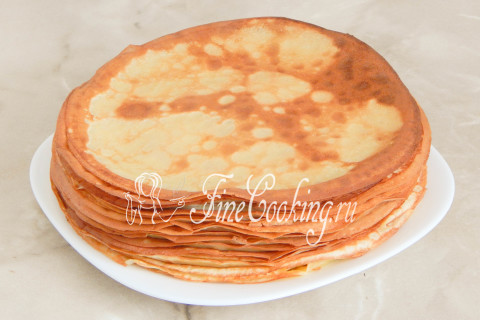
Thus, cook all the pancakes in milk. I got quite a lot (how many, I did not think), with a diameter of 20 centimeters. You may have more or less depending on the size of the pan and the desired pancake thickness. We leave the pancakes to cool, as whipped creams do not like hot and flow.
Step 12

When the pancakes have cooled (they can be laid out on a large cutting board or just a working surface so that the process goes faster), you need to beat the fat cream. They must be chilled! I added a little vanilla sugar powder (I just chopped homemade vanilla sugar in a coffee grinder), but you can not sweeten the cream, since jam is so sweet. Beat the fat cream with a mixer at medium speeds. You can beat them with a whisk — so even more reliable. Do not overcome, otherwise you will get oil and groove as a result.
Step 13
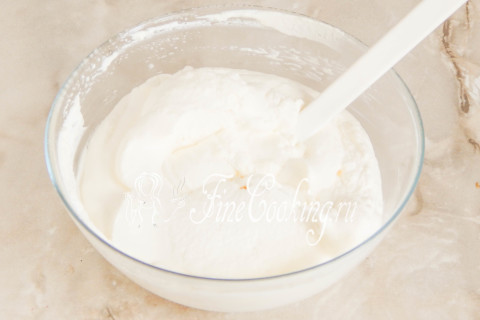
We need to get quite dense, while a delicate and air cream cream that holds the shape.
Step 14
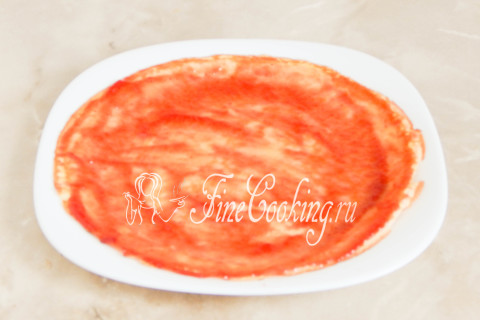
We begin to collect the pancake cake fastener. We put one pancake on a flat plate or serving dish and smear it with a thin layer of strawberry jam. If the jam is too thick, it can be slightly warmed in the microwave, then be sure to cool.
Step 15
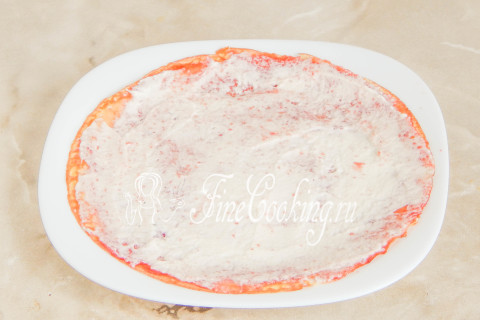
On top of the jam we spread a uniform layer of whipped cream. Try to calculate in such a way that the fillings are enough for all the pancakes.
Step 16
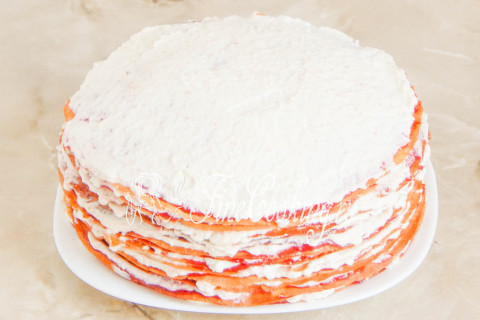
Similarly, folding pancakes on each other and smearing them with jam and cream, we collect the entire cake.
Step 17
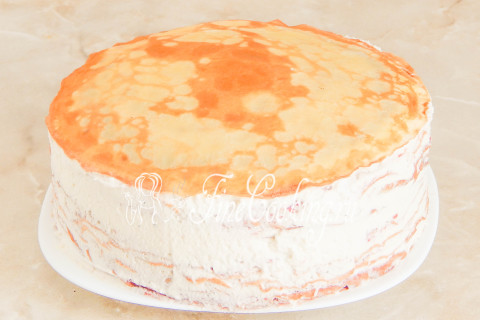
We cover it with one pancake on top, which we do not smash the filling (we are pouring chocolate icing). We apply the remains of whipped cream on the sides of the cake and gently align them with a shovel, spatula or confectionery palette. We put the cake in the refrigerator for half an hour or 10-15 minutes in the freezer so that the cream is compacted.
Step 18
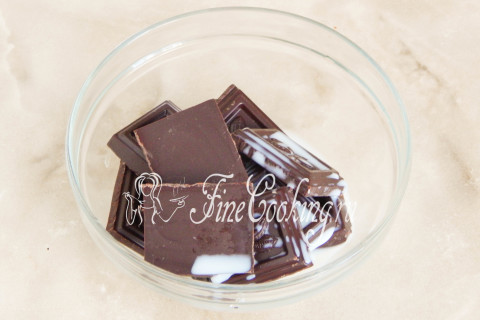
While we freeze the cake, you can cook chocolate icing. We pour 30 milliliters of cream (any fat content) into a small bowl or bowl and put 60 grams of chocolate there. You can use not bitter, but milk chocolate, but then the cake will be even sweeter. These two ingredients need to be heated well, while not to boil. It is most convenient to do this in a microwave oven on the heating mode, checking the contents of the dishes every 7-10 seconds. In contact with hot cream, chocolate slices instantly melt. But remember that the temperature is quite high, so you need to constantly interfere so that the chocolate does not curl up.
Step 19
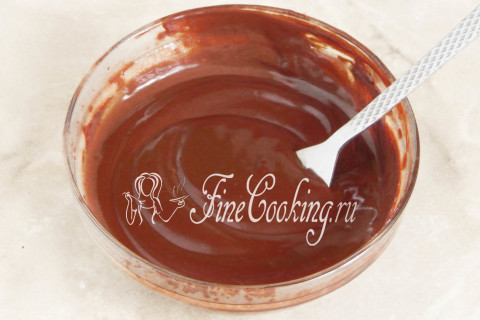
Literally after a minute it will turn out completely homogeneous, smooth and brilliant chocolate icing. The consistency of the glaze can easily be adjusted by adding an additional amount of hot milk or cream — just hold them at hand.
Step 20
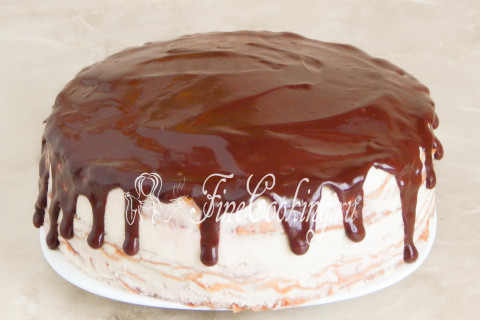
If you like these chocolate smudges, you can decorate them with a cake. To do this, we transfer the hot glaze into the bag, cut off the corner. We pass through the sides of the cake with quick movements, squeezing the glaze. Then we apply the rest of the glaze to the center and distribute it over the entire surface with the help of a shoulder blade. Again, put the cake in the refrigerator so that the glaze froze.
Step 21
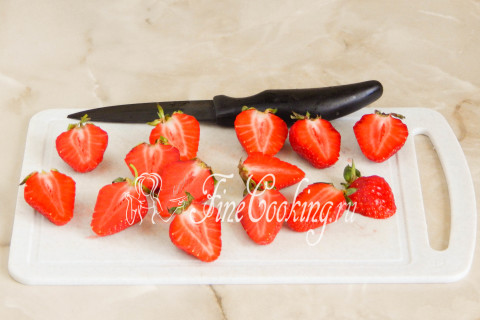
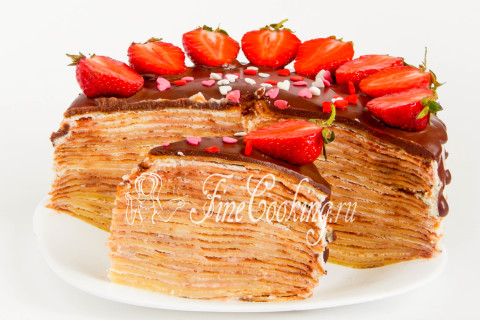
A little more remains: prepare strawberries for decoration. The most beautiful berries (preferably the same size) under the cold running water and well dry on a napkin or towel. After that, we cut along in half to make such delicious slices. You can leave the tails — more beautiful with them and take them more conveniently from a piece of cake.
Step 22
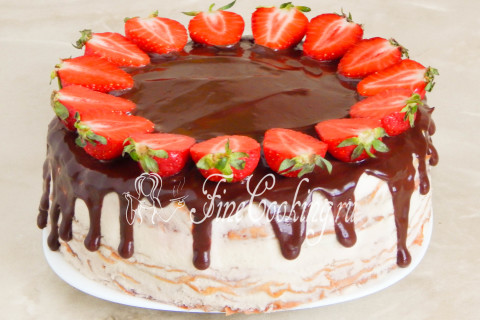
We lay the strawberries on the chocolate icing, which in the cold has already managed to grasp, but at the same time it will remain soft enough. The finished pancake cake is fast, which weighs about 2 kilograms of 600 grams, you do not need to be stored in the refrigerator for a long time. It is served immediately after cooking, since over time the filling begins to absorb into the pancakes.
Step 23
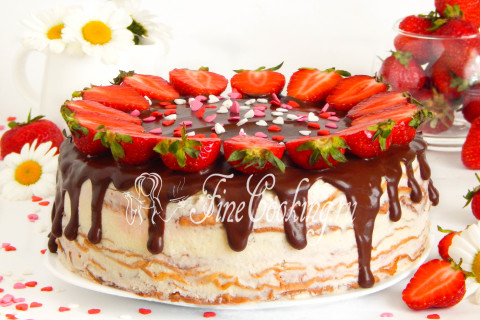
Before serving, the birthday man and his little guests, I additionally decorated the cake with sugar sprinkle (the kids love her very much) and stuck the candle into the center.
Step 24
Of course, I could not do without a traditional section, so even in extreme conditions of the children's holiday I took a photo. Galenka, thank you very much for this fairy -tale order and the opportunity to share a detailed recipe for this dessert with other hostesses. Prepare for health, friends, and pleasant to you appetite!