Detailed step -by -step recipe with photo: Step 1
-
Prepare the necessary ingredients for classic sources, like a grandmother.
For sources, I use only the wheat flour of the highest grade. It should be fresh, not compressed and with a neutral smell. Pay attention to the date of the grinding is perfect if the flour is not older than 2 months. Before adding, I always sift it, even twice — this will not only saturate it with oxygen, but also improve the structure of the dough. To get the most magnificent sources — flour with protein content from 10-11% is best suited. Flour with a higher gluten content can make baking hard.
For a classic recipe, I use fresh pressed yeast. They should be light-beige, easily crumble, without traces of mold or sour smell. A sign of good yeast is a slightly sweet, pleasant aroma and dense structure. If there are no fresh yeast at hand, they are easy to replace with dry. The formula is simple: they need to be taken 3 times less — that is, instead of 20 g of fresh, use about 7 g of dry.
I recommend using in baking only natural butter with a fat content of at least 82.5%. Margarine and spreads are not suitable here. Real oil gives the dough softness, tenderness and the very creamy taste. Before use, I melt it and cool it a little — the oil should be warm, but not hot, otherwise it will “brew” eggs when mixed.
For the filling, sour cream with a fat content of 20–25%is suitable. It should be thick, without unnecessary serum and with a pure taste without sourness. If there is only a store sour cream with a more liquid consistency, you can remove it in gauze for half an hour and let it get tuck — then the filling will not flow and turn out to be dense, but tender. I always try to use the farm natural sour cream — her taste is more saturated, and pastries are more fragrant.
I prefer to add corn starch to the filling — it makes the filling more silky and stable when baking. Unlike potato, corn starch does not give a taste. If there is only potato — use it, but in a slightly smaller amount (about 10 g instead of 15 g) so as not to get excessive density.
-
Step 2
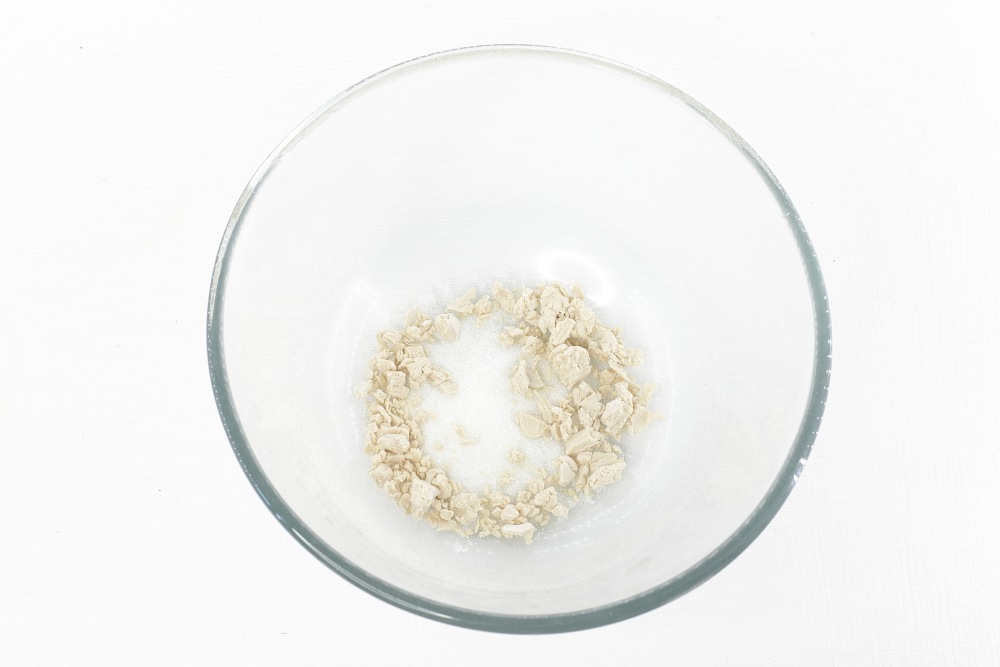
Choose deep dishes for the preparation of yeast dough. Add fresh yeast to the bowl, covered with hands to small pieces. Pour 20 g of sugar (approximately 2 tsp) from the total.
Why did not work yeast dough: analyzing typical errors

-
Step 3
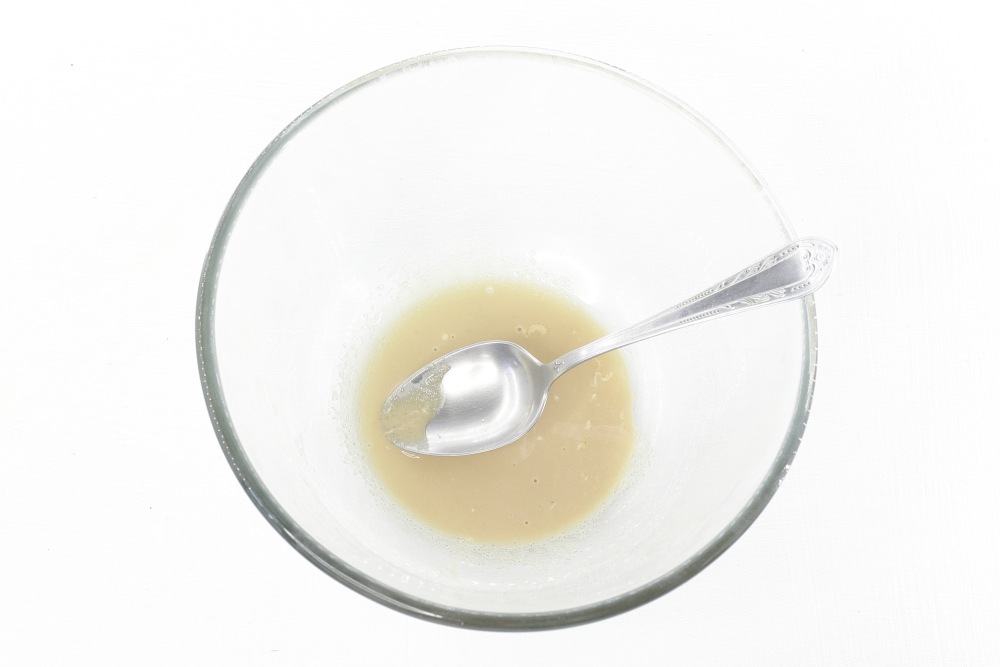
Grind well with a spoon. As the yeast is rubbed, the yeast should dissolve.
Watch the master class «How to spend in the kitchen no more than 1 hour a day and at the same time it is good and useful to feed» 👉🏻 here
-
Step 4
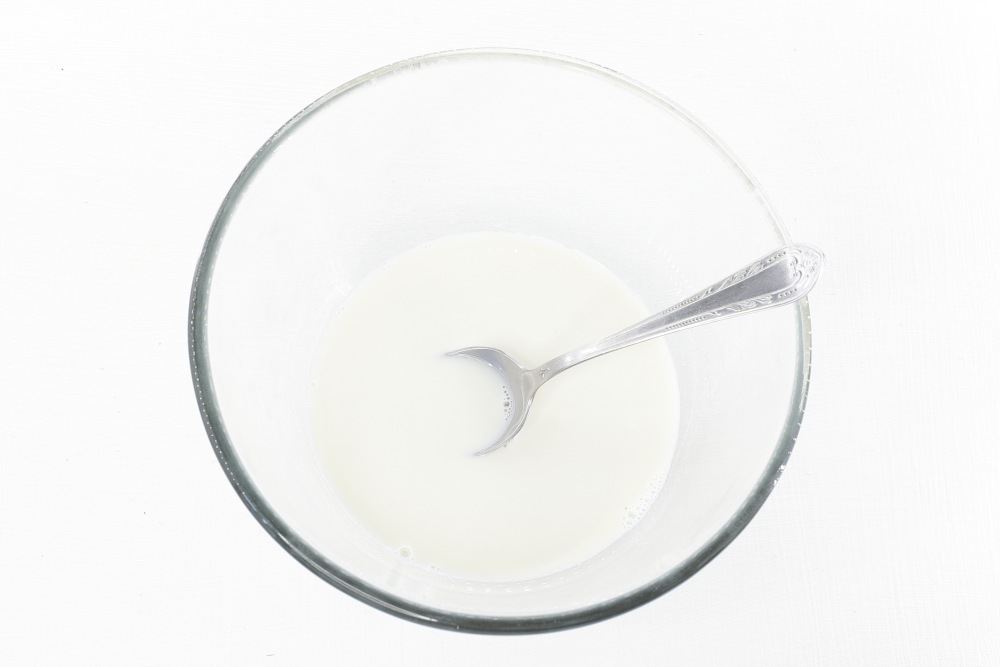
Pour warm milk. It should not be hot, since at high temperatures, yeast stops working. Mix milk with yeast.
-
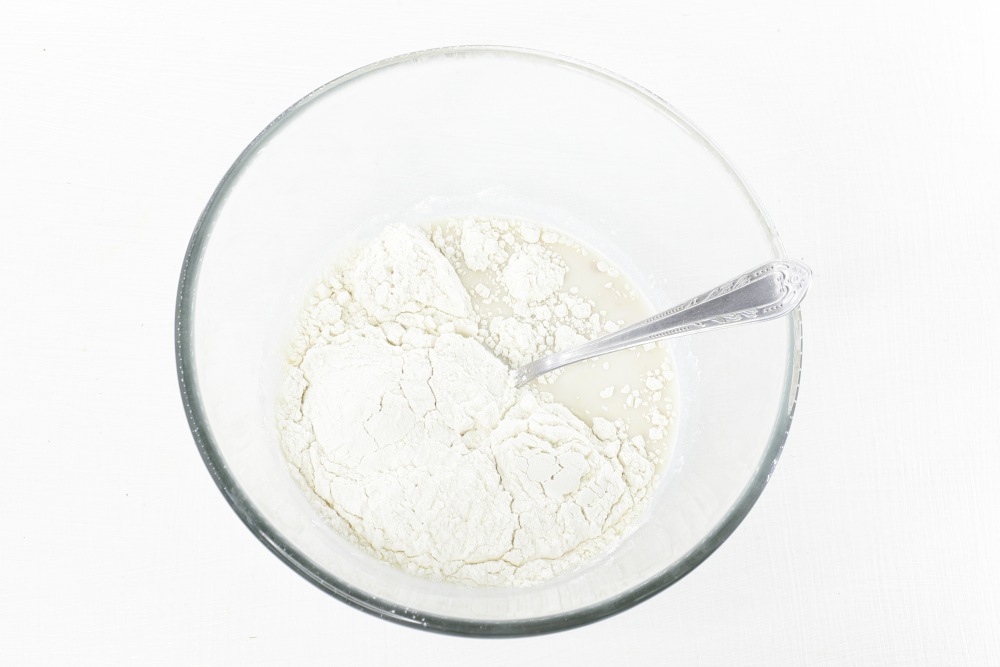
Step 5
Pour 130-150 g of sifted flour from the total amount to liquid ingredients.
-
Step 6
Mix a spoon so that all dry ingredients become wet. A homogeneous consistency without lumps should not be achieved. Opara should be of medium density.
-
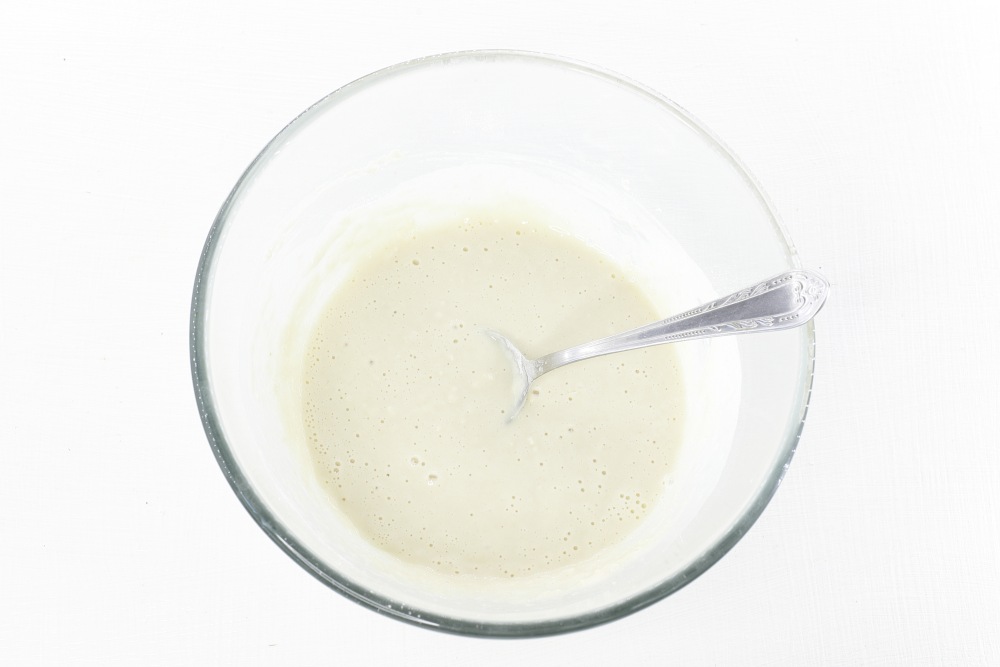
Step 7
Cover a bowl with a diet. Send to a warm place, where there are no drafts for 30 minutes. Opra, since the dough can be placed in a warm oven with a temperature of not higher than 50 ° C, disconnected by the microwave or simply on the kitchen table.
-
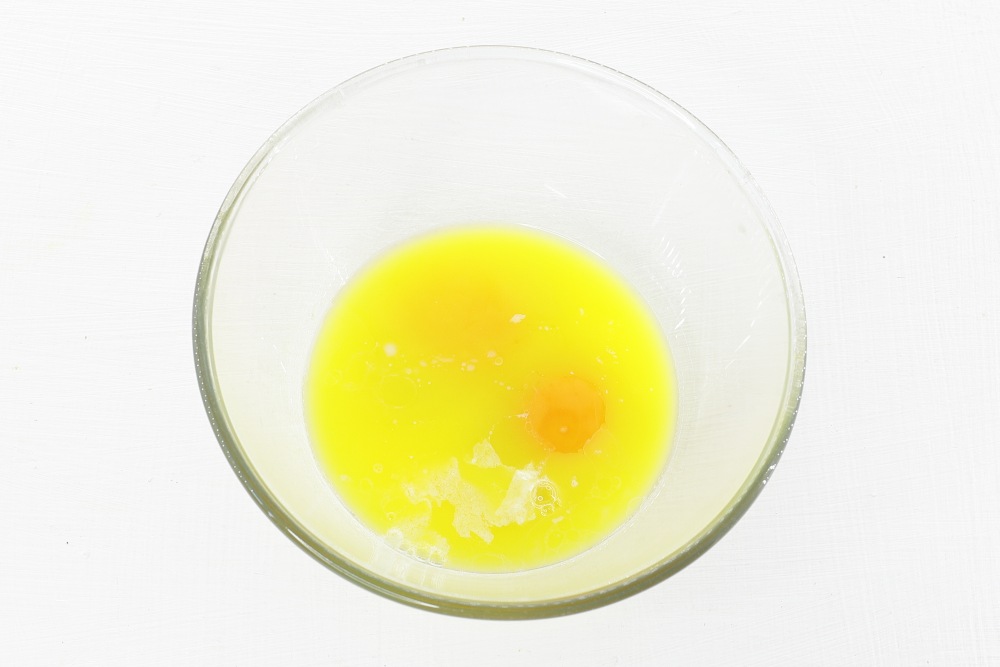
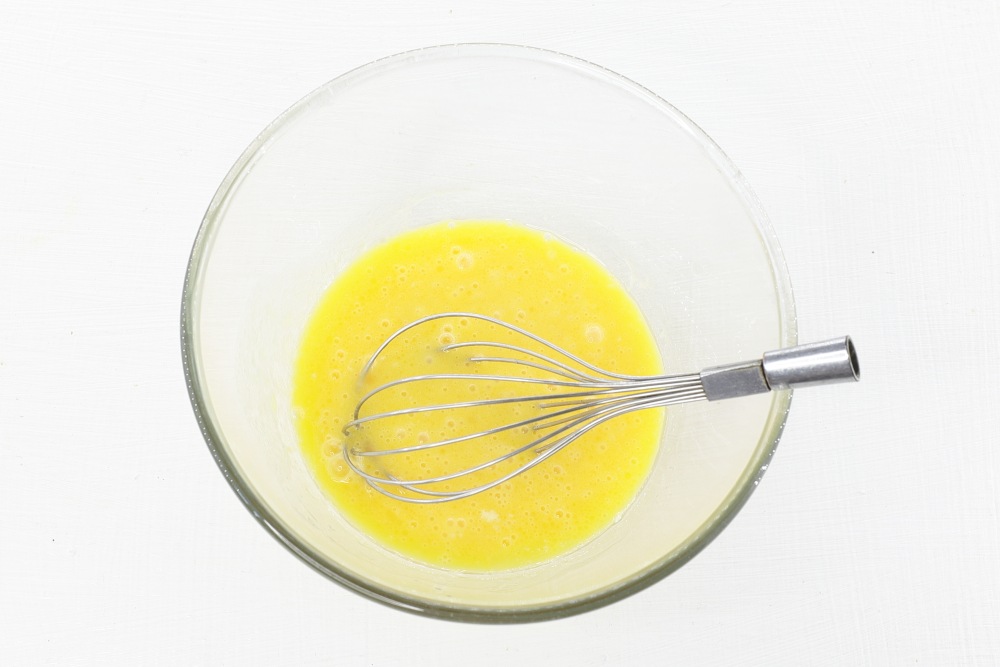
Step 8
Drive eggs into another deep bowl. Pour a warm melted butter.
-
Step 9
Mix a manual whisk so that all the ingredients are connected.
-
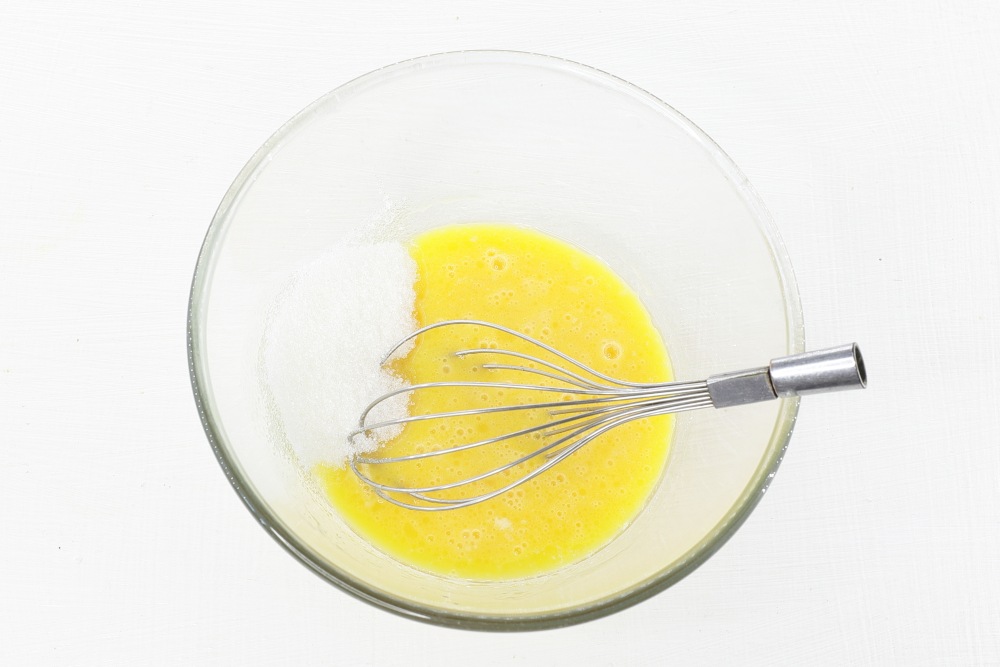
Step 10
Pour 30 g of sugar to the egg-oil mass.
-
Step 11
Mix thoroughly so that sugar grains dissolve.
-
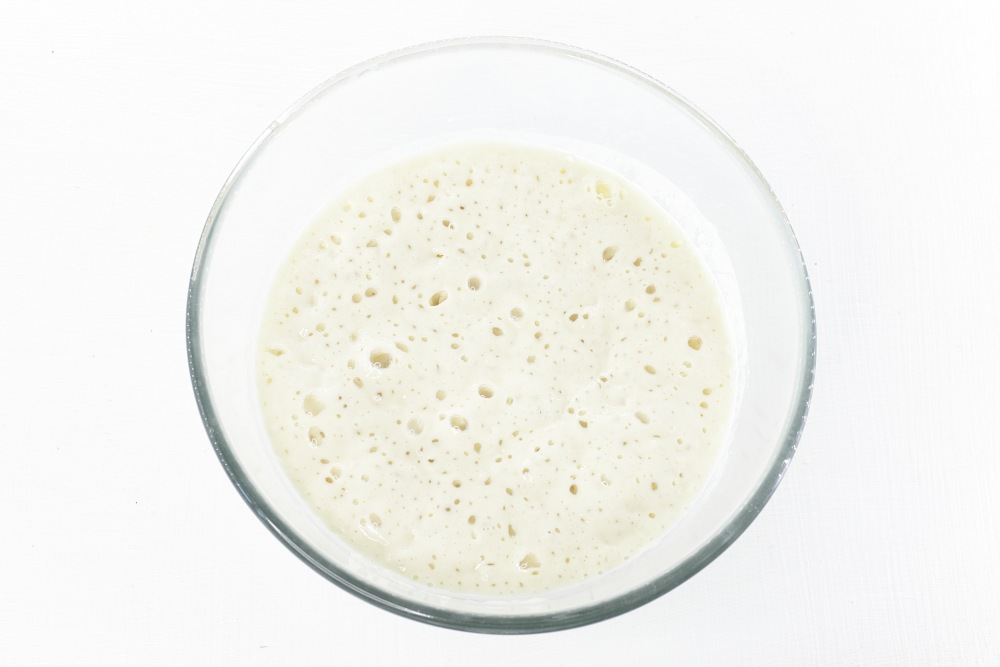
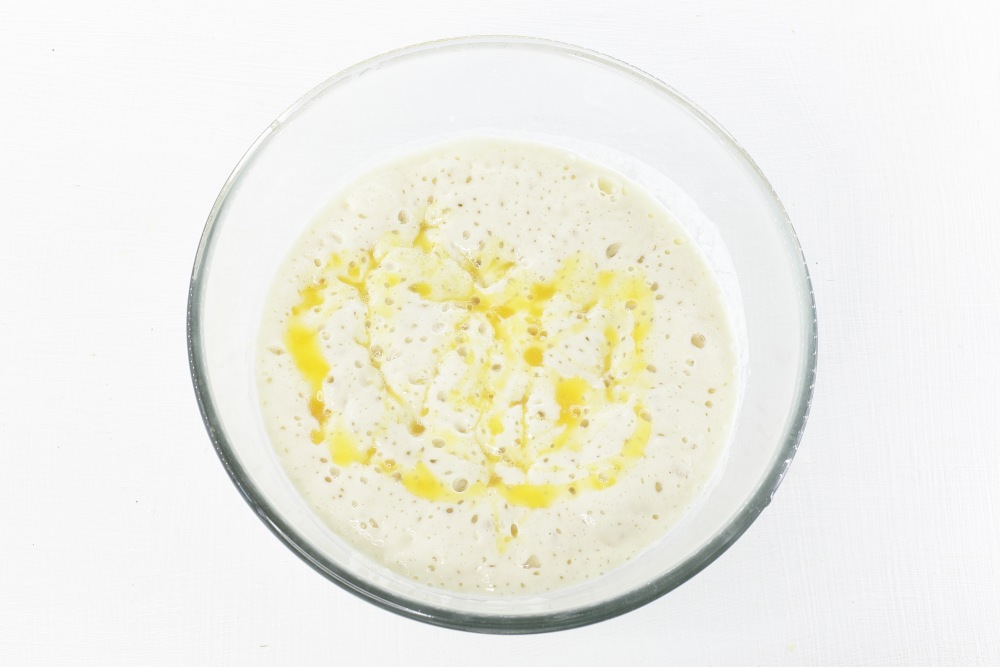
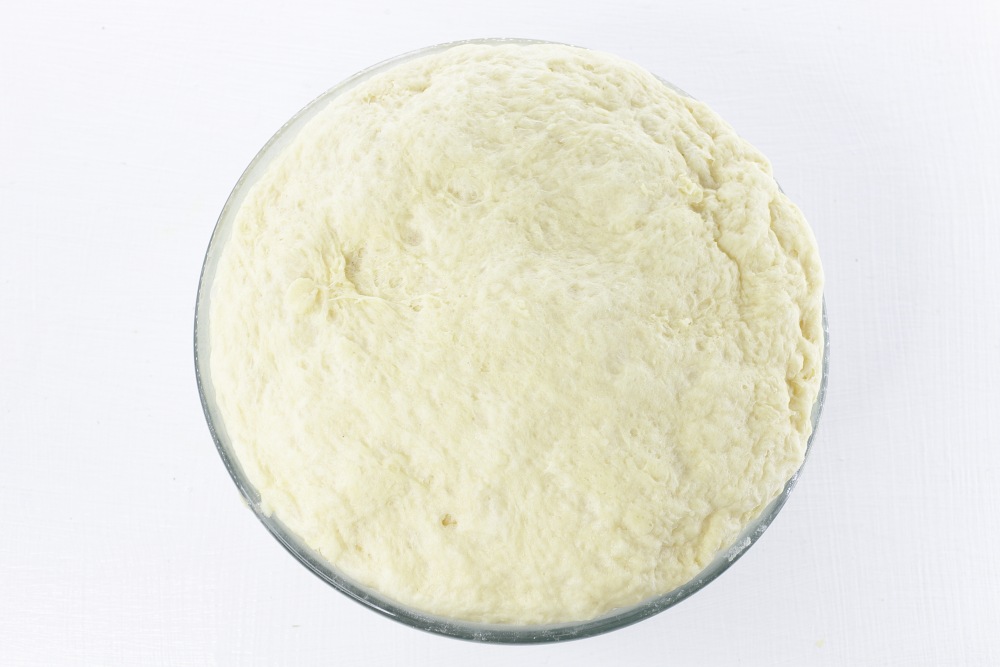
Step 12
Opara increased well in volume. It took me 30 minutes for this.
-
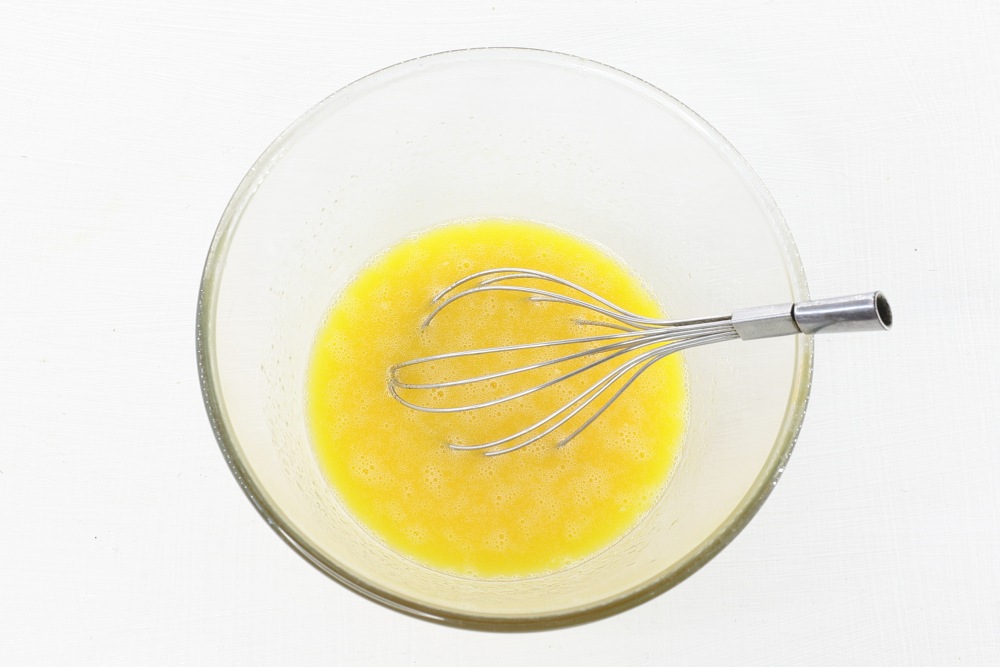
Step 13
Pour the oil-iamic mass to the dough.
-
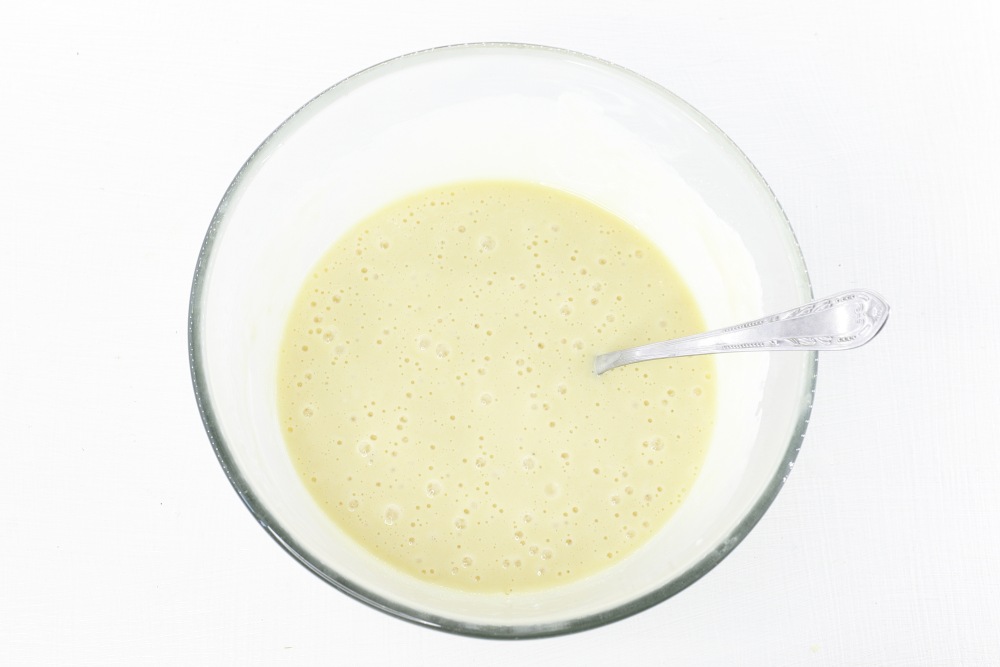
Step 14
Mix until smooth.
-
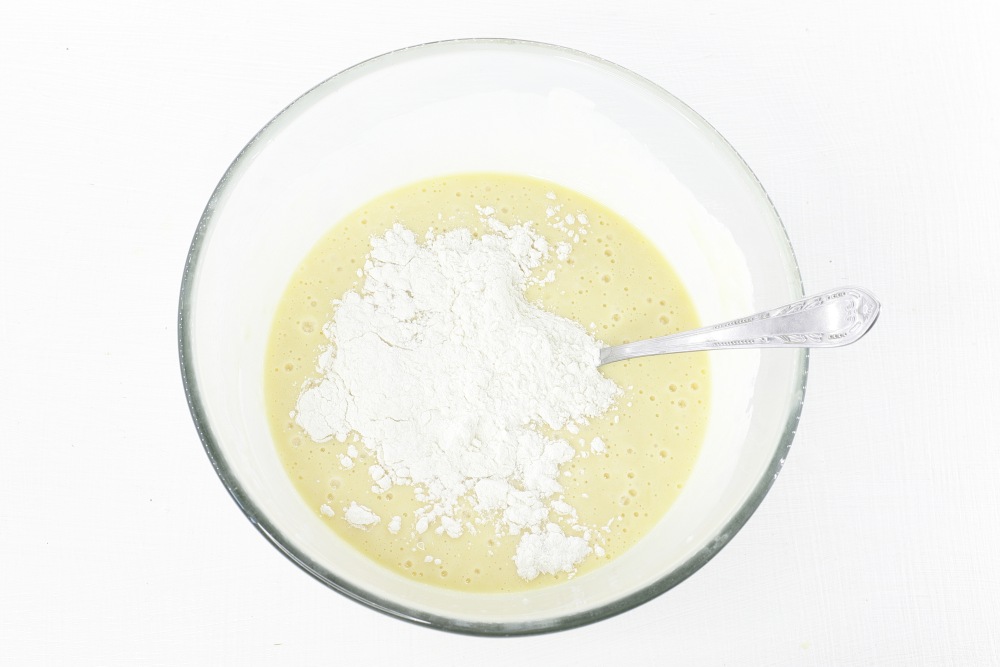
Step 15
Pour wheat flour into several techniques, mixing after each pouring.
-
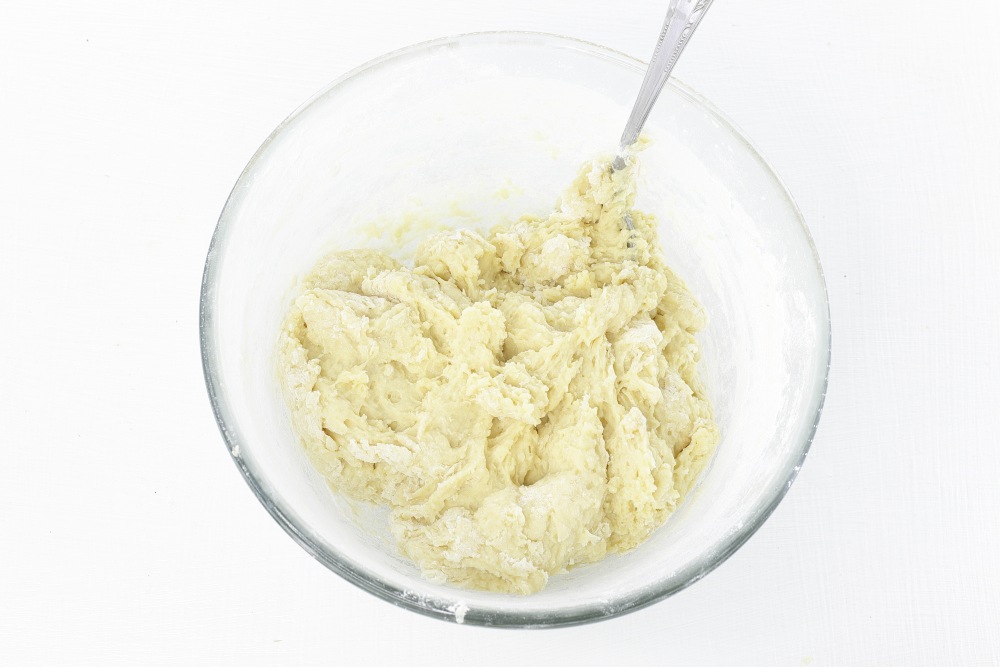
Step 16
To interfere with a spoon until it becomes difficult to interfere.
-
Step 17
Knead the dough with your hands, if necessary, pouring a little flour. The dough should turn out to be very soft and almost do not stick to the hands.
-
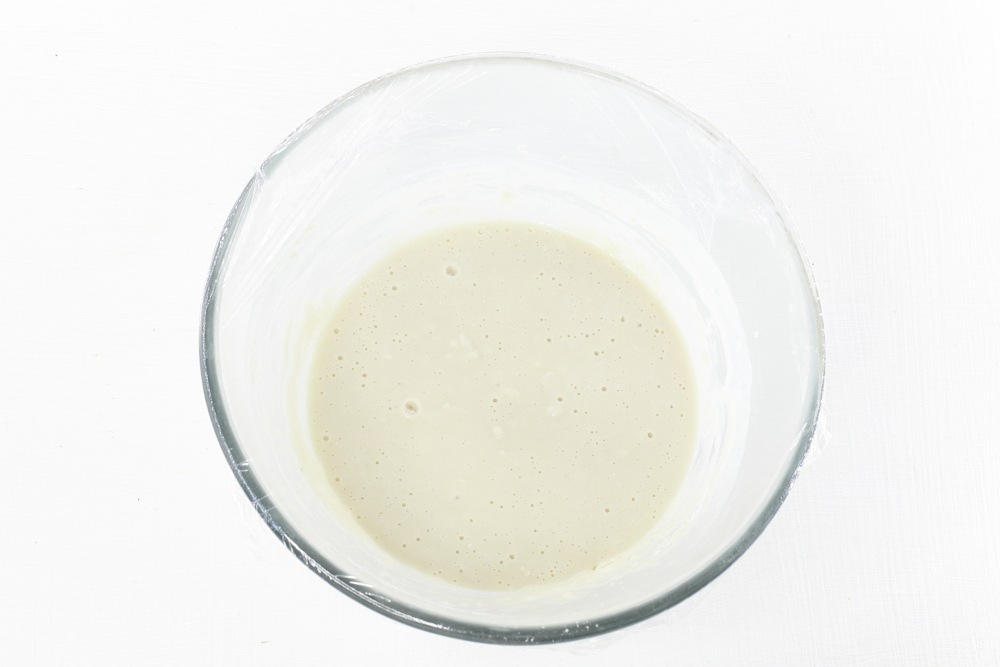
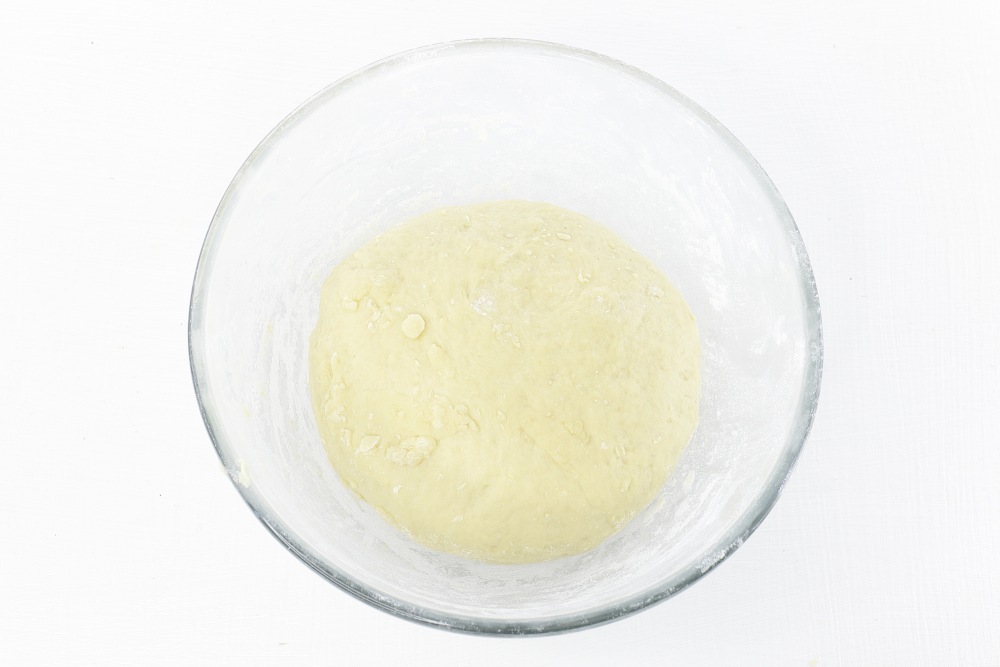
Step 18
Cover a bowl of dough with cling film. Send to a warm place for 60-90 minutes. The proofing time depends on the temperature in the room and the quality of the ingredients used.
-
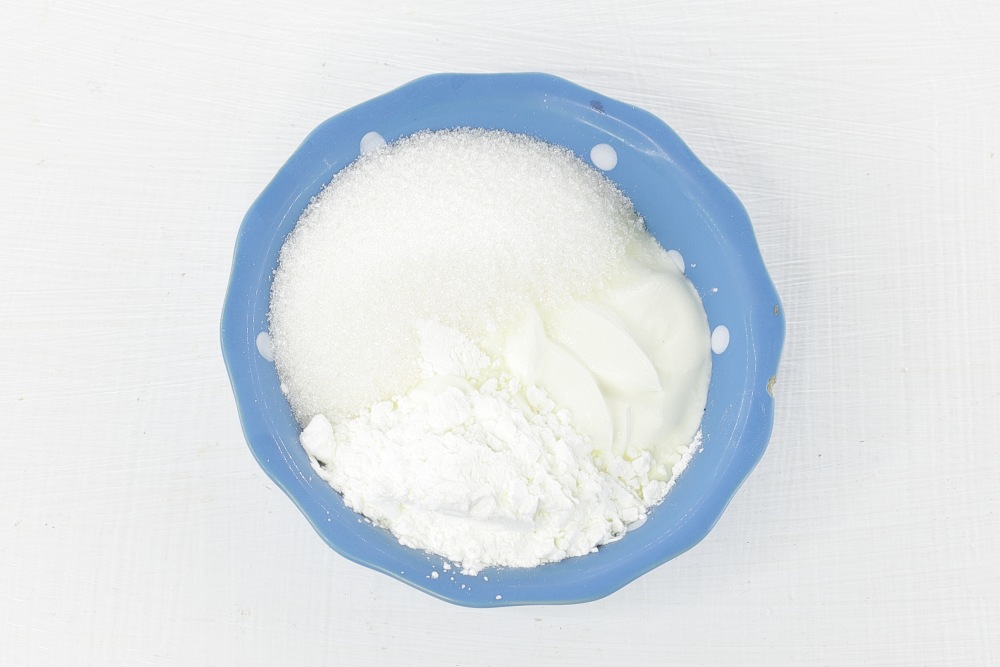
Step 19
Prepare a filling for classic sources. Add sour cream, 50 g of sugar and starch to a deep bowl. It is better to use corn.
-
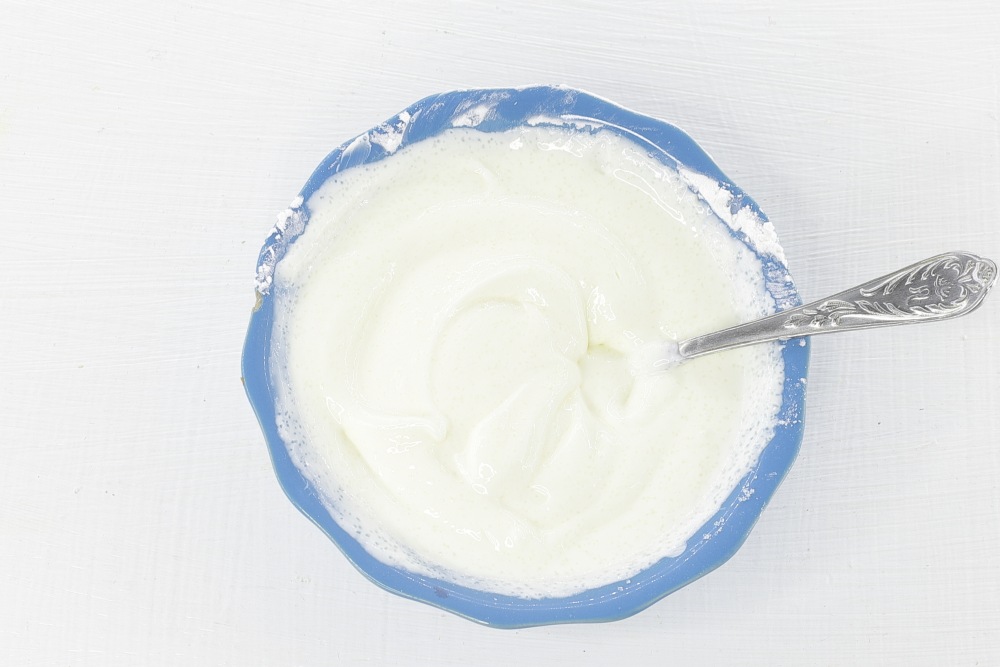
Step 20
Mix all the ingredients well.
-
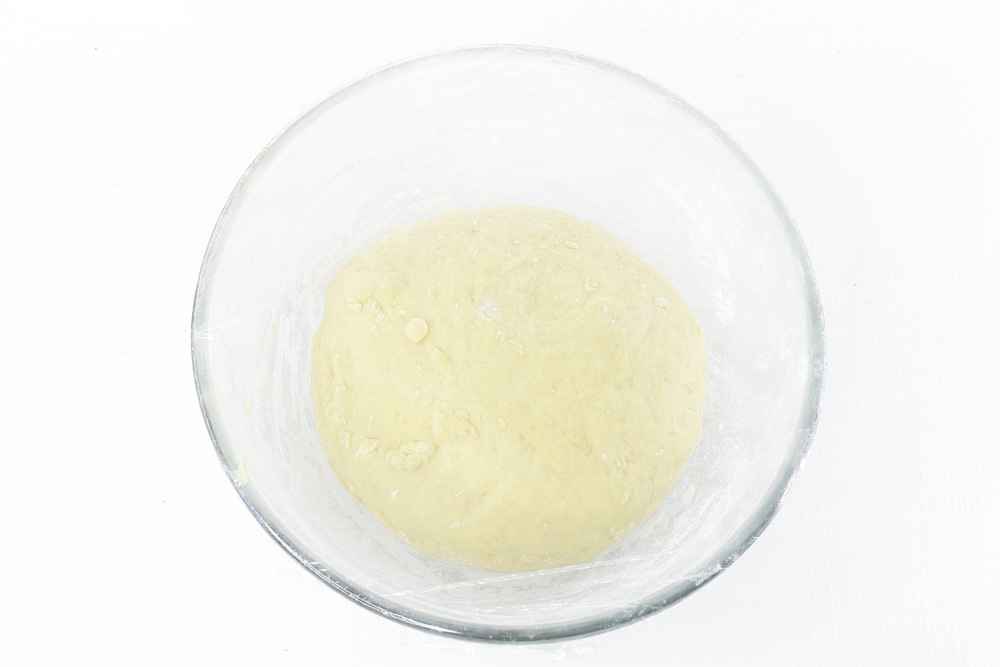
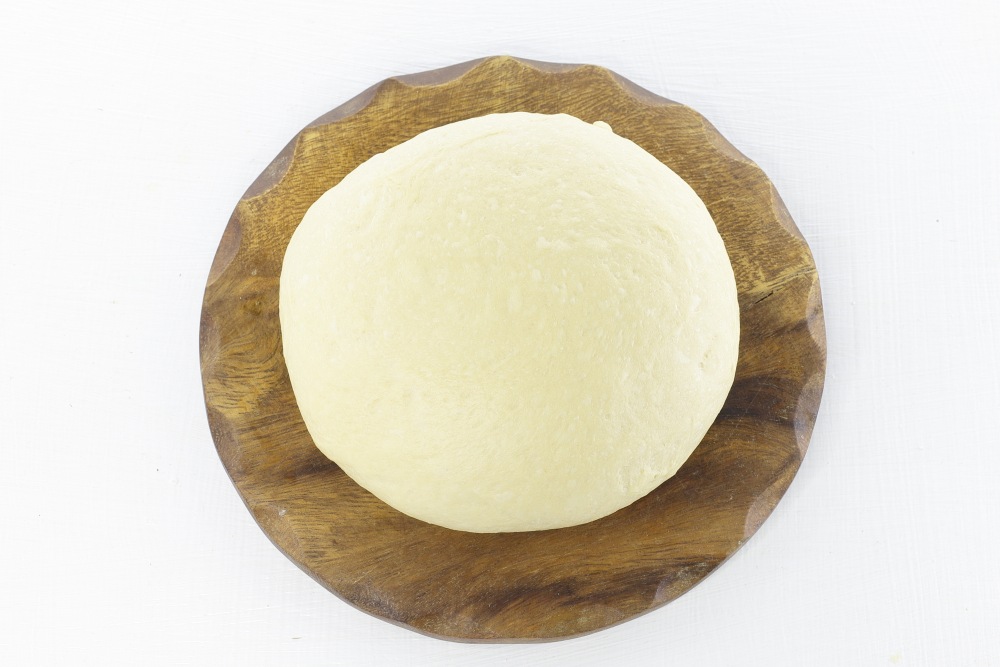
Step 21
The dough is ready to work. It increased three times. It took me 60 minutes.
-
Step 22
Rub the dough on the board. If necessary, the board is slightly thrust with flour. To make the sources even more airy, you can send the dough to the second proofing for another 60 minutes after the sight. The weight of the dough is 1 kg.
-
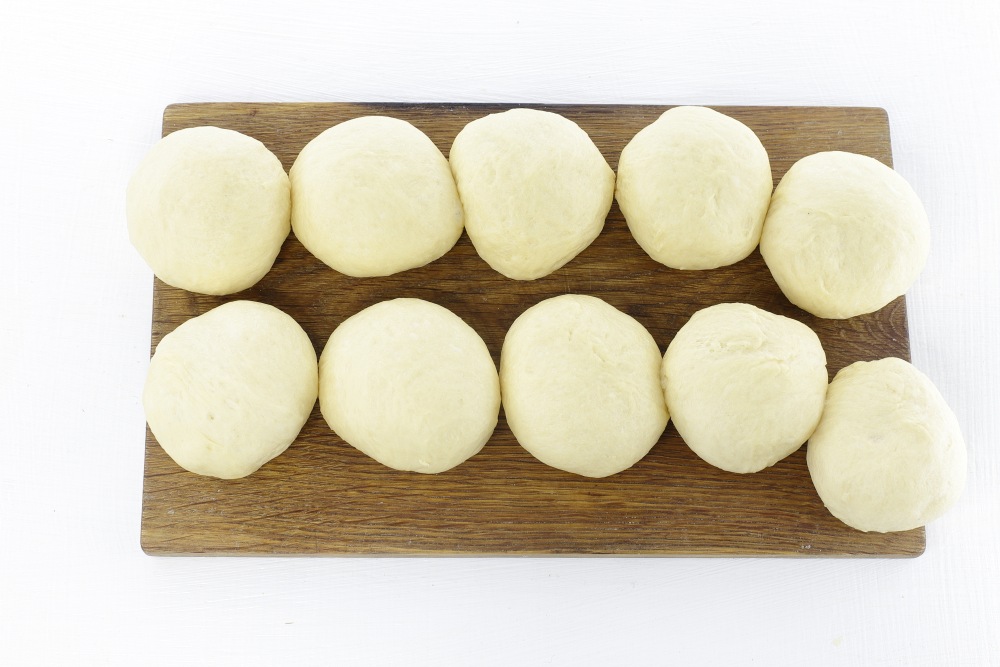
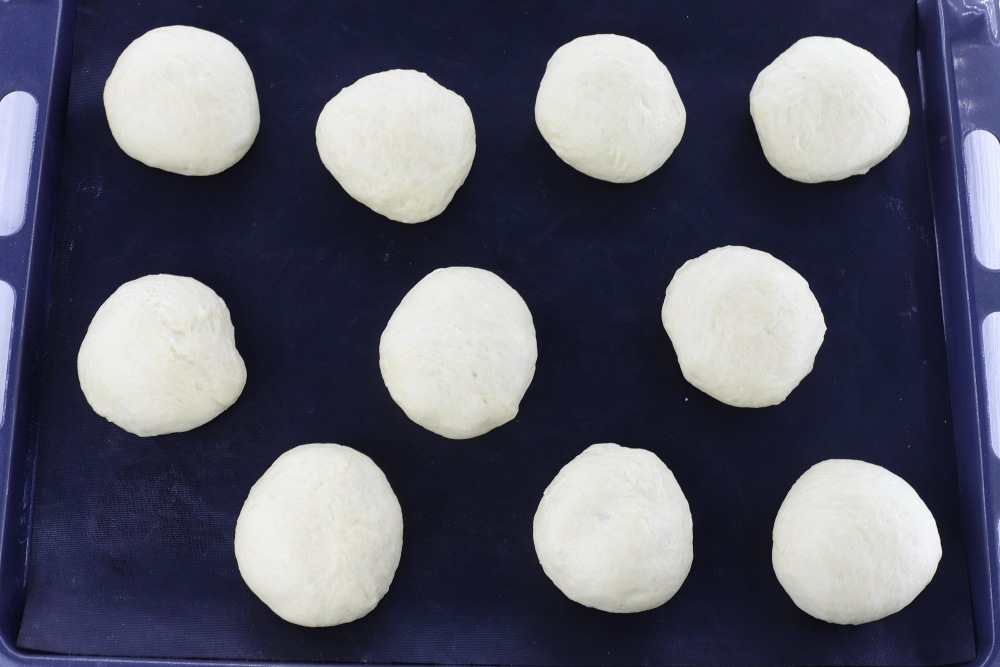
Step 23
Divide the dough into the same pieces. Form Kolobok. Weight of one kolobok 100 g.
You may be interesting:
Sweet buns made of yeast dough in the oven: 7 delicious ideas
-
Step 24
Cover the baking sheet with a parchment or anti -stick rug. Put the bunkers at a distance from each other, since during baking, the dough is good to increase in size. All ten blanks fit me on one baking sheet.
-
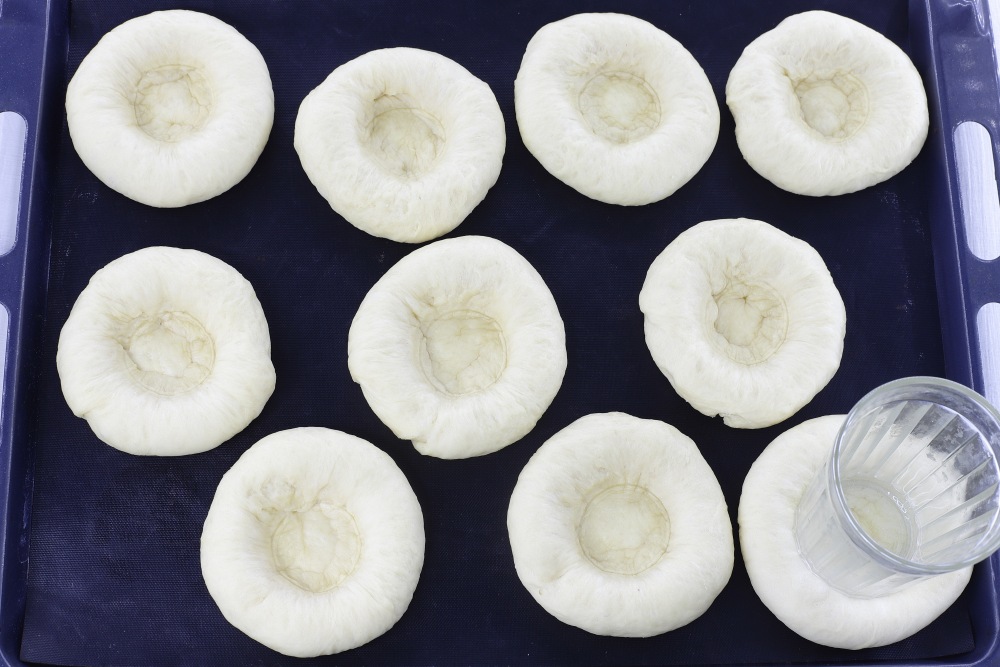
Step 25
Using a glass, make a recess in the center for the filling on each workpiece. This can be done with your hands.
-
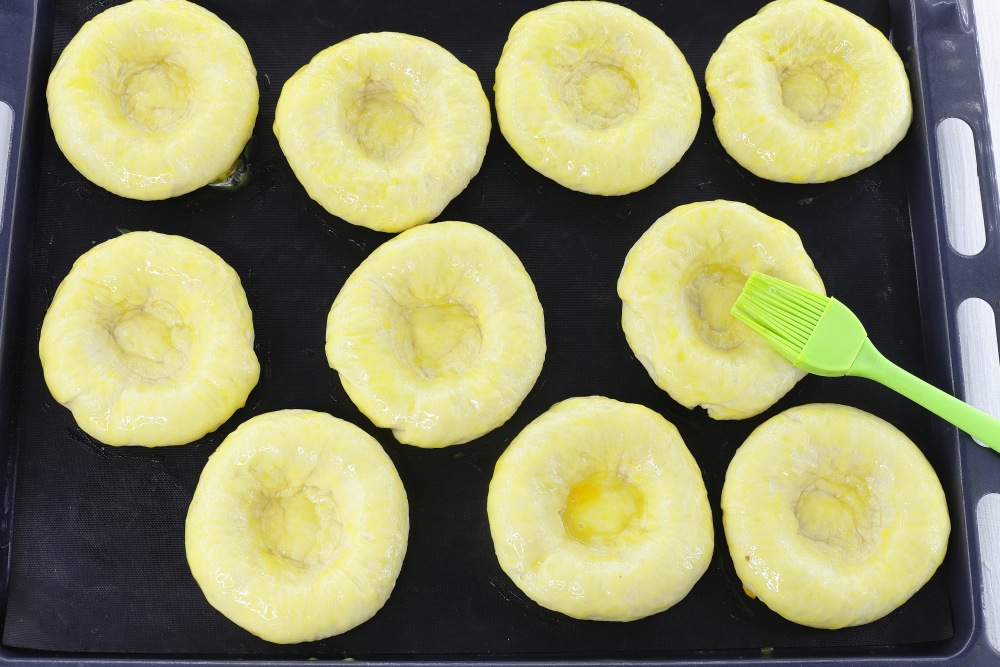
Step 26
The yolk shake with a brush until smooth. Lubricate each workpiece with yellow. Thanks to lubrication, after baking, you get glossy ruddy crust.
-
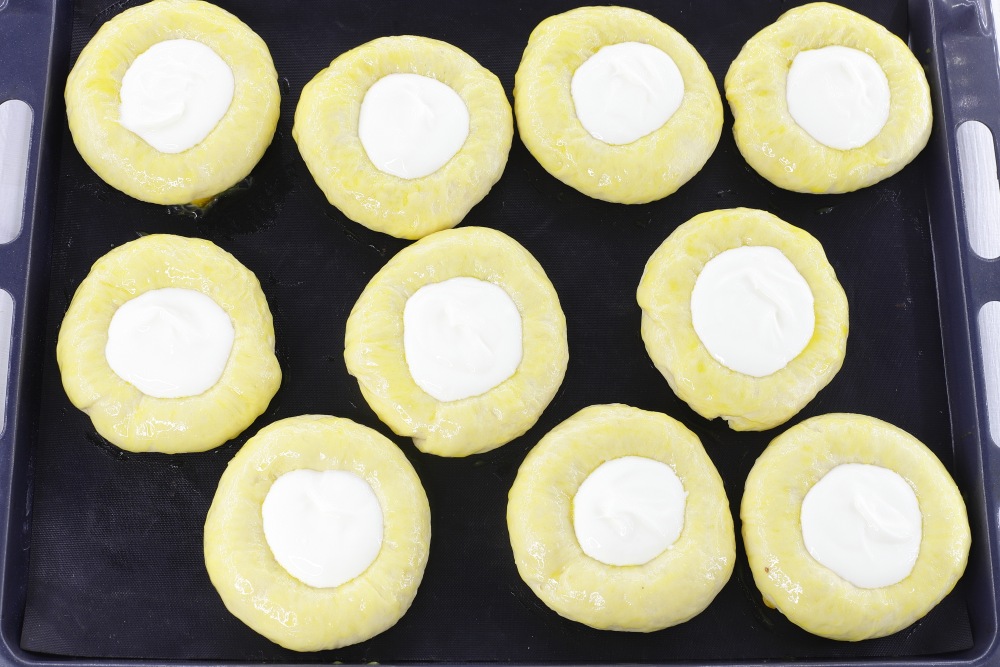
Step 27
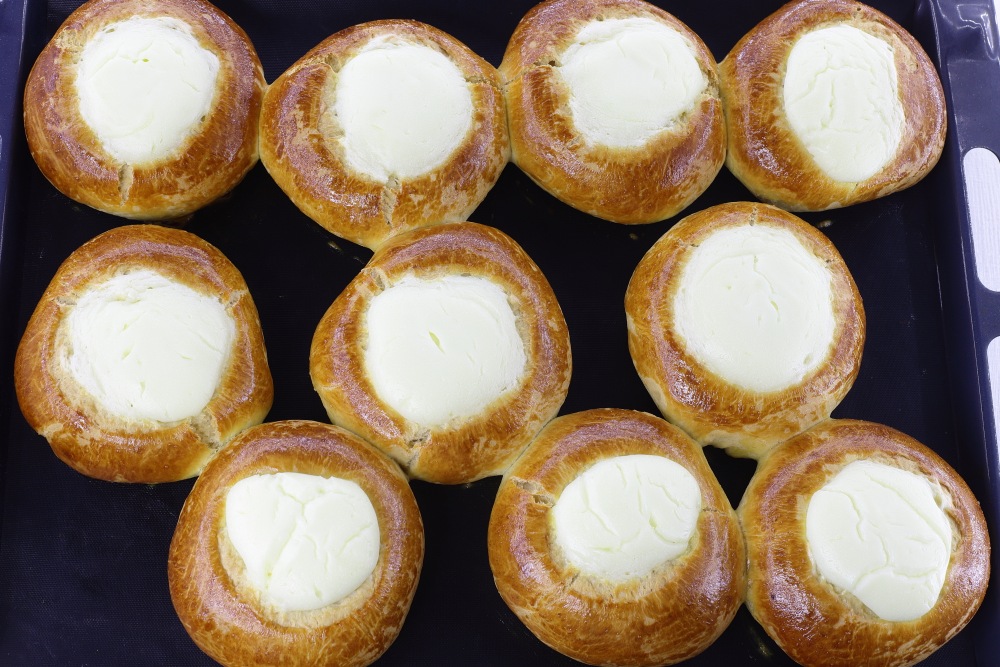
Add a portion of sour cream filling to each recess. It was just enough for 10 blanks. Heat the oven to a temperature of 180 ° C. Send a baking sheet to the oven for 25-35 minutes, to a rosy color of the sources.
The baking time is individually and depends on the technical capabilities of the oven and the size of the workpieces. Focus on your technique. I baked at an average level in the top mode/them with convection.
-
Step 28
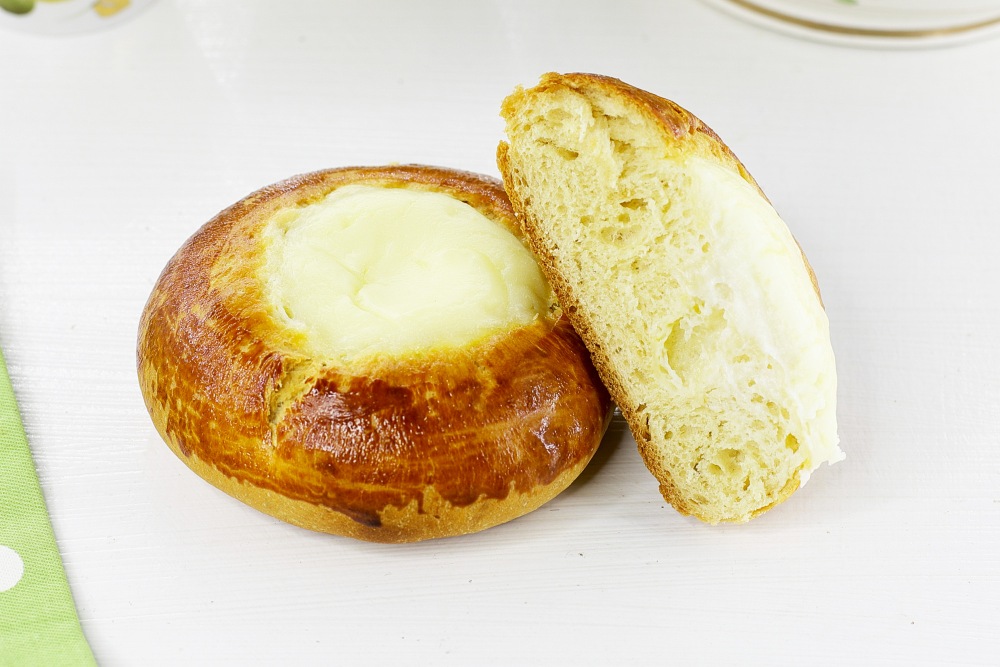
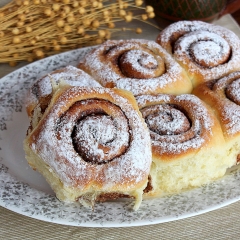
Here they are classic sources. Let them cool a little and you can enjoy. After baking, I always give sources to cool completely, and then transfer them to a container with a lid. So they retain freshness for 2-3 days at room temperature.
-
Step 29
As it turned out, the whole process is not so complicated. Everything is simple: yeast dough, sour cream, a little patience — and now on the table warm, fragrant sources, like a grandmother!
Nice tea party!
📌 If you liked this recipe for sources, look also our selection Home yeast pastries With photos and videos — there are many cozy and delicious recipes that you should definitely try.