Preparation: Step 1
-
Cherry video recovery in jelly for the winter
Watch the video on a separate page
Cherry Recipe in jelly for the winter with step -by -step photos
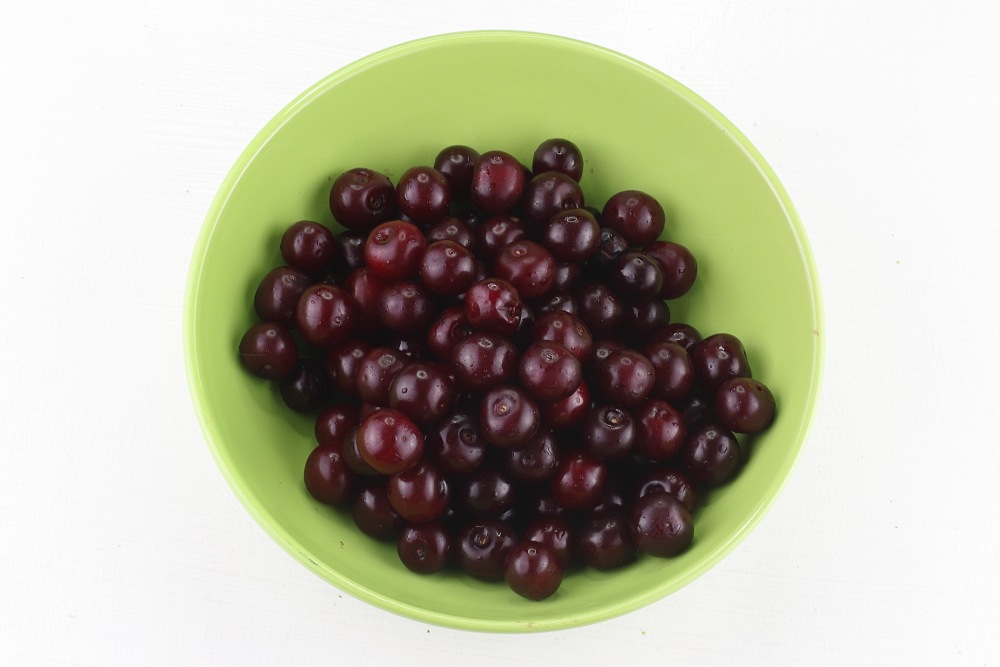
In order for cherry in jelly to be tasty and beautiful for the winter, it is very important from the very beginning to choose high -quality berries. You need to use fresh, dense, ripe cherries without bones or with bones — at will. I prefer to take dark, saturatedly colored berries — they give more juice, which means that the jelly will be bright, fragrant and saturated to taste.
Try to select the cherry of the same size — so ready cherry jelly for the winter will turn out not only tasty, but also aesthetic, especially if it is served to desserts or used as a filling.
-
Step 2
To sort out cherries, remove all rotten, cracked or dry fruits. Gently cut off the tails.
-
Step 3
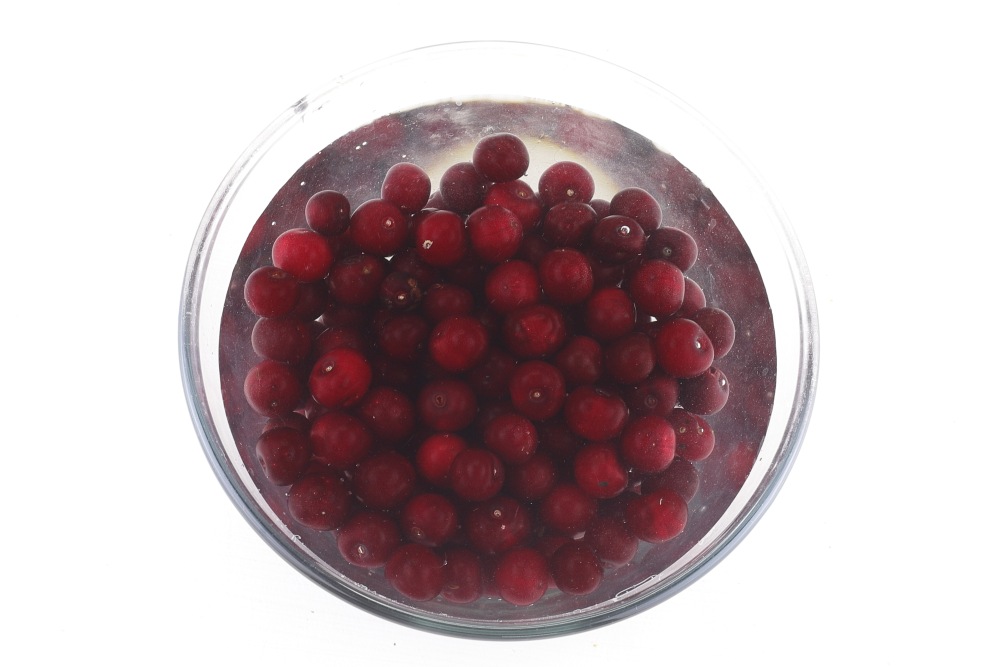
Pour the berries with cold water and leave for 10-15 minutes. This simple step helps not only to clear the berries of dust and fine debris, but also to relieve possible insects. Such preliminary processing is a guarantee of cleanliness and safety of homemade blank from cherries for the winter.
-
Step 4
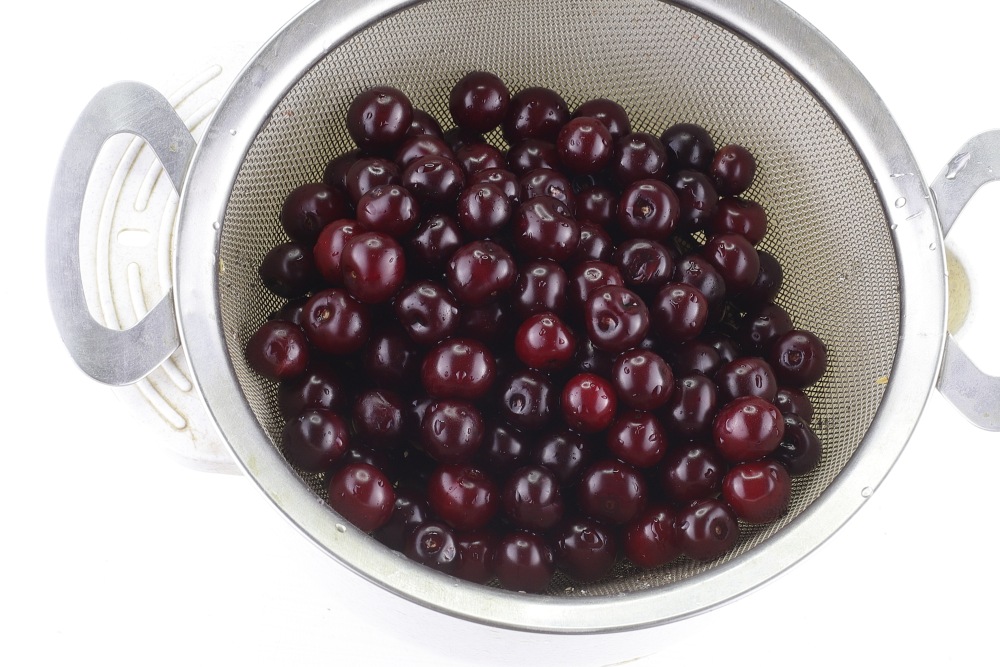
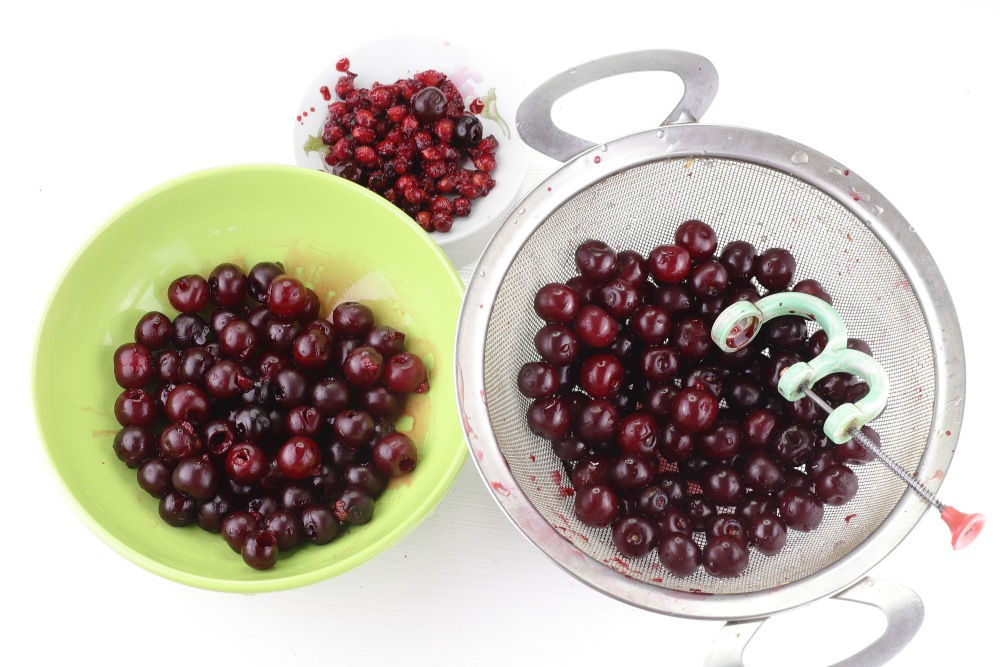
After soaking, throw the cherry on a colander, rinse thoroughly under running water. Leave for a few minutes so that the entire excess glass liquid.
Watch the master class «How to spend in the kitchen no more than 1 hour a day and at the same time it is good and useful to feed» 👉🏻 here
-
Step 5
Remove the seeds with a special «bone -out -of -the -clock» or ordinary wooden skewer. Do this carefully, trying not to damage the pulp. This is especially important if you want cherries to maintain shape.
If you plan to prepare cherries in jelly with bones, you can skip this step — but do not forget to warn home, especially children.
You may be interesting:
What to cook from cherries: the best home recipes
-
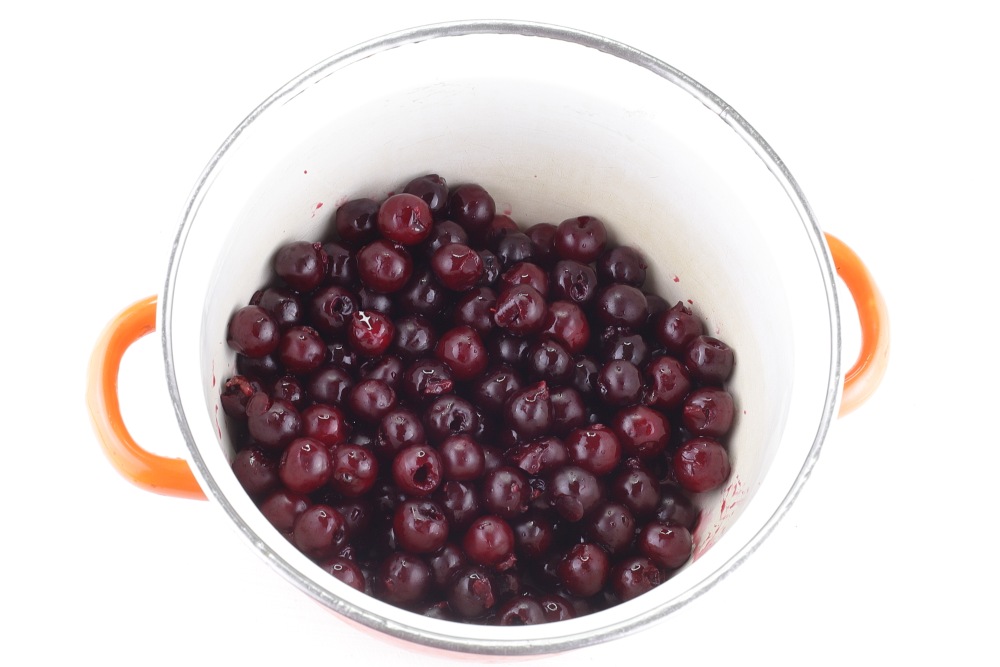
Step 6
Transfer the prepared cherry into the pan. It is best to use dishes with a thick bottom — enameled or stainless steel. This will provide uniform heating and reduce the risk of handling when cooking cherries.
-
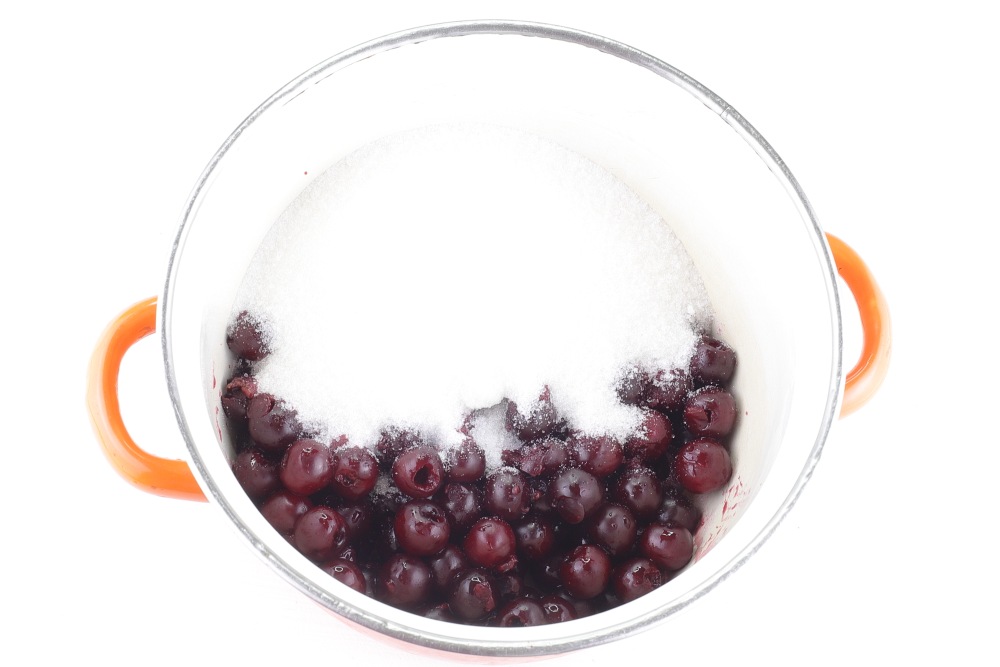
Step 7
Pour sugar. For 500 g of cherries, I use 250 g of sugar — this is the optimal ratio in which the dessert remains naturally fruit, not sugary. This amount of sugar is enough for taste and conservation, especially taking into account the fact that we will add gelatin, which additionally stabilizes the workpiece.
-
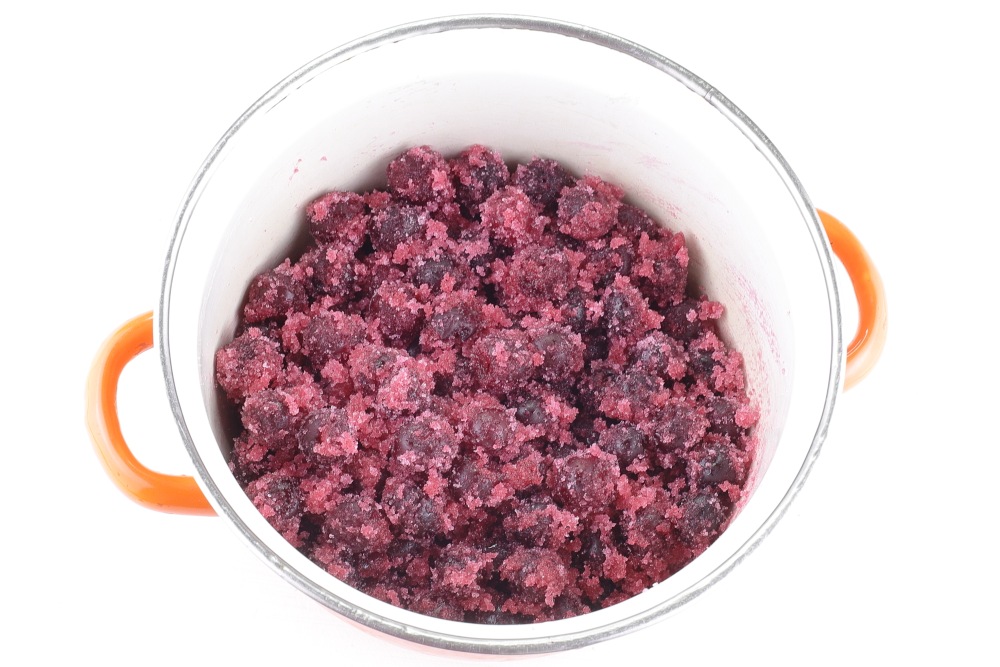
Step 8
Mix the cherry with sugar well, then cover with a lid or towel and leave for at least 30 minutes, and preferably for an hour. During this time, the berries will let the juice — it will be the basis of our cherry jelly.
-
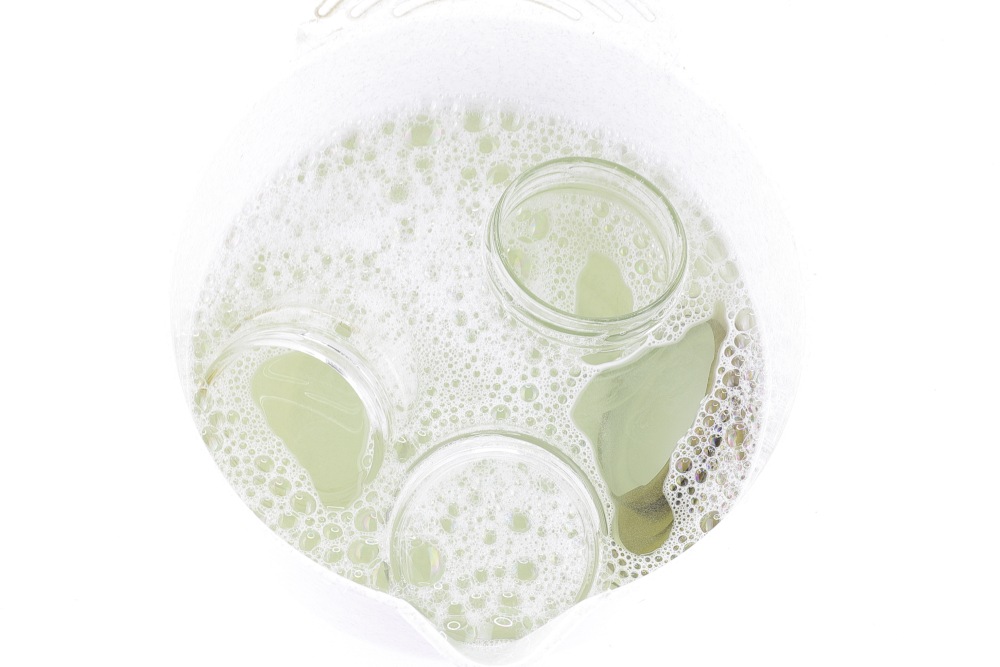
Step 9
While the berries are insisted, to prepare the containers. I prefer small jars with a volume of 200 ml — this is convenient for storage and use. Wash the banks thoroughly with soda or detergent, then rinse with water.
-
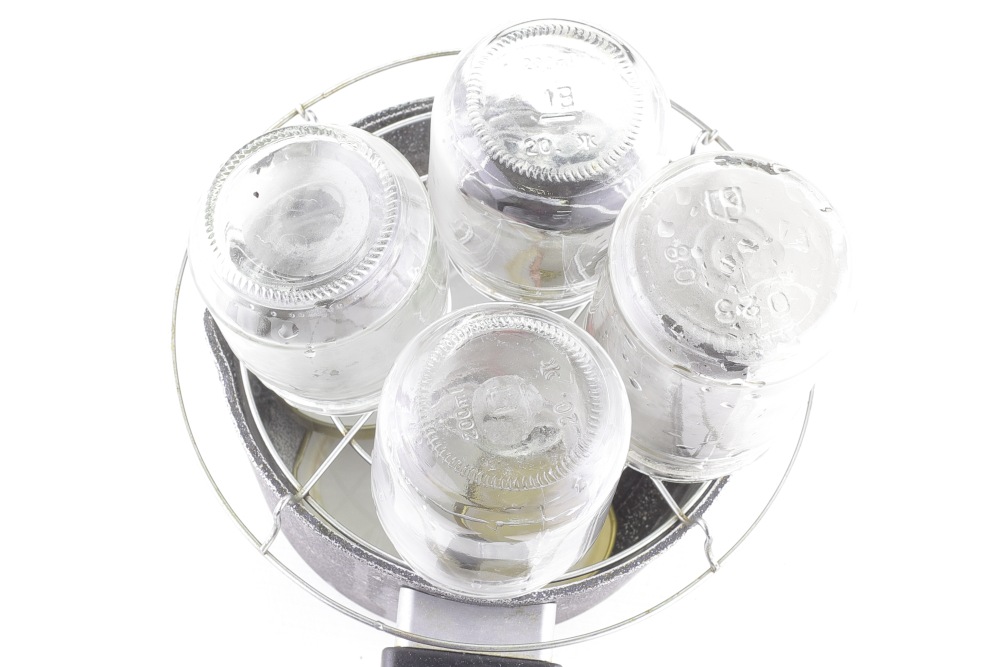
Step 10
Sterilize banks in any convenient way. I put them in a water bath for 10-15 minutes. I boil the lids separately in the pan. This step is especially important if you want cherry in jelly with gelatin to be stored for a long time and not spoil.
-
Step 11
Put sterile jars with lids on a clean kitchen towel.

-
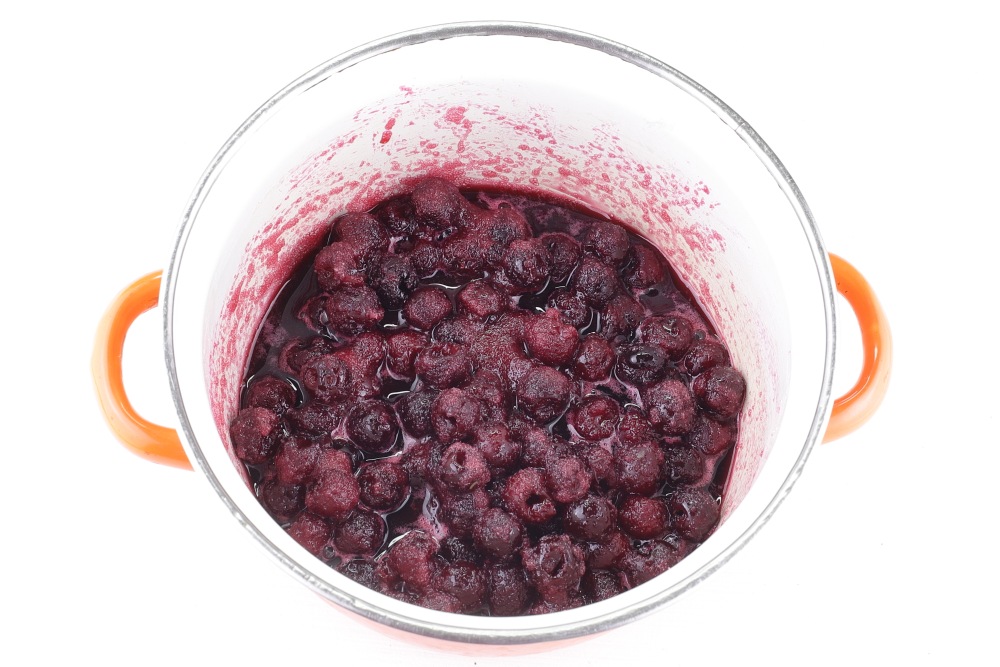
Step 12
For the indicated time, the cherry will give a lot of juice. Put a pan with berries on low fire. Constantly stir, bring to the complete dissolution of sugar and boiling. At this moment, the kitchen is filled with an enchanting aroma!
-
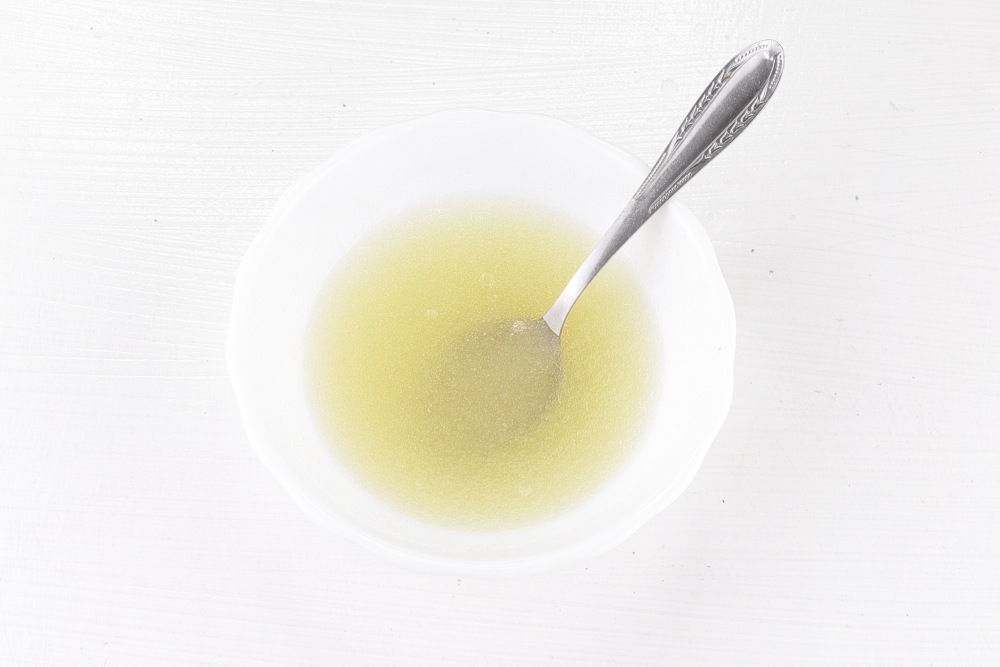
Step 13
Dvivatin pour boiled water at room temperature. Mix. Leave swell for 8-10 minutes.
-
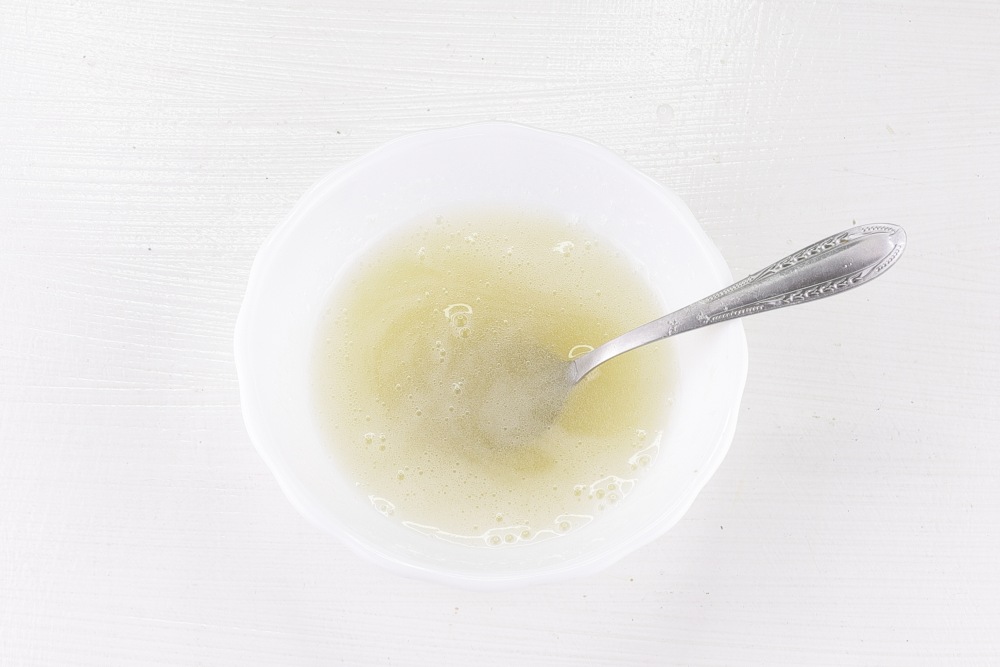
Step 14
Dissolve gelatin in the microwave in small pulses of 10-15 seconds, mixing after each warming. The main thing is to prevent a mixture of boiling, otherwise geling properties can decrease.
-
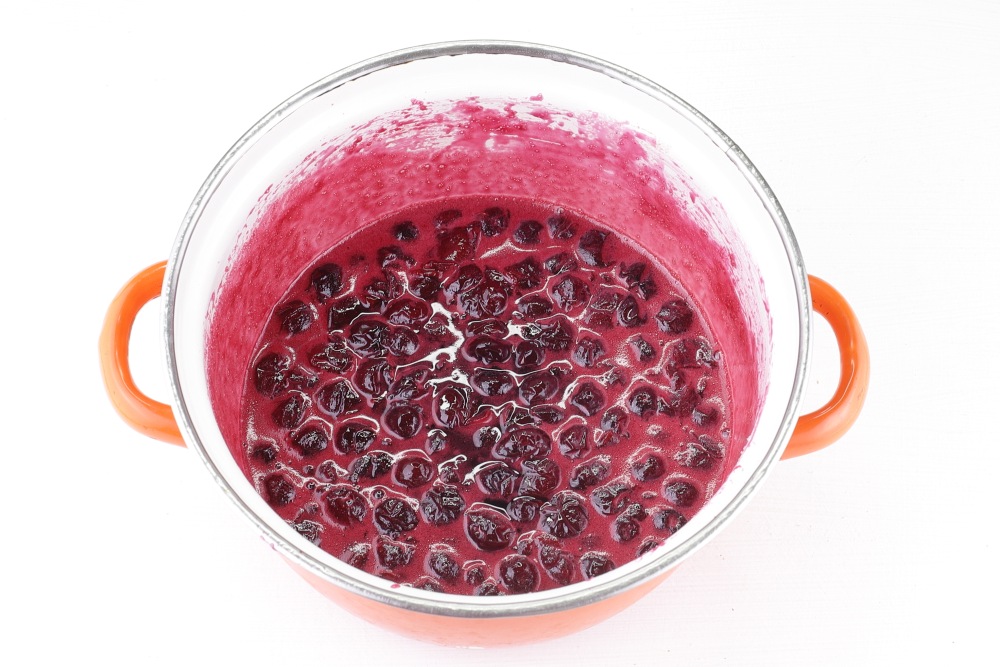
Step 15
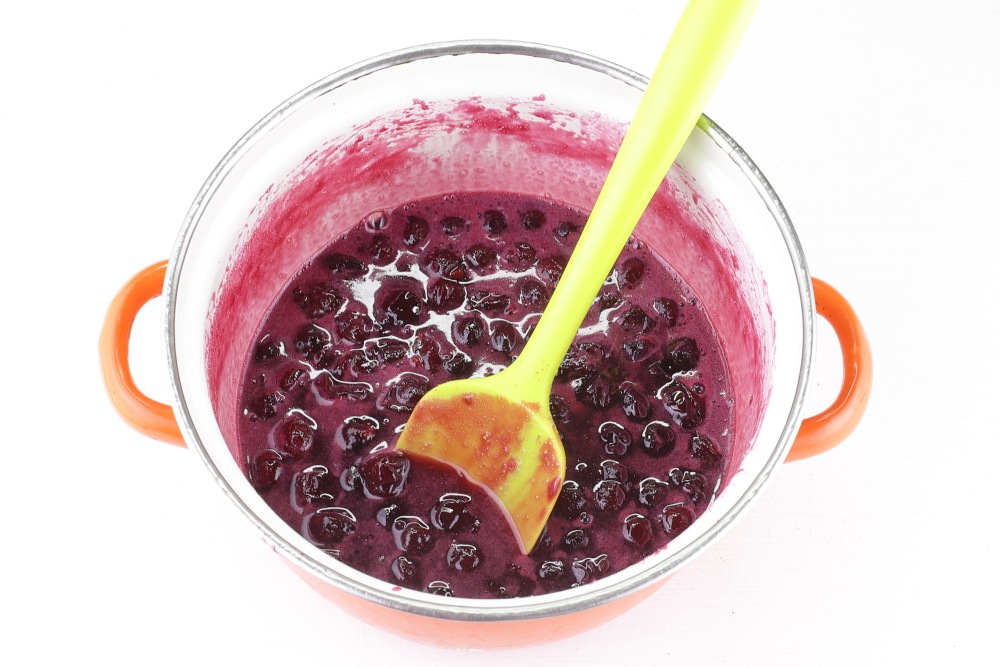
As the berries boil on the surface, a foam forms, which can be removed with a spoon. But I don't do it. The foam is also very tasty. Boil over low heat for 10 minutes, stirring so that the cherry mass does not burn.
-
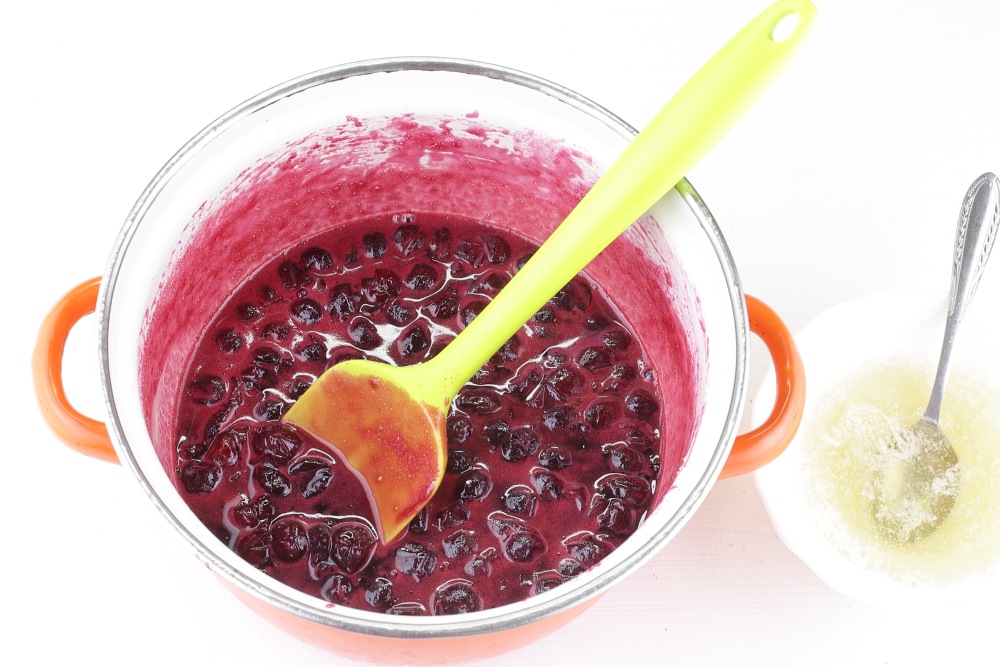
Step 16
Remove the saucepan from the fire. Let cool about five minutes. Then pour in loose gelatin. Thanks to this step, cherry jelly for the winter will turn out to be homogeneous, dense, but delicate.
-
Step 17
Mix thoroughly so that the gelatin is evenly distributed.
-
Step 18
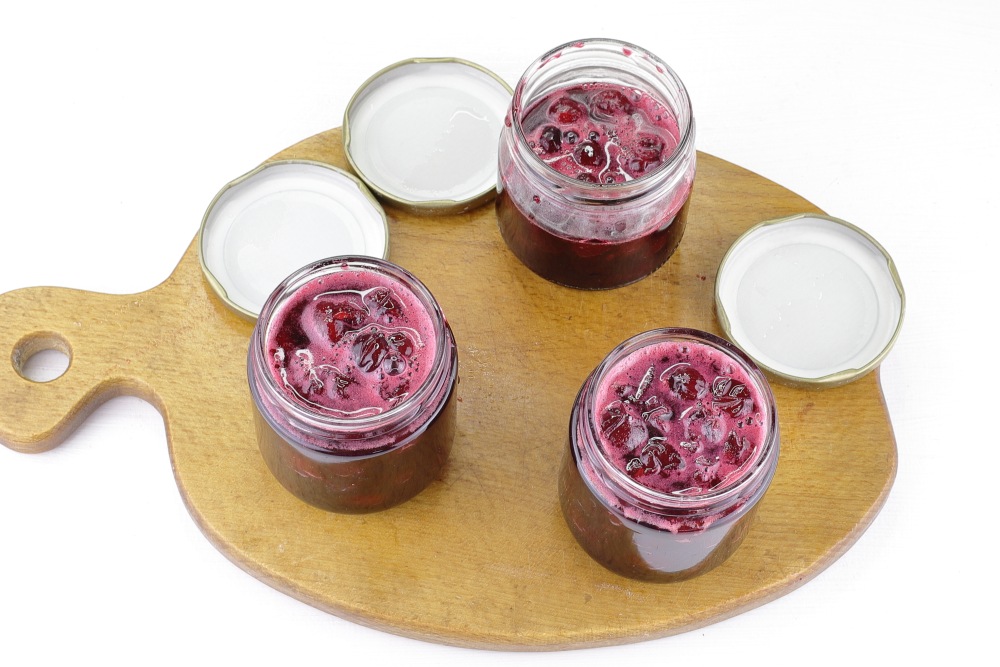
Pour the hot mass in sterile jars and firmly unleash. I got 2 full jars of 200 g and half the jar per sample.
-
Step 19
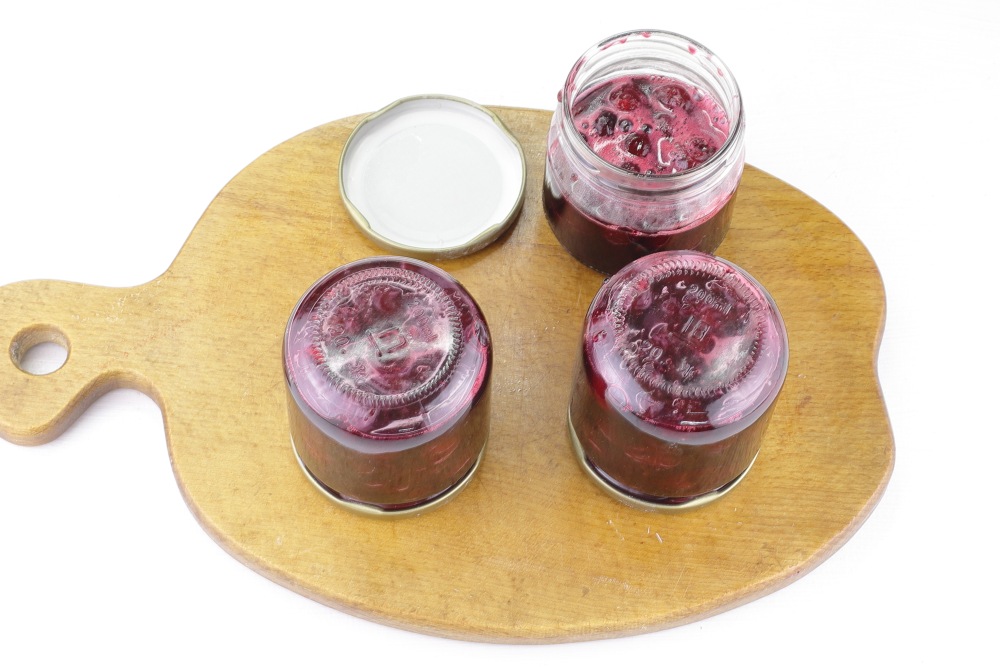
Turn the workpiece. Leave in this position until completely cooled. It is not necessary to wrap — jelly does not require a long «steam effect».
After complete cooling, I recommend that you store the cherry in the jelly in the refrigerator, cellar or on the cold glazed loggia. Thanks to gelatin and a relatively small amount of sugar, such a dessert requires cool conditions. Shelf life — up to 6 months. After opening, it is advisable to use the jar for 7-10 days.
-
Step 20
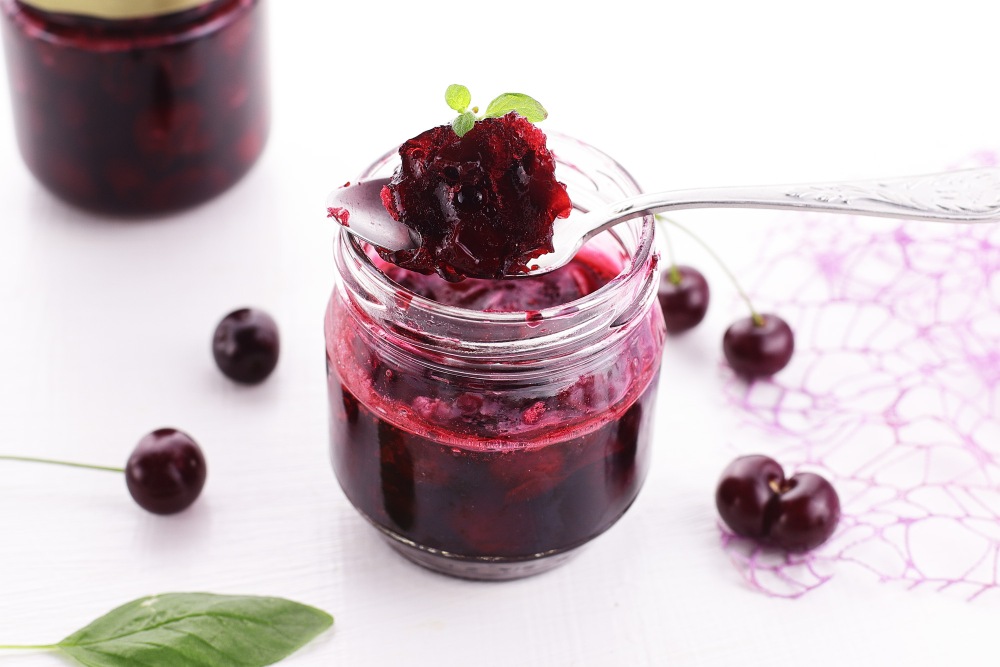
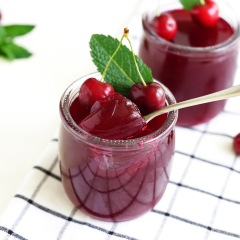
Cherry in jelly for the winter is ready! In the cold season, it is especially nice to open a jar of cherries in jelly, spread on a toast or just eat a spoon with tea.
Nice tea party!
📌 See also our selection of others berry workpieces recipes — With step -by -step photos and videos. Jam, compotes, jelly and jams — for every taste and color! 🙂