
Step 1
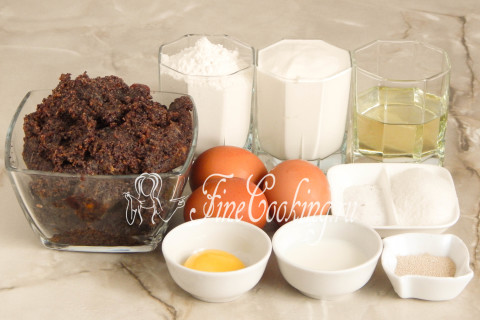
First of all, we will prepare the ingredients for home yeast dough: wheat flour, sour cream, chicken eggs, refined vegetable oil, salt, granulated sugar and high -speed yeast. All products should be at room temperature. For the filling, I propose to use the finished poppy mass. How to cook it at home read here. Before baking, it will be necessary to lubricate the blank with a mixture of egg yolks and milk for beautiful brown crust.
Step 2
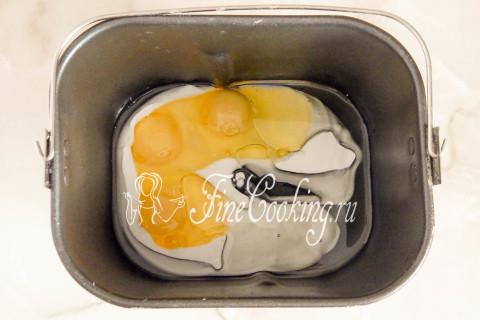
The yeast dough can be kneaded with your hands or use a bread maker (dough). I like to use the bread maker. Depending on the electrical appliance model, the laying of ingredients can be of two types: at first liquid, then bulk and vice versa. I have the first option. Pour vegetable oil (without smell), sour cream and break the eggs into the bakery container. We’ll chat a little.
Step 3
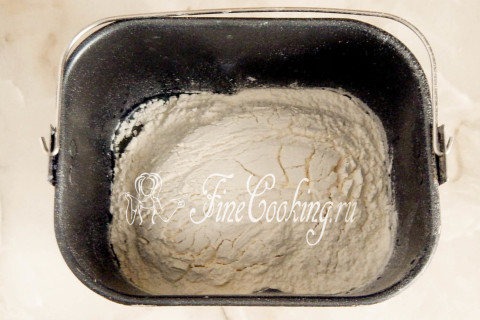
Now add sifted wheat flour. Sift the flour in order to make it more air, as well as get rid of lumps and probable particles of garbage.
Step 4

At the end, pour salt, granulated sugar and high yeast in different corners of the bowl.
Step 5

In my bread maker, the dough mode provides for the duration of kneading and proofing exactly 1 hour. But I don't like it so much, because the yeast test is at least 2 hours. That is why I recommend that you do as follows: we exhibit the main (3 hours) program or French bread (3 hours 50 minutes). The batch begins: in the first program, the first batch lasts 10 minutes, and in the second — 15 minutes. So much time is enough. To knead the dough well and get an elastic soft bun. Literally after 5 minutes from the beginning of the batch, it must be formed. Moreover, this is a very important point, because the quality and humidity of the flour is different, therefore this product may require more or less than according to the recipe. If the bun can still not form, feel free to add a tablespoon of flour and follow the batch. When the dough completely moves away from the walls and will be quite elastic (that is, not to spread, but to keep the shape well), we stop the addition of flour. This is what my bun looked after 8 minutes of batch. Now leave the dough alone and let him grow up. It will take about 1 hour 40 minutes (main) or 2 hours 25 minutes (French bread), during which the bread machine will take a fry twice (three times). I prefer to use the second program.
Step 6
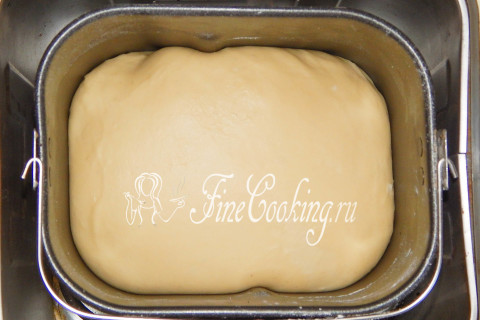
This is what the finished yeast dough looks like. Turn off the program when on the timer will be 1:10 (main and French bread). That is, we take out the dough 10 minutes before the assistant begins to bake bread. With your hands, everything is done quite simply: we put the ingredients similarly, then knead the dough for at least 15 minutes until smooth and uniform. The dough is soft and elastic. We send the dough to the heat for 1 hour, after which we make a light pen and again in heat for another 1 hour. Where is it better to wander the test and what does a warm place mean? There are several options. First of all, in the oven with a light bulb turned on (it turns out about 28-30 degrees — the temperature ideal for fermentation of yeast dough). Then we tighten the bowl with the dough with cling film or cover with a towel made of natural fabric (flax is best suited) so that the surface does not be swollen and not covered with a crust. You can also let the dough wander in a microwave, in which we pre -boil a glass of water. The dough will rise with a door closed, and the glass will stand there. Then the bowl does not need to be closed with anything, since the water will evaporate, thereby maintaining the necessary humidity. Just make sure that no one inadvertently turns on the microwave, otherwise the dough will disappear and there will be no pie.
Step 7
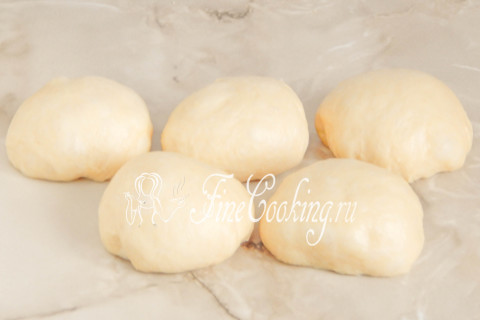
When the yeast dough is suitable, divide it into 5 parts of the same size. It is most convenient to use kitchen weights. We crush each piece of dough, releasing excess air and round (give the shape of a bun). We leave at rest under a towel for 5 minutes so that the dough comes to itself after a mechanical effect — this will be more supple.
Step 8
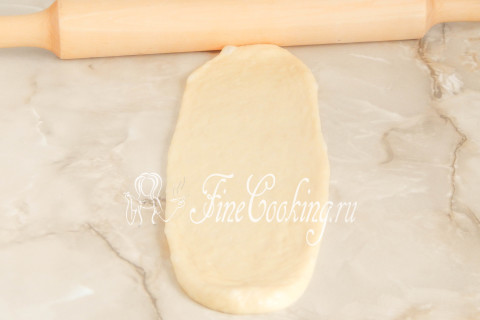
Now take one piece of dough and roll it into a long and rather thin layer. This yeast dough is completely not sticky, so you can not plow the working surface with flour.
Step 9
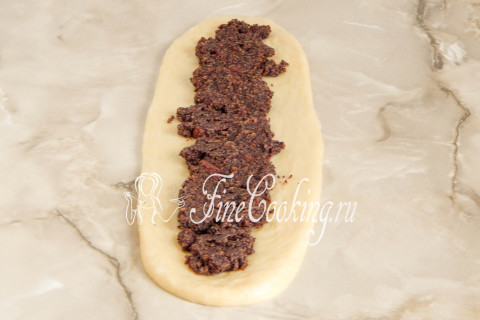
We also divide the poppy filling into 5 identical portions of 100 grams each. Evenly distribute one part of the poppy mass on the stratum layer, not reaching the edges.
Step 10
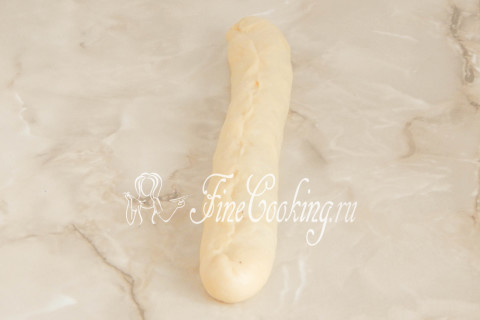
We turn the dough with the filling into a dense tourniquet, not forgetting to carefully tighten the seam. Put the workpiece a little on the table, additionally lengthening it.
Step 11
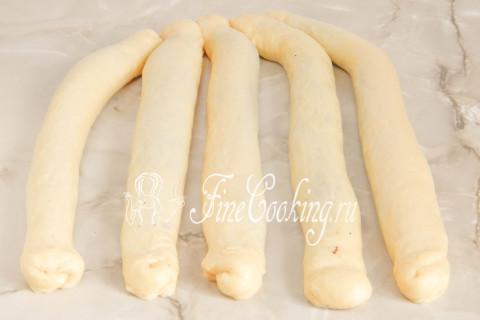
Similarly, we act with the remaining 4 parts of the yeast dough and poppy filling. You will get 5 long tans, which we lay side by side. From one end we reduce the bundles together.
Step 12

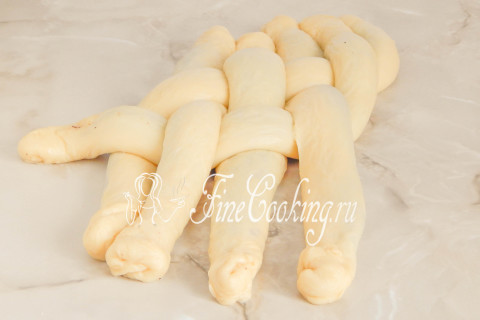
Now we begin to weave. In fact, it is more difficult to describe this whole thing than to do it yourself. So, we will only work with the extreme right tourniquet. We take it in our hands and pass it under the second and fourth harness, so that it lay on top of the third and fifth. It is not necessary to tighten hard to lie down quite freely — it is still to grow later.
Step 13
It can already be seen what to do with the next harness — we repeat the procedure, as with the first. Already turns out a beautiful and neat braid.
Step 14
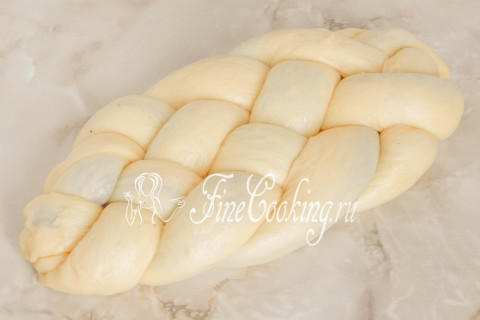
So you need to weave while the harnesses are long enough for this. After weaving, connect the ends of the workpiece, tightly pin them, so that the dough does not disperse during the proof and subsequent baking.
Step 15
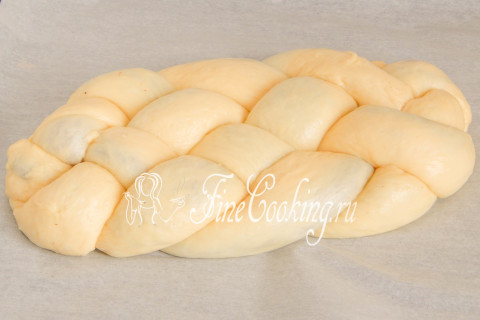
We transfer the braid to the parchment, although it is most convenient to immediately weave the product on baking paper — the workpiece is quite heavy and can be partially deformed when transferring. We cover the braid with a poppy towel or cling film and leave in a warm place for lifting for 35-40 minutes. At this time, we turn on to warm up the oven at 150 (this is not a mistake) degrees.
Step 16
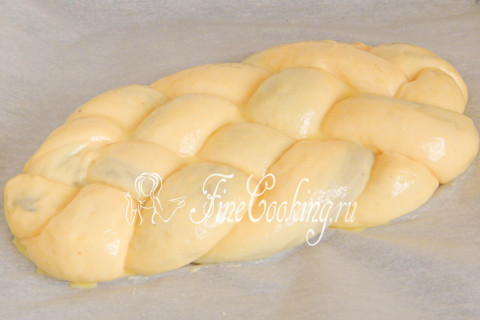
Before baking, grease the braid with egg yolk with milk (just chat them with a fork).
Step 17
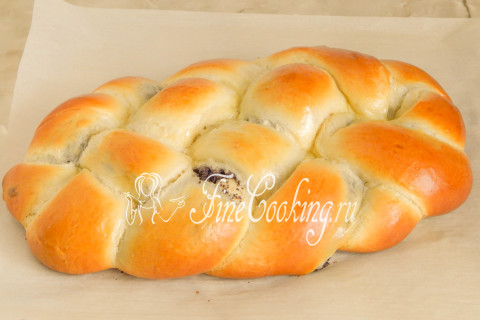
We bake a braid with poppy seeds for the first 10 minutes at 150 degrees, then increase the temperature to 170 degrees and bake for another 30 minutes. The braid is blurry and incredibly appetizing. I was all worried so that only she did not burst and the poppy did not climb outward. There is still a small gap in one place, but he did not ruin the overall picture. And the baking can burst if you are very tightly intertwined with the bundles!
Step 18

We give our fragrant and insanely tasty braid with poppy seeds to cool and you can enjoy. It is really delicious — the finest crust, a delicate and very soft dough, a hearty and juicy poppy filling … With milk — incredible pleasure for lovers of home pastries.