
Step 1
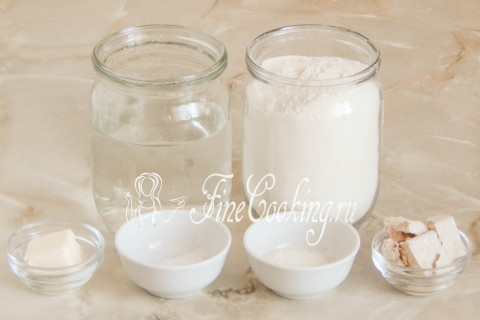
To prepare these simple yeast buns, we will need the following ingredients: premium wheat flour, water, butter, yeast, salt and sugar.
Step 2
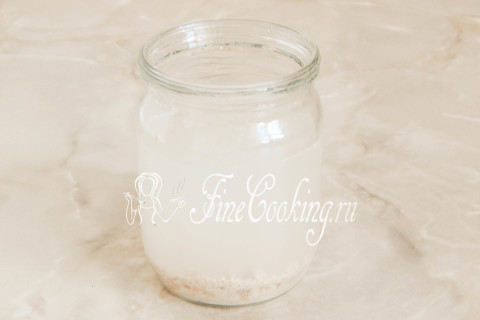
Dissolve the yeast and granulated sugar in slightly warm (pleasant to the touch, but by no means hot) drinking water.
Step 3
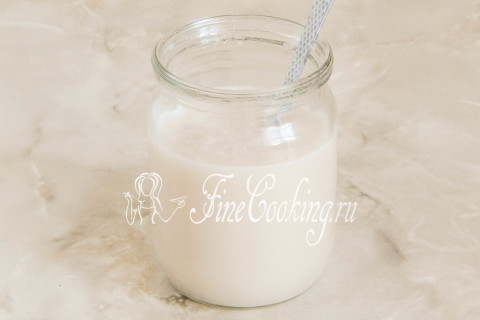
Mix everything thoroughly so that nothing lies at the bottom.
Step 4
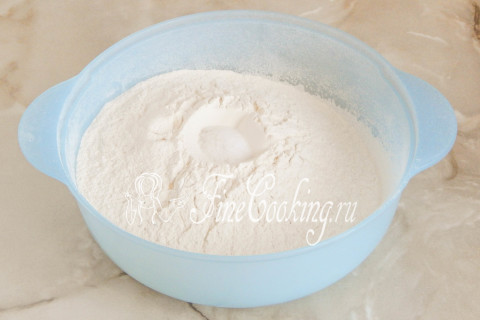
Sift (preferably twice) 500 grams of wheat flour into a container suitable for kneading and fermenting the dough. Thanks to this, it will not only loosen and be saturated with oxygen, but also remove possible debris. You may need more or less flour than indicated in the recipe. Add salt (preferably finely ground).
Step 5
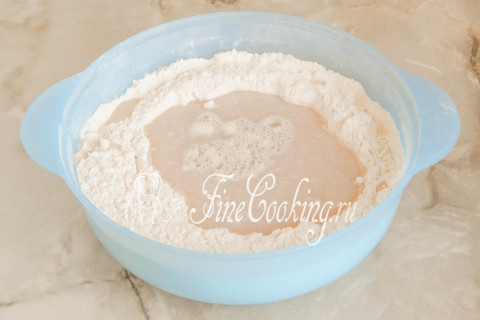
Stir until the salt is distributed evenly throughout the dry mixture. Make a well and pour the yeast cocktail into it.
Step 6
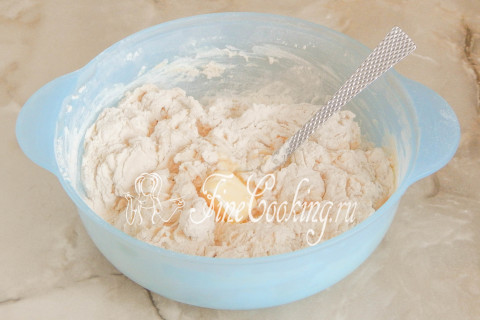
At first, you can simply mix the dry ingredients with the liquid ones using a tablespoon or spatula. When the flour is moistened, add soft butter.
Step 7
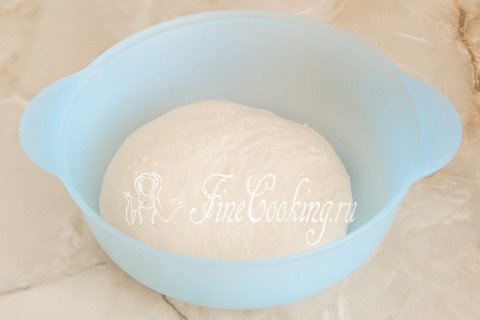
You need to knead the dough for Stolichnye buns for quite a long time (a dough kneader with a hook attachment can do it in 10-12 minutes, but you will have to work with your hands for about 20 minutes). As a result, it will become smooth, homogeneous, incredibly soft and almost non-sticky. We round the dough into a ball and place it in a bowl, which we grease with literally a drop of odorless vegetable oil (not indicated in the recipe) so that it does not stick to the dishes during the fermentation process. Place the dough in a warm place until it has at least doubled in volume. This can take 30 minutes or more than an hour — it all depends on the activity of the yeast. Where is the best place for the dough to ferment and what does a warm place mean? There are several options. First of all, in the oven with the light on (it turns out to be approximately 28-30 degrees — the ideal temperature for fermenting yeast dough). Then cover the bowl with the dough with cling film or cover it with a towel made of natural fabric (linen is best) so that the surface does not become airy and crusty. You can also let the dough ferment in the microwave, in which you first bring a glass of water to a boil. The dough will rise when the door is closed, and the glass will stand there. Then there is no need to cover the bowl with anything, since the water will evaporate, thereby maintaining the necessary humidity. Just make sure that no one accidentally turns on the microwave, otherwise the dough will disappear and there will be no homemade buns.
Step 8
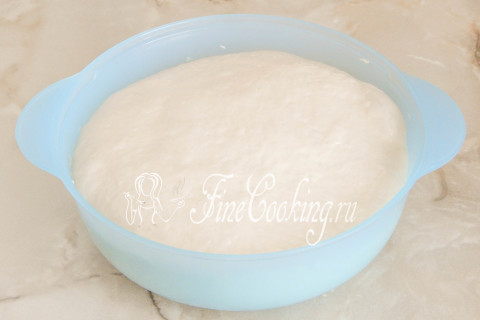
When the dough has doubled in size or a little more, knead it and put it back in the heat until it increases in volume again. I have a photo of yeast dough after 50 minutes of the second fermentation.
Step 9

We cut the dough into pieces on a surface dusted with flour — I have 16 pieces, 55 grams each (I weighed the dough on a scale). Why is it so important that the buns are the same size? First of all, they will need the same amount of time for both proofing and baking. Well, the aesthetic side is also important. Before shaping, pieces of dough (cover with cling film or a light towel) need to rest for 10 minutes so that the dough relaxes and is easier to handle.
Step 10
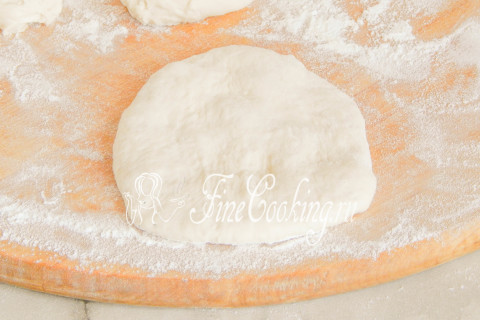
Forming such buns is very simple and straightforward. Sprinkle a piece of dough with a little wheat flour so that it does not stick to your hands. Then, using the palm of your hand, beat the dough into a flat cake several times to remove excess air — there is no need for large pores in finished buns.
Step 11

Now we round the workpiece — we pull the dough from the edges to the center, pressing with our fingers so that it does not creep back.
Step 12
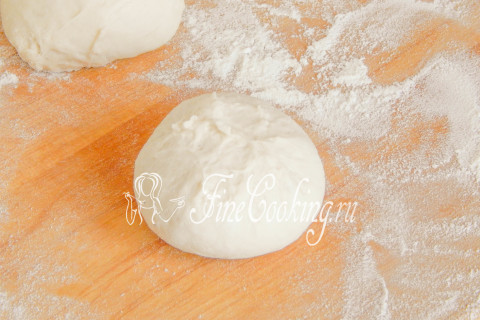
We carefully pinch the seam so that the workpieces do not become deformed during the proofing process.
Step 13
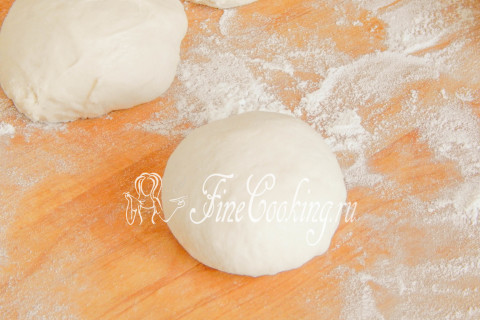
Turn the ball of dough over, seam side down, and round the future buns. It’s quite difficult for me to show the process without a video, but I’ll try to describe it. We squeeze our working palm, spreading our fingers, as if holding a large orange. Cover the workpiece with your palm in this position and begin to rotate the dough ball counterclockwise. Everything happens easily and effortlessly, while we kind of bend the dough inward a little with 4 fingers, but without pressing.
Step 14

Thus, we will roll out all 16 blanks for the Capital buns. They turn out so neat and smooth. We transfer the balls to a baking sheet, which I recommend covering with baking paper (I sprinkled it lightly with flour, since the parchment is not of the best quality), seam side down.
Step 15
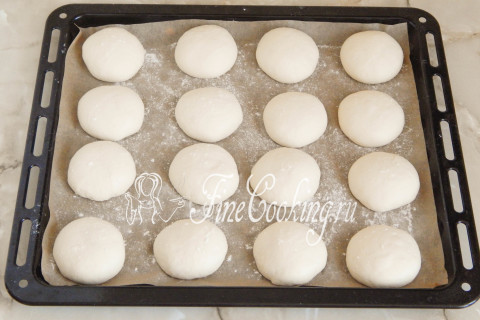
Cover the workpieces with film (a very light towel), which must be rubbed with flour so that the dough does not stick, and leave at 27-29 degrees for 25-30 minutes. The proofing time for these wheat buns depends not only on the strength of the yeast, but also on the room temperature.
Step 16
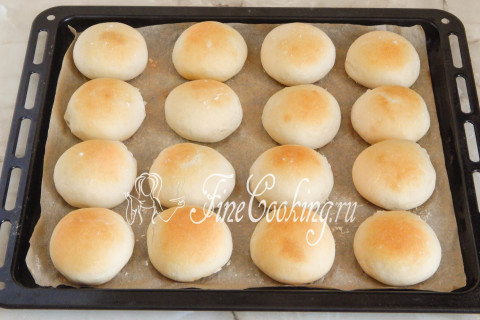
We bake our homemade buns at 250 degrees in a preheated oven on a medium level with steam for about 15-20 minutes. Don't expect the crust of the buns to be too brown — we didn't grease them with anything. For an easy tan, I simply moved the tray of buns to the very bottom of the oven and toasted them under the broiler for the last 5 minutes. For a steam bath, you need to place a bowl of boiling water on the bottom of the oven, or immediately after planting the pieces, throw several large pieces of ice onto the bottom and immediately close the door.
Step 17
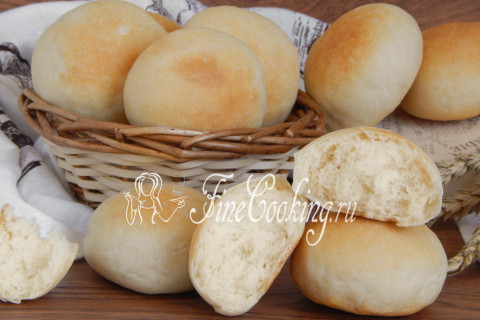
Well, what could be better than the aroma of freshly baked homemade bread? The Stolichnaya buns turn out so delicious, but it’s hard not to eat a couple of them while they’re still hot. Friends, cook for your health and bon appetit!