
Step 1
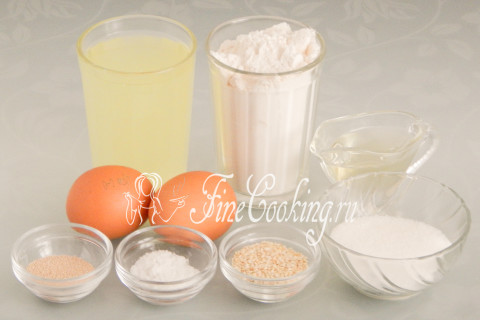
To prepare air jackets, we will need the following ingredients: wheat flour (I use the highest grade, but you can take the first one — then you have to slightly adjust its amount by recipe), milk serum, chicken medium -sized eggs, refined vegetable (I use sunflower) oil, sugar, salt and yeast. By the way, the yeast cannot be bought by the speedy — dry (the same amount) or pressed (9-10 grams) are perfect. How to work with the latter is shown in a detailed step -by -step recipe for yeast serum test. All products for making buns should be at room temperature.
Step 2
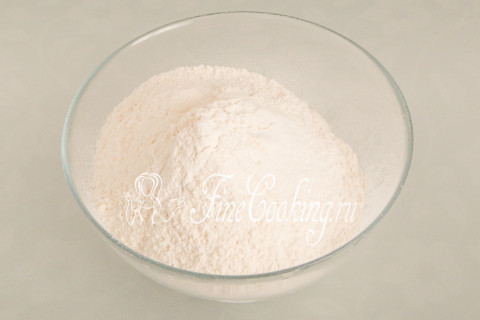
In the appropriate for kneading and fermentation of yeast dough, we sift the dishes (preferably twice) wheat flour (600 grams). Thanks to this technique, the flour will not only be saturated with oxygen, but also leaves possible garbage.
Step 3
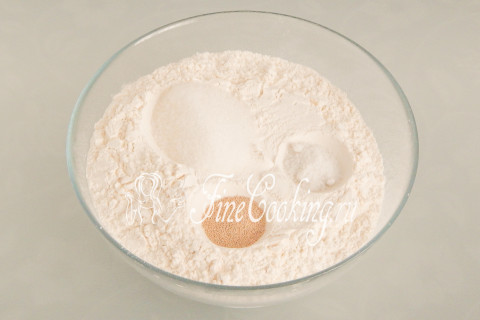
Pour 3 tablespoons of sugar to flour, as well as one teaspoon of high -speed yeast and salt (preferably small grinding). Mix everything thoroughly with a fork or spoon so that all dry components are evenly distributed according to the mixture.
Step 4
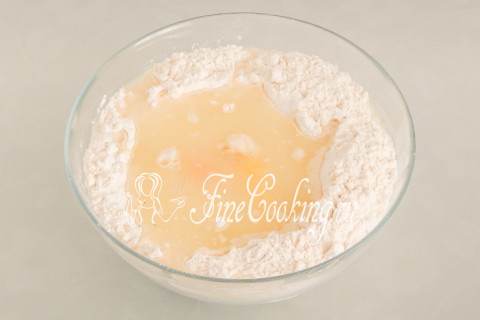
We make a recess in a flour mix and pour a slightly warm serum there (300 milliliters without 1 tablespoon, which will be needed later to lubricate the blanks). The liquid should in no case be hot, otherwise you just cook the yeast and they will die. Then add a pair of chicken eggs to a bowl (45-50 grams each), after separating 1 egg yolk. Thus, to lubricate the blanks, we put a tablespoon of serum and 1 egg yolk into a separate dish.
Step 5

At the beginning of the batch of yeast dough, you can simply mix all the products with a fork, spoon or hand so that the flour moisturizes, absorbing the liquid into yourself. In the presence of a bread maker or dough, the process of batch is greatly simplified and your work is minimized. Add 2 tablespoons of vegetable oil and knead the dough.
Step 6

You need to knead the dough for quite some time (at least 10, and better than 15 minutes) and intensively. The electric assistant will cope for 7 minutes. As a result, the yeast dough should become completely homogeneous, smooth, very soft and delicate, slightly sticky. We round the dough and put in a bowl lubricated with a small amount of vegetable oil (it is not indicated in the ingredients) so that it does not stick to the dishes during fermentation. We send the dough to heat for 1 hour. Where is it better to wander the test and what does a warm place mean? There are several options. First of all, in the oven with a light bulb turned on (it turns out about 28-30 degrees — the temperature ideal for fermentation of yeast dough). Then we tighten the bowl with the dough with cling film or cover with a towel made of natural fabric (flax is best suited) so that the surface does not be swollen and not covered with a crust. You can also let the dough wander in a microwave, in which we pre -boil a glass of water. The dough will rise with a door closed, and the glass will stand there. Then the bowl does not need to be closed with anything, since the water will evaporate, thereby maintaining the necessary humidity. Just make sure that no one inadvertently turns on the microwave, otherwise the dough will disappear and there will be no buns on serum.
Step 7
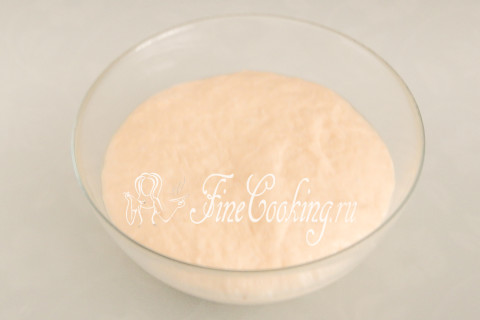
After about an hour (time — the concept of relative, it may take more or less) the yeast dough will grow perfectly, increasing in the amount of 2-3 times. If the dough rises weakly, then you came across old yeast — increase the time of fermentation.
Step 8
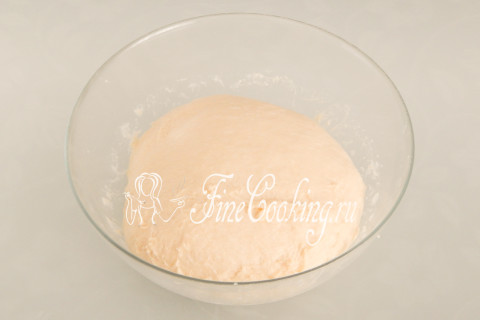
We make a light degree, releasing gas, re -round the dough and again in the heat for about an hour.
Step 9
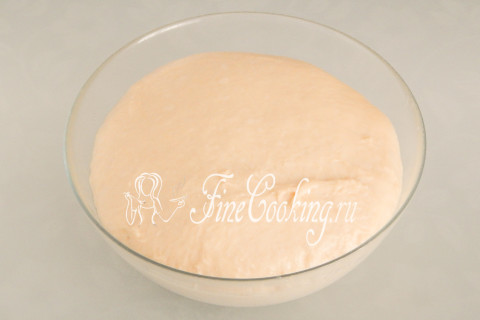
During this time, the yeast dough will rise very well again, will become even more tender and fluffy.
Step 10
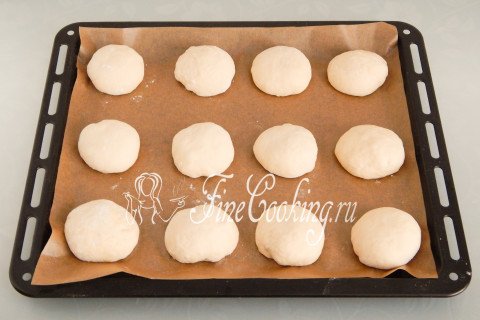
The molding of such buns is very simple and straightforward — we will make them just round. How to round the blanks can be viewed in the recipe for whole grain buns (steps 10-15). We transfer the balls to the baking sheet, which I advise you to cover with paper for baking down. We cover the workpieces with a light towel or film, which must be rubbed with flour so that the dough is not stuck, and leave for 25-30 minutes. The time of proofing buns depends not only on the strength of the yeast, but also the temperature in the room.
Step 11
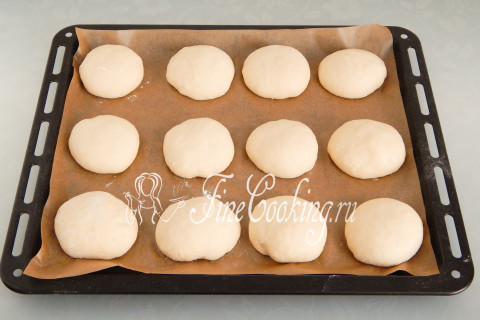
This is how my blanks looked after 30 minutes — it's time to bake them. In advance (in about 20-30 minutes) we did not forget to turn on the oven to bask 180 degrees.
Step 12
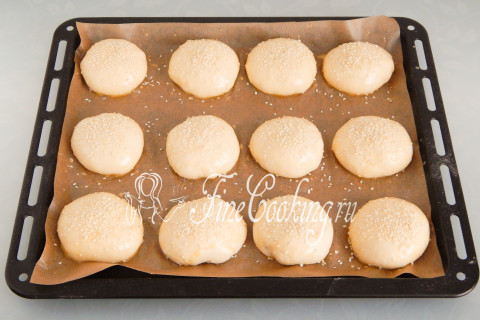
Before planting in a preheated oven, we lubricate the surface of the blanks with a mixture of serum and egg yolk. After that, sprinkle with sesame seeds.
Step 13
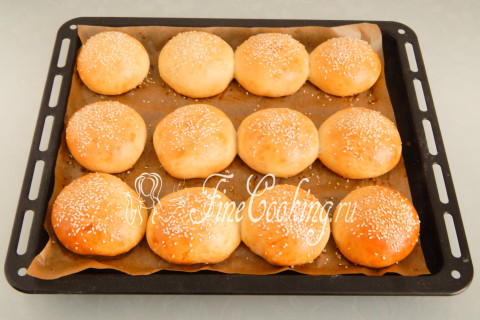
We bake wheat whey rolls at 180 degrees for about 25-30 minutes. It may take a little less or more time — focus on the appearance of the product and the nature of your oven (I have gas, lower heating, without convection).
Step 14
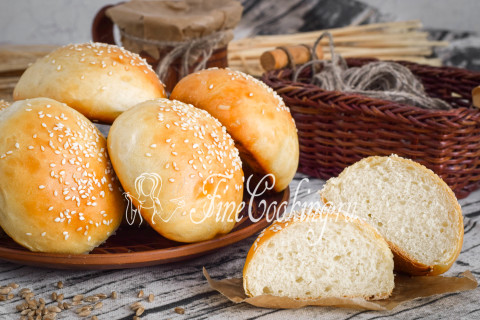
You will definitely like fresh and fragrant homemade whey buns. Prepare for health, friends, and pleasant to you appetite!