
Step 1

To prepare flooded house bread, we take the wheat flour of the highest grade, drinking water, salt, sugar and high -speed yeast.
Step 2
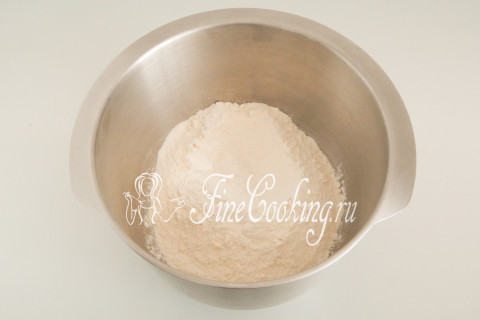
In a large bowl (in my case it is a deja from the planetary mixer) we sift 300 grams of wheat flour to get rid of excess waste and lumps.
Step 3
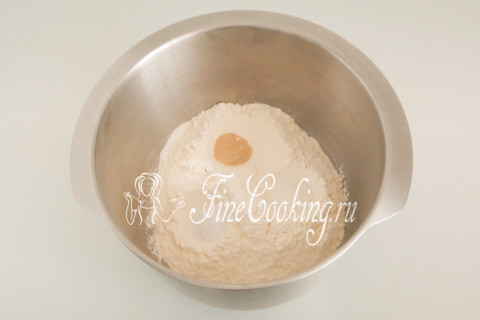
Add salt to flour (preferably small grinding), granulated sugar and high -speed yeast.
Step 4
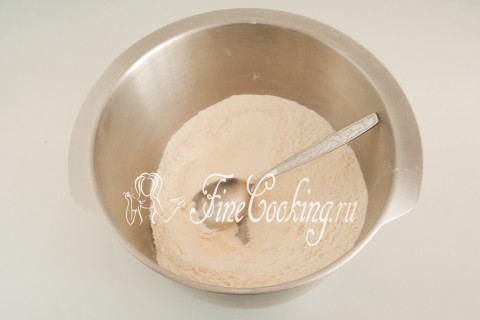
Mix everything thoroughly so that the bulk ingredients are evenly dispersed along the dry mixture.
Step 5
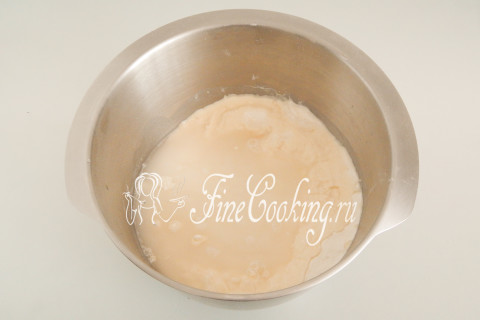
We make a recess in a flour mix and pour slightly warm water into it (300 milliliters).
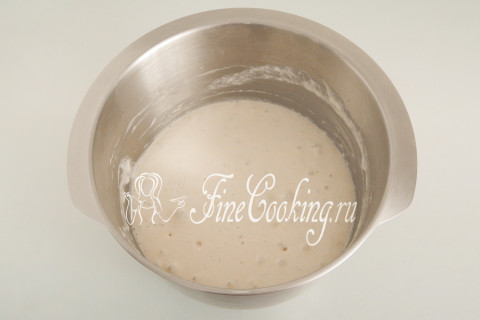
Step 6
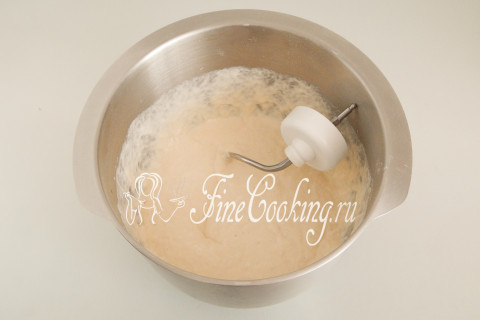
Now we mix everything with a spoon so that the flour absorbs the liquid into itself. I like it when such a work is done by an electric assistant with a nozzle-trick. We intensively knead the dough for about 5-6 minutes with our hands or literally 3 minutes (after completely mixing the ingredients) with a mixer. The result is a fairly liquid dough — it is even a slurry than for pancakes. We do not add flour — the bread will be flooded, that is, the dough in the form we will fill in.
Step 7
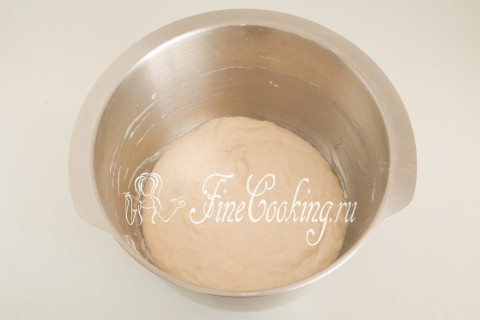
With the hand, spatula or scraper, remove the dough from the walls of the dishes, round it, and tighten the bowl with cling film or cover with a towel made of natural fabric. We leave the dough to roam in a warm place for 1.5-2 hours (with an intermediate din after 45-60 minutes).
Step 8
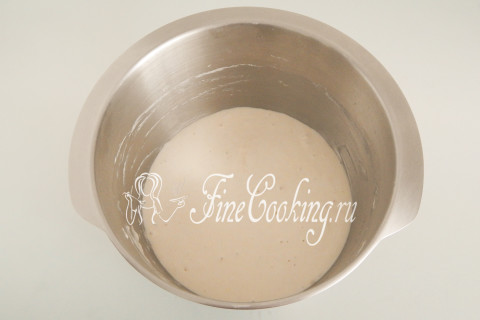
Where is it better to wander the test and what does a warm place mean? There are several options. First of all, in the oven with a light bulb turned on (it turns out about 28-30 degrees — the temperature ideal for fermentation of yeast dough). Then we tighten the bowl with the dough with cling film or cover with a towel made of natural fabric (flax is best suited) so that the surface does not be swollen and not covered with a crust. You can also let the dough wander in a microwave, in which we pre -boil a glass of water. The dough will rise with a door closed, and the glass will stand there. Then the bowl does not need to be closed with anything, since the water will evaporate, thereby maintaining the necessary humidity. Just make sure that no one inadvertently turns on the microwave, otherwise the dough will disappear and there will be no pouring bread. After about 1 hour of fermentation, the dough will become still a slurry and will spread through the container.
Step 9
We collect it again in the ball, simultaneously releasing air bubbles. We give repeated fermentation for another 45-60 minutes.
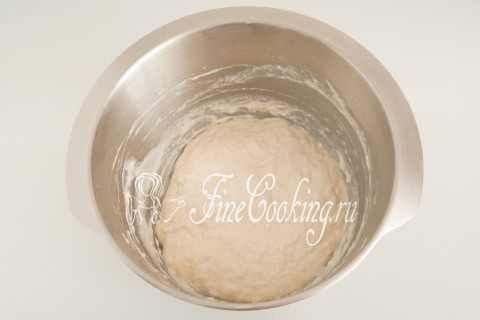
Step 10
During this time, the yeast dough will become through and through the air bubbles.
Step 11
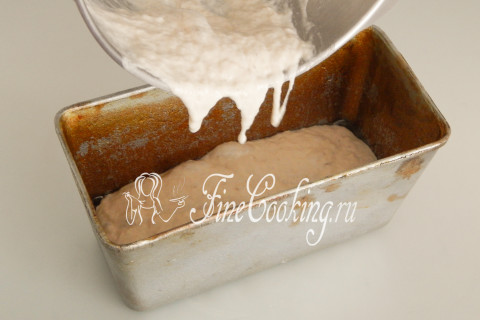
We will prepare in advance a baking dish (I use the bakery L -7 from special high -quality food aluminum alloy) — lubricate with a small amount of vegetable oil. I did not indicate it in the ingredients (enough for literally a teaspoon). We pour the yeast dough into the shape — it subsides with such thin threads.
Step 12
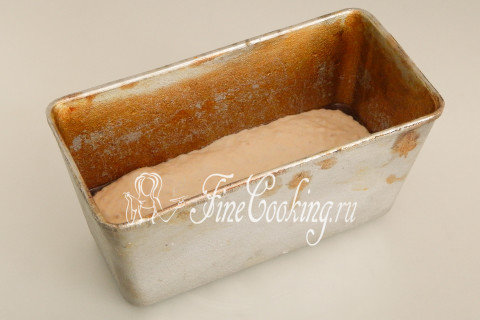
We cover the workpiece with a towel or cling film and leave the distance for no more than 30 minutes. Why is it so much time? The fact is that the dough is liquid, therefore, with overlapting, most often finished pastries sags in the middle (you can see similar examples on the Internet). And we need a hat, so we do not completely place the workpiece. At this time, we smear the oven (240 degrees).
Step 13

In half an hour, the dough will grow in a volume by about 2 times — it's time to put it in the oven.
Step 14
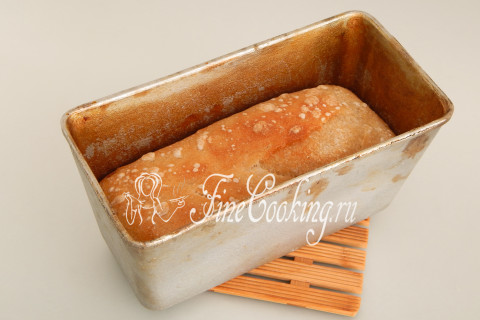
We bake flood bread at 240 degrees for the first 10 minutes, after which we reduce the temperature to 200 degrees and cook the baking for another 20 minutes. I remind you: I have a gas oven of Hephaestus, lower heating, without convection.
Step 15
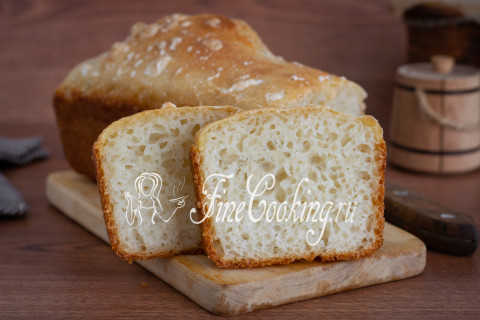
We take out the finished bread from the mold, let it cool to warm and can be cut into portioned pieces. On the second day, flooded bread is also normal, but it is better to eat it on the day of baking. Tanya, thank you very much for this delicious order. Prepare for health and pleasant to you appetite, friends!