
Step 1
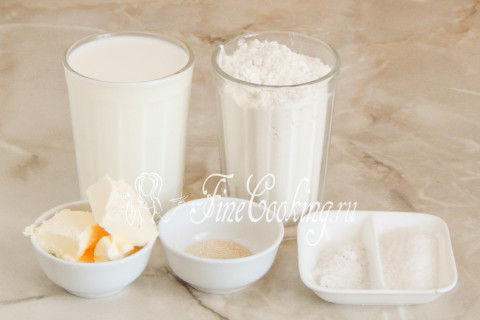
The recipe for fragrant and delicate dairy loaf includes the following ingredients: wheat flour of the highest grade, milk (I have 2.5% fat), butter (with fat content of at least 72%), granulated sugar, salt (preferably fine grinding) and yeast. Tip: yeast is not necessary to take fast -acting ones — just dry (also 1 teaspoon without a slide — this is 3 grams) or pressed/fresh (it is needed 3 times more, that is, 9 grams). Such yeast is not immediately mixed with flour, but previously activated in a warm sweetish liquid for 10-15 minutes. In our case, you can slightly heat half a glass of milk with a tablespoon of sugar and dissolve the yeast in this sweet liquid.
Step 2
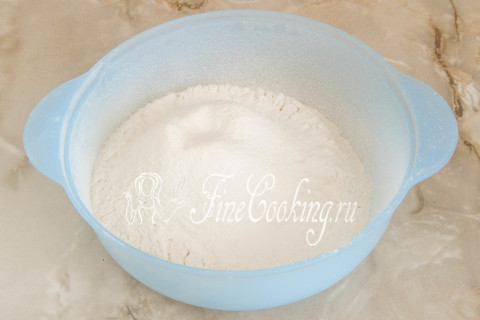
In the suitable for kneading and fermentation of dough, we sift the dishes (preferably twice) wheat flour. Thanks to this technique, it is saturated with oxygen and possible garbage will leave.
Step 3
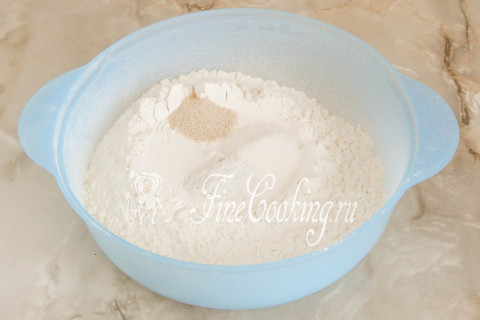
Pour sugar, high -speed yeast and salt to flour. Mix everything thoroughly with a fork, spoon or hand, so that all dry components are evenly distributed according to the mixture.
Step 4
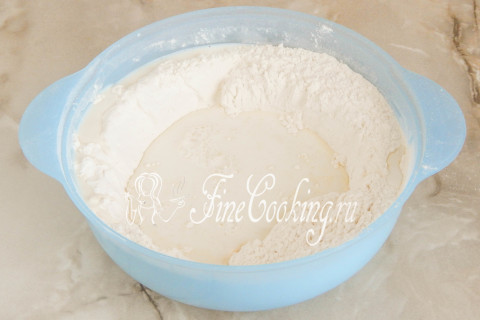
We make a hole in flour and pour a little warm milk there. The liquid should in no case be hot, otherwise you just cook the yeast and they will die.
Step 5
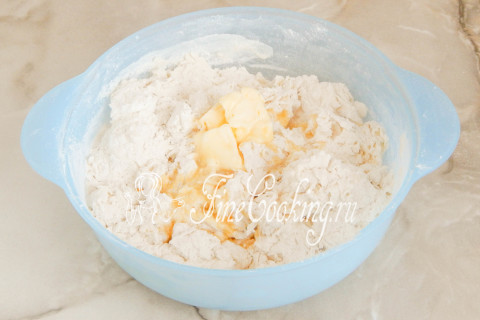
At the beginning of the batch of yeast dough, you can simply mix all the products with a fork, spoon or hand so that the flour moisturizes, absorbing the liquid into yourself. In the presence of a bread maker or dough, the process of batch is greatly simplified and your work is minimized. Add soft butter and knead the dough.
Step 6
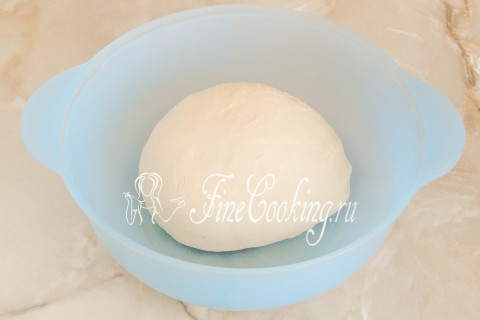
With your hands, knead the dough for about 10 minutes and quite intensively. The electric assistant will cope for 7 minutes. As a result, the yeast dough should become completely homogeneous, smooth, quite soft and delicate, elastic and completely not sticky. We round the dough and put in a bowl lubricated with a small amount of vegetable oil (it is not indicated in the ingredients) so that it does not stick to the dishes during fermentation. We send the dough to heat for 1-1.5 hours or until it increases in volume by 2-2.5 times. Where is it better to wander the test and what does a warm place mean? There are several options. First of all, in the oven with a light bulb turned on (it turns out about 28-30 degrees — the temperature ideal for fermentation of yeast dough). Then we tighten the bowl with the dough with cling film or cover with a towel made of natural fabric (flax is best suited) so that the surface does not be swollen and not covered with a crust. You can also let the dough wander in a microwave, in which we pre -boil a glass of water. The dough will rise with a door closed, and the glass will stand there. Then the bowl does not need to be closed with anything, since the water will evaporate, thereby maintaining the necessary humidity. Just make sure that no one inadvertently turns on the microwave, otherwise the dough will disappear and there will be no milk loaf.
Step 7
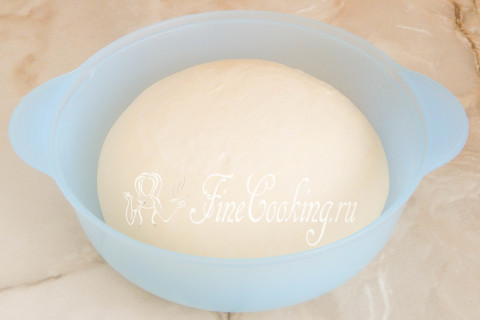
When the yeast dough rises well (it roams 1 hour 15 minutes), it will become even more tender and fluffy, it's time to move on to the molding stage.
Step 8
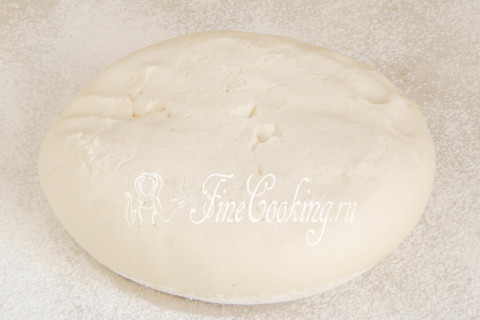
The working surface is slightly sprinkled with wheat flour (the additional amount is not included in the ingredients, but 1 tablespoon is enough) and lay out the dough on it.
Step 9

Directly with palms, knead it on the work surface, after which you can use a rolling pin. We roll the dough into a layer with a thickness of about 1 centimeter.
Step 10
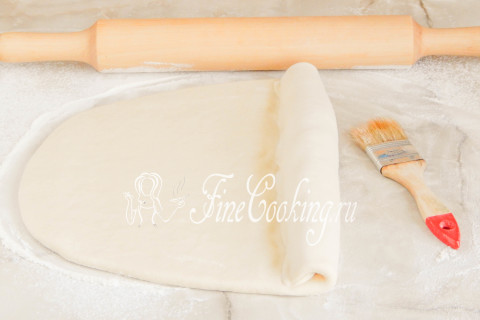
We turn the layer into a rather dense roll. After each turnover, we must press the roller to the layer, so that later there are no voids in the finished loaf (that is, large air bubbles). In addition, it is advisable to brush excess flour with a brush. Do not forget to pinch the seam.
Step 11
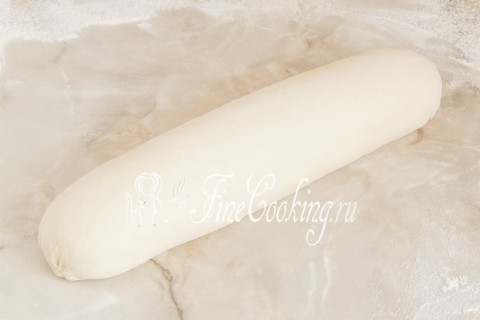
Here is such a neat blank should be obtained with you. Put it with a seam down.
Step 12
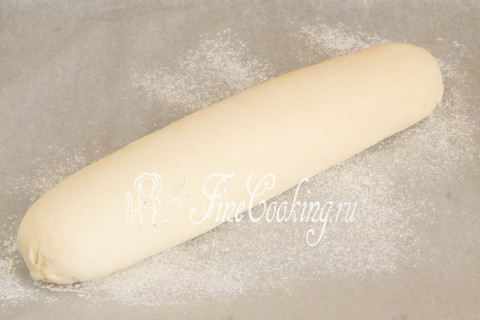
We shift the workpiece for the future milk loaf to a baking sheet, which we first cover with parchment and sprinkle a little with flour. We cover the workpiece with a film, which must be rubbed with flour so that the dough is not stuck, and leave for 25-30 minutes. The proofing time of the future loaf depends not only on the strength of the yeast, but also the temperature in the room.
Step 13
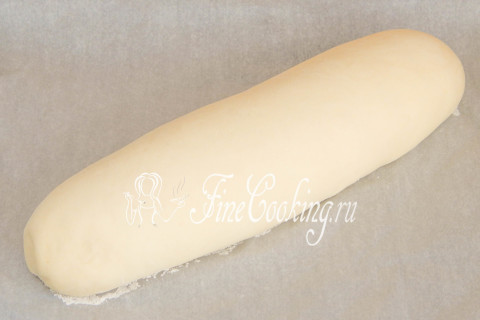
After about half an hour, the workpiece is noticeably rounded. Gently shake the flour from paper so that it does not burn during baking.
Step 14
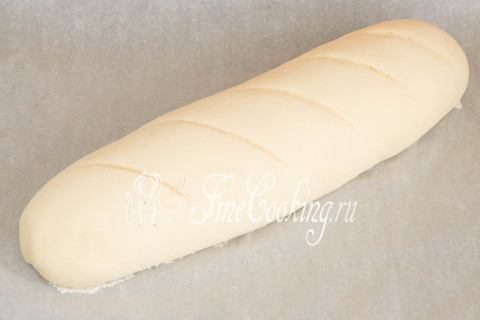
With a sharp knife or blade, we make several oblique incisions (about 1 centimeter with a depth of 1 centimeter).
Step 15
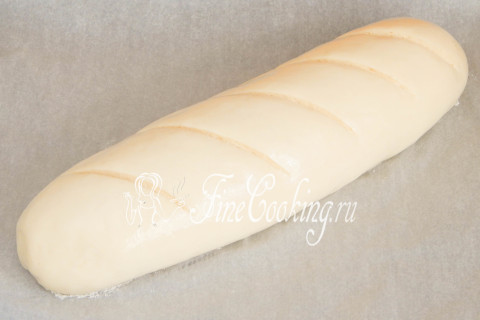
Lubricate the workpiece with milk, water, or a shameless egg. In advance (in about 20-30 minutes) we did not forget to turn on the oven to bask 180 degrees.
Step 16
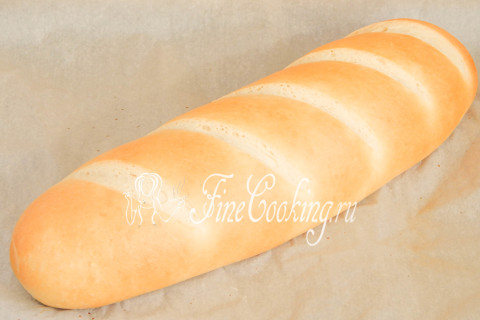
We bake a milk loaf at an average level of about 25-30 minutes. Focus on your oven!
Step 17
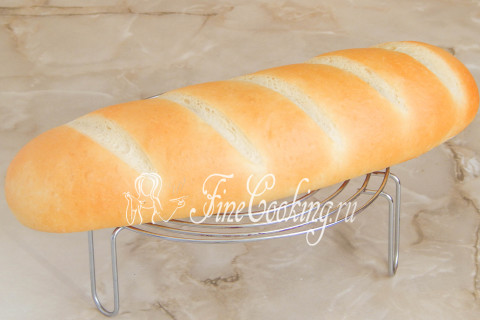
We remove the finished milk loaf from a baking sheet and let him cool. In a completely cooled state, baking weighs 720 grams.
Step 18
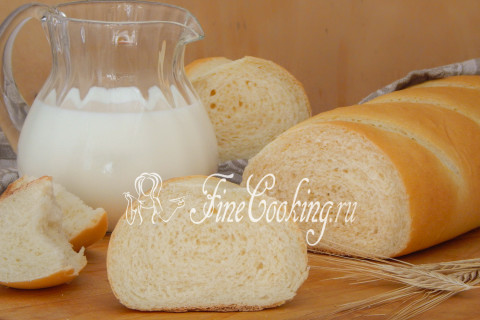
A delicate, fluffy and very tasty loaf will pleasantly surprise you with its thin cream-milk aroma. Prepare for health and pleasant appetite, friends!