
Step 1
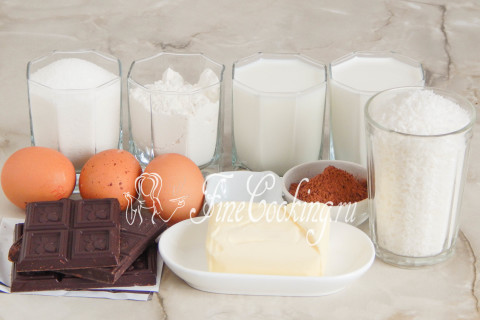
The step-by-step recipe for Bounty cake with photo includes the following ingredients: premium wheat flour, unsweetened cocoa powder, chicken eggs, granulated sugar, milk, butter, 20% fat cream for impregnation (you can use any fat content or even milk), baking powder, coconut flakes and chocolate (I used bitter, but milk is also suitable if you love him more).
Step 2
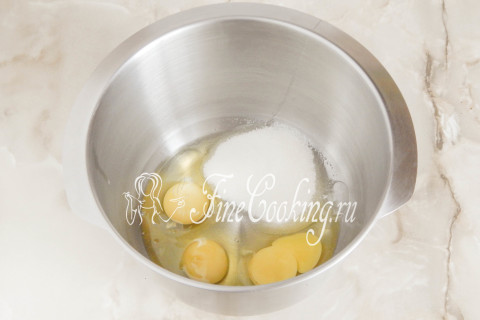
The preparation of Bounty cake is divided into several stages. We'll start with the chocolate sponge cake. To do this, break three chicken eggs into a bowl, add 120 grams of granulated sugar to them (you can use powdered sugar if you want — it doesn’t matter). I have a stand mixer, so it will do everything while I clear the extra dishes from the table. Using a hand mixer, beat first at medium speed, then at the highest speed, until the eggs and sugar turn into a fluffy whitened mass and the crystals are completely dissolved.
Step 3
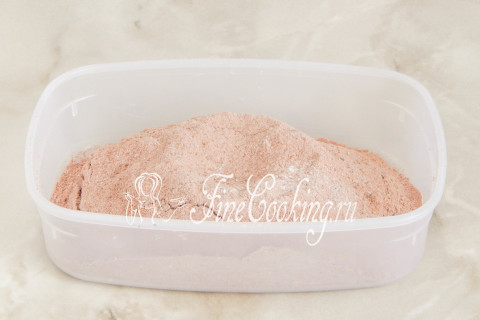
Meanwhile, mix 80 grams of wheat flour with 20 grams of cocoa powder and half a teaspoon of baking powder. We sift everything to achieve homogeneity, get rid of possible debris and additionally saturate the bulk mixture with oxygen.
Step 4
So the eggs and sugar have been beaten (or you beat them yourself).
Step 5
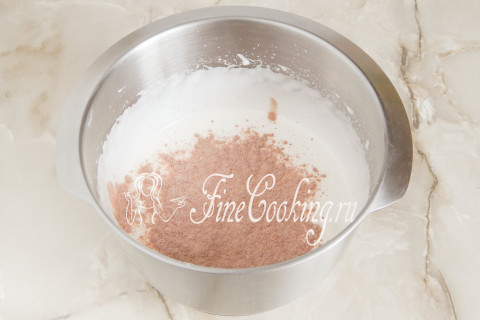
Now we gradually introduce the dry part into this fluffy mass and mix it in with gentle folding movements. If we describe it, it will be something like this: with a spatula (or spoon), we scoop up the dough from the middle, move it along the bottom and go out along the wall of the bowl. And so on in a circle. This is how biscuit dough is always prepared (you might think that America was discovered).
Step 6
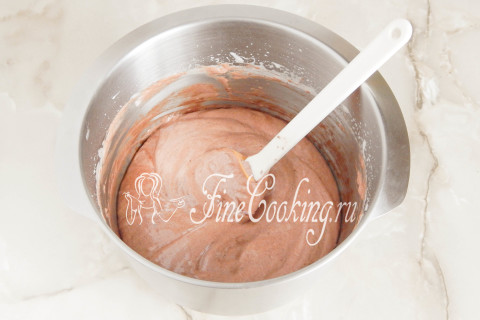
The result is chocolate biscuit dough — it will settle a little from our manipulations, but that’s how it should be.
Step 7
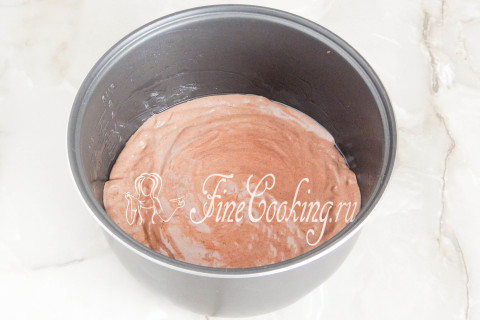
Now decide where you will bake the chocolate sponge cake. My tradition is definitely in the slow cooker. But you can also in a preheated oven for 20-25 minutes at 200 degrees. Grease the mold (in both cases) with a small amount of butter (butter or vegetable — it doesn’t matter). We put the dough into a mold (for the oven, a diameter of 20-21 cm is best), level it and bake. In the multicooker, cook on the Baking mode for exactly 40 minutes.
Step 8
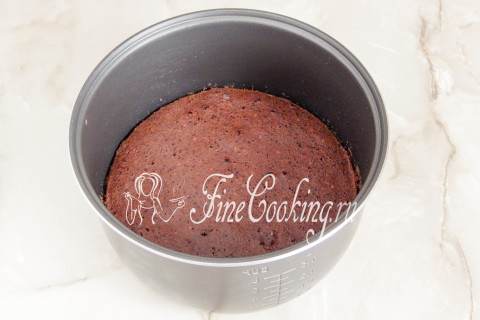
Check the finished chocolate sponge cake with a wooden skewer or toothpick — if the dough comes out dry, the baked goods are completely baked.
Step 9
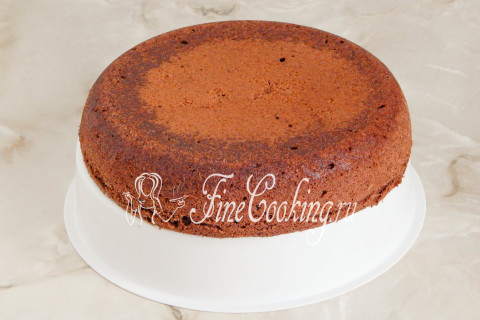
Remove the biscuit from the multicooker using the steaming insert, let it cool and rest for at least an hour. It is best to prepare biscuits for cakes in the evening so that they rest for 10-12 hours. For what? It’s simple — then they practically don’t crumble when cut and don’t become soggy from soaking.
Step 10

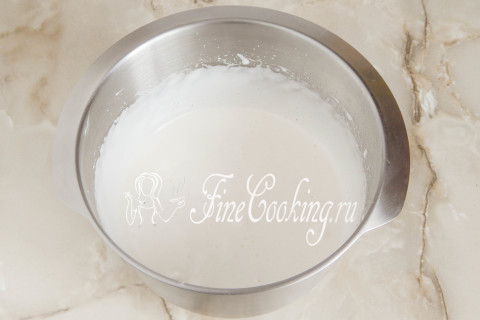
Well, the chocolate sponge cake is resting peacefully, and for now we’ll get busy preparing the coconut filling. I’ll tell you how delicious it is… Just don’t try it, otherwise you won’t live long enough to assemble the Bounty cake. In general, we take a small saucepan or stewpan (as in my case) and pour 200 milliliters of milk into it. We also put 100 grams of granulated sugar and butter there.
Step 11
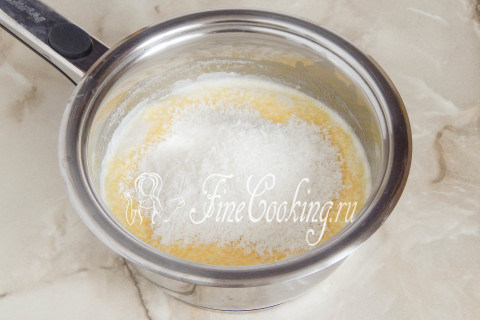
Place the saucepan over medium heat and, stirring, wait for the butter to melt and the granulated sugar to partially dissolve. Now you can add 150 grams of coconut flakes.
Step 12
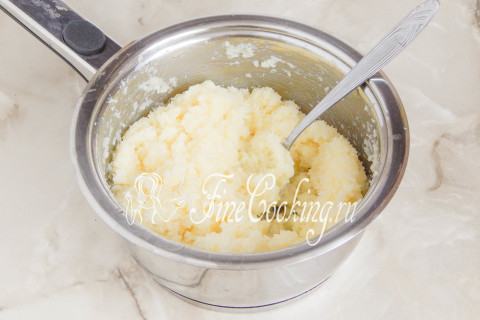
Cook everything over heat slightly below medium (so as not to burn) for about 10-15 minutes. Do not forget to stir at least occasionally, especially carefully along the bottom of the dish, as the liquid will boil away and the chips may burn. You will see how the mass begins to thicken. When there is no hint of milk left, turn off the heat and let the filling cool. Basically, she's ready.
Step 13
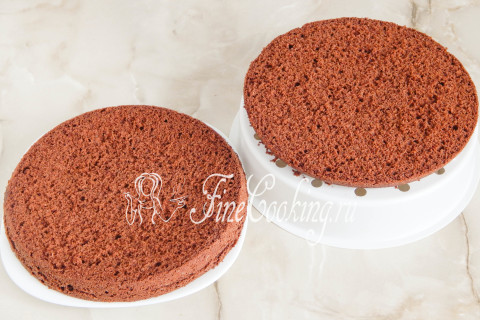
A certain amount of time passed… well, let's say I had an hour — I couldn't wait long. You know, if you cut the biscuit carefully, it won’t want to crumble. The most convenient way to do this is with a bread knife — it also has such notches. Cut the chocolate sponge cake into 2 equal layers.
Step 14
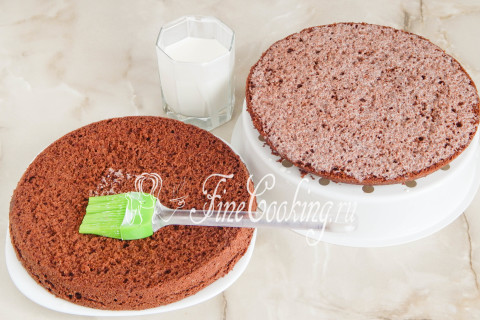
Now let's soak them in cream. I bought 20% fat because I couldn’t decide whether to take 10% or 30%. I settled on the golden mean. In fact, the fat content is not at all important — at least soak it in milk. The main thing is that the cakes are juicy. By the way, here is a small note in the margin: you can soak the top cake until it starts to leak, but don’t overdo it with the bottom cake. It may just soften and then you won’t cut the cake beautifully. In general, pour about 100 ml of cream onto the top cake, and 50 ml will be enough for the bottom cake. You can pour cream on the cakes from a spoon, but I like to use a silicone brush — it’s very convenient.
Step 15
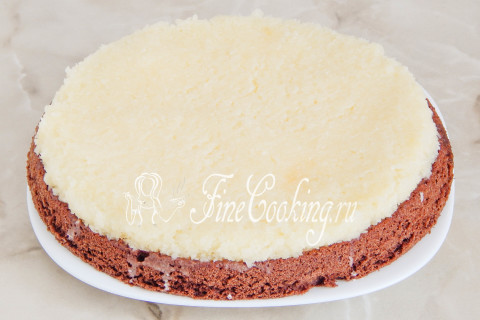
It's time to assemble our homemade Bounty cake. We have decided on the bottom cake — it is already on a flat plate. Place all the coconut filling on it and level it, pressing lightly to get a smooth surface.
Step 16
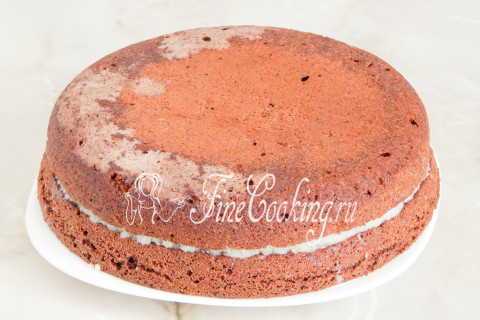
Cover with the second cake layer and press it gently. You see how well I soaked it with cream.
Step 17
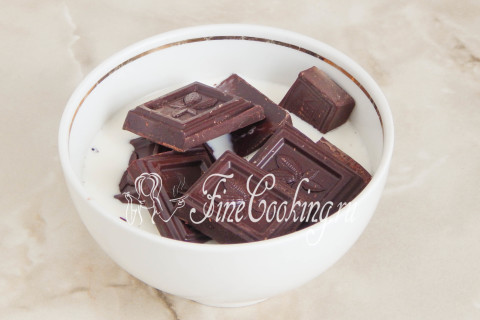
Well, and the glaze — what would it be like without it? We won’t cook anything exorbitant, although you can try chocolate cocoa glaze (very tasty, by the way). But I decided to make it quick and simple: chocolate and milk. Many will say: this is chocolate ganache. Well, yes, only with milk — no less tasty than with cream, but not as high in calories. In general, there are several solutions. You can break the chocolate into a bowl, add milk and melt everything in a water bath. And you can do it even easier like this: pour hot milk into a bowl (it’s really very hot on your finger) and put chocolate into it, broken into slices (or better yet, chopped into smaller pieces with a knife). Quickly stir everything with a fork and in just a minute the glaze is ready.
Step 18
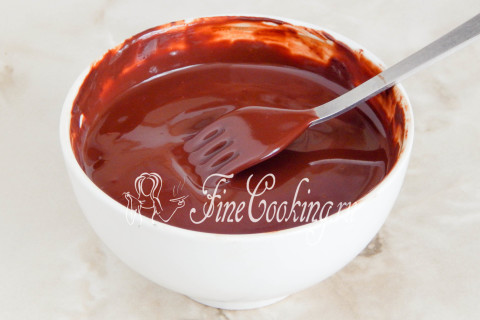
It looks like this: smooth, shiny and completely homogeneous. I always measure the proportions to share with you. For example, in this case I needed a glaze that, after cooling, remained soft, cut well and flowed. But at the same time it was not made of oak and did not break. Ideal proportions. Yes, I almost forgot: such icing can easily be ruined if you overheat the chocolate — it will simply curl into pellets and nothing else can be done with it. You certainly can't cover the cake. Be careful!
Step 19
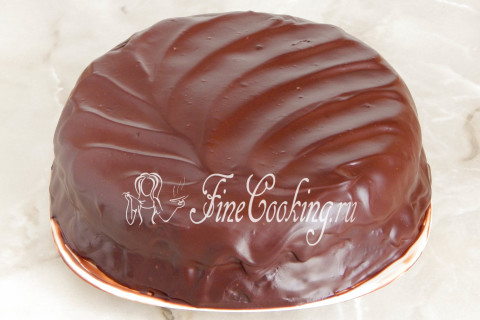
Well, we’ve moved on to the final stage — pouring chocolate icing over the Bounty cake. I have a lot of it — that’s what I wanted. If you like such scams, I’ll tell you how to easily do them. When the glaze begins to thicken on the cake, simply run a tablespoon along the surface from the edges to the center and beyond. This is how the feather turns out.
Step 20
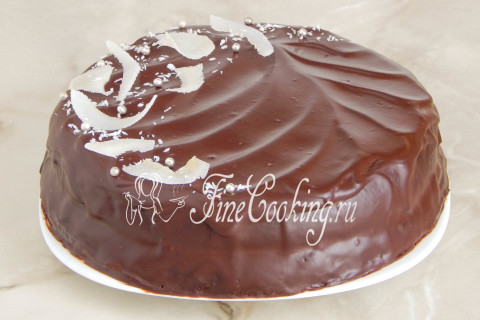
Well, decor — nothing without it. This is as far as your imagination goes. I use coconut chips, shredded coconut and silver sugar balls. To make coconut chips at home, simply grate the peeled pulp with vegetable peel and dry it in the oven at 90-100 degrees. They are stored for a very long time in an airtight container or bag without losing their crispy properties.
Step 21
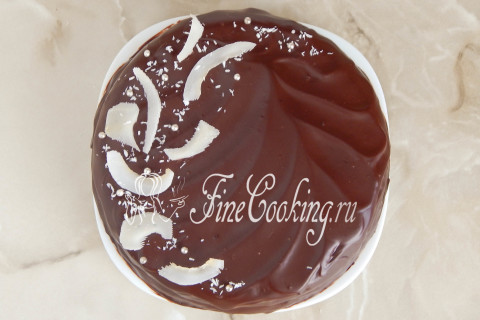
This is what our Bounty cake looks like from above. Done — store the treat in the refrigerator, and then treat your loved ones.
Step 22
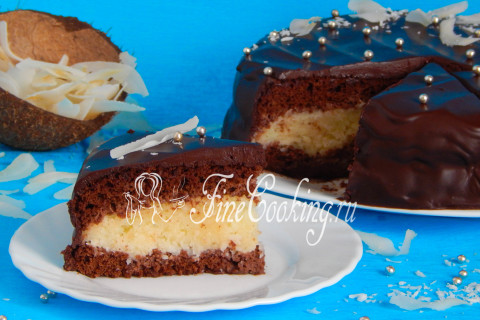
This is an unreal and truly heavenly pleasure! Juicy chocolate sponge cake and very rich in taste, delicate coconut filling, and a lot of soft chocolate on top. I remembered…. I went to make coffee.