Detailed step-by-step recipe with photos: Step 1
-
Prepare the necessary ingredients for the recipe for pies with carrots and raisins in the oven.
For the dough, it is best to use medium-fat kefir (2.5%), it will give the dough softness and the desired texture.
I always use premium flour. It has a finer texture and helps the dough be lighter and airier. If you have the opportunity, you can try flour that is specifically designed for baking, it always gives the best results. It is also worth sifting the flour before use — this will help get rid of possible lumps and enrich the dough with oxygen, which will make it more fluffy.
Fresh yeast can be easily replaced with dry yeast. It is only important to correctly calculate their number. Typically, to replace 20 g of fresh yeast, you need to take about 7 g of dry yeast. Dry yeast can be added directly to the flour, without first dissolving in the liquid, but if you want to be sure that it is activated, you can dissolve it a little in warm water with sugar and wait until the active foam begins.
I recommend using sweet carrots that won’t be too tough. I always choose young, juicy carrots — they cook faster and have a sweeter taste. After heat treatment, such carrots become soft and tender, ideal for filling. If you are using older carrots, grate them on a fine grater so that they cook faster and become soft.
For the filling, it is best to use seedless raisins. Dark raisins are sweeter and richer in flavor, and they pair well with carrots, adding a fruity sweetness and slight sourness to the filling. Raisins should be washed a little and, if they are dry, soaked in hot water or juice (for example, orange) for 10-15 minutes so that they become soft and fragrant. Soaking will also help prevent the raisins in the filling from drying out.
-
Step 2
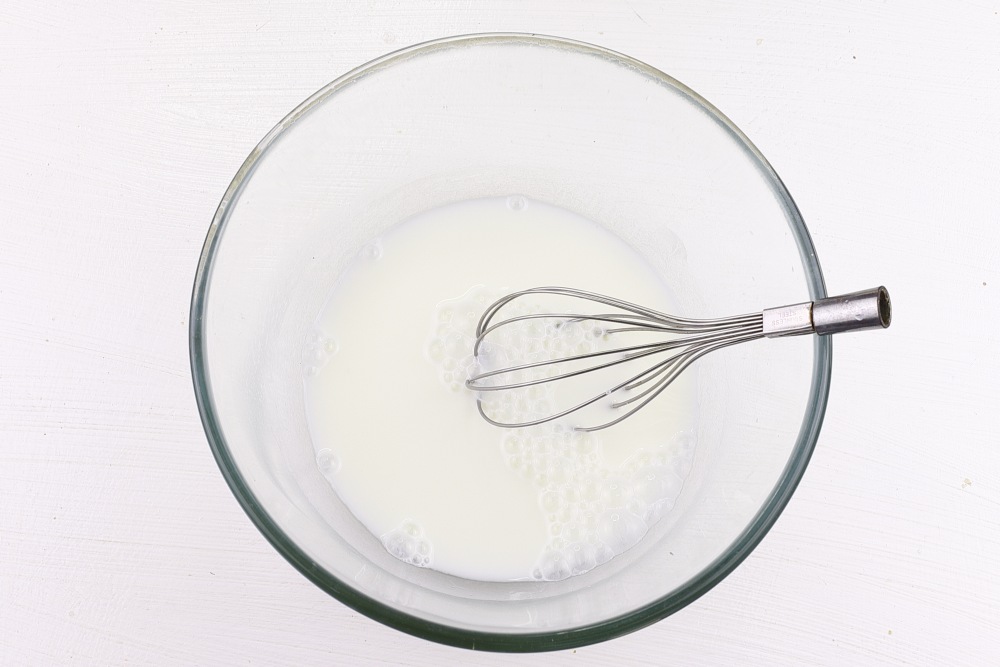
Choose a deep, comfortable bowl for kneading yeast dough for pies. Pour in kefir. I recommend taking it out of the refrigerator in advance so that it comes to room temperature. Pour in hot water, especially if the kefir is straight from the refrigerator. Mix. The liquid should be warm, approximately 35-38°C, but not hot.
-
Step 3
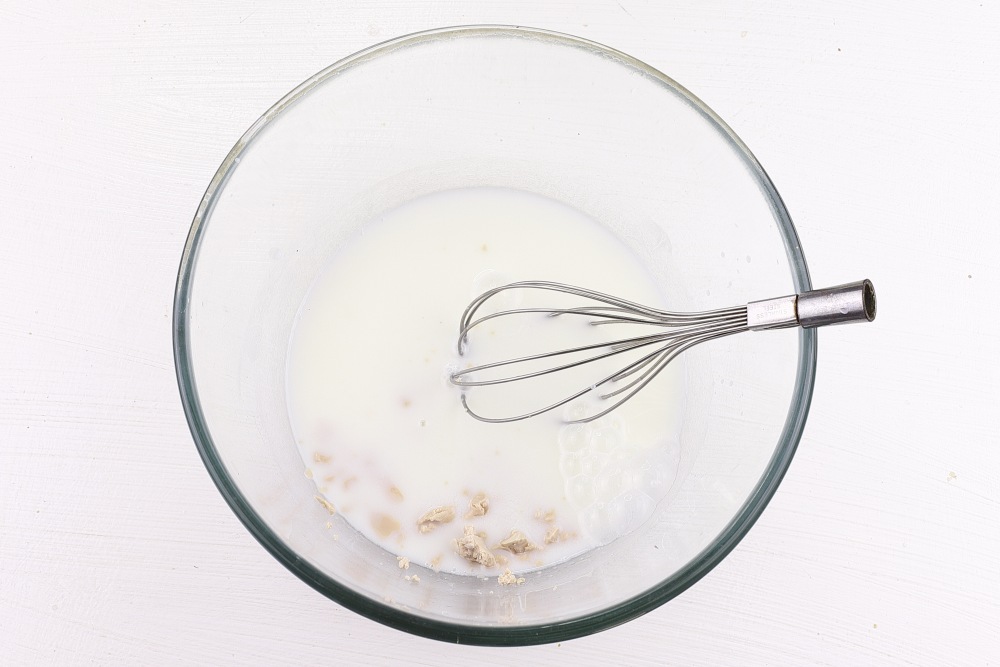
Crumble fresh yeast into the liquid with your hands. Stir with a hand whisk to disperse the yeast bits.
-
Step 4
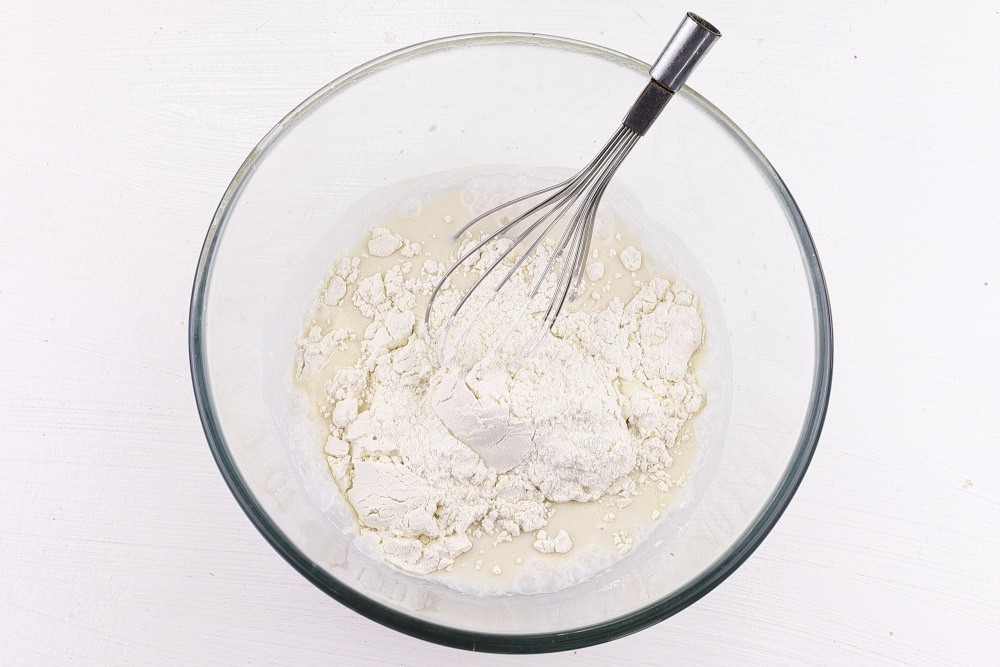
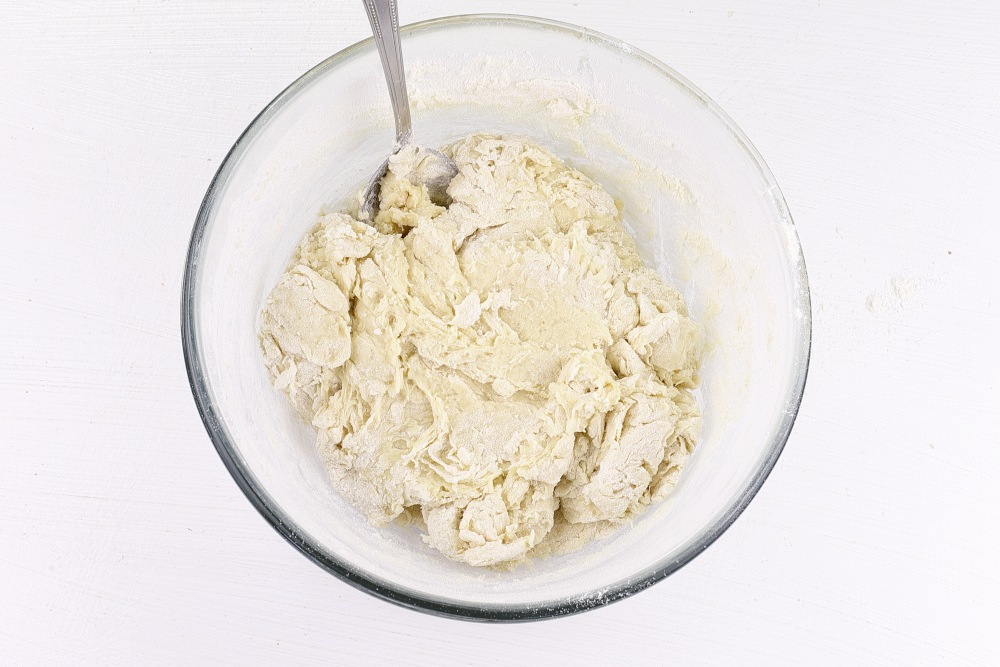
Add about 3 heaping tablespoons of flour from the total amount.
-
Step 5
Mix well with a whisk until all flour lumps are separated.

-
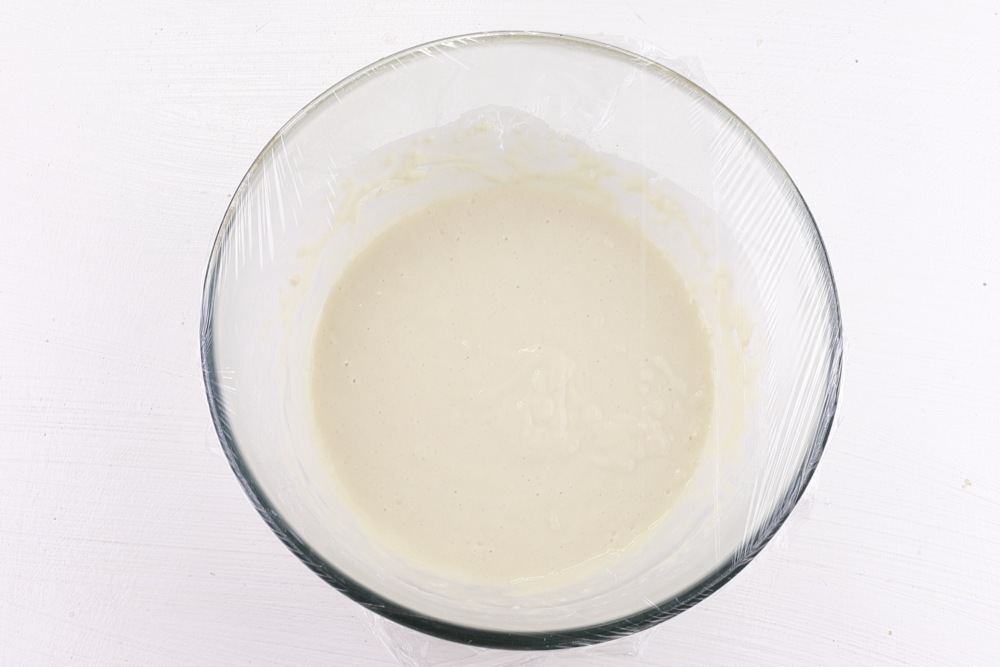
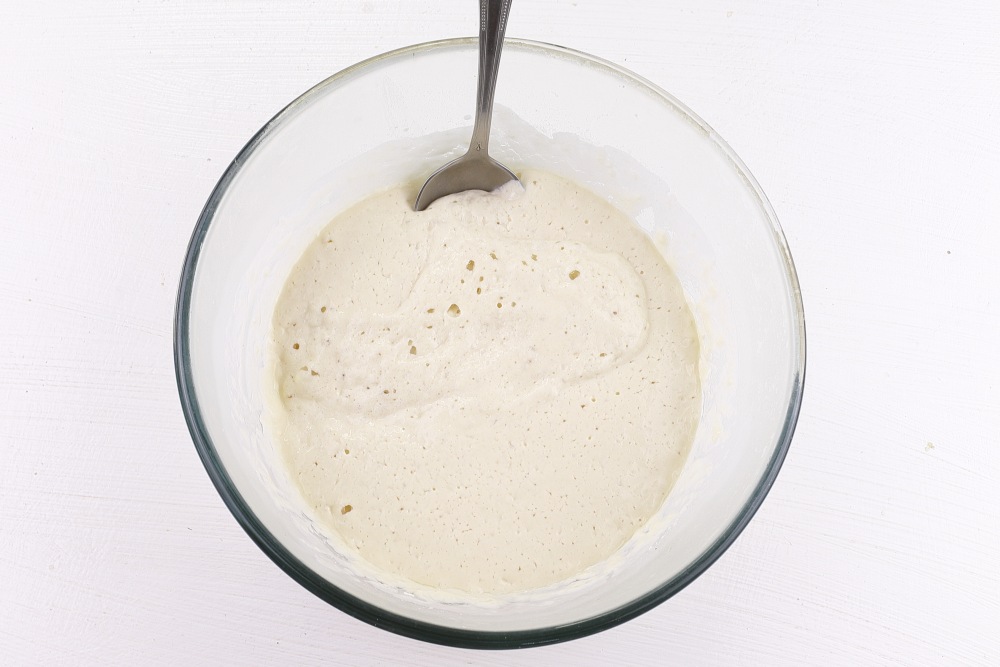
Step 6
Cover with cling film. Send to a warm place for 20-30 minutes.
The proofing time for the dough depends on the room temperature and the activity of the yeast. If the room is warm (about 25-30°C), the dough will rise faster. In colder conditions, such as winter or if the room is cool, the process may take a little longer. To speed up the process, you can put the dough in a warmer place — next to the radiator, in the oven with the light on, or use a special proofer, if you have one. It is important to ensure that the dough does not sit too long, otherwise the yeast may become too active and the dough will become overly sour.
Proper proofing is when the dough increases in volume, becomes bubbly and airy. Once this has happened, you can move on to the next stage.
-
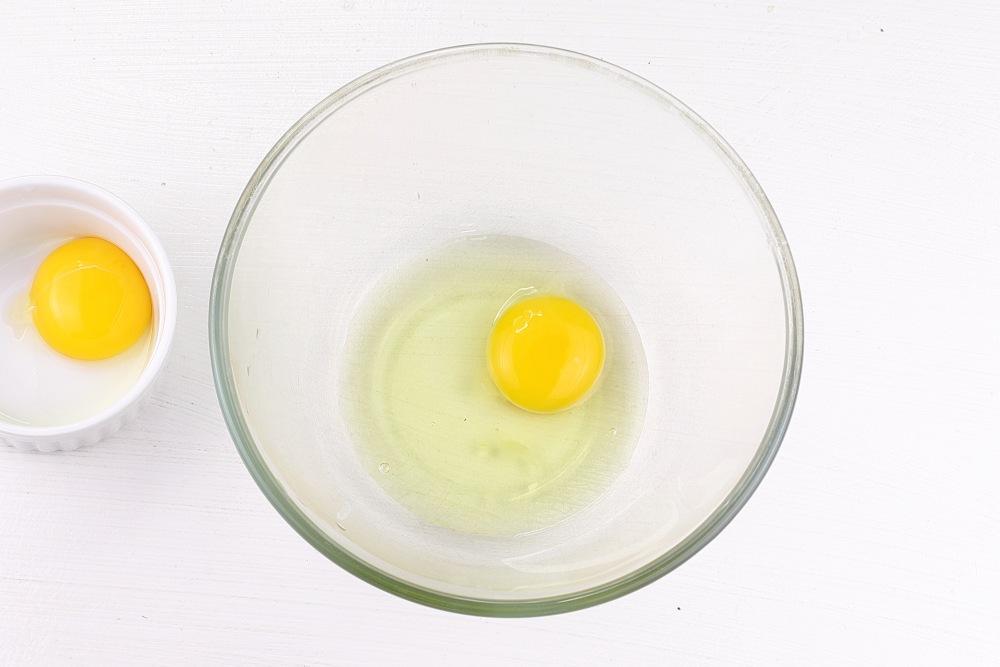
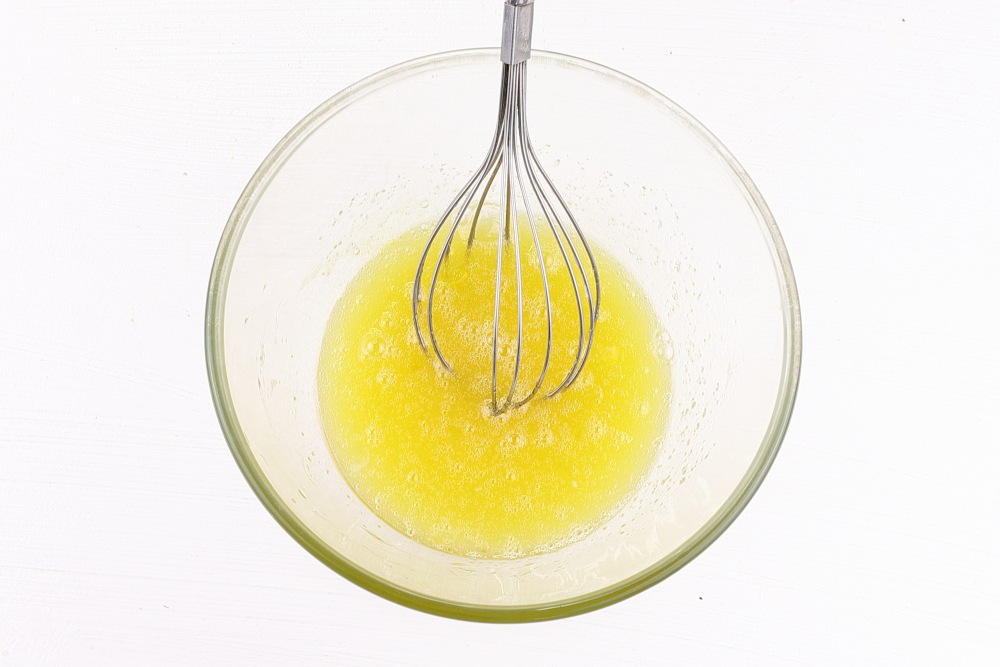
Step 7
Add the whole egg and white to another deep bowl. Leave one yolk for greasing.
-
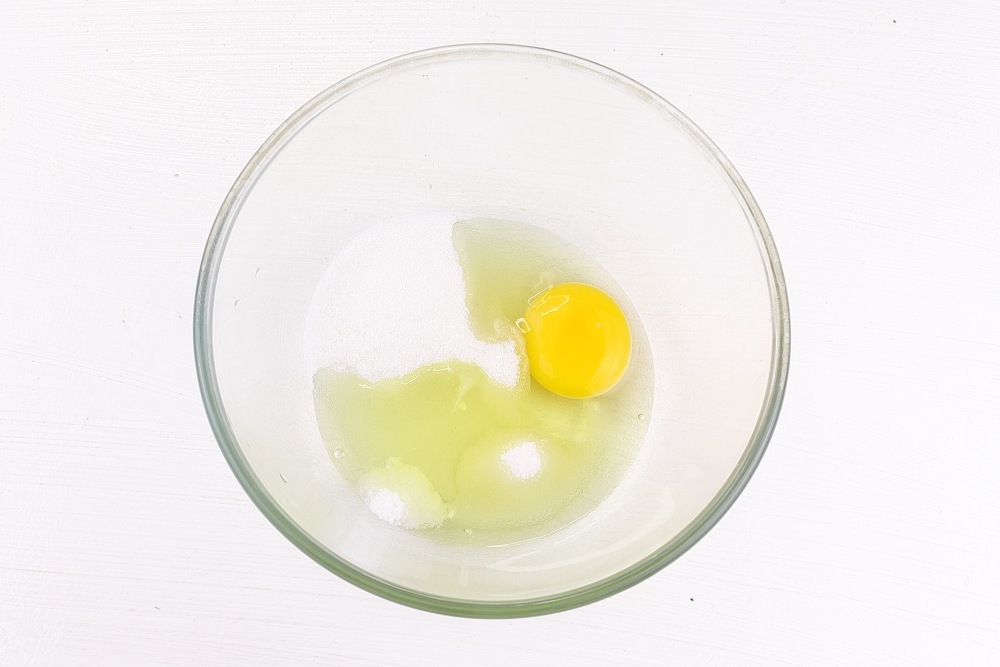
Step 8
Add salt, vanilla sugar and 60 g of sugar to the eggs.
-
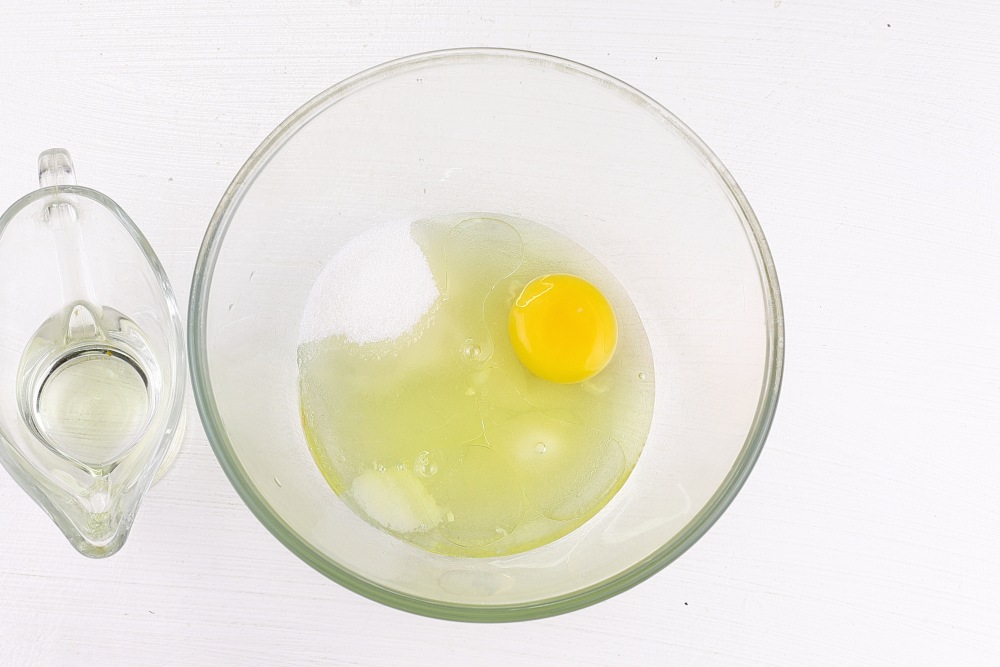
Step 9
Pour in 30-35 ml of vegetable oil from the total amount. I recommend using any refined oil.
-
Step 10
Mix all ingredients.
-
Step 11
The dough has grown well. This indicates the use of high-quality yeast and the correct conditions for its work. When the yeast is activated and begins to bubble, it is alive and in good condition, and the dough will be soft and fluffy. If the dough has not increased in volume or does not form bubbles, the yeast may have been inactive or it has been stored for a long time, and you should also pay attention to the temperature of the liquid with which you diluted it. It is important to remember that liquid that is too hot can kill the yeast, while liquid that is too cold will not activate it properly. If the dough has not risen, it is better not to continue cooking, but to prepare a new dough with new yeast.
You might be interested in:
Why yeast dough didn’t work out: analysis of typical mistakes

-
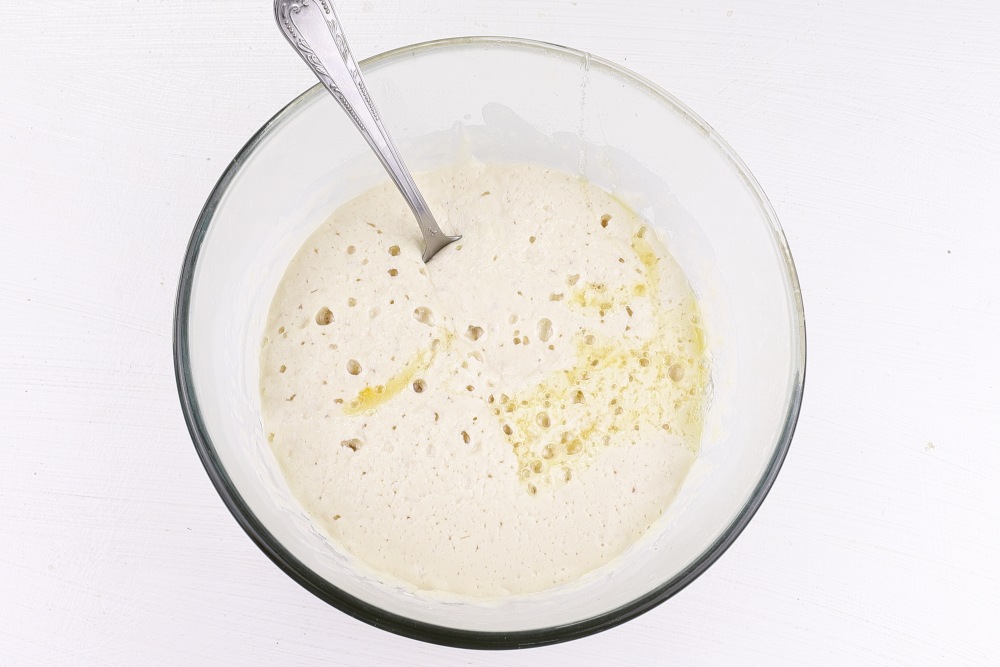
Step 12
Pour the egg-sugar mixture into the dough. Mix.
-
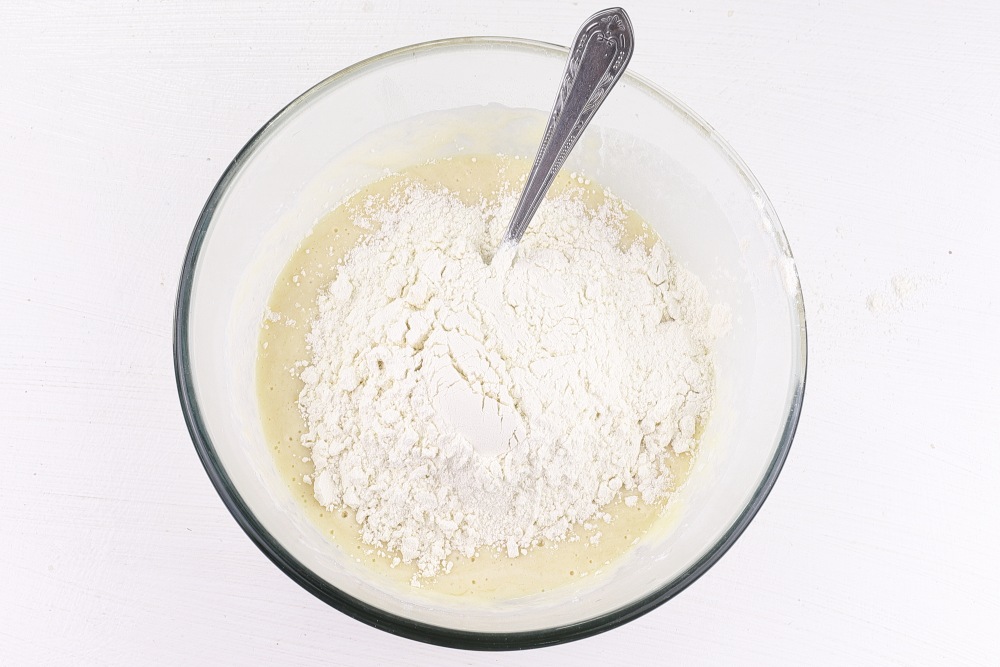
Step 13
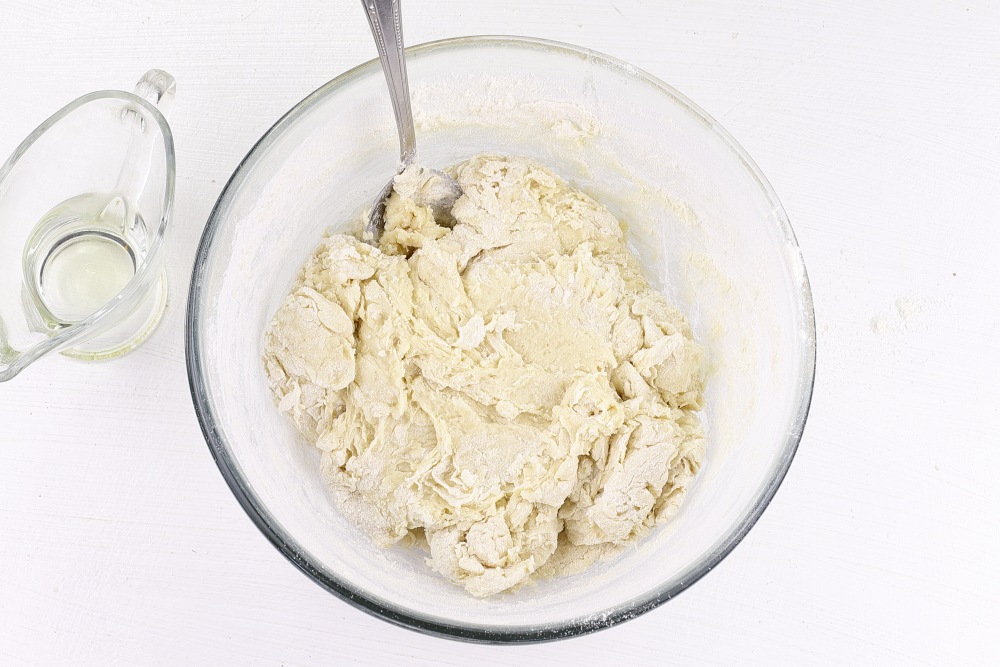
Add flour in several additions.
-
Step 14
After each addition of flour, mix well with a spoon. At this step I still have about 2 tablespoons of flour left. It's better not to fill the dough with flour.
-
Step 15
Pour the remaining vegetable oil into the dough.
-
Step 16
Mix well with your hands, incorporating the butter into the dough. You can use a dough mixer for kneading. At this stage the dough is sticky.
-
Step 17
Sprinkle the remaining flour onto the board. Pour out the dough and knead with your hands. The dough turns out very soft and slightly sticky.
-
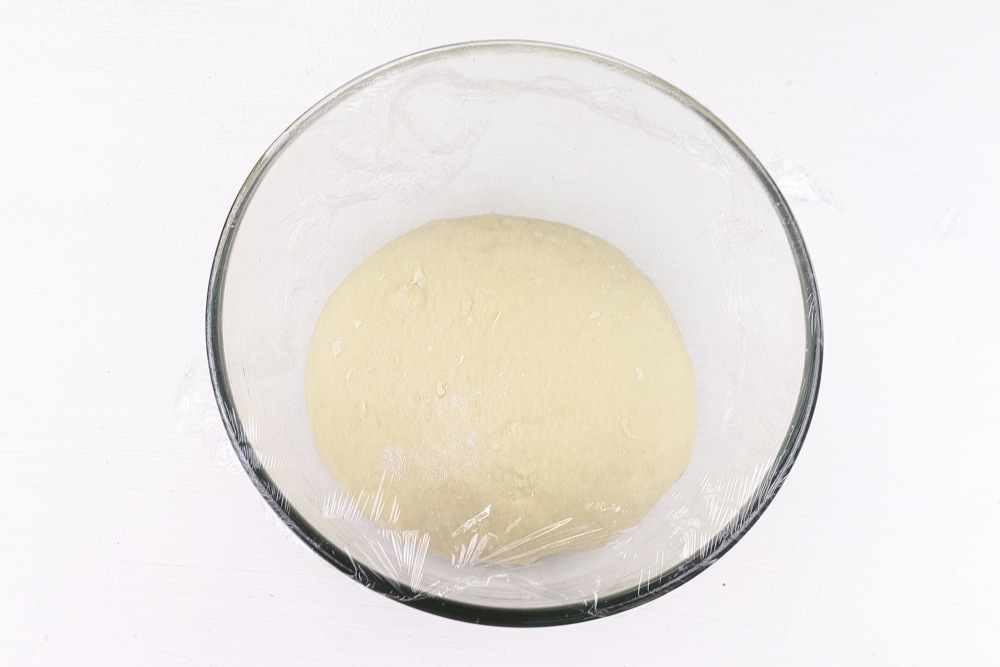
Step 18
Grease a deep bowl with vegetable oil. Lay out the dough. Cover with cling film or a clean kitchen towel to prevent the dough from drying out and place in a warm place for 50-60 minutes.
The rising time of the dough depends on the room temperature: at a temperature of about 25°C, the dough should rise within the specified time. It is important that during the proofing process the dough is not in a draft, otherwise it may not rise. The dough should double in volume and become soft, elastic and airy. This signals that it is ready for further work.
-
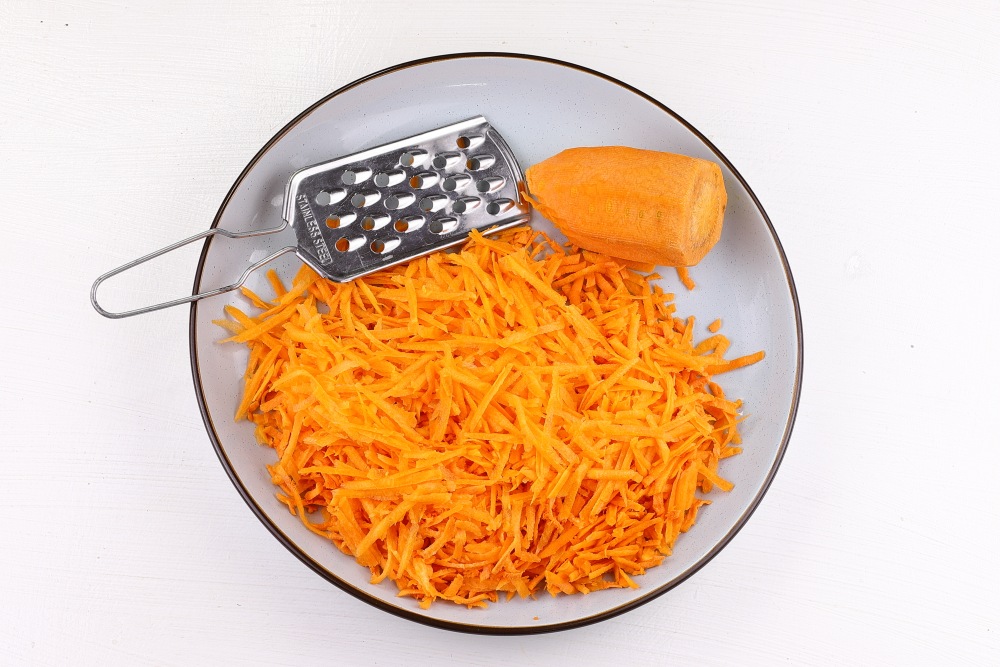
Step 19
Peel the carrots. Rinse well and dry with a paper towel. Grind on a coarse grater.
-
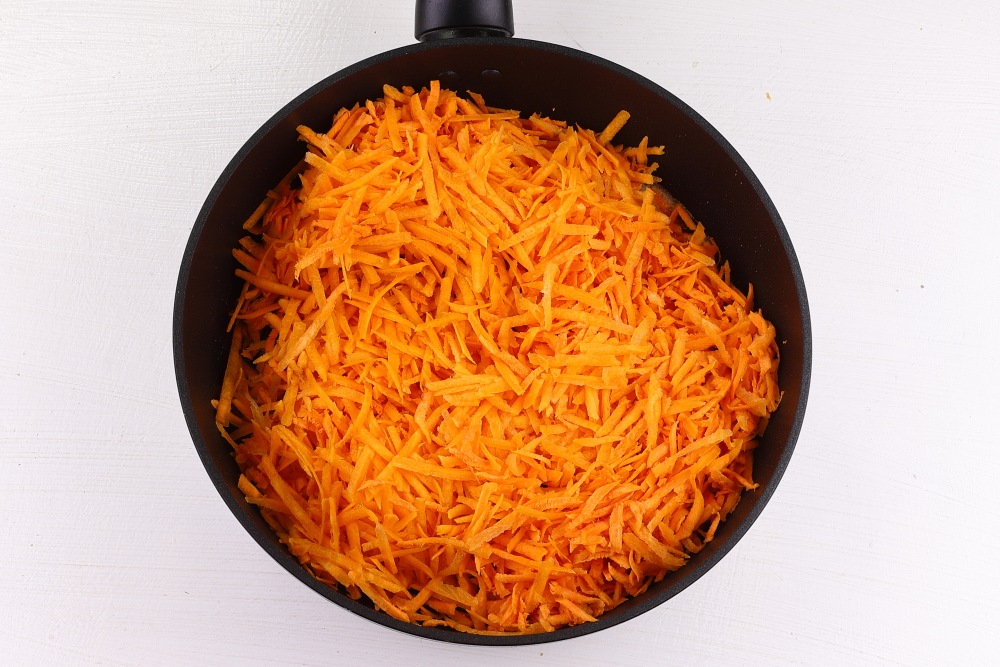
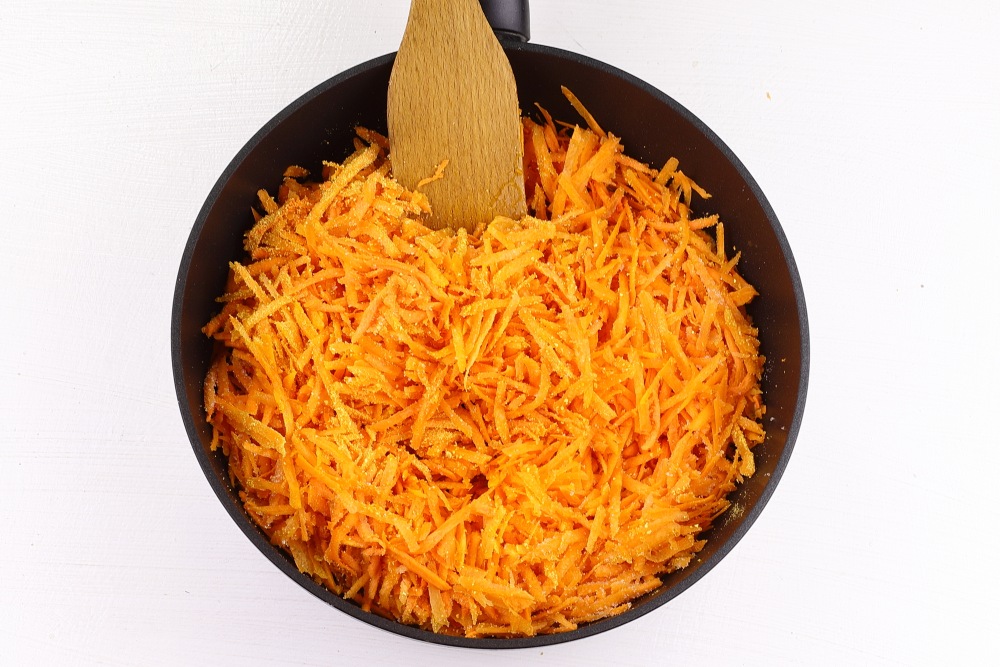
Step 20
Melt butter in a deep frying pan. Add grated carrots.
-
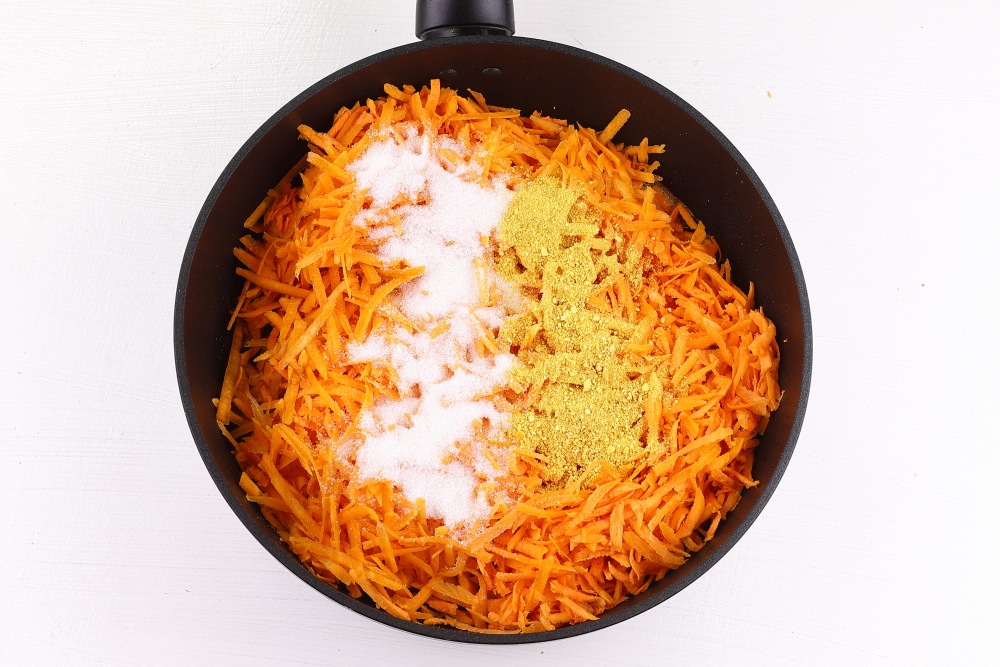
Step 21
Add 30 g of sugar and orange zest. Spices can be selected to suit your taste.
If you are adding fresh zest, the zest from half an orange will suffice. I used dry, it is less fragrant.
-
Step 22
Mix all ingredients well. Set the heat to below medium and simmer for about 10-15 minutes until the carrots are soft, stirring occasionally.
-
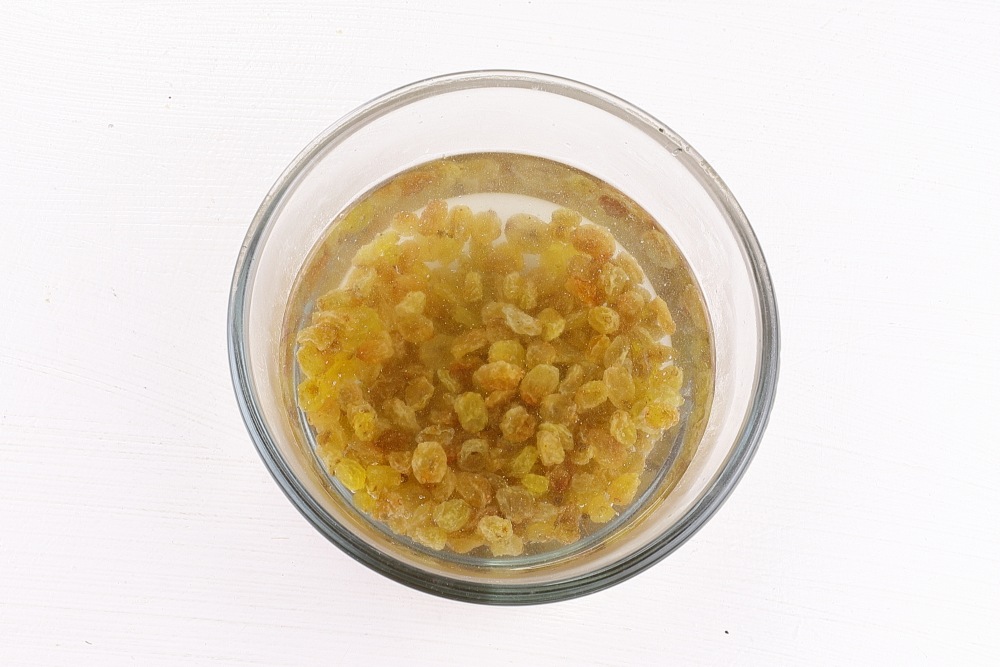
Step 23
Rinse the raisins well. Pour hot water for 10-15 minutes to make it softer.
-
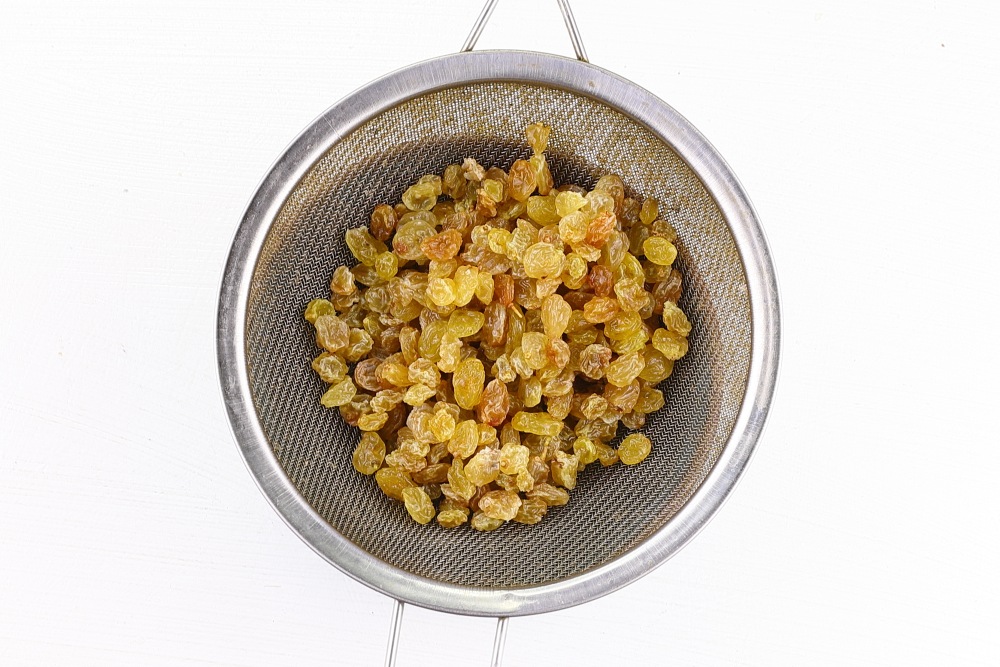
Step 24
Place the washed raisins in a sieve to drain off any excess liquid.
-
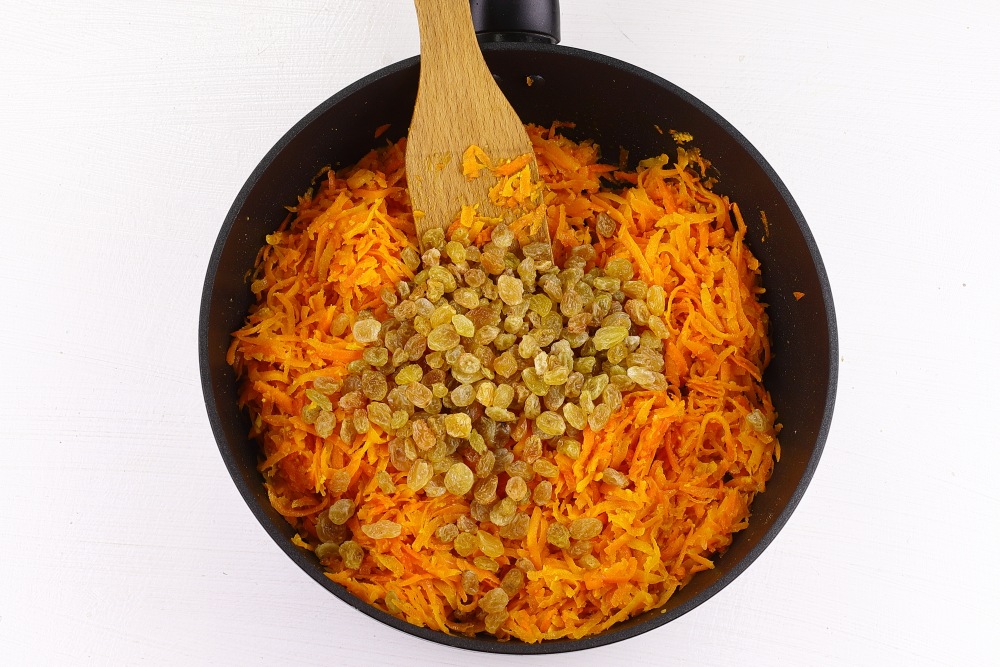
Step 25
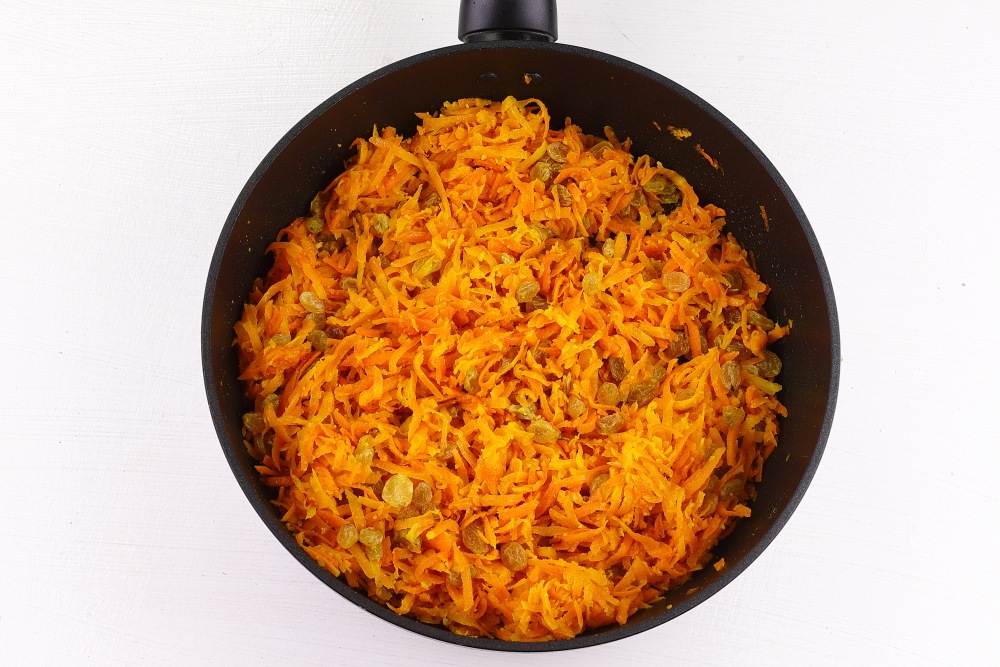
Remove the stewed carrots from the heat. Add prepared raisins.
-
Step 26
Mix carrots with raisins. The carrot and raisin filling for pies is ready. Cool until warm.
-
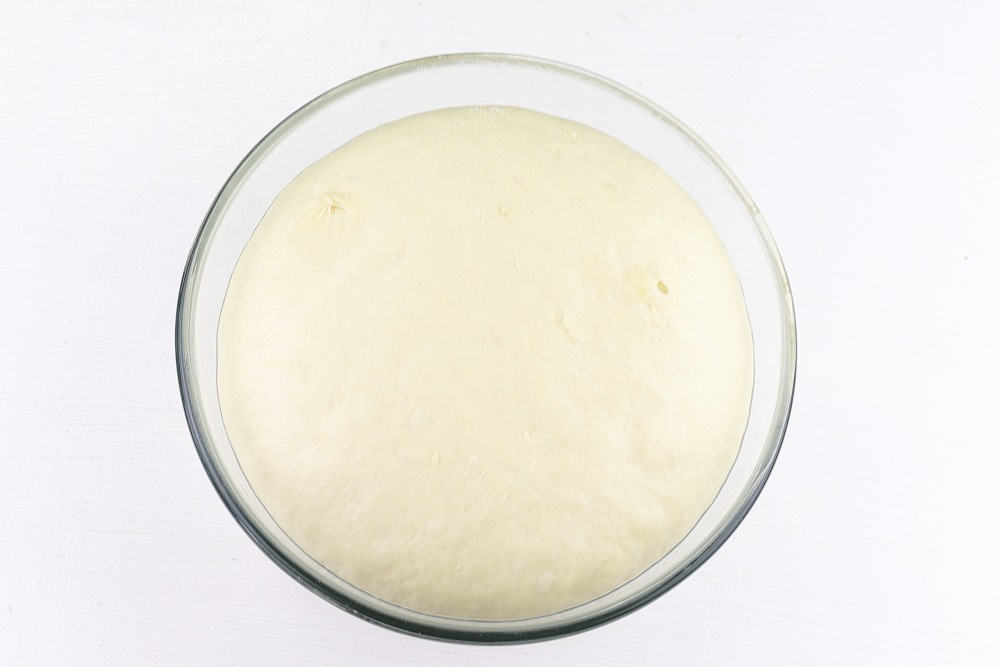
Step 27
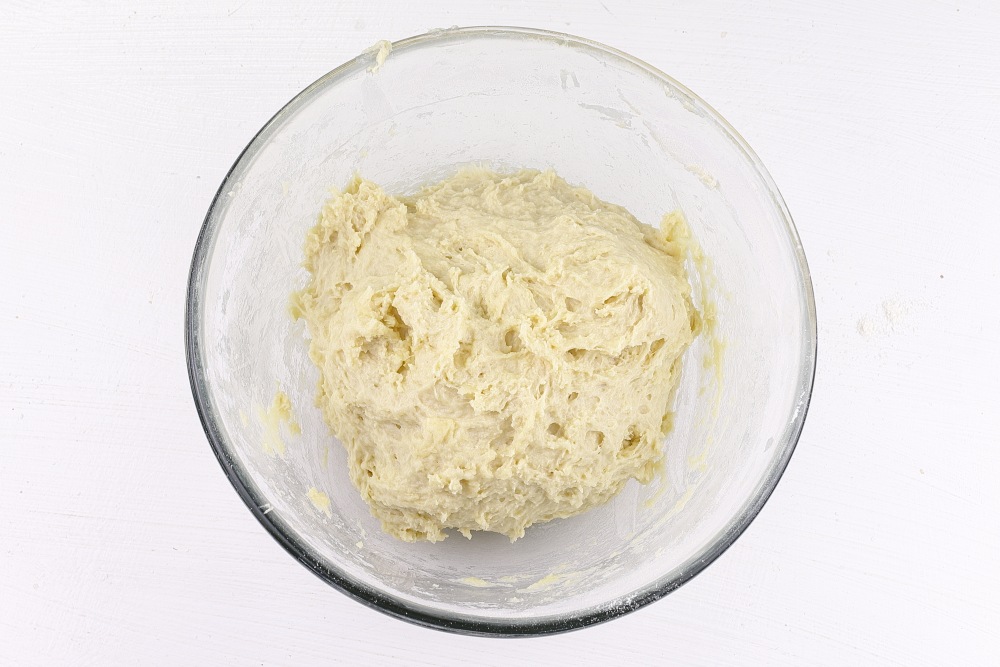
The dough increased in volume well, became soft and airy. This indicates that the yeast has worked well and the dough is ready for further steps.
-
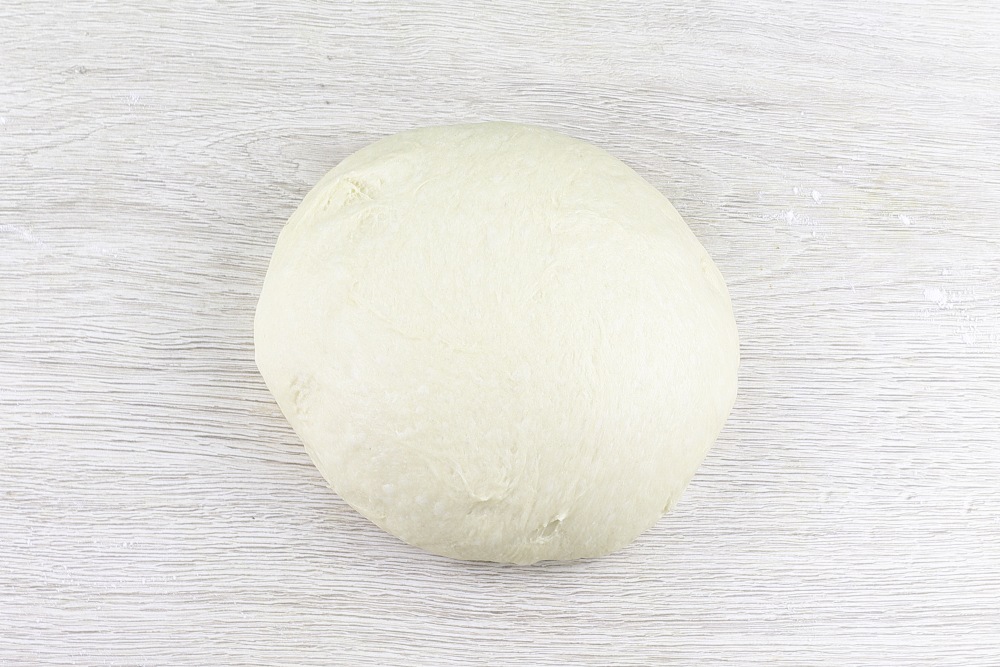
Step 28
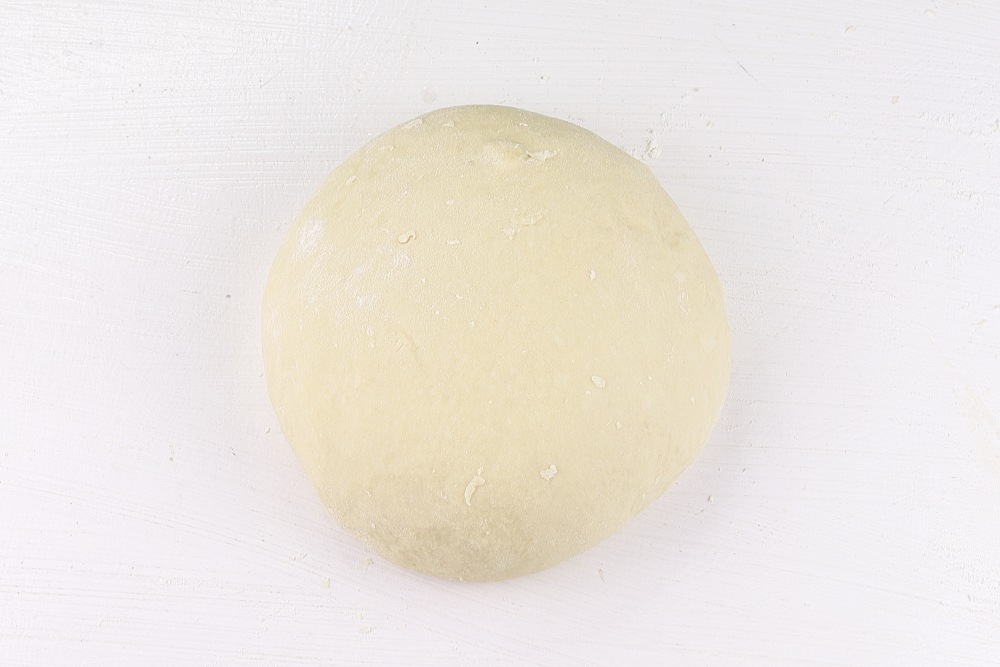
Place the rested dough on a lightly dusted board. Knead.
-
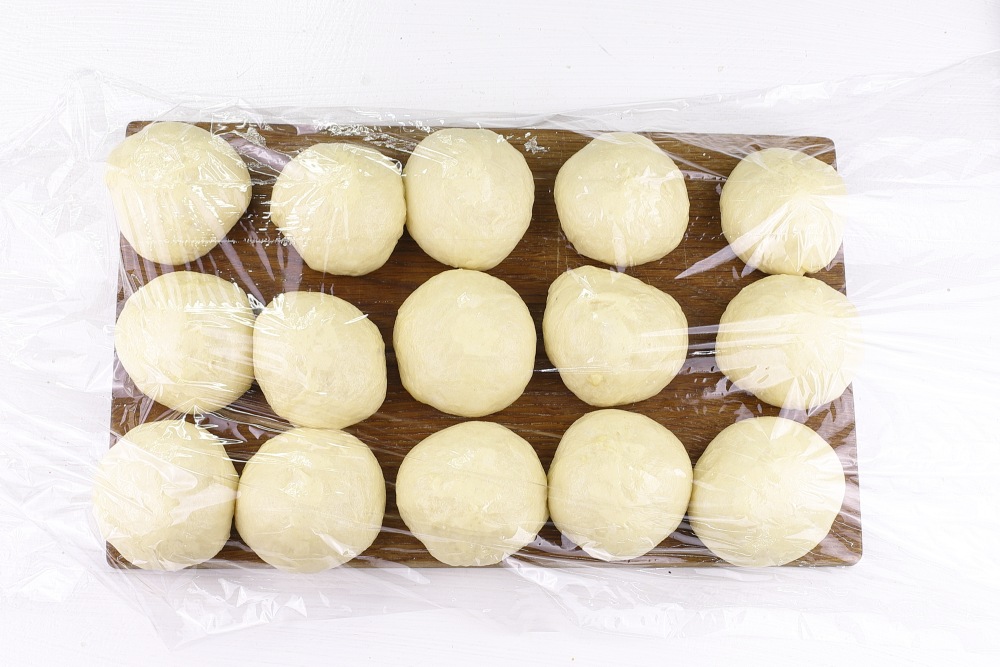
Step 29
Divide the dough into 15 pieces. Form into balls. The weight of one ball is approximately 60 g. Cover with cling film. Leave for 20-30 minutes in a warm place.
You might be interested in:
Sweet buns made from yeast dough in the oven: 7 delicious ideas
-
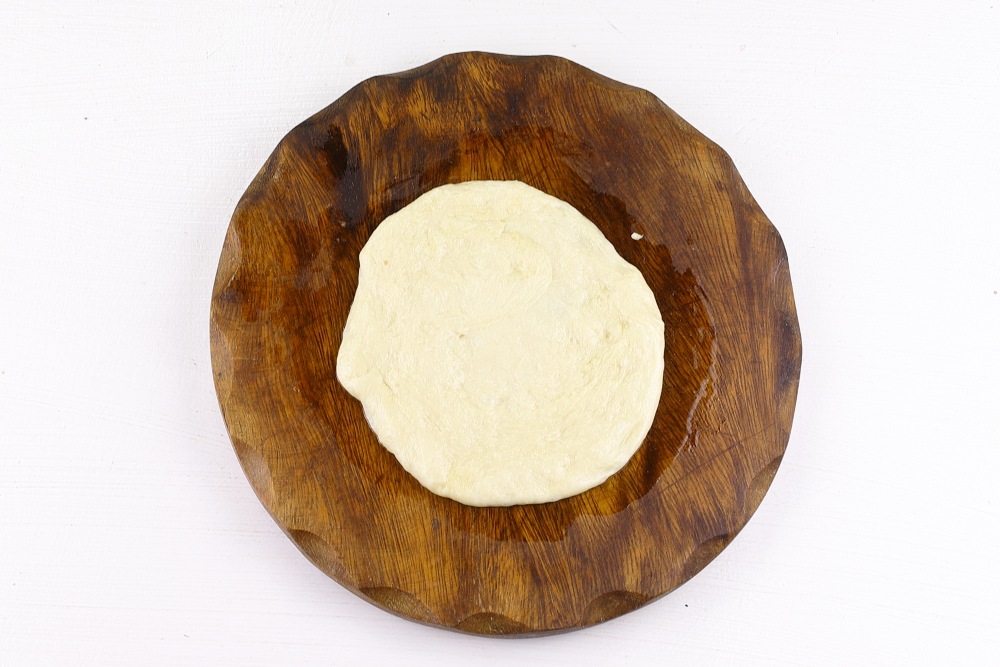
Step 30
Using your hands, flatten each bun into a not very thin cake, greasing your hands with vegetable oil.
-
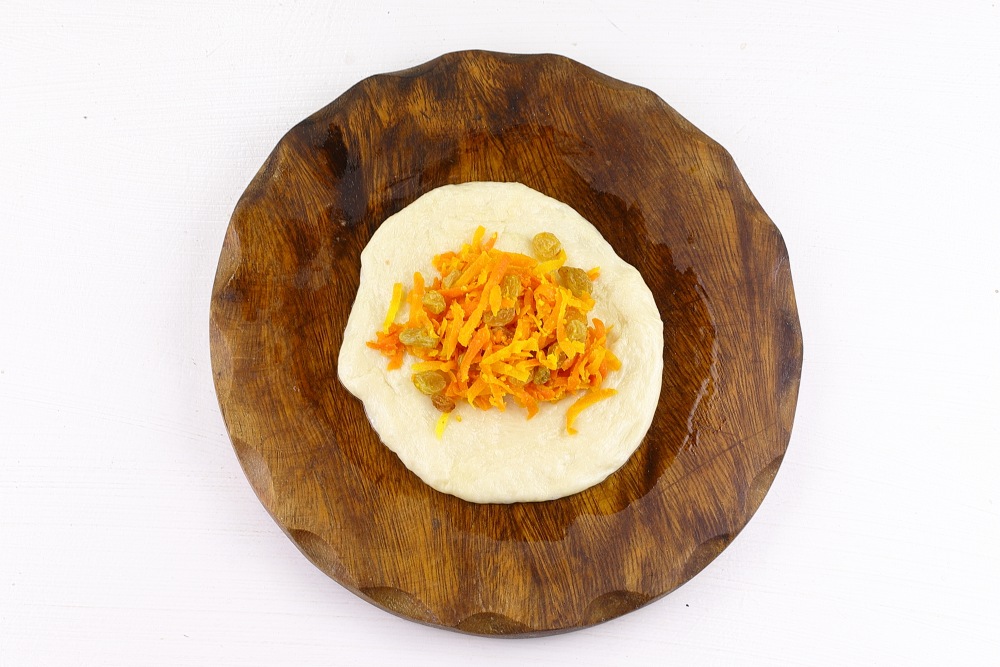
Step 31
Place about a heaping tablespoon of carrot filling in the center of the flatbread.
-
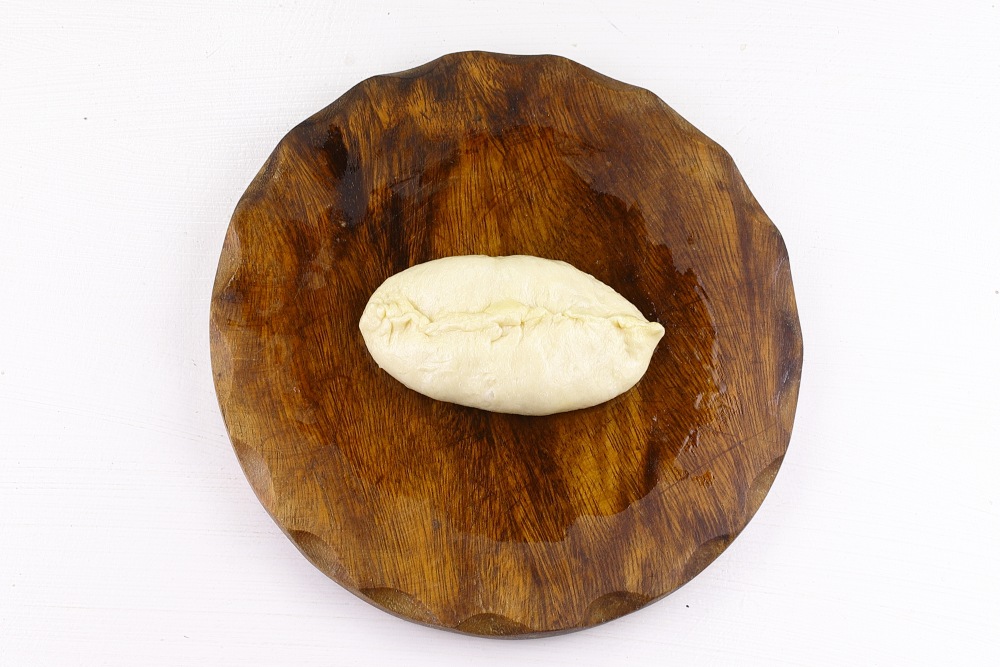
Step 32
Raise the edges and pinch them tightly. Form a pie.
-
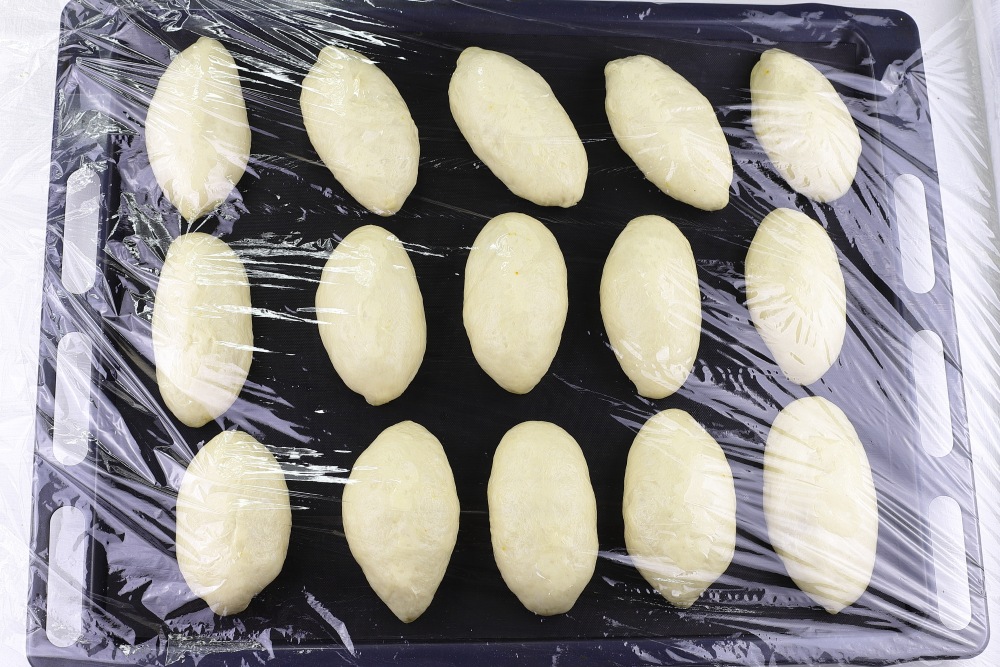
Step 33
Place the pieces on a baking sheet with parchment at a short distance from each other. Cover with cling film. Leave in a warm place for 20-30 minutes.
-
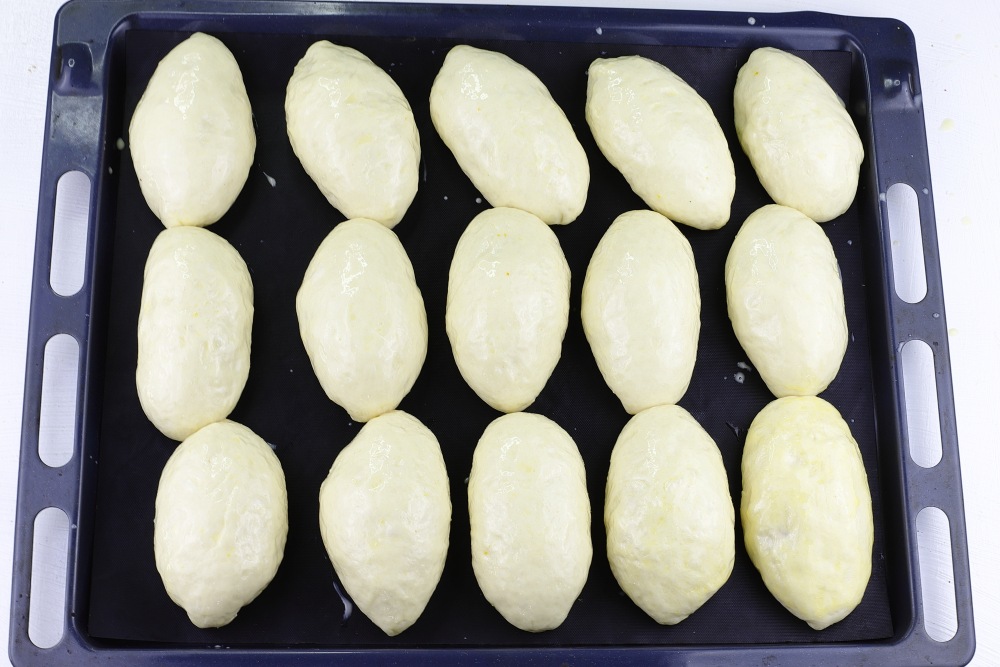
Step 34
Brush the rested pieces with beaten yolk. Place in a preheated oven for 30-35 minutes at 180°C, until golden brown. Baking time depends on the technical capabilities of your oven. Focus on your working conditions.
-
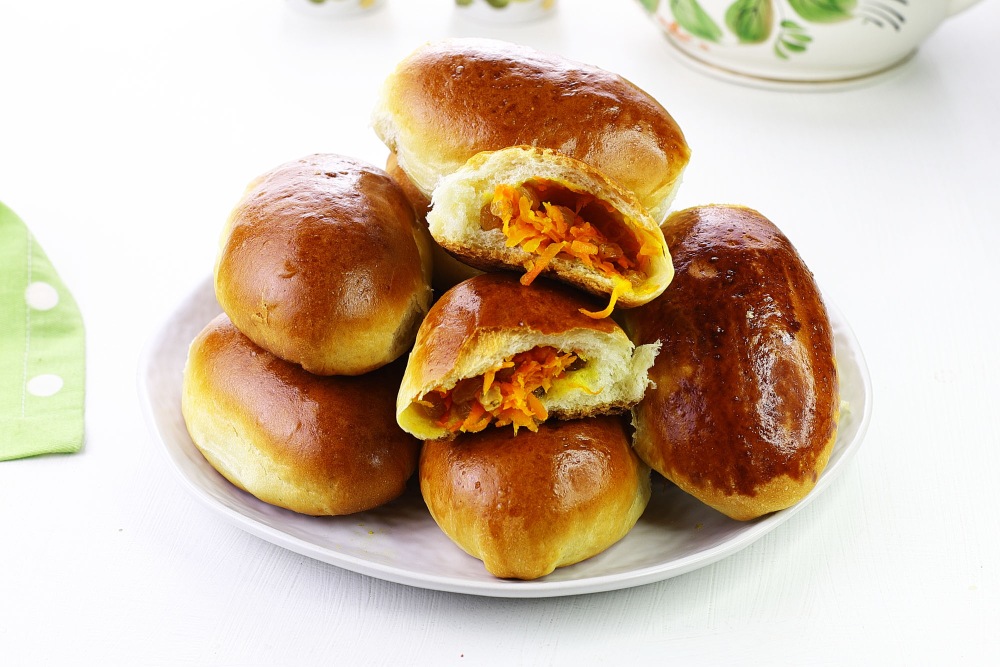
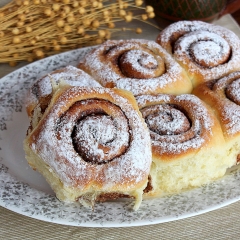
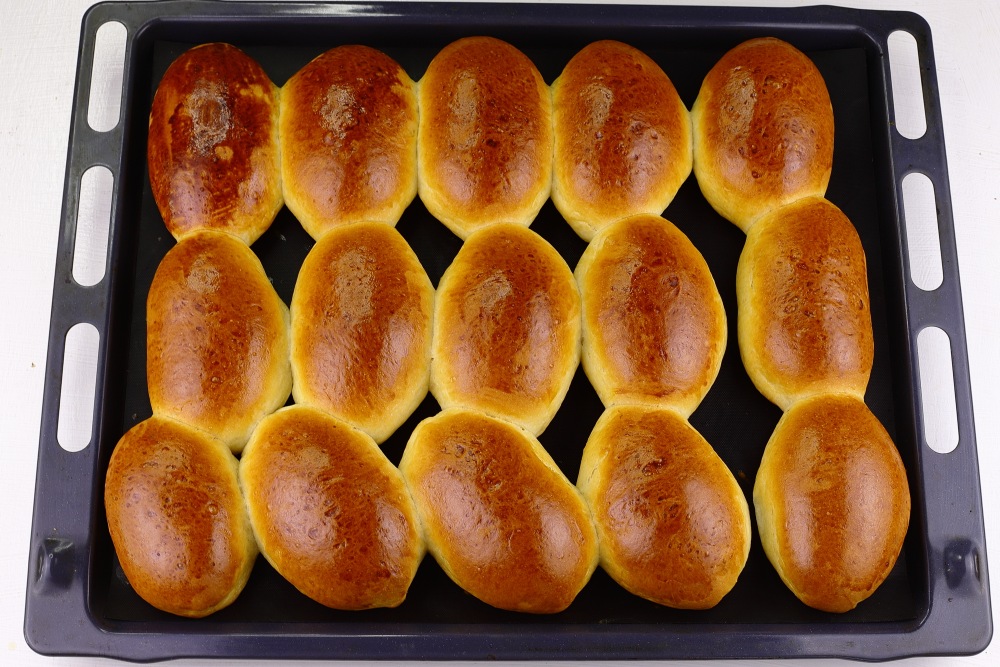
Step 35
Pies with carrots and raisins are ready in the oven.
-
Step 36
Enjoy your tea!
📌 For other SWEET PIE recipes, SEE 👉🏻 HERE