
Step 1

The recipe for these fragrant and tasty buns includes such simple ingredients such as: high -grade wheat flour, medium -sized chicken eggs (in dough) and 1 egg yolk (to lubricate blanks), ice water, high -quality butter (fat content of at least 82%), sugar, salt and speedy yeast. I can’t say about the replacement of yeast fresh or dry, but you can try, however, I do not answer for the result.
Step 2
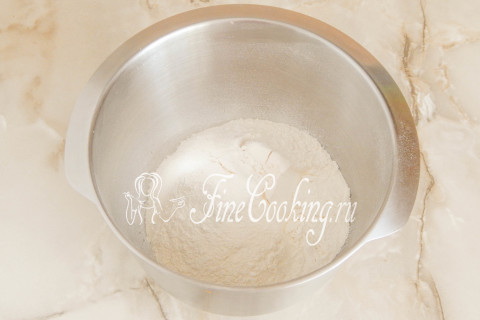
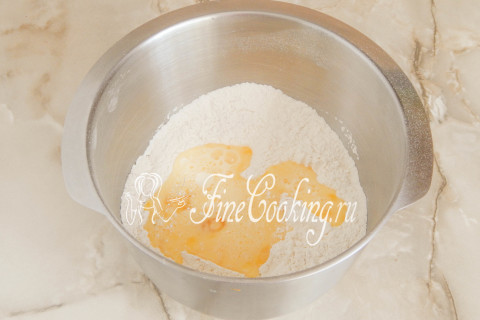
In the suitable for kneading dough, sift the dishes 350 grams of wheat flour of the highest grade.
Step 3
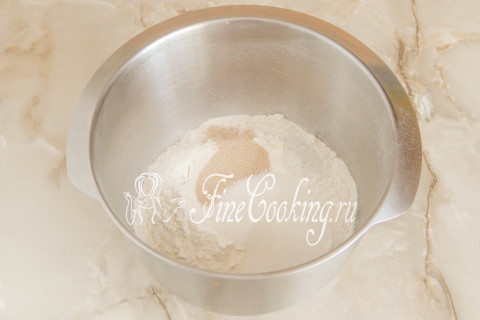
Add to it 1 teaspoon of salt (without a slide, that is, under a knife), 40 grams of sugar (can be replaced with sugar powder) and 5 grams of high -speed yeast (this is 1 teaspoon with a hill). Mix everything thoroughly with a spoon, spatula or a whisk, so that dry ingredients are evenly dispersed over the entire mixture.
Step 4
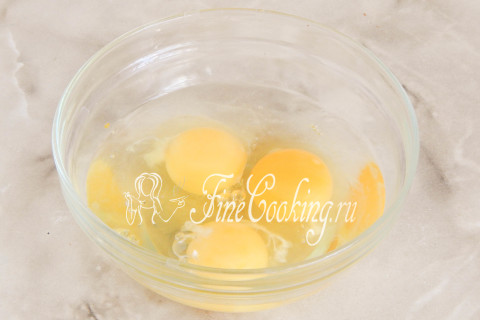
Now in another dishes we break 3 raw chicken eggs of medium size.
Step 5
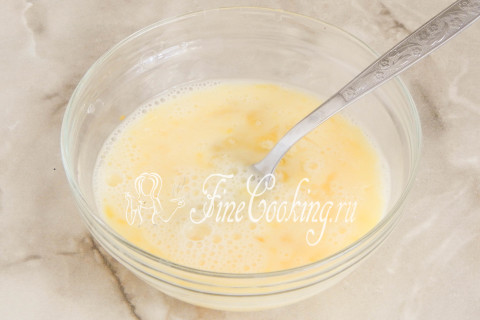
We pour 50 milliliters of ice water to them and chat with a fork, breaking the structure of the egg. Cut the water well in advance — put either in the refrigerator for half an hour, or leave in the freezer for 10-15 minutes.
Step 6
Pour the cold egg mixture into the flour mass and begin the batch of the dough. In fact, it is very, very, it is very, very difficult to work with the Brioshi tests, so be sure to use the help of electrodegers.
Step 7
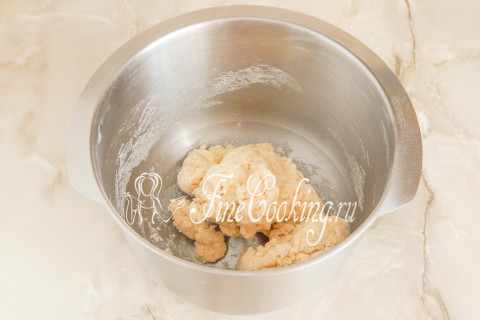
At this stage, you just need to mix all the ingredients very thoroughly to get a relatively homogeneous dough. By consistency, it reminds me of a very soft sand dough. With the help of a food combine and nozzle-bag, the dough is mixed for 5-7 minutes at an average speed. Mix your hands until you achieve homogeneity. But here it is important not to heat the dough, so it is most convenient to use kitchen assistants.
Step 8
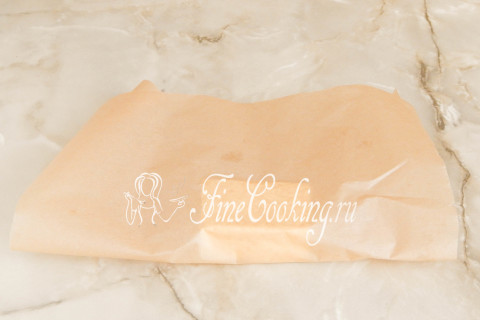
Leave the dough and take up butter, which should be very, very cold. Not from the refrigerator, but almost directly from the freezer. It needs to be softened in any convenient way, then to be introduced into the dough. To do this, it is better and easiest to put a piece of cold oil on a sheet of parchment, cover with them.
Step 9
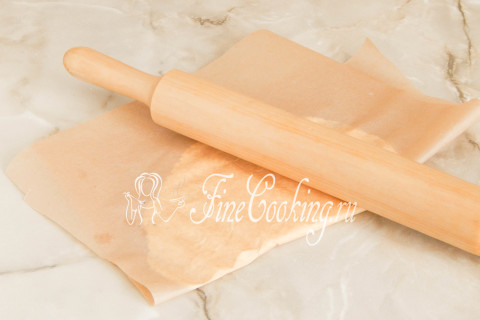
And then beat off with a kitchen hammer or rocking rod. This is quite difficult for girls, since they are weaker than men, but there is nothing impossible if desired. Literally 5 minutes and an almost icy piece of oil will turn into a flat oil pancake, which in the texture should resemble cold, but already suppressed plasticine.
Step 10
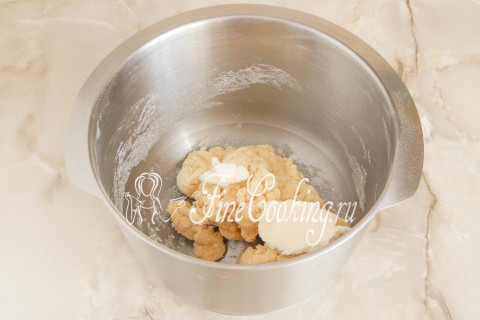
Now we will be small pieces (first literally on a teaspoon) add oil to the dough, without stopping the batch of dough. When the first portion is interfered, add the next and so on.
Step 11
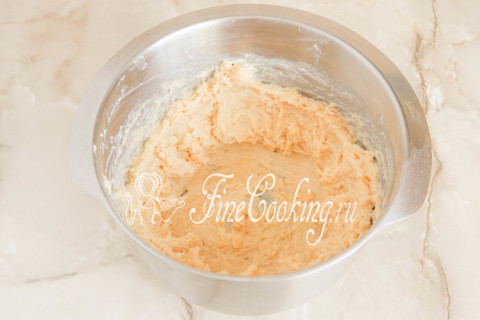
When all the oil is in the dough, the mass will turn out about this — it is heterogeneous, not liquid, while very sticky.
Step 12
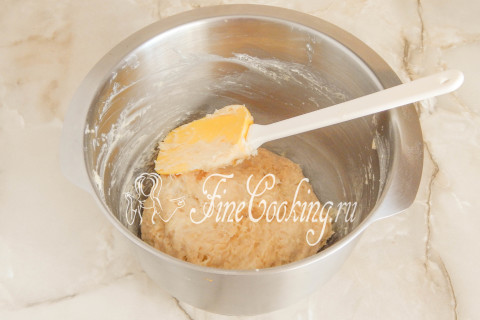
We scrap the dough from the walls of the bowl and continue intense barling with a nozzle.
Step 13
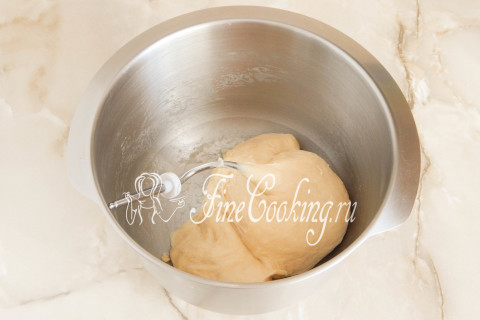
After 10-15 minutes, this shapeless piece of dough will turn into a smooth and shiny bun. It is soft, non -alpatous, while holding its shape perfectly. Yes, regarding manual batch: the dough for Brioshi, of course, can be kneaded with your hands, but then get ready to actively work at least 30 minutes, or even more. You will knead until it turns out perfectly smooth dough. In this case, it is best to knead the dough using French technology called Stretch and Fold (stretch and expand).
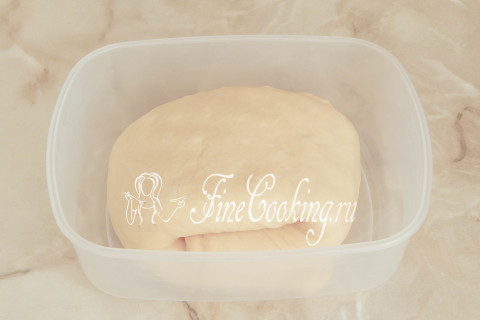
Step 14
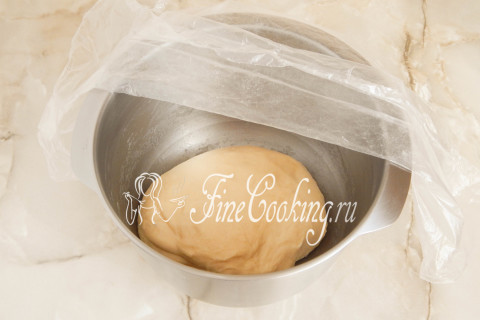
So, we round the dough, tighten the bowl with a film (bag) or cover with a towel (so that it does not be bent and not covered with a crust) and leave at room temperature for 1 hour.
Step 15
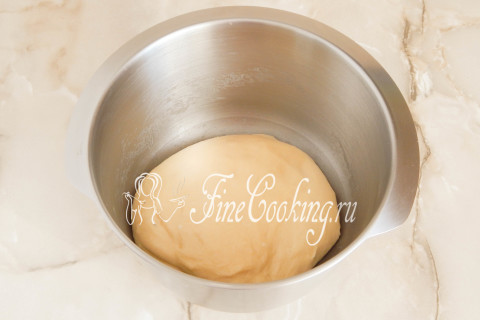
During this time, the dough is slightly inflated and will increase in the amount of one and a half times. Now we need to work a little more — just fold the dough and you can rest.
Step 16
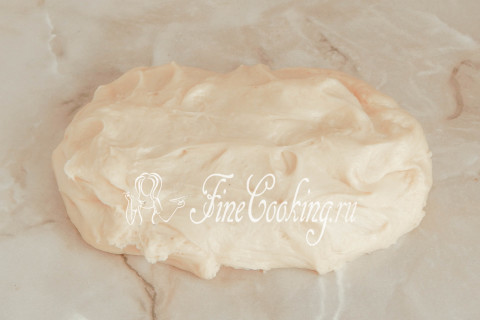
In order to fold the dough, we spread it on the work surface. There is no need to sprinkle flour, do not worry — if you knead the dough well, it will not stick.
Step 17
With our hands, stretch the bun into a square layer, but not very thinly — about 1 centimeter thick.
Step 18
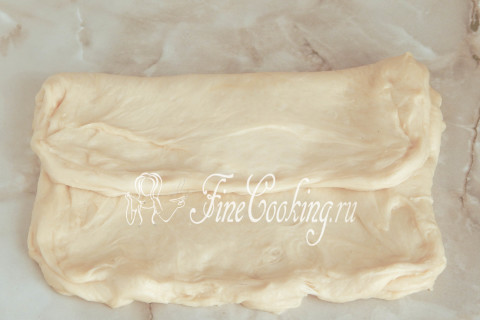
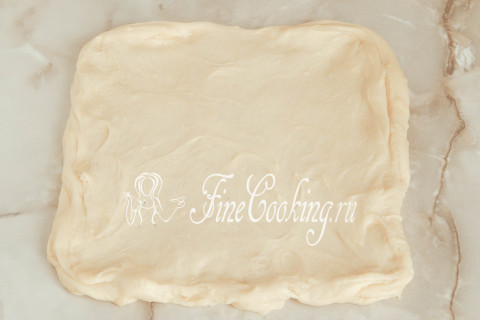
Now visually divide it into 3 equal parts, we take and fold the layer on 1/3 like Euroconvert.
Step 19
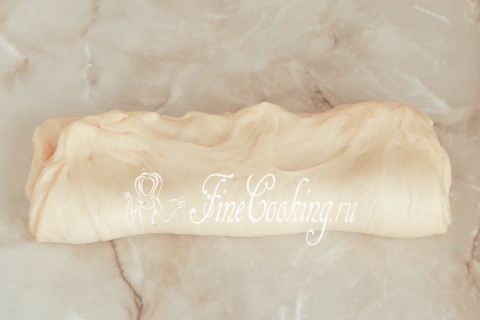
Similarly, fold the opposite edge of the dough on top. Thus, a long rectangle in three layers is obtained.
Step 20
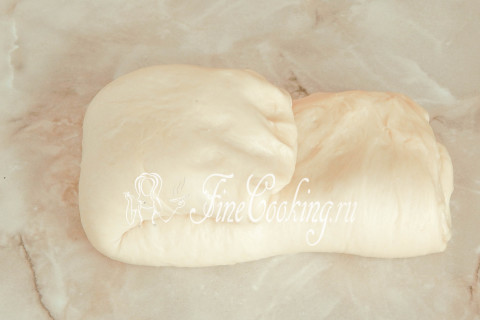
It must also be folded two more times. First one edge.
Step 21
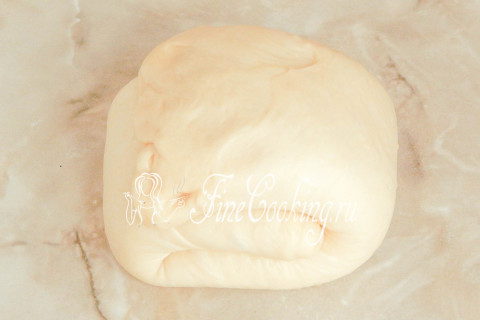
Then the second. It turns out such a chubby.
Step 22
Put it with a seam down in some container, which we cover with a lid or tighten it with cling film. We put in the refrigerator for 8 hours. If the dough is risen for a couple of hours — this is not fatal. Do not get up at 5 in the morning to cook buns, right? That is why submit time and put the dough in the cold in the evening so that it is convenient for you to bake buns in the morning. Or vice versa: in the evening — the dough, in the morning — buns.
Step 23
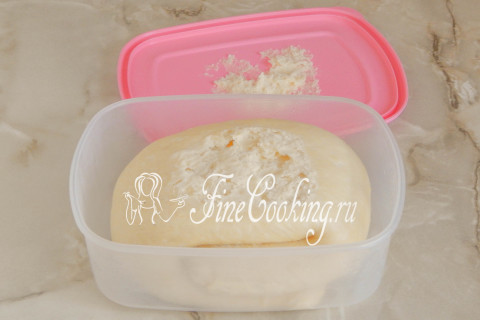
After 8 (10-12) hours, we take out a bowl from the refrigerator and observe that the dough in the cold has grown two times. I even stick to the lid. The dough has become dense, literally stone — it should be, it froze butter. It is very convenient to work with such a test.
Step 24
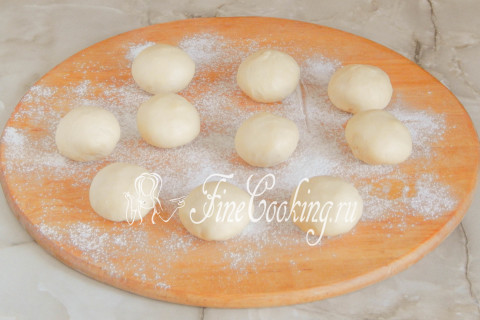
Divide the dough into pieces of the same size and roll them into balls. I got 10 pieces. It is most convenient to use kitchen weights, if there are such, so that the balls are the same. This is important not only from an aesthetic point of view — the blanks of the same size are suitable for the same time and baked also at the same time.
Step 25
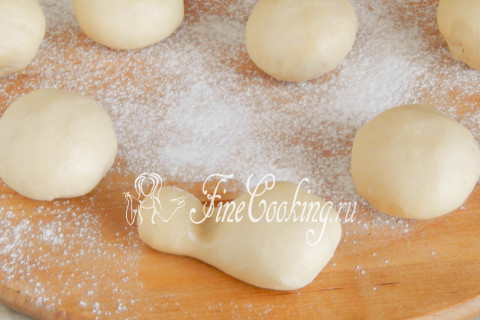
The most interesting thing in the preparation of these buns for me is a way of forming. We take one ball of dough, visually divide it into 3 parts and roll the palm with the edge of the palm on the working surface to make a blank in the form of cigarettes. She forms a body (lower, most part) and head (small ball).
Step 26
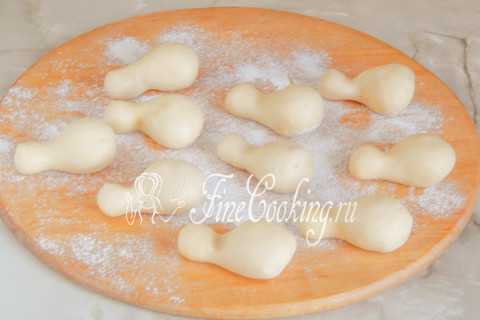
This is what we do with all the balls, turning them into cagigli. We work with the dough quickly so that it does not have time to warm up from the warmth of the hands and does not become soft.
Step 27
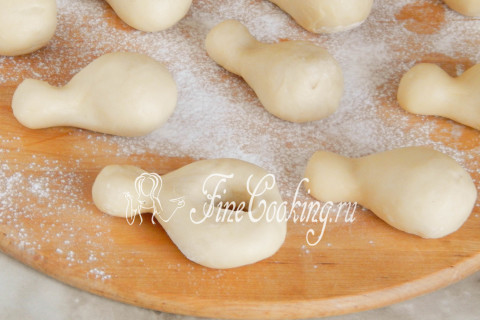
Further, in most of the workpiece, we make a hole right in the middle. To do this, push the body with the thumb to the bottom to form a hole. Then we take the workpiece, insert 2 index fingers into the hole parallel to each other. On the weight, scroll the workpiece on the fingers to expand the hole to such a size so that the head of the future buns crawl into it. Just not very wide, do not especially zeal.
Step 28
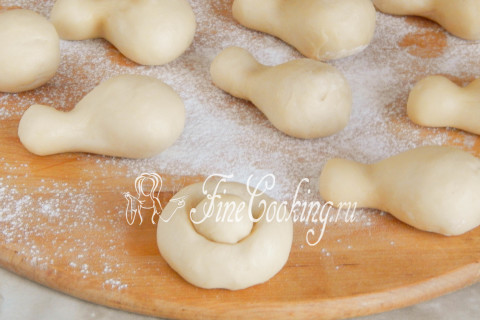
It remains to put a smaller part of the kegies into this hole — it turned out such a lamb with a round in the center. Great, right? Sometimes cooks divide the ball into a large and small part, after which they simply put one on the other. But in this case, the chance that the head while baking will slide or fall off is very high.
Step 29
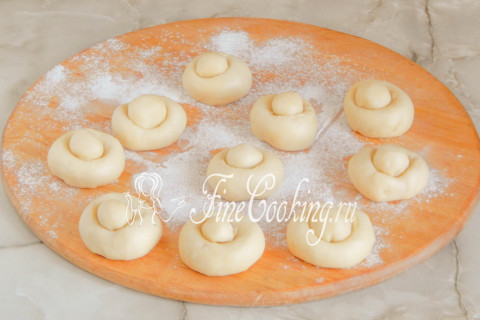
Well, we have already done all 10 blanks. During this time, the oil in the test began to thaw, but we all managed.
Step 30
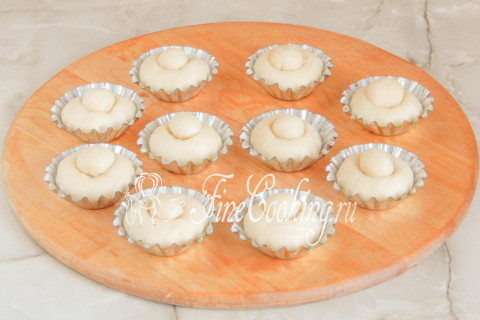
We select suitable baking molds. I have these tin cupcake molds. It is important to fill them with a test of no more than half, since during the baking of the product will greatly increase in volume. If you do not have suitable dishes, you can bake BRIOSHIC buns on a baking sheet, covering it with parchment paper. But then be prepared that the products will be low and wide, since the dough will grow not only up, but also to the sides. This will not affect the taste, do not worry.
Step 31
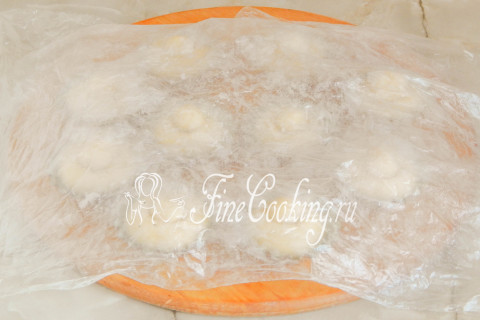
We cover the workpieces with cling film (powder it with flour) or a light towel and leave to fit in the heat for 1-1.5 hours until the dough increases in the volume of 1.5-2 times. I put future buns in the oven and just turn on the light bulb there.
Step 32
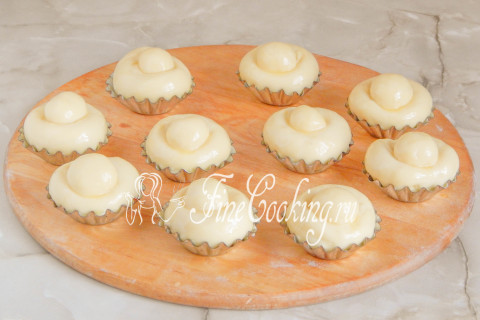
When the blanks grow up well, lubricate them with a chilled egg yolk, which can be diluted with a small amount of water.
Step 33
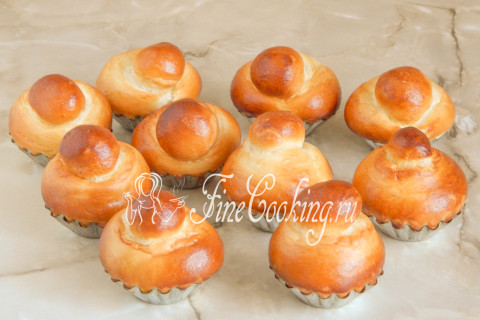
We bake BRIOSHIC buns in advance (turn it on for 20 minutes) heated oven at an average level at 170 degrees 20-25 minutes to beautiful and rosy crust. The cooking time depends on the size of the buns and the features of your oven.
Step 34

We take hot buns from molds and completely cool.
Step 35

True, it is very difficult to let them cool, since the creamy aroma of ready, still warm buns simply drives crazy. A cup of coffee or a mug of tea, freshly baked briosh with awesomely delicate, fibrous crumb and a piece of butter on it — this is an unearthly pleasure. Try you and you!