
Step 1
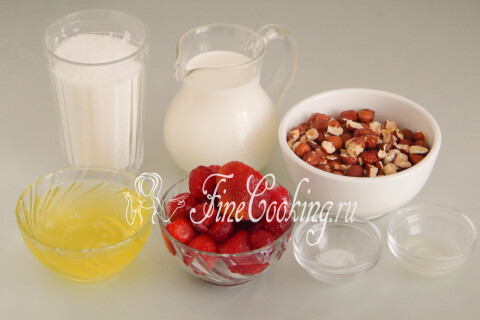
To prepare this delicious cake-shirty, we will need the following ingredients: fat (33-35%) whipping cream, sugar, egg whites, hazelnuts, strawberries, lemon juice and salt.
Step 2
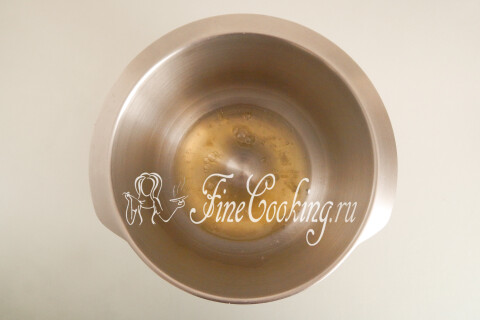
The first task is to prepare meringues. This is our basis for the future cake. In clean, low -fat and dry dishes for whipping we send egg whites (3 pieces, with a total weight of 90 grams).
Step 3
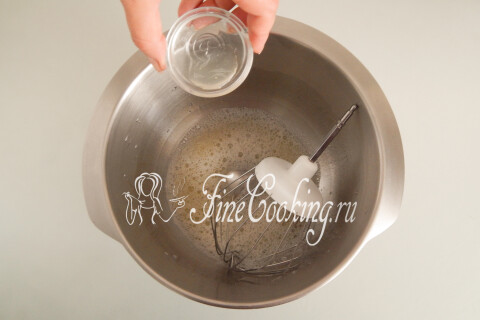
Add a pinch of salt and one teaspoon of lemon juice (you can replace with citric acid on the tip of the knife). By the way, you can add lemon juice in the process of whipping is not fundamentally.
Step 4
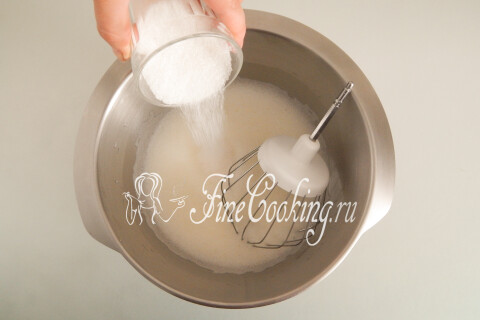
We begin to whip egg squirrels with a mixer at medium speeds until an air light foam appears. Gradually pouring granulated sugar (180 grams), we continue to whip the proteins at medium speed for about 3-5 minutes.
Step 5
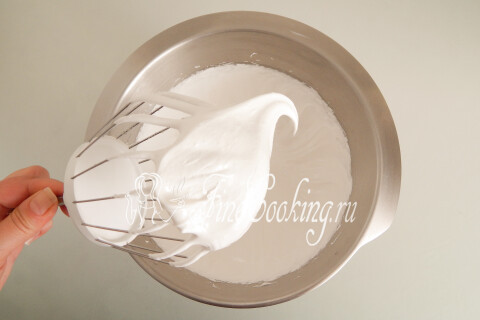
Then add the speed, increasing it to maximum, and beat the proteins with sugar to a stable snow -white meringue. You see, the mass is dense, glossy and does not change its shape at all. It should not just not spread, but not at all change its position.
Step 6
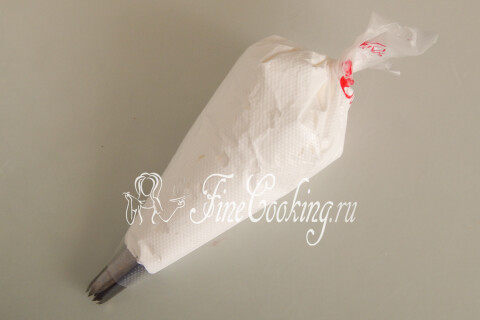
Using a silicone shoulder blade, collect a meringue and send it to a culinary bag with your favorite nozzle (I have an asterisk). We release air from the bag and tighten it.
Step 7

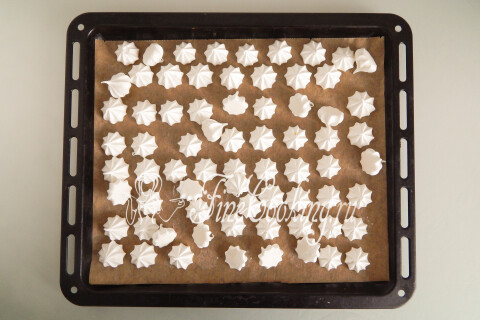
The finished meringue is a dried merenga. It should be light, sonorous and crumble when you break it. The baking sheet is covered with parchment paper (I had a Teflon rug) and plant future fings. I made them small — so they will dry faster and will be ideal for decorating the future cake. Of the entire amount of meringue, I got a whole baking sheet and about 10 more, which I put on the bottom from the detachable form.
Step 8
We place the blanks in the oven preheated to 90-100 degrees (upper and lower heating). We dry until the cookies completely dry. At first, you can check this way: try to raise one workpiece and, if the bottom is not left on parchment, everything will be ready soon. You can open the oven at any time preparation of meringue (this is not a biscuit). The preparation time of this protein cookie depends on the size of the workpieces, but on average it is at least 2 hours. Only in no case do not make heating above 100 degrees, since otherwise sugar in the meringue will begin to be punished. Creamy cookies will become cream -colored, and inside it will not be crumbly, but with a viscous filling. We give the finished buza completely cool.
Step 9
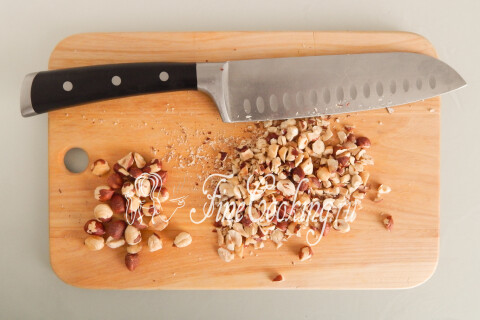
Then you can do the rest of the ingredients. I advise you to dry 150 grams of a peeled hazelnut in a pan or in the oven (you can, along with cookies, by the way). Let the nuts cool and remove the thin skin (if it remains in some places, it is not so important). We cut a hast of a knife so that the pieces are not too small (each nut — about 4-6 parts).
Step 10
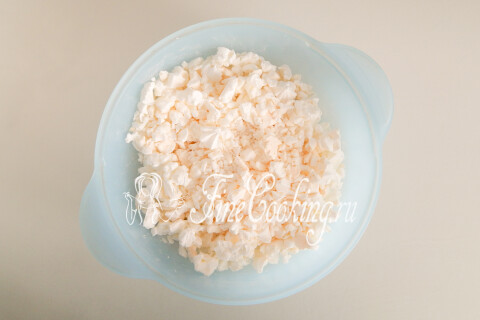
Meringues need to be divided into several parts. Leave the most beautiful for decorating a cake-shirt. Their number is easy to count by simply laying in the dessert form (you will see in the next step of the recipe). We break the rest of the meringue with our hands, but not in the baby, but so that rather large parts remain.
Step 11
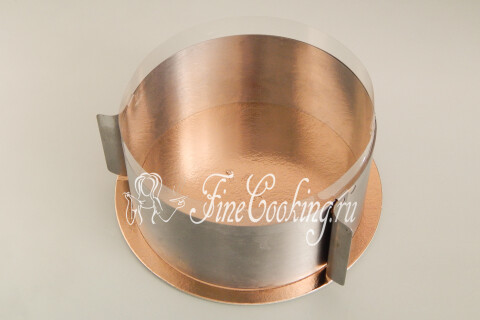
Now relative to the shape for cake-shirt. If you have a detachable suitable size, take it, or rather, the walls (the bottom is not necessary). In my photo you see a culinary ring (I exposed a diameter of 18 centimeters). If you collect a cake in the form of a larger diameter, the finished dessert will also turn out, but it will be lower. We put it on a beautiful flat dish or a special substrate for cakes. If possible, use acetate film (ribbon from flexible food plastic). It must be put on the walls of the shape (ring).
Step 12
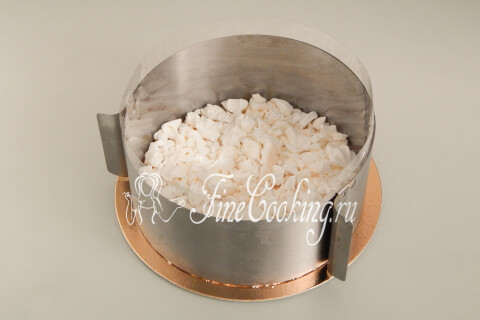
We lay pieces of meringue with an uniform layer. You do not need a lot: a substrate for a cake is not visible, then there is enough cookies.
Step 13
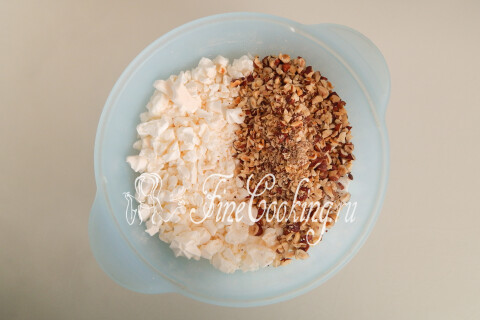
To the rest of the crushed meringue, add chopped nuts.
Step 14
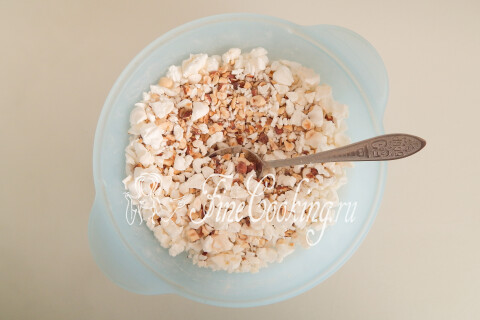
Mix.
Step 15
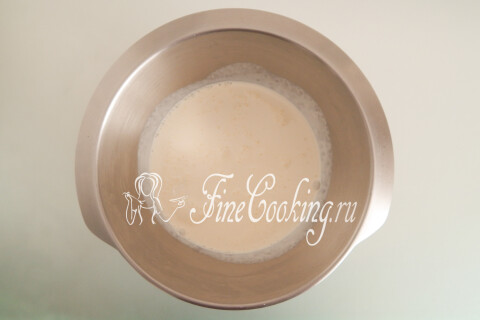
At the next stage, you need to make a cream for a cake-shirt. These will be the most ordinary whipped cream, even without adding sugar (in the meringue there is more than enough). We pour 500 grams of very cold cream (with fat content of 33-35%).
Step 16
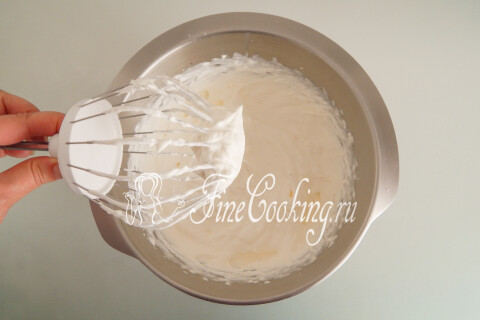
Beat with a mixer at medium speeds to a small thicken, and then on high ones. You can use the average speed all the time, since literally in 5-10 seconds you can kill. What will happen then? Homemade butter and groove. True, we need a cream for a cake, so we work carefully. When you see that whipped cream is already holding shape and a noticeable relief appeared, put aside the mixer.
Step 17
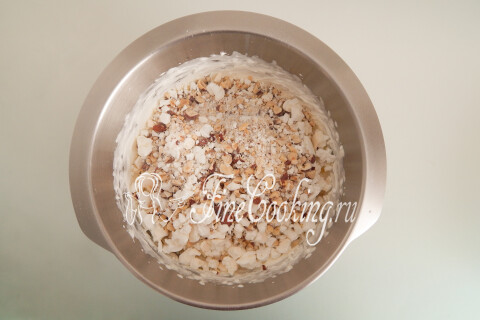
We shift the frenzy with nuts in the dishes to the cream.
Step 18
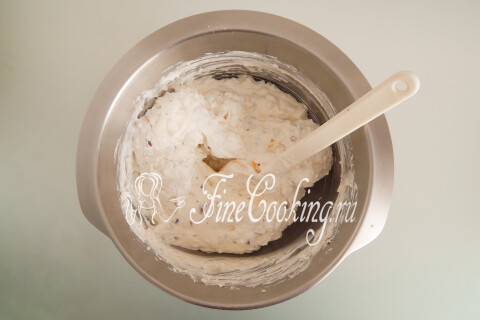
Quickly mix everything with a spatula or spoon. The base for the future cake is ready.
Step 19
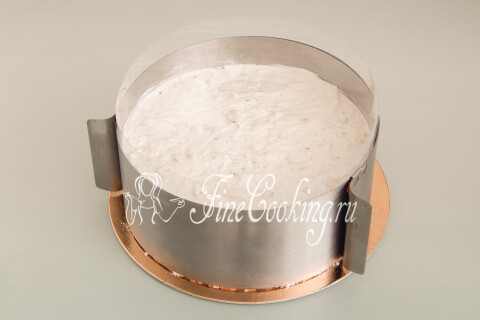
We shift it into the shape of a layer of crushed meringue. We level it.
Step 20
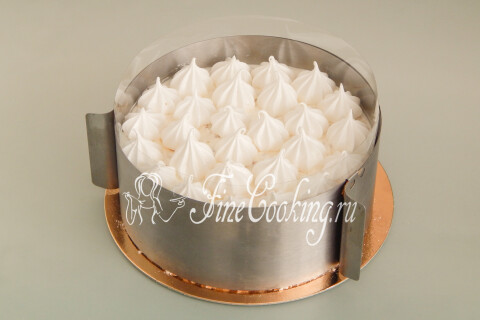
For decoration, we left a certain amount of the most beautiful meringues. We lay them up.
Step 21
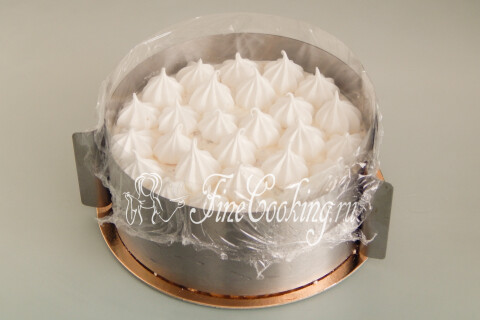
So that the dessert does not be swollen and does not absorb the aromas of the freezer, tighten the structure with cling film. Well, in the freezer it is 8-10 hours-we have not just a cake, but a cake shirt!
Step 22
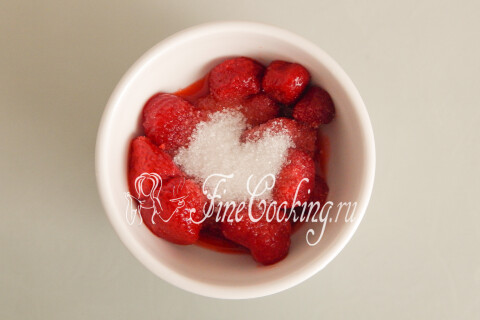
The next step is optional, but I sincerely recommend not missing it. To serve, prepare the berry sauce. In fact, these are any berries crushed with sugar. I love strawberries, so we take it (200 grams), and add sugar to taste. I was initially frozen (of course, it already thawed), sour, so I took 2 tablespoons (40 grams) of sugar.
Step 23
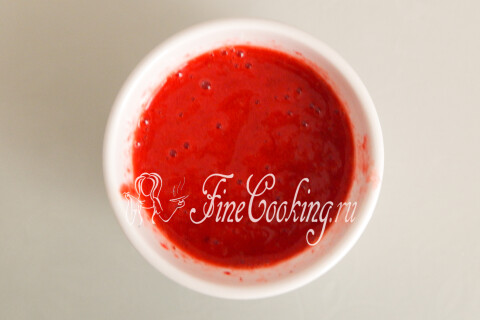
We pierce everything with a submersible blender or just rub out a fork if a homogeneous consistency is not particularly important. Ready.
Step 24
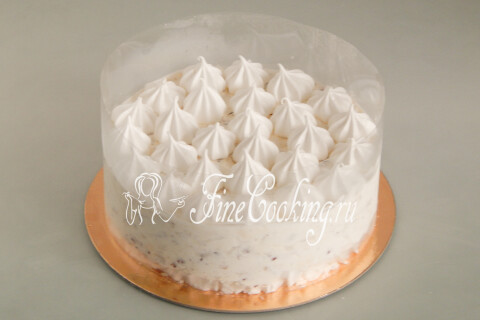
When the cake shirt freezes, we take it out of the freezer. Remove the ring (walls from the mold).
Step 25

We remove the acetate film and can be cut with portioned pieces.
Step 26
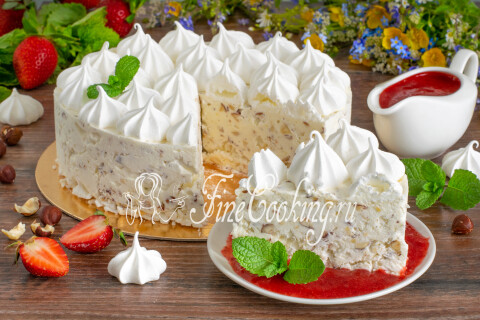
As I wrote above, with berry sauce it turns out even tastier! Crushing meringues with nuts, delicate (albeit frozen) whipped cream — just a wonderful dessert. By the way, the cake is completely not sugary, but very balanced. Prepare with pleasure and pleasant to you, friends, appetite!