
Step 1
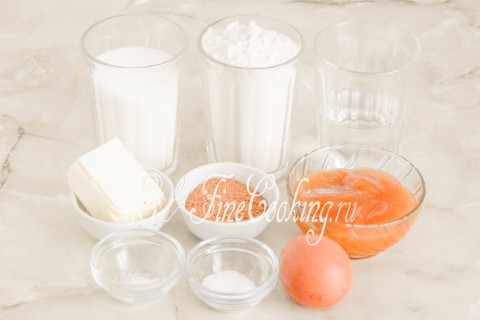
To prepare this delicious and fragrant Christmas cookies, we will need the following ingredients: wheat flour (I have the highest grade, but the first one is suitable), sugar, natural honey, drinking water, butter, chicken egg (I have large — 55 grams), food soda and salt. As spices for the test, I use the already finished mixture that I prepared myself (I wrote about this above).
Step 2
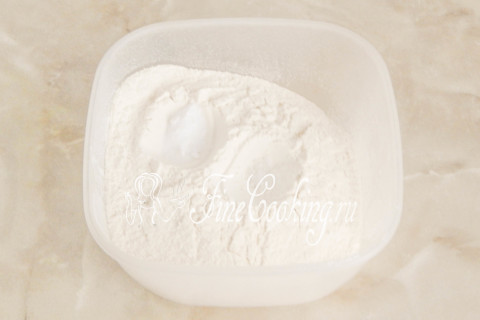
First of all, you need to prepare a dry mixture for the dough. To do this, sift wheat flour (450 grams) in the suitable dishes, add salt (preferably small grinding) and food soda (thoroughly rubbed so that there are no lumps). We mix everything well so that the ingredients even disperse along the mixture.
Step 3
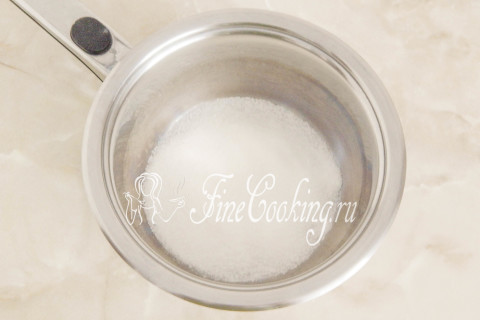
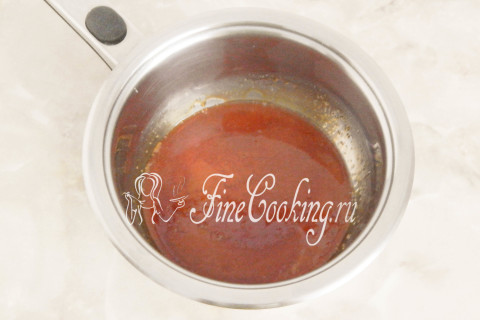
Next, you will need to make a burner (burnt sugar) — this product will not only give a caramel taste and aroma with a cooked liver, but also paint the dough. So, in a thick -walled stewpan or a deep pan (small diameter) we pour half the sugar (75 grams).
Step 4
We put the dishes with sugar on the stove and begin to melt on fire just below the average. At first, a pleasant golden shade is formed at the bottom. With a spatula, you can help the sugar melt faster or simply sway the dishes from side to side.
Step 5
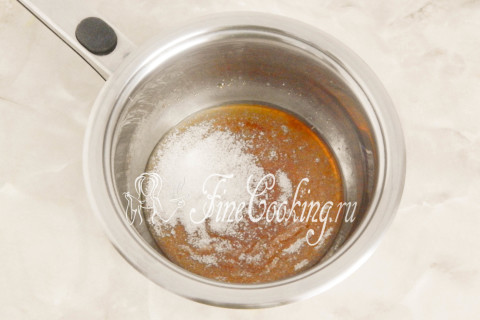
Then the sugar will be dispersed and will turn into a beautiful mass of saturated caramel color. But this is only an intermediate stage — we need burned sugar.
Step 6
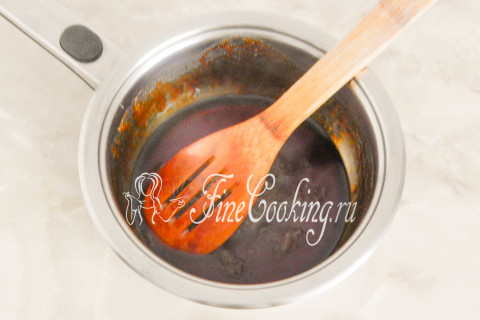
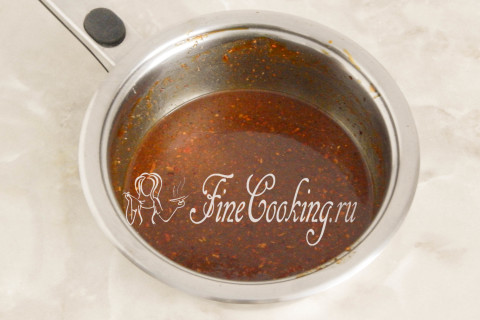
Now one of the most difficult moments — you need to catch exactly the moment when a smoke appears above the surface of the caramel and the mass will become dark. But here it is important not to overexpose caramel, otherwise it will simply get blackening and burning — you have to start all from the very beginning. As soon as the mass is darkened, in parts we begin to pour 100 milliliters of boiling water into it (hold it ready, since the burn can be at any moment). I tried very much to capture the process of connecting water and burnt sugar, but I think you understand that this is unrealistic. With one hand to interfere with caramel, pour boiling water with the second, also photograph at this moment … Moreover, at that moment the contents of the saucepan behave more than actively — he seetches and foams to the very edges of the dishes.
Step 7
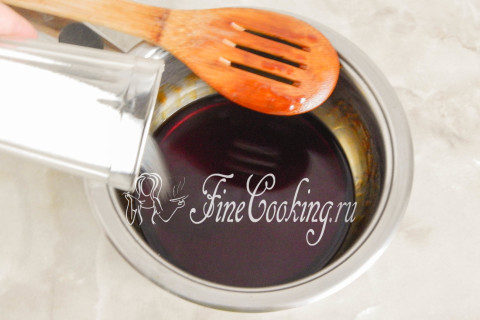
In literally 10 seconds, everything will calm down and our burnt sugar will completely dissolve in water. We proceed to the next stage. Everything is simple here: we pour the second half of the sugar (75 grams) into the pan and interfere with it to completely dissolve. Literally in a minute this will happen.
Step 8
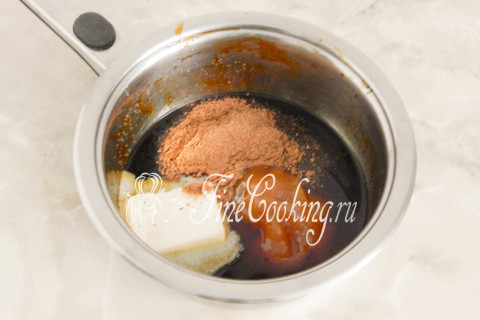
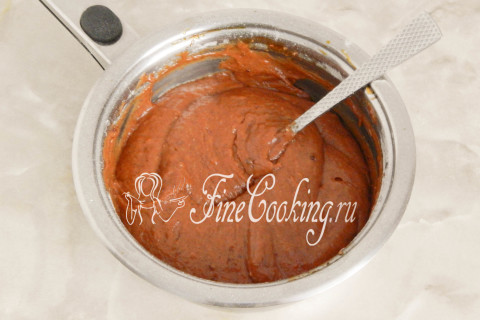
Now it's time to add 150 grams of natural honey, 50 grams of butter and spice to our burnt sugar base. Mix everything so that the oil and honey are completely dispersed and remove the saucepan from the heat.
Step 9
Let it stand on the table and cool down a little. It is necessary that the temperature of the contents of the dishes drops to 60-70 degrees (wait, stirring, 4-5 minutes).
Step 10
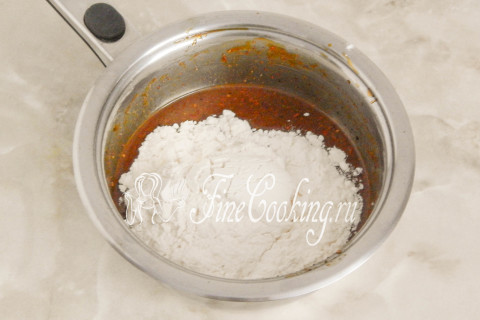
Now we will brew wheat flour: add 4-5 tablespoons to a fragrant sugar-medium-oil, still decent hot base.
Step 11
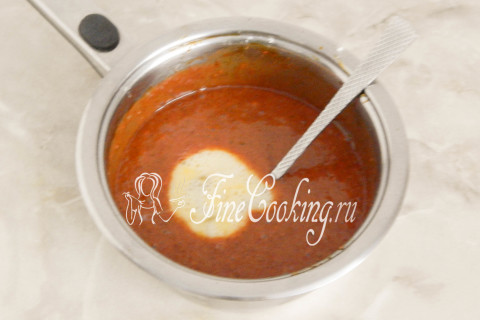
Mix everything with a spoon or fork so that there are no lumps left. You can use a whisk or a mixer — even faster and more convenient. Again we leave the custard base to cool — this time to room temperature. I just took the saucepan on the balcony, where everything cooled in literally in 10 minutes. Now it's time to enter the egg: break it, we chat a little with a fork and pour it into a saucepan to the future test for Christmas cookies. Mix everything so that the mass becomes homogeneous and smooth.
Step 12
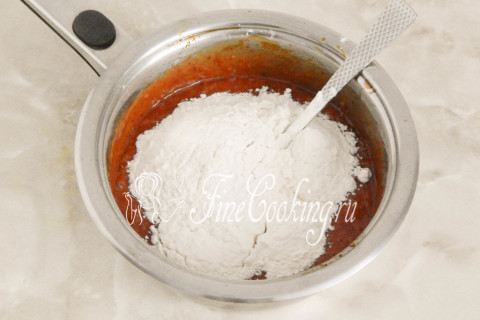
Again, we begin to add wheat flour to our caramel mass. Mix and add again.
Step 13
When it becomes very difficult to mix with a spoon or fork, it's time to switch to the table.
Step 14
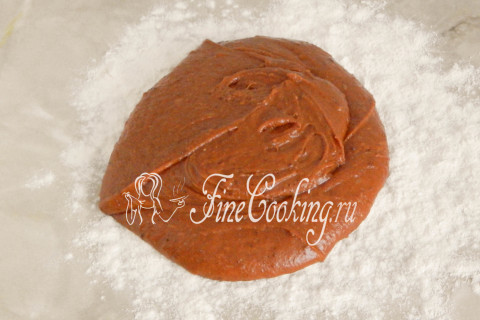
We pour all the flour on the working surface that remains (it may need more), and dump the custard dough on top. Although it is quite thick, it instantly begins to spread to the sides.
Step 15
We roll the dough in flour so that the hands do not stick strongly to him. We rake part of the flour to the side and begin to knead the dough. Gradually add flour so as not to overdo it. If you add too much flour, the finished cookies of the piparkukas will get clever when baking and then will be hard. And if you regret and lack flour, the dough during baking will simply spread and your cookies will lose shape. Nevertheless, it is important to understand that the moisture content of everyone is different and it may need more or less than 450 grams.
Step 16
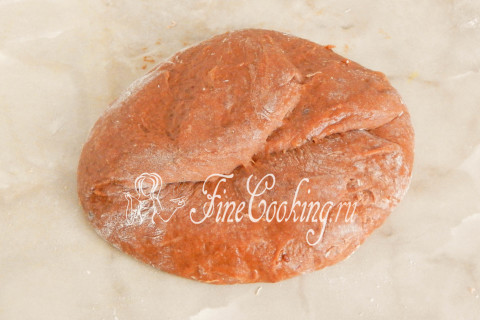
The finished dough should be quite soft, stick a little to the hands, but at the same time keep the shape. We shift it into a bowl, cover it with a lid (tighten with cling film) and put it in the refrigerator for at least 5-6 hours. Better yet, at night! By the way, custard dough for cookies can easily be stored for a long time in the refrigerator, so it is very convenient to cook in advance.
Step 17
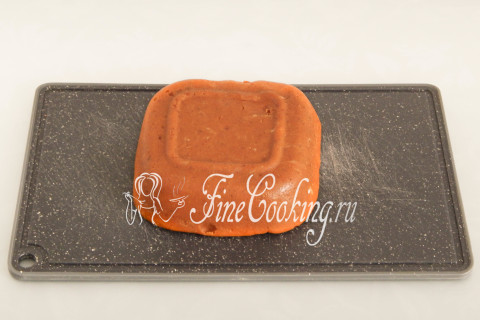
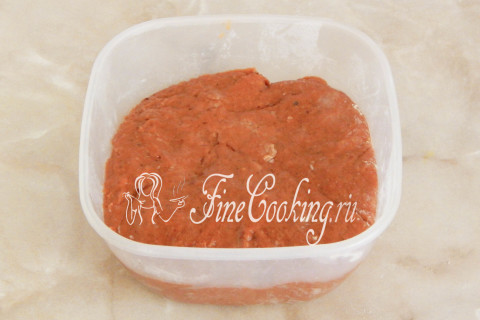
This is what the chilled dough will look like — it is dense, and in color it resembles a boiled condensed milk.
Step 18
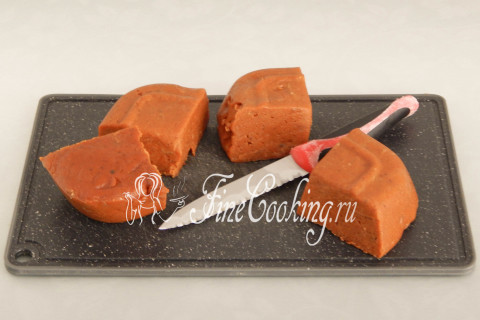
For convenience, I cut a piece of dough into several parts. It is so tasty and fragrant that you want to eat it even raw.
Step 19
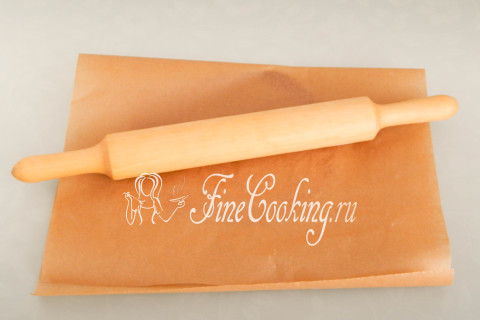
Now I will show you how it is most convenient to work with the parchkas cookie test. It must be rolled with a rolling pin between 2 sheets (or fold 1 sheet) of baking paper. The charm of this method is that very little additional flour is required for the dough tape.
Step 20
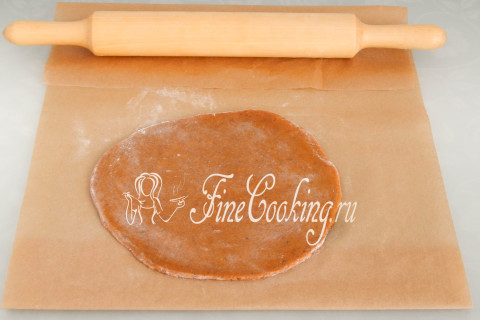
As you can see, the dough rolls out perfectly and does not stick to parchment. Now you can rolled the dough a little with a rolling pin so that it is completely even. You can choose the thickness of the layer yourself, but remember that when baking, cookies significantly increase in volume. I do not like too thin (in finished form, thin cookies will be crispy), so I roll the dough also not very thinly — about 5 millimeters in thickness. In addition, such blanks are easier to transfer to a baking sheet: the dough is not torn, and the figures are not deformed.
Step 21
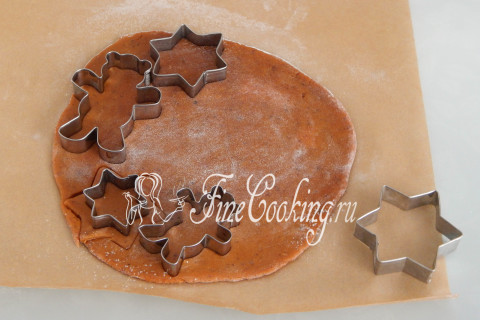
Using a cut-out or knife, cut out the figures, and collect the remaining dough into a lump and rewell again and cut.
Step 22
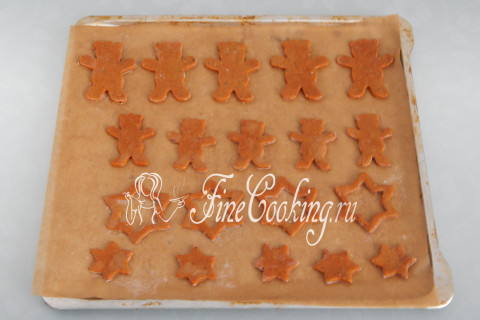
We transfer these blanks to a baking sheet, which we first cover with baking paper. Make a distance between them, since during baking the dough will grow not only in height, but also in width.
Step 23

Bake cookies of a piparkoukas, depending on the thickness of the dough, you need about 12-15 minutes at 180 degrees. But here time is not the main thing: it is important to observe the temperature regime and roll out the dough of the same thickness. While the first batch of cookies is baking, rolls the dough to the second and form the product. In total, from the indicated number of ingredients, I get 5 bastards of cookies. Thus, we bake all the blanks, completely cool them, let them relax a little (a couple of hours) and you can cross the next stage — decoration. But this is only at the request that I did not have at that time. And how beautiful it is to decorate the finished baking glaze, look in the recipe for Christmas gingerbread (you will find the recipe for glaze).
Step 24
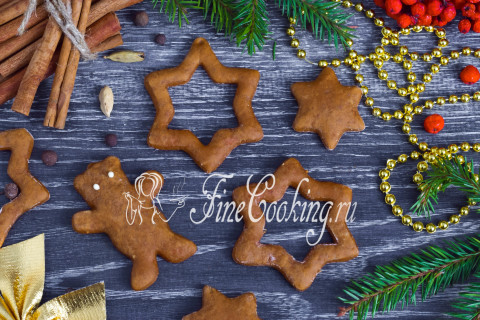
Here is such a Christmas cookies a piparkukas can easily be prepared at home. It is unusually aromatic, tasty and smells of Christmas. Elena, many thanks for this wonderful order. Prepare for health and pleasant to you appetite, friends!