
Step 1
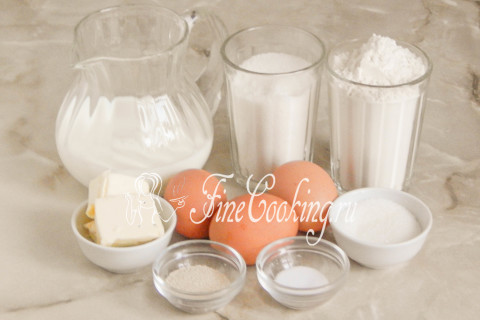
To prepare fragrant and crispy homemade crackers, take the wheat flour of the highest grade, milk of any fat content, butter (I have 72%), chicken eggs, sugar and vanilla sugar, salt and yeast. It is not necessary to take fast yeast — just dry ones are also suitable (also 1 teaspoon without a slide — this is 3 grams) or pressed/fresh/wet (it is needed 3 times more, that is, 9 grams). Such yeast is not immediately mixed with flour, but previously activated in a warm sweetish liquid for 10-15 minutes. In our case, you can slightly heat half a glass of milk with a tablespoon of sugar and dissolve the yeast in it.
Step 2
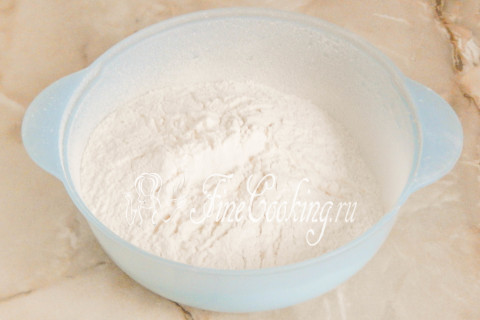
In a bowl or directly onto the working surface, we sift (preferably twice) wheat flour (620 grams). Due to this, the flour is not only loosened and saturated with oxygen, but possible garbage will also leave. It is better to immediately use all the flour, but most of it (500 grams), pouring the rest as necessary. I advise you to start kneading the dough in a bowl, since on the table it is likely that milk will run away beyond the flour slide.
Step 3
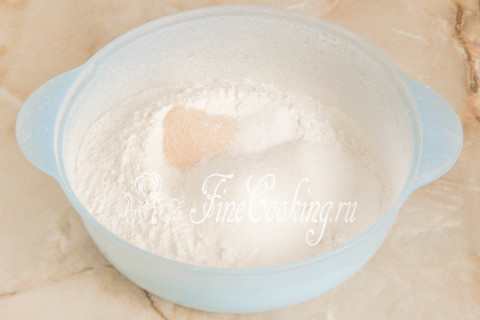
Add to flour a teaspoon without a slide of high -speed yeast, 60 grams of sugar, 30 grams of vanilla sugar and salt (1 teaspoon without a hill, that is, under a knife). Mix everything thoroughly with a fork or a whisk. Instead of vanilla sugar, you can add a pinch of vanillin.
Step 4
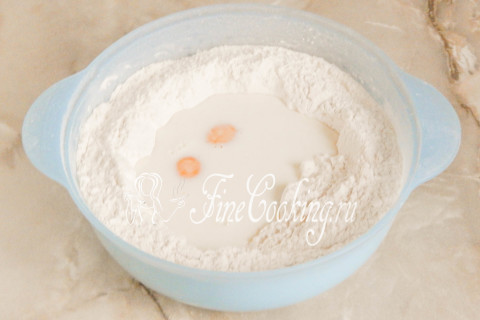
We make a hole in the flour and pour slightly warm milk into it. We send 2 egg yolks there. 3 proteins are still put in the refrigerator, and 1 yolk will be used to lubricate the blanks.
Step 5
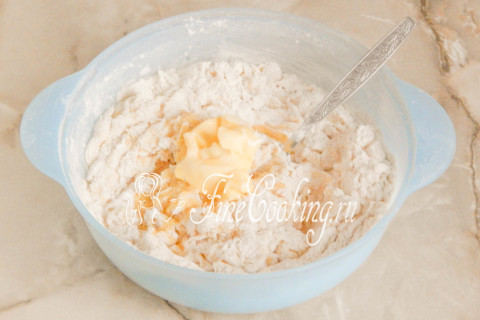
First, you can mix the ingredients with a spoon or fork so that the flour is moistened, absorbing the liquid. And you want, you can immediately knead the dough with your hands. If there is a test or bread maker, be sure to use their help — this is easier and faster. Then add soft butter (60 grams) and knead the heterogeneous dough literally half a minute.
Step 6
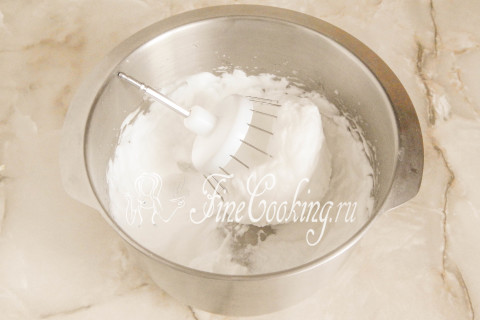
The dough is left alone and take up the whipping of egg proteins. To do this, you need clean, dry and low -fat dishes and the same corolla. Beat 3 egg protein at the average velocity of the mixer to stable and dense peaks.
Step 7
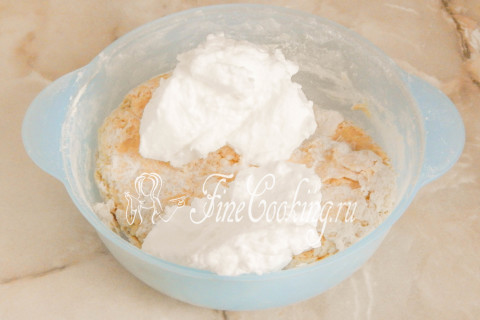
Enter whipped proteins into the dough. To be honest, proteins intervene is quite difficult — they simply do not really want to connect into a single whole. Therefore, I used the bread machine — in 10 minutes she did her job perfectly! With your hands, too, everything will work out, you just have to work longer. In the process of kneading, adjust the amount of flour — it took me exactly 620 grams, and you may need a little more or less.
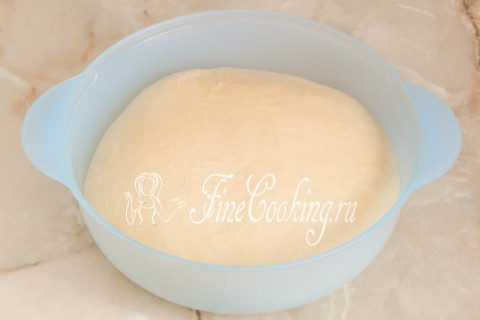
Step 8

It is necessary to knead this yeast dough for quite some time — until it becomes soft, delicate and completely homogeneous. My bread machine copes perfectly in 10 minutes. The bowl (if kneaded in it), we wipe it dry and slightly lubricate with vegetable oil so that the bun does not stick. We round the dough and send it to roam the heat for 2 hours (1 hour, a lick, 1 hour). Where is it better to wander the test and what does a warm place mean? There are several options. First of all, in the oven with a light bulb turned on (it turns out about 28-30 degrees — the temperature ideal for fermentation of yeast dough). Then we tighten the bowl with the dough with cling film or cover with a towel made of natural fabric (flax is best suited) so that the surface does not be swollen and not covered with a crust. You can also let the dough wander in a microwave, in which we pre -boil a glass of water. The dough will rise with a door closed, and the glass will stand there. Then the bowl does not need to be closed with anything, since the water will evaporate, thereby maintaining the necessary humidity. Just make sure that no one inadvertently turns on the microwave, otherwise the dough will disappear and there will be no batons for future crackers.
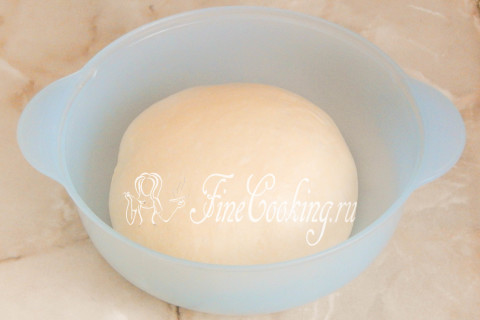
Step 9
This is what the yeast dough looks after 1 hour of fermentation. It increased two and a half times for sure.
Step 10
We crush it, round it and again in a warm place for another 1 hour.
Step 11
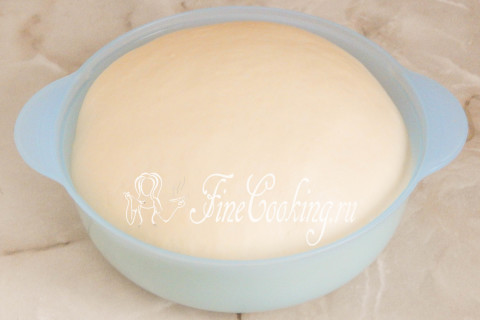
The dough will grow in the amount of four times, it will become very tender, directly through the pierced air bubbles.
Step 12
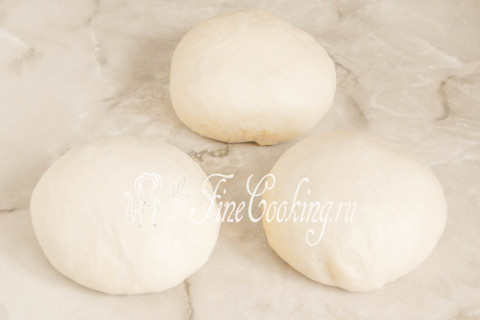
Divide the dough into three parts, we crush each piece, round and roll into a bun. We cover with a towel or film and give a rest for about 15 minutes.
Step 13
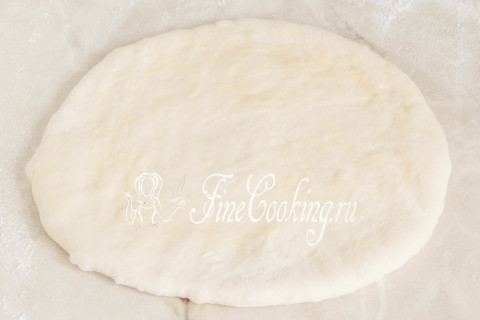
Sprinkle the work surface slightly with flour. Then we roll out with a rolling pin or stretch with our hands each piece in a layer with a thickness of about 1 centimeter.
Step 14
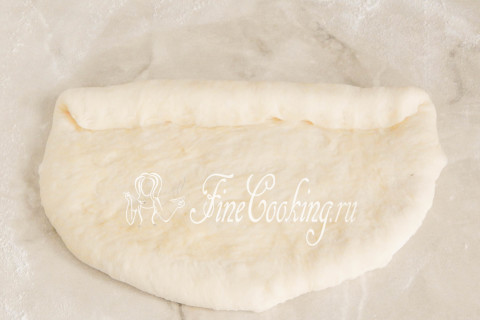
We twist it with a rather dense roll, after each turn we pierce the seam.
Step 15
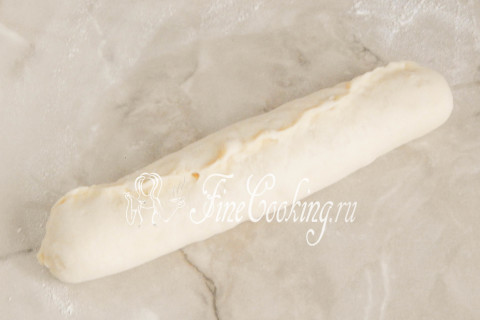
The finished roll is thoroughly pinch at the seam.
Step 16
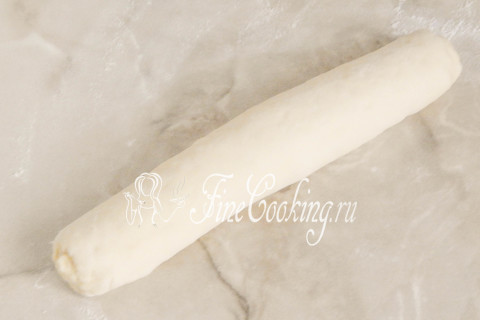
We roll it so that the workpiece becomes longer (almost in size of a baking sheet). Similarly, we form the other two pieces of dough, giving them the shape of long and thin loaves.
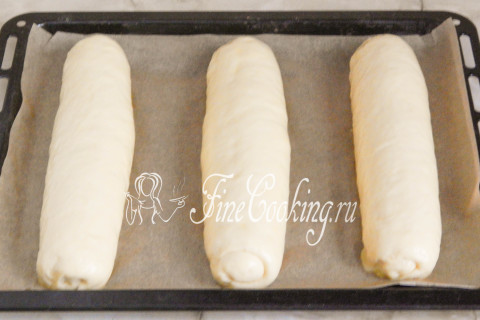
Step 17
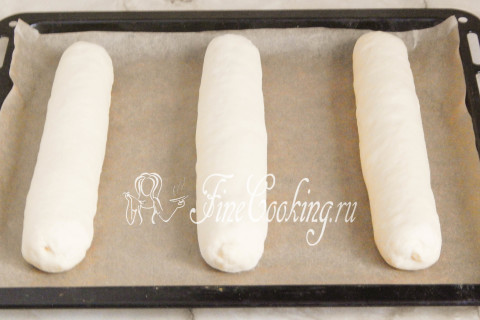
We shift the workpieces for future loaves to the baking sheet, which we first cover up with parchment. We cover the workpieces with a damp towel or cling film and give a distance in a warm place for about 40-45 minutes.
Step 18
When the dough is suitable, lubricate the surface with a loosened egg yolk.
Step 19
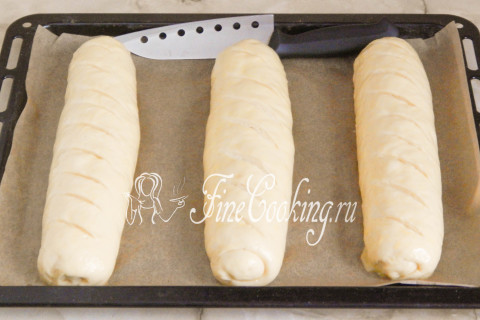
Before planting in the oven, we make shallow cuts a little with the help of a sharp knife.
Step 20
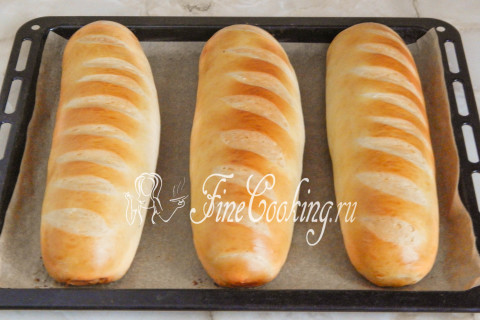
We bake the loaves in a preheated oven at an average level at 180 degrees for about 40-45 minutes.
Step 21
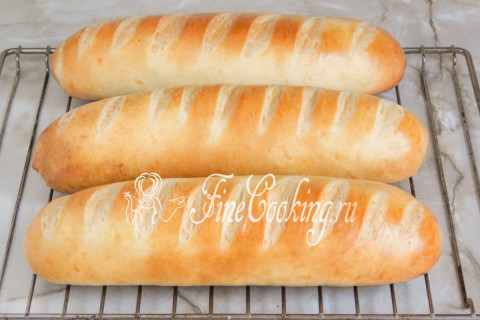
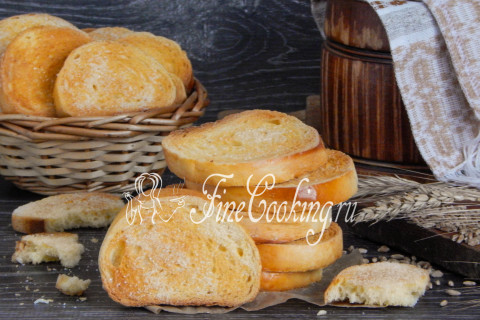
We remove the finished loaves from a baking sheet and cool on a grille. After that, I advise you to let the fresh pastries lay down for about 8 hours, then the crumb will not only crash perfectly, but also not crumble.
Step 22

When the loaves rest, cut them across the slices of the same thickness (about 1 centimeter). We lay out on a baking sheet (you do not need to cover with paper).
Step 23
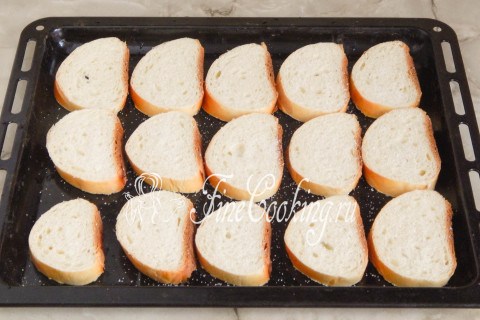
Sprinkle with sugar (100 grams) mixed with vanilla sugar (10 grams) on top rather generously. This amount should be enough for all crackers.
Step 24
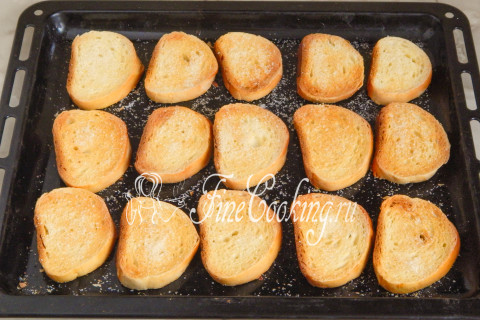
We dry in a preheated oven at 180-190 degrees for about 10-15 minutes, after which we turn each cracker and blush the second side for another 10 minutes. It is even more convenient to dry home crackers under the grill, then you will need less time. True, in this case, you will have to constantly monitor them so that they do not have time to burn. The crackers will be ready when the crust is incurred, and inside they will be very slightly soft (after cooling, the crumb will completely harden). Thus, we dry all the crackers — in the photo only a small part of my stocks. In total, about 800 grams of fragrant, tasty and crispy vanilla crackers are obtained from the indicated number of ingredients used. We store them in a sealed container or a tightly tied bag.
Step 25
I hope this simple recipe for homemade baking will come in handy and you will definitely prepare these fragrant and crispy vanilla crackers yourself. Irishka, thanks for this useful order for many hostesses, and from you I am expecting a report and gastronomic impressions!