
Step 1
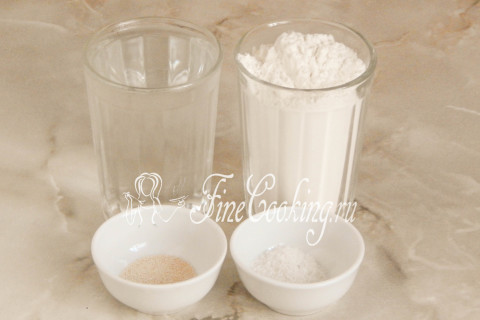
To prepare this simple, but very tasty homemade bread, take the wheat flour of the highest grade, warm water salt and yeast. I use high -speed yeast (1.5 grams), but you can replace them with dry in the same amount or pressed/fresh/wet (three times more, that is, 5 grams). In the second case, you need to dissolve the yeast with warm water and let them stand for 10-15 minutes, and then combine with flour and salt.
Step 2
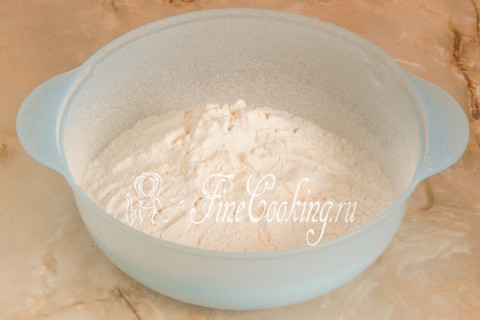
In a suitable dish, we sift 450 grams of premium wheat flour to get rid of extraneous impurities. The remaining 50 grams is not yet needed — we will use this flour to form products.
Step 3
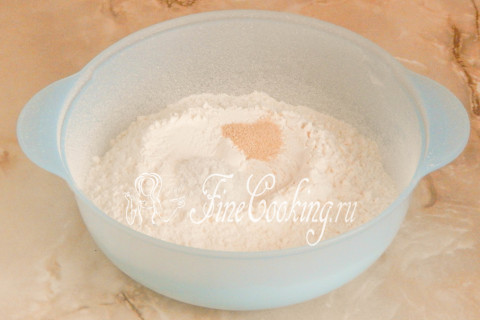
Add 8 grams of salt to flour (1 teaspoon with a small hill) and half a teaspoon of high -speed yeast (what exactly are you yeast, always read on the package).
Step 4
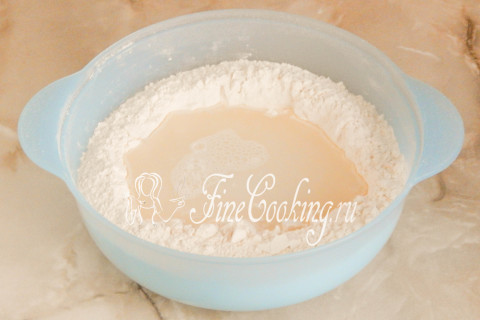
Mix the contents of the bowl thoroughly so that the salt and yeast are evenly parted in flour. We make a recess in a flour mix and pour water into it. But not all at once, but for starters about 300 milliliters (it took me exactly 315 milliliters). Next, see the consistency of the dough. We begin to delicately mix the ingredients, without much effort, but simply to connect everything.
Step 5

The dough turns out a little sticky, loose, heterogeneous and not smooth — it should be so. It is not necessary to knead it for a long time — the main thing is that there is no dry flour fragments.
Step 6
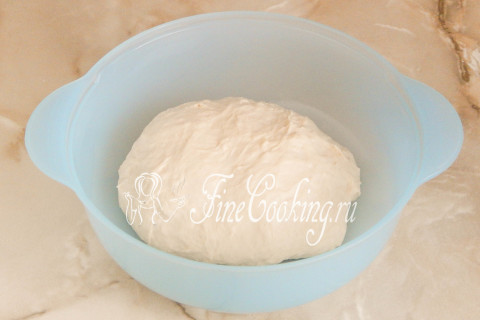
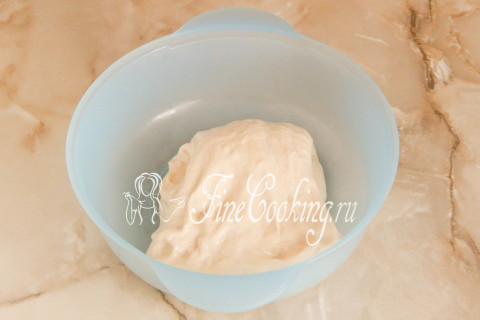
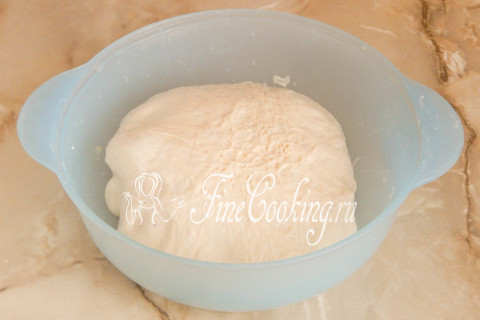
We round the dough, and my bowl is wiped dry. Lubricate the dishes with a very small amount of vegetable oil (about the third teaspoon — I did not indicate this ingredient) just so that the dough is not stuck. We tighten the bowl with a dietary film or cover with a towel so that the surface of the dough does not be swollen and not covered with a crust. The process of fermentation of the dough will be two -phase: first it will wander in heat at room temperature (ideally 25 degrees), and then in a cool place (in the refrigerator). So, we leave the dough warm for 1 hour.
Step 7
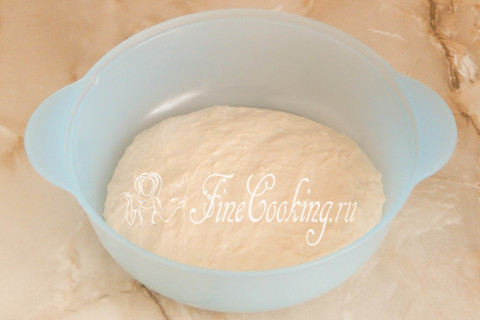
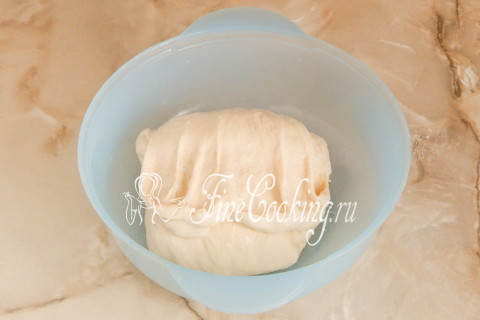
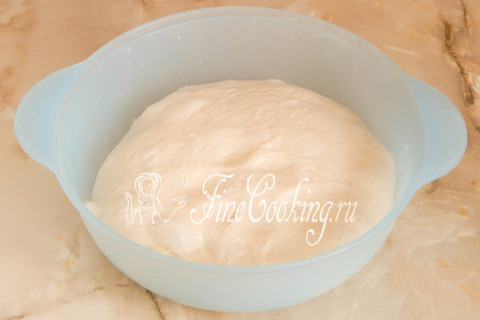
During this time, the dough will swell, become more loose — the fermentation process has begun. In this recipe for homemade bread, we will use a technique called «Stretch and Fold», which is translated from English means «stretch and add up.» That is how we will affect the dough (stretch and fold), due to which gluten will develop, and the dough itself is not only smooth, but also very porous. I must say that this is the best way of passive development of gluten in the test.
Step 8
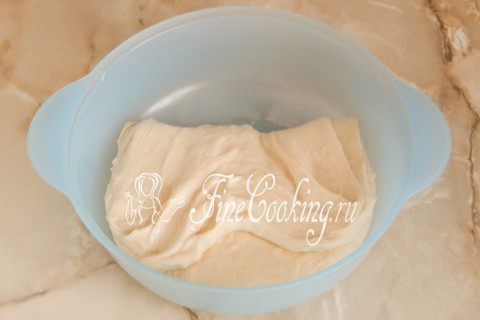
I will try to show without a video in the photo how it looks in the process. So, we will moisten your hands a little with water, we take the far edge of the dough, spread it to the sides and fold it to the near side. At this stage, you will already notice the difference in the consistency and texture of the dough: it has become smooth, stretches well and does not break.
Step 9
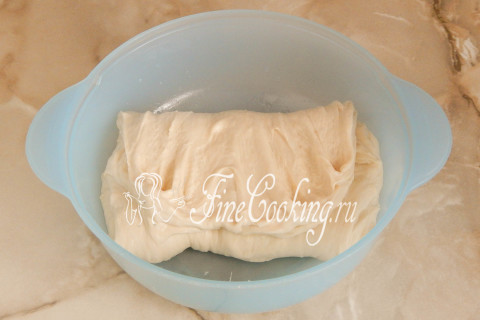
We turn the bowl and repeat the manipulations: from the far edge we pull the dough with both hands (do not forget to moisten them in water after each time) and again put to the near side. Due to the fact that we smeared the dishes with oil, the dough practically does not stick to it, thereby the gluten frame will be perfectly preserved.
Step 10
It remains to stretch and fold the dough in a similar way twice more. We stretch and fold the dough to us from a narrower edge, then turn the bowl of 180 degrees and repeat the action.
Step 11
It turns out almost a square workpiece.
Step 12
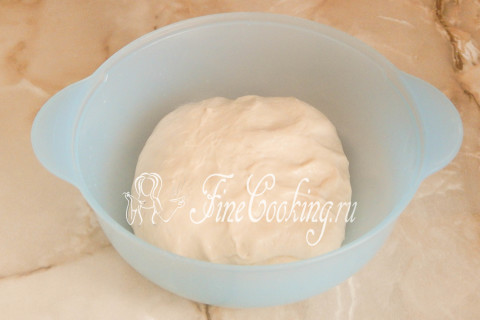
It must be turned upside down, simultaneously giving the dough a slightly rounded shape. Now it will be necessary to leave the dough at room temperature for another 2 hours, during which, with an interval of 1 hour, make two similar folding. That is, only 3 hours of fermentation and 3 folding of the dough are obtained.
Step 13
After 3 hours spent at room temperature, the dough will change very much: it will not only noticeably increase in volume, but will also become more porous and air. When stretching, the dough stretches perfectly and does not break.
Step 14
Now you need to stretch and fold the dough again, then turn the blank with a seam down, tighten the bowl with a film and put it in the refrigerator. What is the need for fermentation in the cold? The fact is that at reduced temperatures, the fermentation process slows down, while the accumulation of taste -aromatic qualities becomes more intense. Thus, the dough wander longer than in warmth, but the taste of the finished product is more saturated and pronounced. In the refrigerator, the dough will spend another 1 hour 40 minutes. It will be necessary to stretch it twice and fold it every 50 minutes, after which it will be possible to form future Moscow kalachi.
Step 15
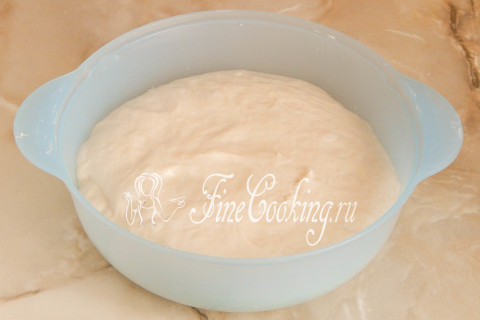
After the allotted time (almost 5 hours) of fermentation in heat and cold, the dough became somewhat stronger and more elastic — it does not blur and keeps the form. In addition, the dough has ceased to be too sticky.
Step 16
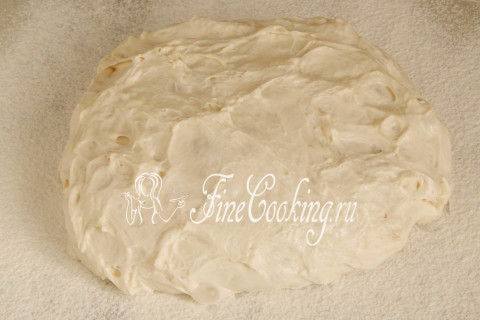
Remember, we left 50 grams of wheat flour? And now we will need it now. We slightly sprinkle the working surface with flour and lay out the dough from a bowl.
Step 17
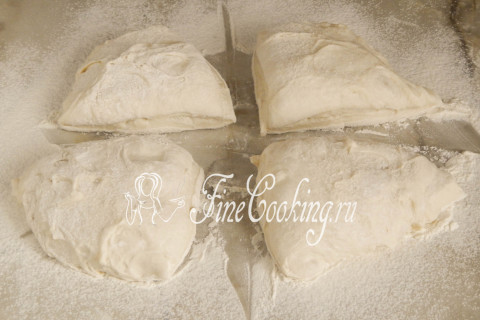
In total, we will get 4 rather large Moscow kalach, so we divide the dough into 4 parts. It is most convenient to do this with a scraper, but you can cut it with a knife.
Step 18
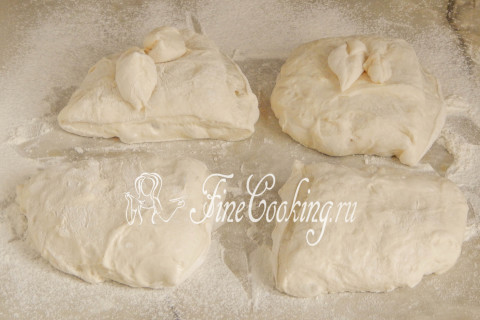
Now for accuracy you need to weigh pieces of dough. By the way, it is best to immediately weigh all the dough, so that later it is more convenient to calculate the necessary mass of each workpiece. An equal amount is necessary not only for more aesthetics, but also in order for the workpieces to part at the same speed and bake the same time.
Step 19
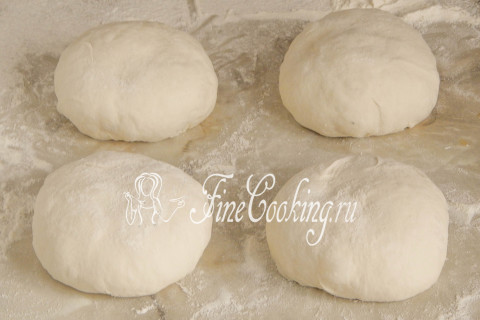
Gently squeeze a little air out of the dough, round the pieces of dough, rolling them into more dense blanks. Let them relax at room temperature for 10 minutes, covering with cling film or a towel so that the top does not be blurred.
Step 20
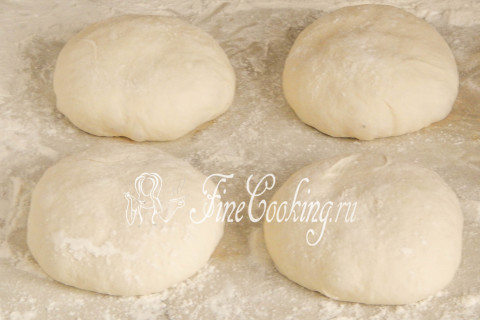
After 10 minutes, the dough will rest and relax — you can proceed to the molding of Moscow kalach.
Step 21
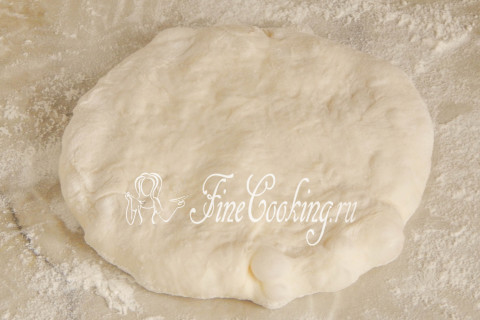
To do this, we straighten the workpiece into a flat tortilla, gently pressing the dough with your fingers to the table. Just do not press much so as not to release air.
Step 22
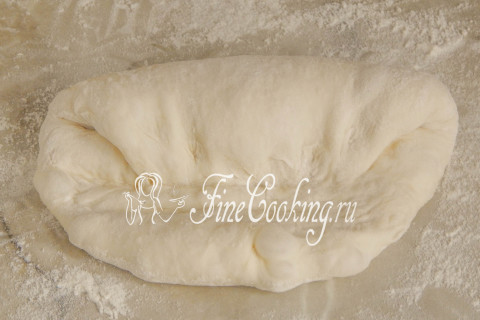
Now the far edge of the dough with your fingers is spread to the sides and press it to the center. We seal the seam (just punch the dough with a fast but with a clear movement with the edge of the palm).
Step 23
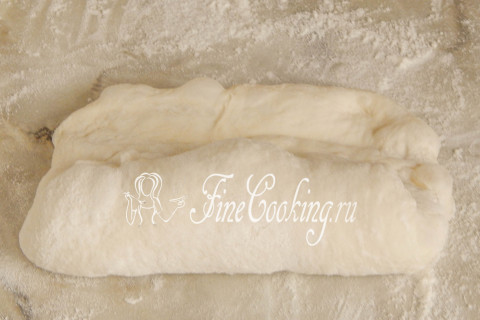
We turn the blank by 180 degrees and repeat the movement from the opposite side.
Step 24
Again, seal the seam with a short punching with the edge of the palm.
Step 25
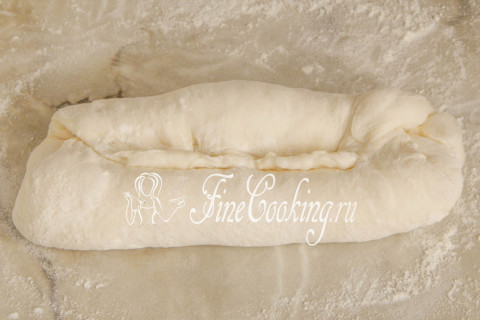
It remains to roll up the workpiece in the same way as we form the loaf. That is, we connect the dough in half in length and punch through the seam with your palm (that part that is closer to the wrist). Thus, an oblong preparation of a cylindrical shape is obtained.
Step 26
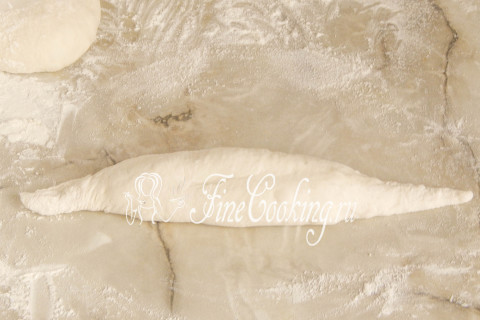
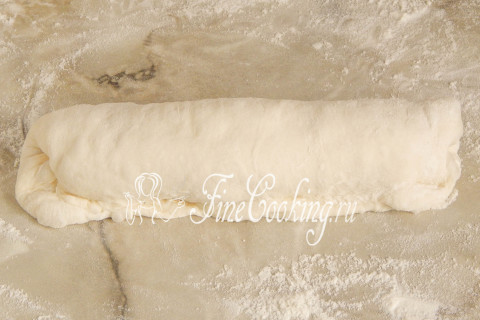
If the dough begins to stick to the table, do not forget to sprinkle it a little with flour. We move on to rolling the workpiece. To do this, roll the dough with both hands so that the workpiece looks like a spindle. In the middle it is chubby, and the ends are elongated to the edges.
Step 27
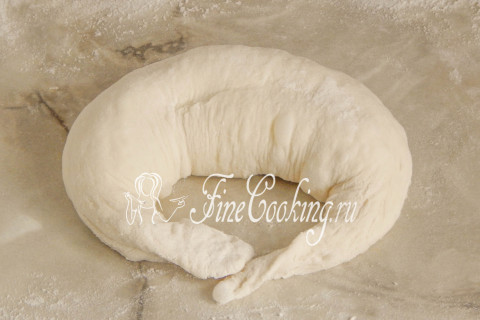
And now you need to form Kalach himself. To do this, first we fix the lock — it will be the handle of the Moscow Kalach. It is made simply: holding a little bunches of the workpiece a little on weight, with the second hand, punch the thin ends of the dough on the table with a quick movement. Then we roll the handle on the table back and forth, so that the seam connects and the handle becomes monolithic (that is, does not disperse).
Step 28
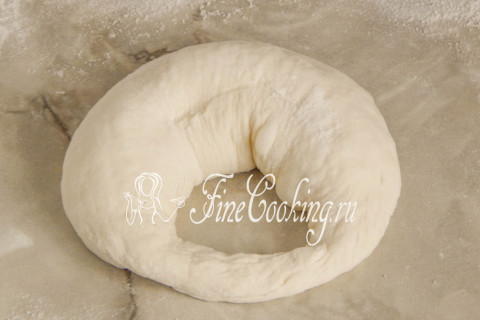
This is what the workpiece for the Moscow Kalach looks after forming. Similarly, we form the remaining 3 parts of the dough, giving them the shape of locks.
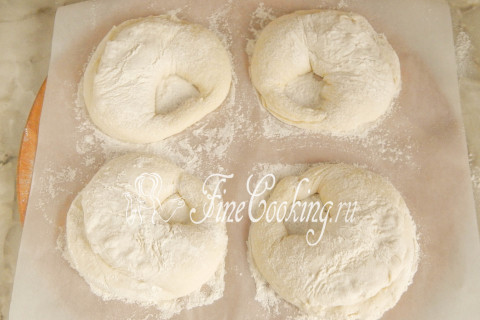
Step 29
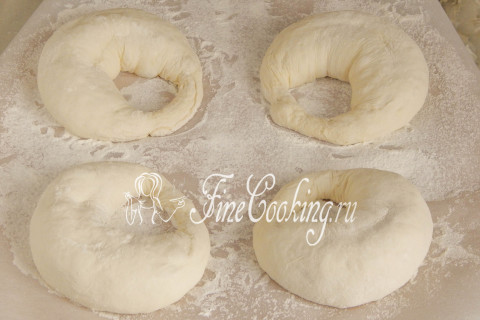
We transfer all 4 blanks to baking paper, which must be generously sprinkled with wheat flour. We put the future Moscow kalachs with pens to the center, faded with flour and cover with cling film (it also needs to be rubbed with flour so that the top of the workpieces does not stick). We leave at room temperature for 30-40 minutes.
Step 30
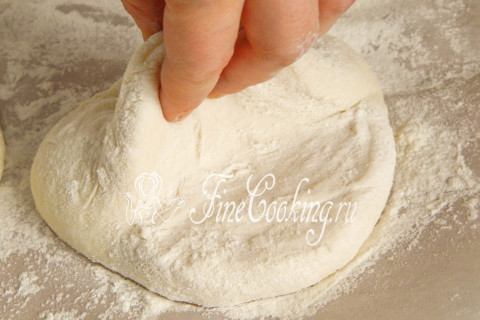
When the workpieces distance, we proceed to the final stage of forming Moscow Kalachi. We take a bread-pile knife and, holding the blanks with one hand with one hand, make a double, rather deep incision. It needs to be very, very generously as a murmur in flour, directly rub it on this incision. I must say that here I was afraid to use too much flour, but in vain. It is because of this that the so-called Kalachi lips during the baking did not open completely, since the dough was partially compiled in the sections of the cut. Therefore, do not spare flour, no matter how much it seems.
Step 31
Thus, cut all 4 blanks. We transfer them along with a sheet of parchment on which they parted, on a hot (it warmed in the oven), we bake in a previously warmed up to 280 degrees for 15 minutes with a steam. In other words, the Moscow Kalachi bake is necessary at a very high temperature and at high humidity. Steam can be created in two ways. Firstly, just throw several large ice cubes in the already warmed oven at the very bottom. Or put a bowl of water on the bottom in advance. During the baking of this lean bread, steam will rise up, thereby helping the products rise, and open the cuts. In addition, pastries for a couple contribute to the fact that finished bread products have a thin and delicate crust.
Step 32
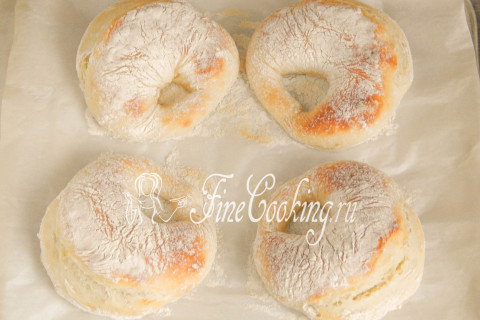
Ready -made Moscow kalachs do not differ too ruddy crust, since there are no muffins in the test, and they do not lubricate them with anything.
Step 33
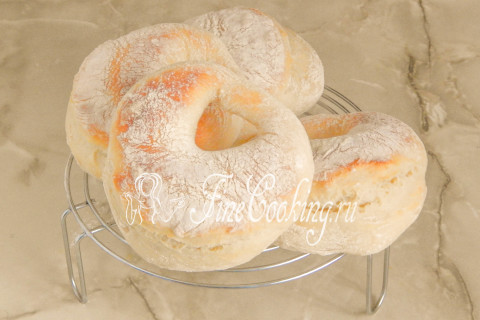
Remove pastries from a baking sheet and let cool on a bars.
Step 34

Fragrant Moscow Kalachi is a wonderful pastries, very tasty, with delicate well -tied crumbs and the finest crispy crust. Despite more than a modest composition, they are surprisingly good!