
Step 1
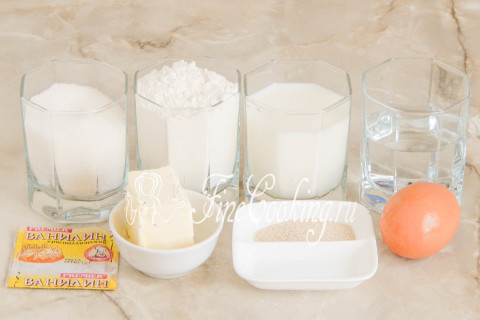
To prepare delicate and delicious sugar buns, we take the following ingredients: wheat flour of the highest grade, milk, water, granulated sugar, butter, vanillin, chicken egg and high -speed yeast (2 teaspoons without a hill are 6 grams). The latter can be replaced simply with dry (in the same amount) or pressed (fresh, wet) — we take exactly 3 times more (18-20 grams). But then they will need to be woken up: diluted with warm water or milk and a spoon of sugar, leave for 10-15 minutes. When the foamy hat rises, you can proceed to the bite of the bunches.
Step 2

In a large bowl, we sift 450 grams of wheat flour of the highest grade, better twice. Add half a teaspoon of salt, 100 grams of sugar, a pinch of vanillin (can be replaced with a teaspoon of vanilla sugar) and 2 teaspoons without a slide of high -speed yeast. The amount of sugar, if desired, can be reduced to 40-50 grams, if you do not like sweet pastries.
Step 3
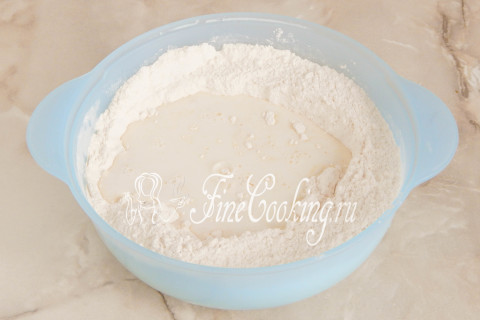
We mix everything thoroughly so that the bulk ingredients are well connected. We make a hole and pour into it 150 milliliters of milk and 100 milliliters of water, which should be slightly warm.
Step 4
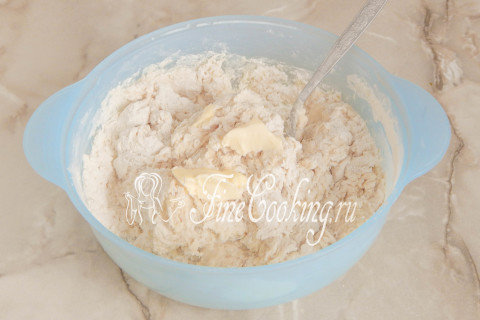
We begin to knead the yeast dough. First, we simply mix so that the flour absorbs the liquid and moisturized. After that, in the parts we introduce 50 grams of soft butter into the dough, which we will get out of the refrigerator in advance.
Step 5
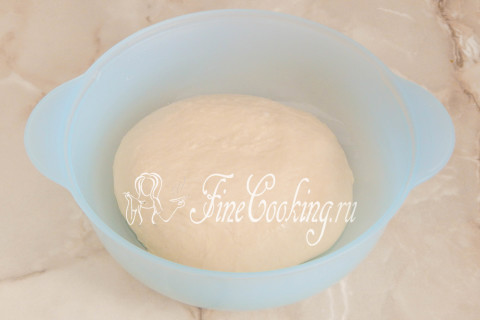
To knead the dough for buns for quite some time (at least 10, and better than 15 minutes) and intensively. If possible, trust the test of dough with a bread maker or dough. We add the remaining 50 grams of flour as necessary, since the moisture content of the flour is different and it may also be needed in different ways. As a result, the dough will become smooth, homogeneous, very soft (like an earlobe) and delicate, while very little sticky. Do not clog the dough with flour, otherwise the finished buns will not turn out air and fluffy. We round the dough into the ball and put it in a bowl, which we lubricate with a tablespoon of vegetable oil (in the ingredients did not indicate) so that it does not stick to the dishes during fermentation. We send the dough to heat for 1 hour, after which we make a light degree, re -rounding and again in heat for another 1 hour. Where is it better to wander the test and what does a warm place mean? There are several options. First of all, in the oven with a light bulb turned on (it turns out about 28-30 degrees — the temperature ideal for fermentation of yeast dough). Then we tighten the bowl with the dough with cling film or cover with a towel made of natural fabric (flax is best suited) so that the surface does not be swollen and not covered with a crust. You can also let the dough wander in a microwave, in which we pre -boil a glass of water. The dough will rise with a door closed, and the glass will stand there. Then the bowl does not need to be closed with anything, since the water will evaporate, thereby maintaining the necessary humidity. Just make sure that no one inadvertently turns on the microwave, otherwise the dough will disappear and there will be no buns.
Step 6
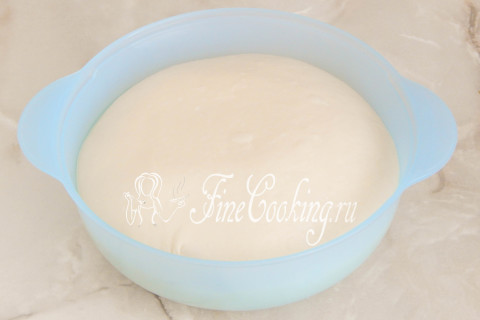
This is what the yeast dough looks like after 2 hours of fermentation. But again, do not forget that the time of fermentation of the yeast dough can be very different from the one that I indicate. It depends on the freshness of the yeast and the temperature in the room. The dough will increase 2-2.5 times for sure, will become very tender, directly through the pierced air bubbles.
Step 7
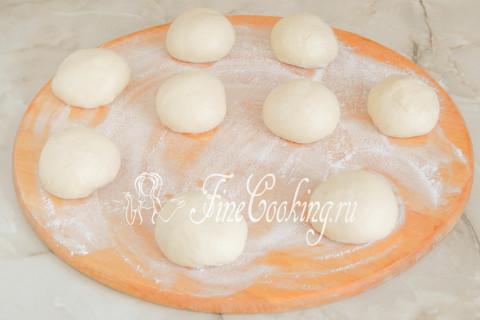
Now the dough needs to be divided into pieces of the same size. To do this, sprinkle the working surface with wheat flour a little (its number in the ingredients is not indicated) and divide the dough into 9 parts of the same size. I weighed the dough on the scales, it turned out 9 pieces of 100 grams each. Why is it so important that the buns to be the same size? First of all, they will need the same amount of time both for proof and baking. Well, and the aesthetic side is important — the finished Moscow buns will all be, as for a selection.
Step 8
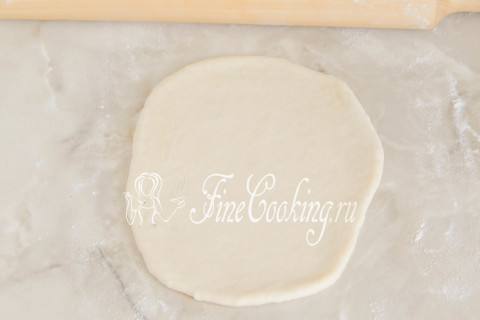
The molding of such buns is very simple and straightforward. They can be molded in the form of hearts, bows, butterflies, curls. I propose to dwell on classical shape — we will make buns with hearts. Sprinkle a piece of the dough with wheat flour so that it is not linked to the hands. Then, with your palm, we beat off the dough several times into a cake to remove excess air — in the finished buns, there are useless pores. After that, roll the workpiece with a rolling pin into a thin layer.
Step 9
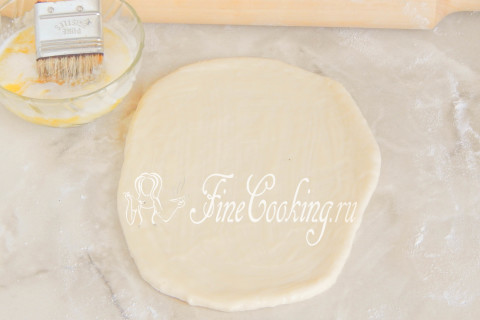
Then you need to lubricate the rolled dough with melted and cooled butter (50 grams for 9 buns is enough).
Step 10
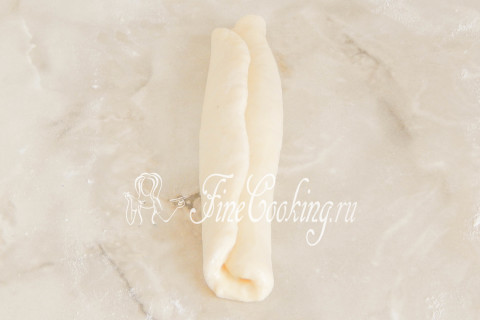
Next, roll the dough layer in length with a roll. Just do not press the dough much so that the layers are more distinct.
Step 11
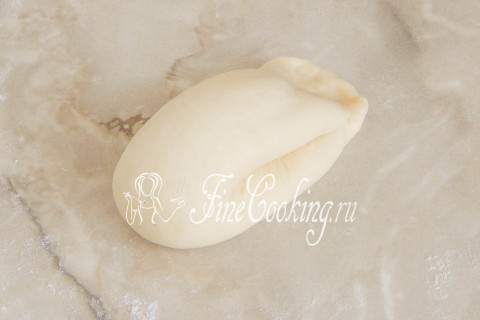
Now fold the steering wheel, connecting two ends. We carefully pinch the junction.
Step 12
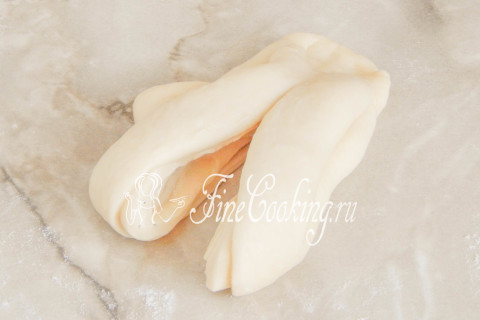
It remains with a sharp knife at a time to cut the workpiece to the bottom, while leaving about 2-3 centimeters near Povip.
Step 13
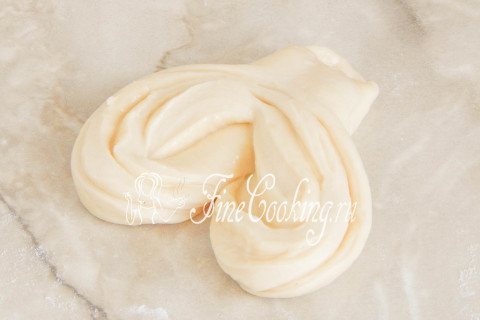
Turn the dough ears outward and get a heart. Similarly, we form the rest of the workpieces. We prepared buns with our son, who took a very active part in the molding of buns, so we ask you to strictly judge — the accuracy of the blanks is far from the ideal. But then how delicious he was to eat the buns that he himself prepared!
Step 14
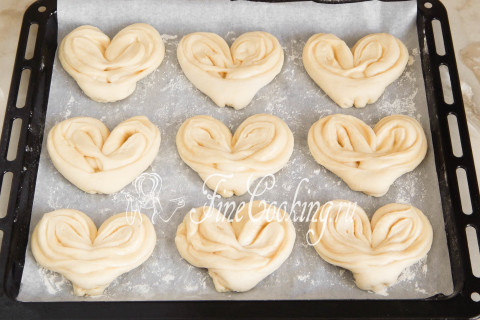
We transfer the blanks to the baking sheet, which I advise you to cover with baking paper. Leave a decent distance between the blanks, since the dough will increase very much in volume. We cover the workpieces with a film, which must be rubbed with flour so that the dough is not stuck, and leave at 27-29 degrees for 35-40 minutes. The proofing time of future buns depends not only on the strength of the yeast, but also the temperature in the room.
Step 15
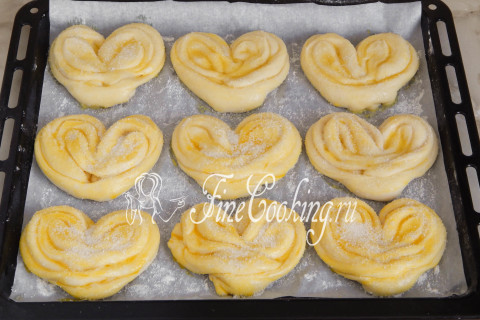
That's how my blanks looked after 40 minutes — it's time to bake them. To give a beautiful ruddy tan, the buns must be greased with an egg, which is broken into a bowl and thoroughly chatting with a fork. We still have sugar (50 grams), which we also quite generously sprinkle the surface of future buns. In addition, in advance (in 20-30 minutes) we did not forget to turn on the oven to heat up at 190 degrees.
Step 16
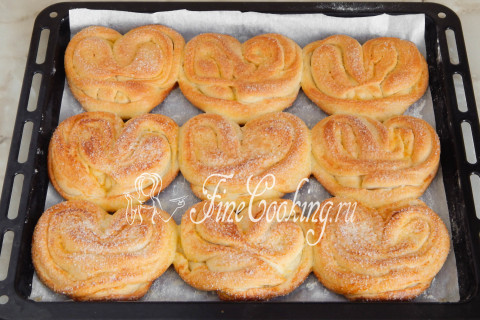
We bake our home Moscow sugar buns at 190 degrees at an average level of oven for 25-30 minutes.
Step 17
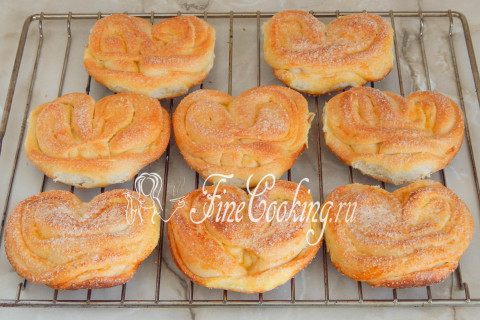
We remove the finished buns and let them cool completely on the grille so that the lower part does not get soaked from condensate.
Step 18
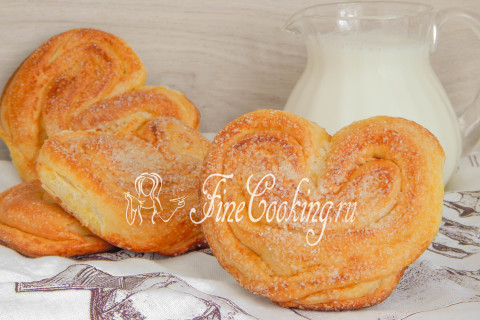
The Moscow bun is amazing pastries! Crushing sugar sprinkling, a ruddy crust and a delicate layer crumb will hardly leave someone indifferent. I assure you that you definitely won’t get by with one buns!