
Step 1
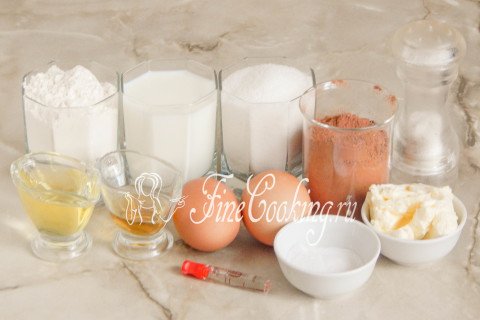
To prepare this simple and delicious chocolate cake, take wheat flour (I have the highest grade, but you can try with the first one), granulated sugar, chicken eggs (medium size), ugly cocoa-powder, butter and olive oil (I am sure that any other refined vegetable), milk (any fatty), wine vinegar (if desired. Replace with apple or lemon juice), baking soda and vanillin (I took a liquid flavor, which needs literally a few drops).
Step 2
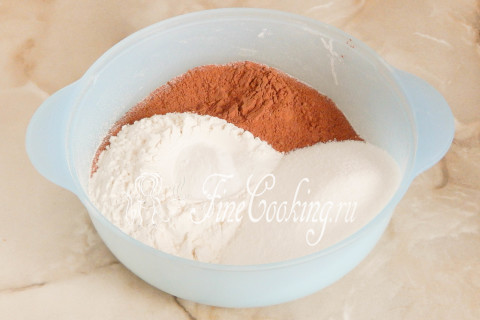
First, you need to turn on the oven to heat up at 175-180 degrees, and then mix dry components for the dough. In a suitable bowl, we sift 250 grams of wheat flour, 55 grams of cocoa powder, add 300 grams of sugar, a pinch of salt and 1.5 teaspoons of baking soda.
Step 3
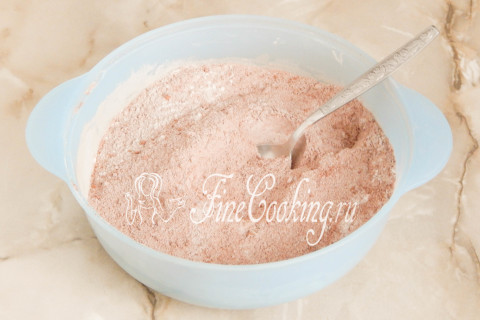
Mix everything thoroughly — the dry mixture is ready.
Step 4
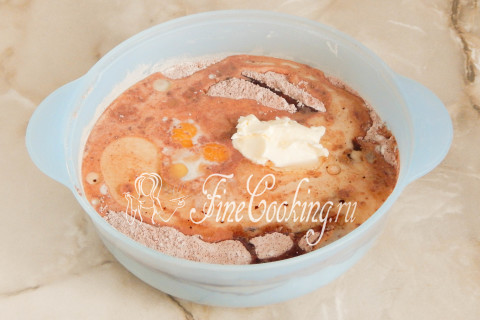
The liquid mixture can be made separately, but I added the rest of the products directly to the dry base. Poured 280 milliliters of milk temperature and 60 milliliters of olive oil, broke two chicken eggs, laid 60 grams of soft (in advance from the refrigerator) butter. In the end, I added a tablespoon of wine vinegar and a few drops of the flavor (you can not use, if you do not want).
Step 5
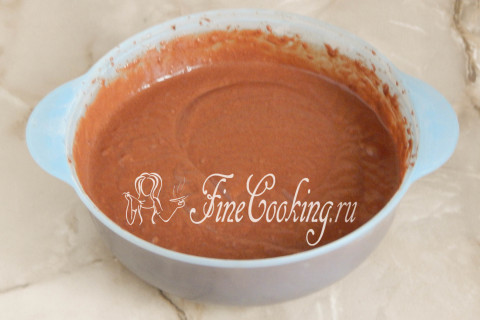
Now you need to mix everything until the complete uniformity of the dough. If you want, a spoon or spatula, but it is more quickly and more convenient to do it with a mixer at the lowest speed. The result is such a chocolate dough, which in consistency resembles sour cream 20% fat or dough for other lines, but a little slurry.
Step 6
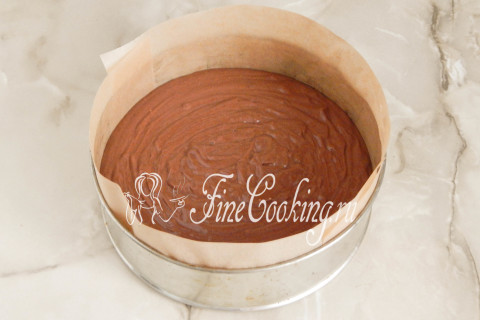
When choosing a baking dish, you should focus on the fact that the dough will increase in volume by 2-3 times. That is, the raw dough should occupy a maximum of a third of the entire height of the shape — I took a detachable with a diameter of 20 centimeters. We cover the bottom and sides with parchment paper, it does not need to be lubricated. We lay out the chocolate dough for the pie.
Step 7
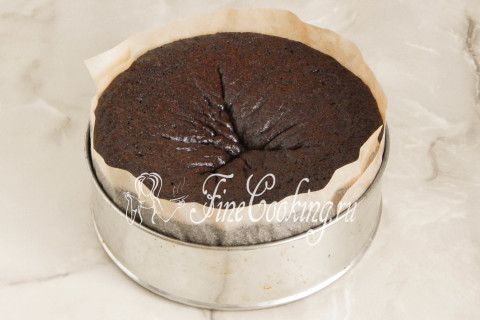
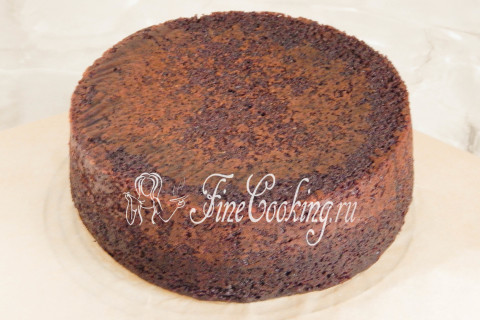
We put the shape with the test in the already hot oven to the average level and bake until completely readily at 175-180 degrees. My pie spent exactly one and a half hours in the oven, but the cooking time largely depends on the features of each oven and the size of the form. He rose, of course, just gorgeous — it grew almost 3 times. True, the surface turned out to be some kind of not very attractive — as if the earth had cracked … You may have other associations, probably … The fact is that the dough during the baking became completely liquid and rose in such a strange way. But this did not affect the taste, believe me.
Step 8
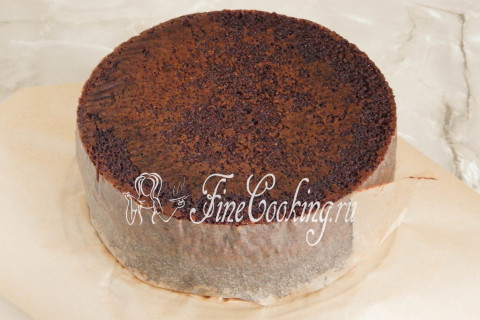
We take out the finished pie from the oven and let it cool in shape to a warm state. After that, you can remove the walls, turn the pie and remove the bottom and paper.
Step 9
Next we remove the side parchment. It turns out the perfect chocolate pie.
Step 10
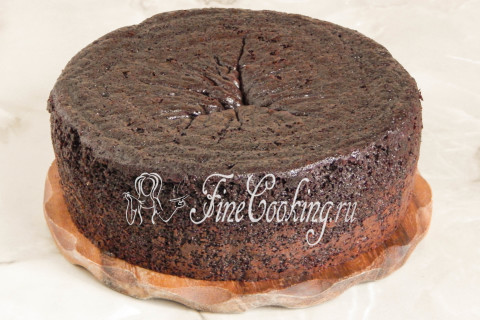
We turn it on a flat dish. I served on a wooden board — well, I like it like that.
Step 11
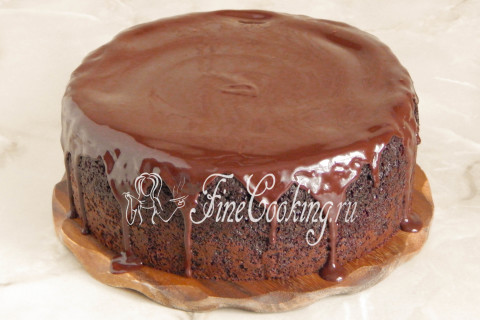
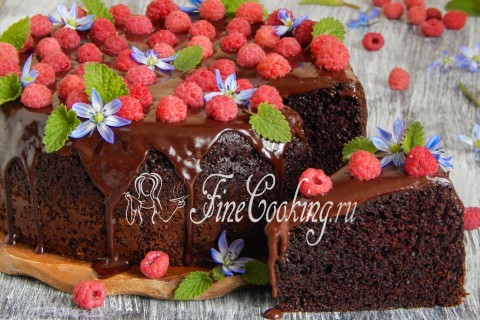
In fact, you can already take a sample. But personally, I wanted to additionally pour chocolate icing pie — the recipe can be found here.
Step 12
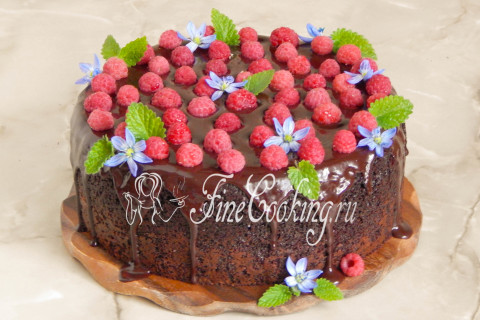
And, of course, decorate the finished pastries — raspberry berries, flowers and lemon lemon balm leaves were used.
Step 13

And this is what a ready -made chocolate cake, prepared in a slow cooker, looks like that (I remind you that I baked it in the baking mode for 1 hour 30 minutes). The bowl was smeared with sunflower oil, after which it paved with cuts of parchment paper.
Step 14

Then she removed the pie using an insert for steaming, removed the paper and completely cooled it. I needed a cake after 4 days from the moment of baking (there was no possibility of preparing it elsewhere, and I had to collect the cake), so I wrapped it in the food film, wrapped it with foil and stored until necessary in the refrigerator. After 4 days, the chocolate cake was fresh, it became even juicy, more tender and more saturated to taste — it matured, so to speak.
Step 15
In general, I will tell you, this chocolate cake is just a real paradise for a shock! The most delicate, air cake, which literally melts in the mouth … The distinct, very saturated taste of chocolate is sophisticated with light, barely perceptible notes of vanity … By the way, today the jam has a jam — 6 years! Based on this biscuit cake, I prepared for him a birthday cake with a huge amount of fragrant fresh strawberries and delicate cream filling. It turned out just a magnificent combination, and also incredibly tasty and beautiful … I will show the photo the other day.
Step 16

And here is our birthday cake, as promised. The son and guests liked it. I cooked it right in the country, only baked chocolate cake in advance.
Step 17
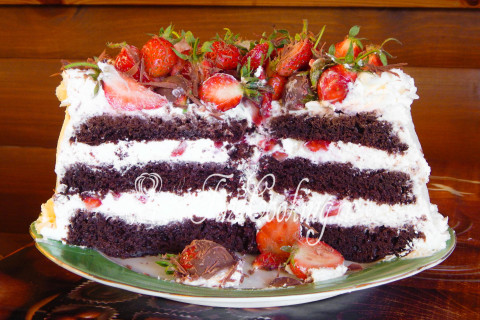
The filling was Ricotta, into which I added a little lemon zest. For splendor, tenderness and airiness, it diluted it with whipped cream with a small amount of powdered sugar. There were pieces of fresh strawberries between the cakes. On top she decorated the cake also with berries, some of which poured with melted chocolate. Well, and a little grated chocolate for decor — the son loves chocolate and strawberries very much.
Step 18
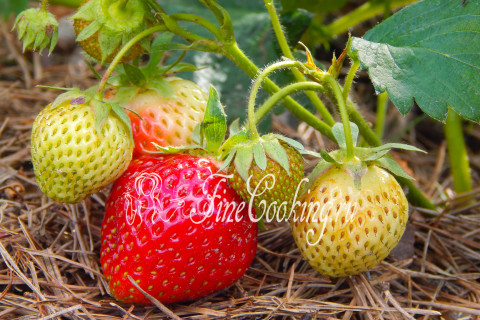
But such appetizing berries, grandparents carefully raised for her grandson. How great it is when you can enjoy fragrant and such delicious house strawberries right from the bed!