
Step 1
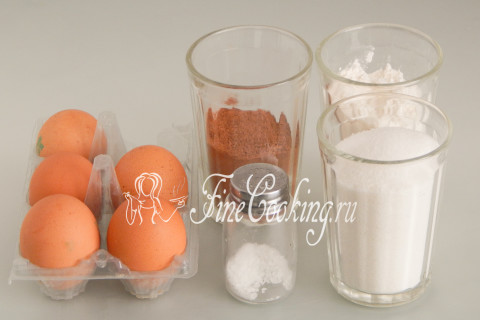
For the preparation of Polish chocolate biscuit, we need the following ingredients: high-grade wheat flour, medium-sized chicken eggs (about 50 grams each), sugar-sand, high-quality ugly cocoa-powder and slightly salt.
Step 2

Immediately turn on the oven at 180 degrees. I have an ordinary gas oven of Hephaestus, lower heating, without convection. First of all, we will prepare the necessary products for the preparation of chocolate biscuit. We sift 90 grams of wheat flour in a separate bowl and add 35 grams of cocoa powder there.
Step 3
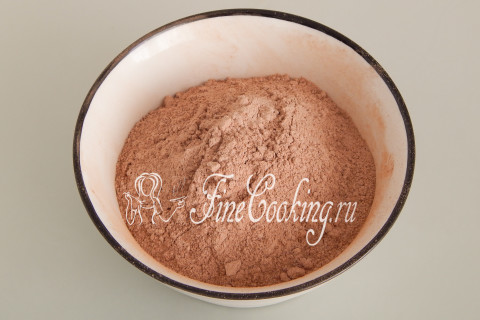
Mix the dry workpiece thoroughly, after which we sift the flour with cocoa through a small sieve (preferably twice). As a rule, there are a lot of rather large lumps in cocoa powder, so it is so important to loosen it. As you noticed, the baking powder of the dough in this recipe for chocolate biscuit is not used.
Step 4
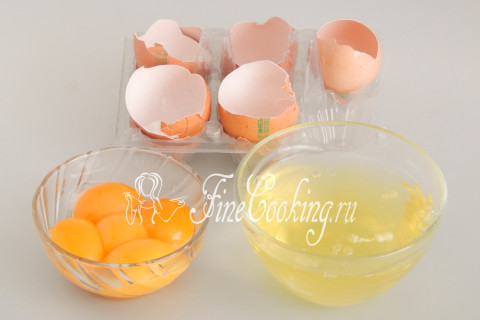
Wash and carefully dry chicken eggs (5 pieces). Then carefully separate the proteins from the yolks and put them in different dishes. Personally, it is most convenient for me to do this with my hands: I break the egg on a flat surface, pour it into my palm and pass the protein through my fingers. Pure yolk remains in the palm of your hand — I transfer it into a separate bowl. Thus, you can not only get perfectly clean proteins, but also make sure that the eggs are not spoiled. Do you want to open a small secret? For some, even properly suitable biscuits still smell of fried eggs. Recognized yourself? The whole problem in the halase is a cable that supports the yolk in a protein from 2 sides. If you remove it (just carefully jerk off your finger), there will be no smell.
Step 5
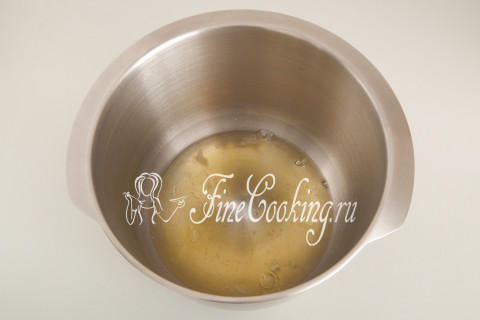
For whipping proteins, always take clean, low -fat and dry dishes. Verels should also be prepared in a similar way. We pour egg whites into a suitable capacity, add a pinch of salt (it will help proteins better and faster to whip).
Step 6
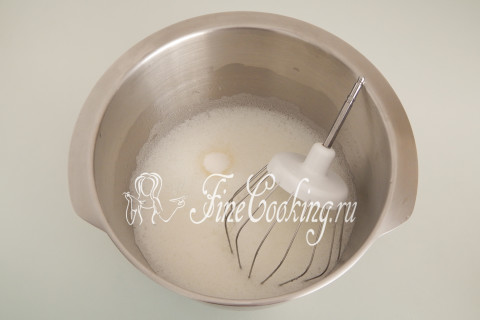
We begin to whip the proteins with a mixer to a light foam, after which we gradually pour 170 grams of sugar. It is best to use small sugar — it dissolves faster.
Step 7
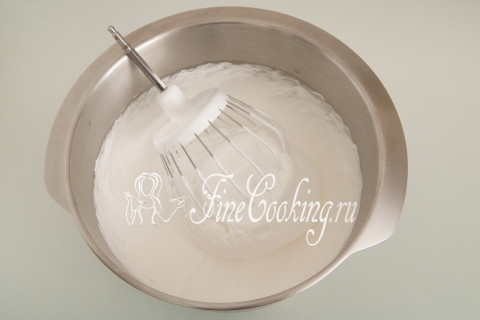
Beat the proteins at fairly high speeds until a dense and snow -white mass is formed. If you turn the bowl, the squirrels will not budge. The guarantor of high and lush chocolate biscuit is a high -quality whipped egg whites!
Step 8
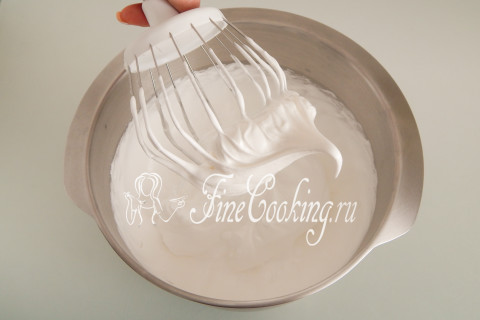
You see how the meringue (egg whites whipped with sugar should look): it is quite dense, lush and glossy (glistens). At the same time, stably holds shape and relief. Do not completely give the proteins — the biscuit will most likely settle after baking.
Step 9
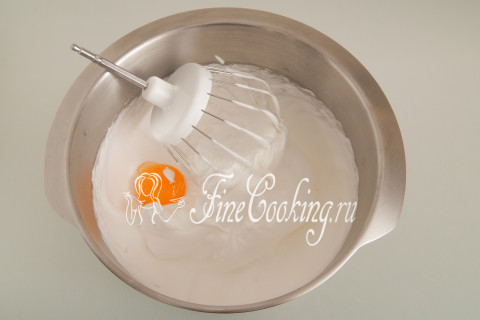
Now, one injects egg yolks one by one. Without ceasing to beat, add the egg yolk, and when it completely intervenes in the protein, add the following. For everything about everything you will take about 1 minute.
Step 10
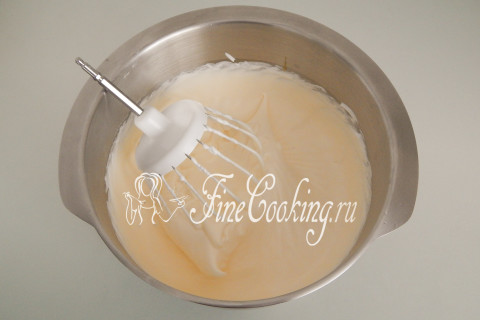
The whipped mass should still remain lush and air.
Step 11
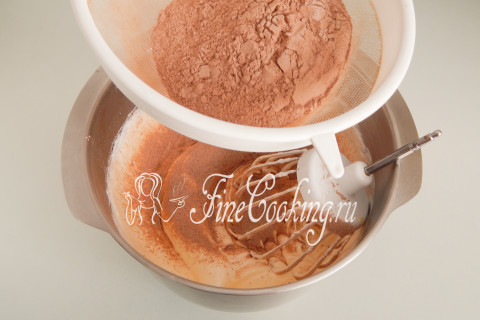
The next step in the preparation of Polish chocolate biscuit is the addition of a dry mixture. Here it was very difficult for me to show the process, since I have only two hands. We take a sieve, pour flour with cocoa into it, which we sought in advance.
Step 12
We take the corolla in the other hand (you can manually, you can from the mixer). Constantly sifting a chocolate, dry mixture, with very fast circular motions, the whisk of a whisk in it in whipped eggs. Literally in 15 movements there should not be a single dry lump. That is, we work at the maximum manual speed that we are capable of. Undoubtedly, you can choose for yourself a classic version of the bosquitte dough in a batch — using silicone spatula with folding movements in a circle. But I still really advise you to try the first way — it will not let you down.
Step 13
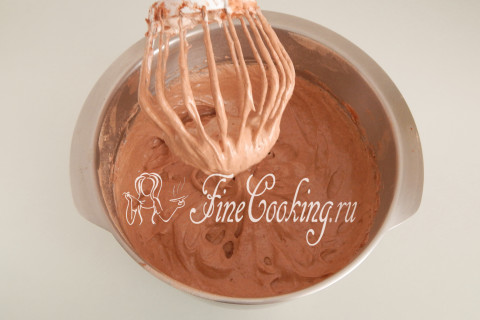
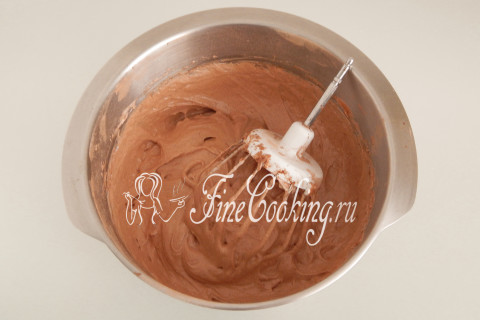
The result is an air, stable and homogeneous chocolate biscuit dough. It does not spread, but holds the form.
Step 14
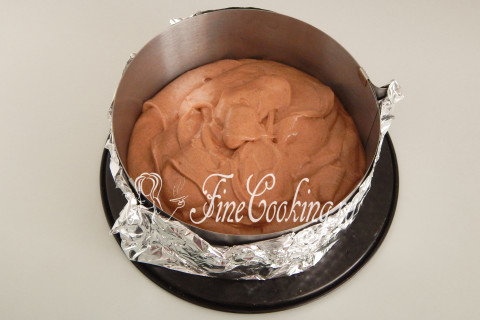
For baking of the Polish chocolate biscuit, a form with a diameter of 20 centimeters will be needed according to the specified product layout. Of course, it is possible more, but in this case the finished biscuit will be so high. I use a culinary ring in which I made a diameter 20 centimeter. The bottom and sides wrapped it with 3 layers of food foil, placed the structure on the lower part of the shape of the larger diameter. If you take a detachable shape, cover the bottom of parchment paper. You do not need to lubricate the bottom or the wall of the form — this is important! We transfer the dough into the shape — it holds the shape perfectly and does not spread.
Step 15
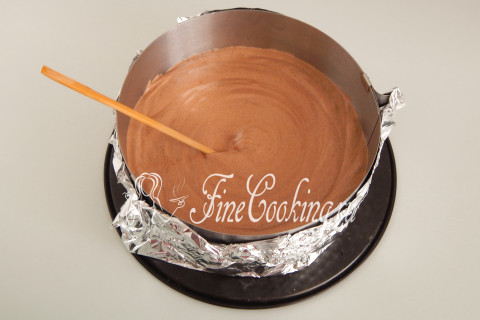
To remove large air bubbles, we take a wand and carefully level the biscuit dough throughout the depths in a circle.
Step 16
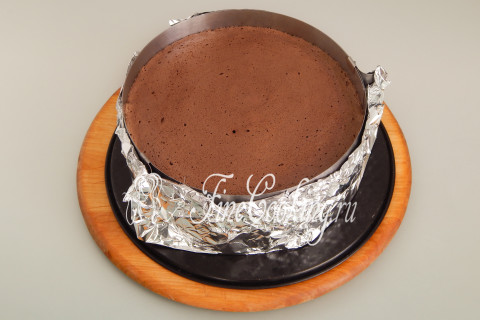
We put the form with chocolate dough in a preheated oven to the average level and prepare at 180 degrees about 40-45 minutes until dry beam. I have a gas oven, lower heating, without convection. Focus on your oven! We check the readiness with a wooden skewer, which should get out of the dough completely dry.
Step 17
We take out the shape of the oven, turn it with the bottom up and throw it from a height of about half a meter on a flat surface. Yes, that’s why the Polish chocolate biscuit is called abandoned. Only not on a scale, but simply let go of the shape — it falls freely.
Step 18
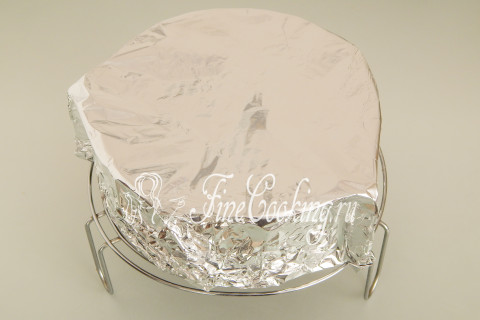
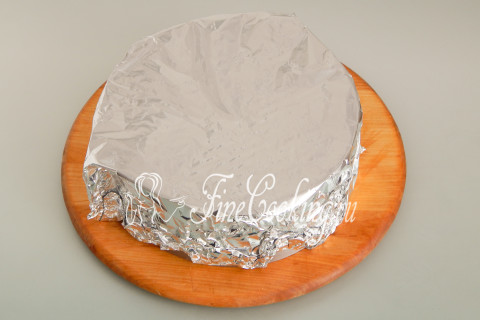
In this position, we give more hot biscuit to completely cool on the grill.
Step 19
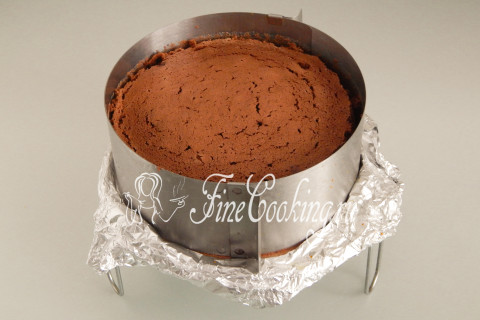
After cooling, we turn the shape and let the baking rip off at a room temperature of 4-8 hours. Thanks to this, the biscuit dough will dry out, it will not crumble during cutting, and soak into porridge when impregnated with syrup.
Step 20
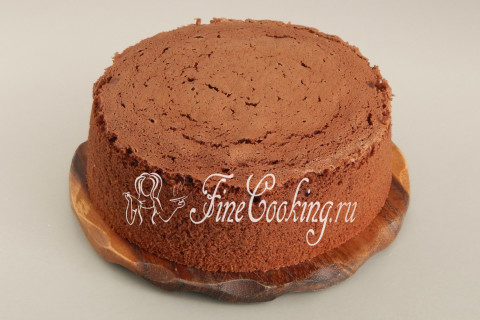
When the biscuit has cooled and turns out, carefully cut it out of the mold with a sharp knife along the walls, then remove the foil (paper) from the bottom. In this form, the Polish chocolate biscuit weighs about 500 grams.
Step 21
You will definitely like a magnificent, tasty and beautiful chocolate biscuit. Prepare for health and pleasant to you appetite, friends!
Step 22
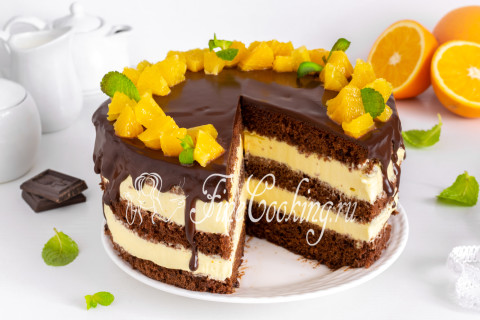
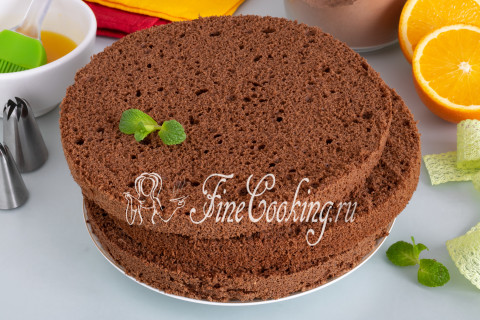
By the way, on the basis of this biscuit, I was preparing a chocolate -scarlet cake (a detailed recipe here) — be sure to try.