
Step 1
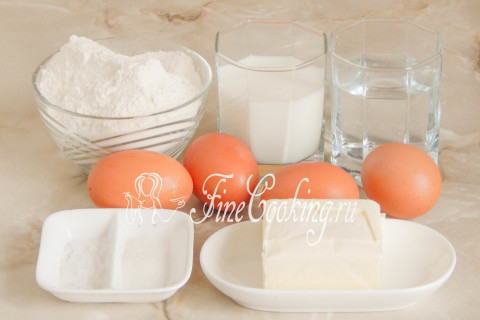
For the preparation of homemade profilets, the following ingredients will be needed: wheat flour, milk (any fat content), water, chicken eggs (I have 4 very large ones), butter (with fat content of at least 72%), as well as very little salt and sugar for taste.
Step 2
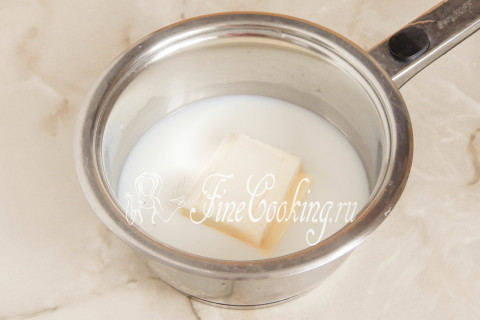
We take a small saucepan (preferably with a thick bottom) or a stewpan, pour milk and water into it. We put butter there (it is best soft so that it melts faster, but this is not fundamentally), a pinch of salt, half a teaspoon of sugar and put everything on fire.
Step 3

We give the liquids to warm up and completely melt the oil. We bring everything to a boil, not forgetting to stir so that the milk does not stick to the bottom.
Step 4
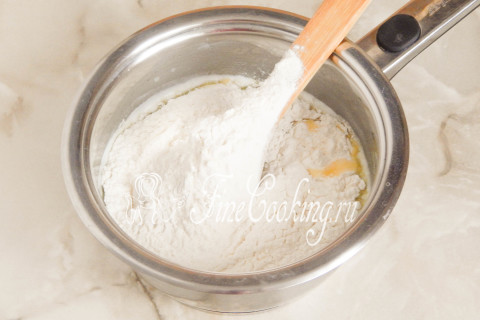
Now, interfering with the mass in circular movements, we fall into the pan at once all the flour. This is important — so there will be no lumps in the custard test.
Step 5
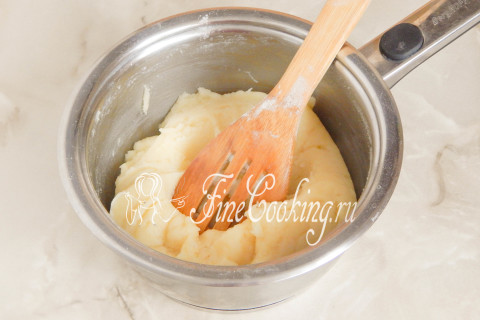
Constantly kneading and not taking off the dishes from the fire (below the average), we must get an absolutely homogeneous and smooth dough. I would say that in the process of brewing a thick and such dense lump of dough is formed.
Step 6
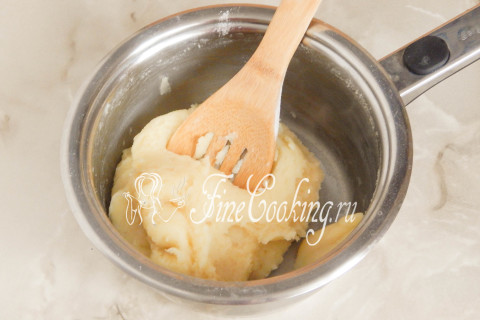
Now we need to dry the dough (for another 2 minutes on fire below the average), for which constantly kneading it with a spatula, we wait until a thin crust of dried dough is formed at the bottom of the dishes. At the same time, the lump itself will begin to lag behind the walls and bottom of the saucepan. This is also important in the preparation of custard dough for profilets.
Step 7
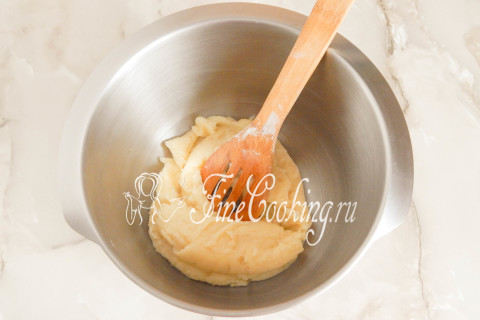
All: the process of brewing the dough is completed, it needs to be a little cool. To do this, it is most convenient to shift the lump into another dish, which is advisable to cool in advance.
Step 8
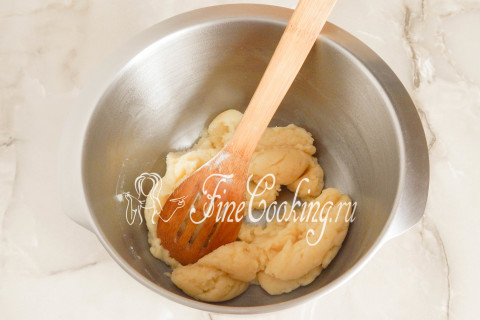
We break a lump of dough with a spatula so that it cooled faster to a very warm state (not hot!). If you start introducing chicken eggs into a hot dough, they can curl up and nothing will work out.
Step 9
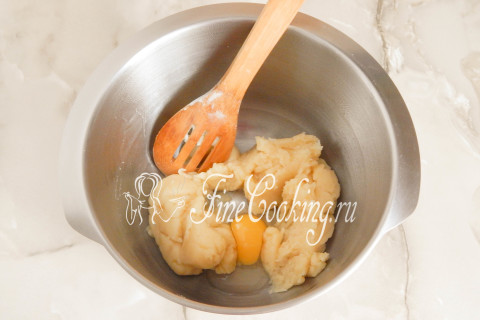
Now, one (!) We introduce raw chicken eggs into custard dough. After each, knead the dough very carefully with a spoon or spatula to achieve homogeneity. I have 4 chicken eggs in this recipe, the size of more than average (75 grams each). You may need from 4 to 6 eggs — it all depends on their size. That is why, after adding a third or fourth egg to the dough, focus on the consistency of the resulting mass. If you understand that the dough is still too thick and difficult to mix, add another egg. But not all at once, but break it into the bowl in advance and add a little. It may be necessary for the entire egg, and perhaps a third or half. It is important to stop in time, otherwise the dough will be too liquid.
Step 10
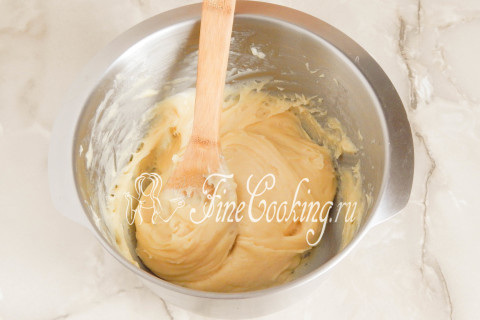
Since the consistency of the custard dough depends on many factors (for example, the quality and humidity of wheat flour, the size of chicken eggs), you must understand what to expect as a result. The finished custard dough (it turns out about 700 grams) should be completely smooth, brilliant and be without lumps. It is not dense and not liquid — it slips from the shoulder blade with a heavy wide ribbon. Still, as an option, you can conduct a test on a bird beak: take a little dough, slightly clamp it between the thumb and forefinger, then spread your fingers. The dough between them should form two triangles similar to the beak of a bird.
Step 11
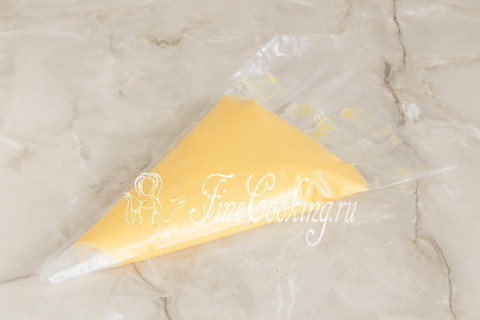
If, for example, you will make the custard dough too thick, it will not only be difficult to put it out of the culinary bag, but the products themselves will not rise poorly, they will be too dry and hard. When preparing an overly liquid dough, the profilels will blur to a baking sheet and will not be able to keep a shape. We shift the custard dough into a culinary bag, it is not necessary to use the nozzle at all. I just cut off the tip of the bag to make a hole with a diameter of about 1-1.5 centimeters. If you do not have such a bag, put the workpieces with 2 tea or tablespoons — they still pout.
Step 12
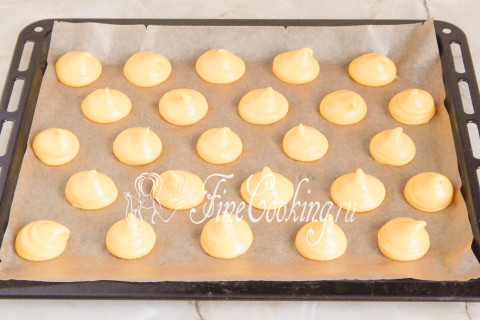
We cover the baking sheet with paper for baking and put the dough in the form of such blanks at a distance from each other (during the baking process, profilels significantly increase in size). In total, from the indicated amount of dough I get 25 pieces.
Step 13
The tails that stick up up, I advise you to smoot it so that they do not burn. To do this, you can use a tea or coffee spoon moistened in water (so that the dough is not stuck) or do it with a finger (also dip in the water).
Step 14

I almost forgot: the oven (my gas) should be warmed up in advance — this is necessary. Next, choose your own version of the baking of profiterols. 1. At 190 ° C for about 30-35 minutes. 2. At 200 ° C, about 20 minutes to a rosy state, and then reduce the temperature to 160 ° C and dry the blanks for another 10-15 minutes. I prefer the second option.
Step 15
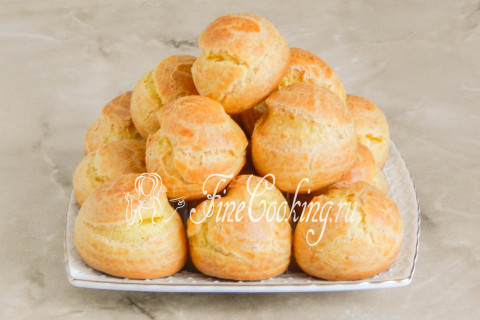
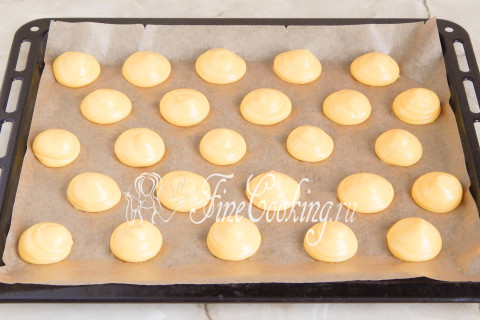
If you did everything right, the result will definitely please you! Ready -made profiterols should be light, dry, beautiful golden color. After baking, they do not lose their shape and do not deform — that is, they do not change in any way.
Step 16
You see, the blanks for the future dessert or the appetizers are hollow inside, while they have a crunchy crust and soft internal walls.
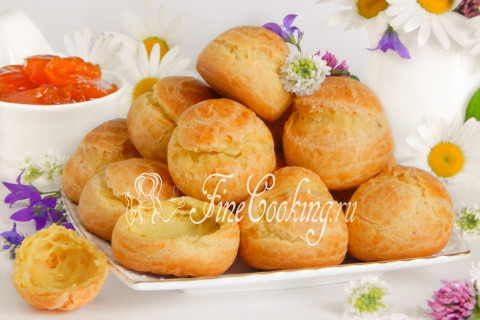
Step 17

Profitrol can be stored for a few days in a sealed bowl. I hope that this simple recipe for homemade baking will come in handy. Enjoy appetite, friends!