
Step 1
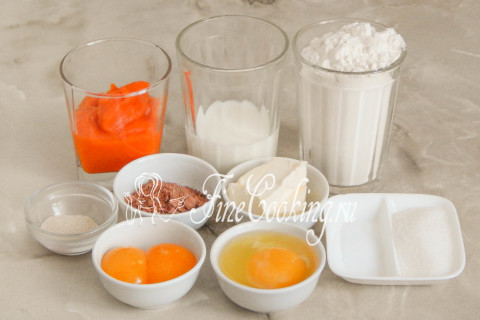
The recipe for this bright and tasty home bread includes the following ingredients: wheat flour, thick pumpkin puree, milk of any fat content, butter, chicken egg and egg yolks, ugly cocoa powder, sugar, salt and high -speed yeast. To make puree from pumpkin peeled flesh, bake in the oven until soft, then throw it on the sieve (to leave excess moisture) and break through the submersible blender (can be wiped through a sieve). The yeast is not necessary to take fast -acting — just dry (also 1 teaspoon without a hill — this is 3 grams) or pressed (3 times more, that is, 9-10 grams). Such yeast is not immediately mixed with flour, but previously activated in a warm sweetish liquid for 10-15 minutes. In our case, you can slightly heat half a glass of milk with a tablespoon of sugar and dissolve the yeast in it.
Step 2
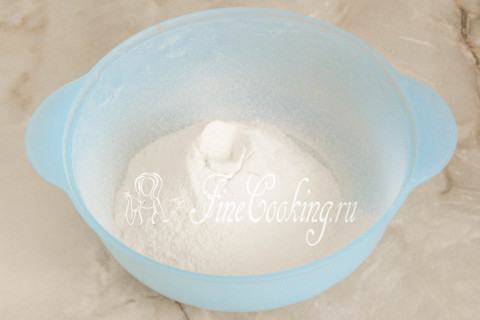
In a suitable bowl, we sift (preferably twice) wheat flour of the highest grade. Due to this, the flour is not only loosened and saturated with oxygen, but lumps and probable garbage will also leave. You can leave the flour a little more or less than in my recipe, so do not add everything at once (leave 30-50 grams so far).
Step 3
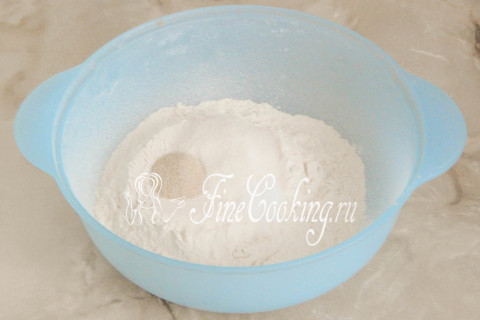
Put the fast -acting yeast, sugar and salt to flour. All thoroughly mix with a whisk or fork so that all products are evenly parted throughout the volume.
Step 4
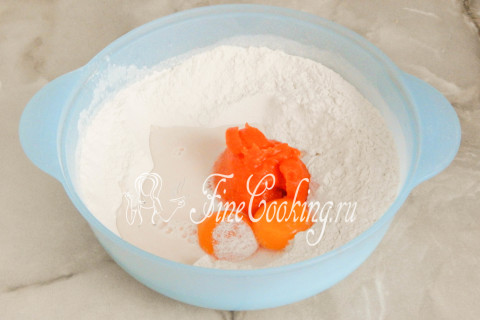
We make a hole in the flour mixture and pour slightly warm milk into it. We add 2 egg yolks and finished pumpkin puree there.
Step 5
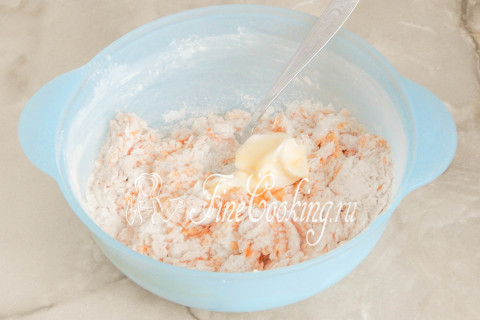
First, you can mix the ingredients with a spoon or fork so that the flour is moistened, absorbing liquid ingredients. And you want, you can immediately knead the dough with your hands. If there is a test or bread maker, be sure to use their help — this is easier and faster. Next, add a very soft butter and knead the dough.
Step 6
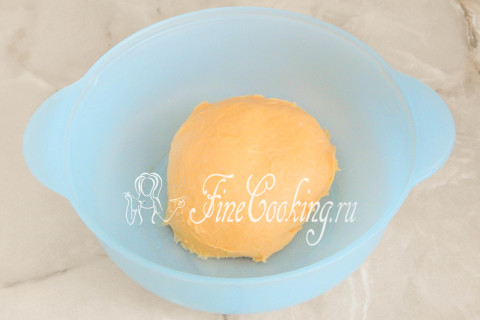
To knead the dough for this bread for quite some time (at least 10, and better than 15 minutes) and intensively. As a result, it will become smooth, homogeneous, very soft (like an earlobe) and delicate, while relatively sticky. Relatively — this means that it does not smear in the palm of your hand, but drops from it, leaving a small trace in the form of pieces of dough. I do not advise you to hammer the dough with flour, trying to make it not at all sticky, since the result will not turn out an air, magnificent and delicate bread.
Step 7
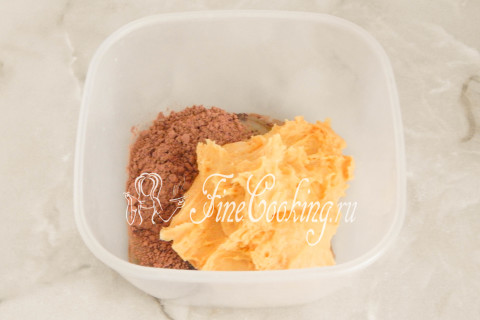
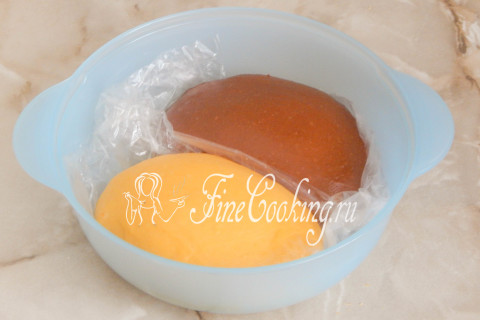
Now divide the bun into 2 parts. We transfer one part to a separate bowl or directly to the working surface. Add a cocoa powder and one egg protein to this test (leave the yolk to lubricate the workpiece). We mix chocolate dough to smoothness and homogeneity. If you have a protein from a large egg, you may have to add a little more flour to get together in the ball and become the same in consistency with yellow (pumpkin) dough.
Step 8
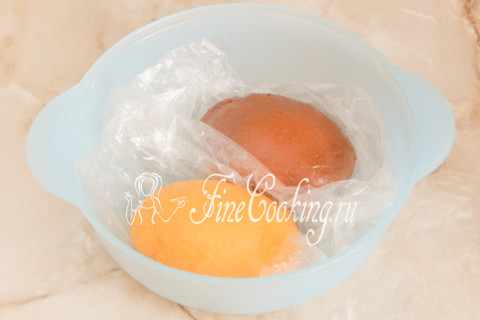
It's time to give the test to relax. Since it is not too much, you can place the bun in one bowl, only make a partition from parchment paper or a simple package between them (lubricate with a small amount of refined vegetable oil so that the dough is not stuck). We leave the dough warm for 1 hour. Where is it better to wander the test and what does a warm place mean? There are several options. First of all, in the oven with a light bulb turned on (it turns out about 28-30 degrees — the temperature ideal for fermentation of yeast dough). Then we tighten the bowl with the dough with cling film or cover with a towel made of natural fabric (flax is best suited) so that the surface does not be swollen and not covered with a crust. You can also let the dough wander in a microwave, in which we pre -boil a glass of water. The dough will rise with a door closed, and the glass will stand there. Then the bowl does not need to be closed with anything, since the water will evaporate, thereby maintaining the necessary humidity. Just make sure that no one inadvertently turns on the microwave, otherwise the dough will disappear and our beautiful bread will no longer.
Step 9
After 1 hour (+/- 10-15 minutes, depending on the activity of the yeast and the temperature in the room), the dough will rise well and increase in volume at least twice.
Step 10
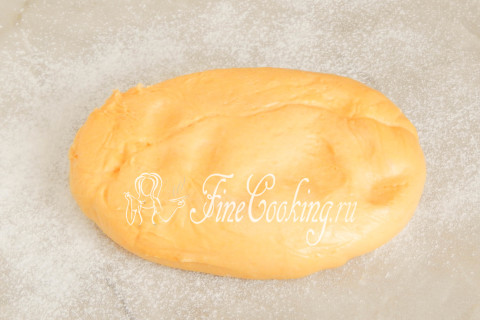
We proceed to form the future of pumpkin-chocolate bread. Sprinkle the working surface with wheat flour (not included in the mass of ingredients, but there is enough tablespoon) and put one of the colobes.
Step 11
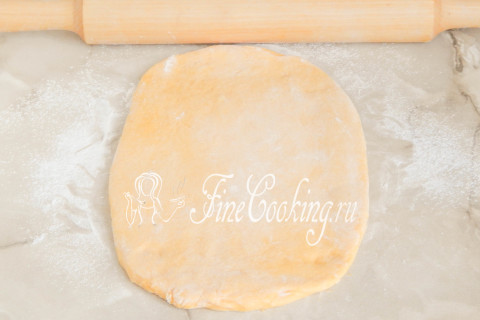
With our hands or with the help of a rolling pin, we turn the dough into a rather thin (just no thinner of 1 centimeter) a layer, the width of which will be equal to the length of your shape for baking. The dough is very supple and tender, therefore it rolls out without problems.
Step 12
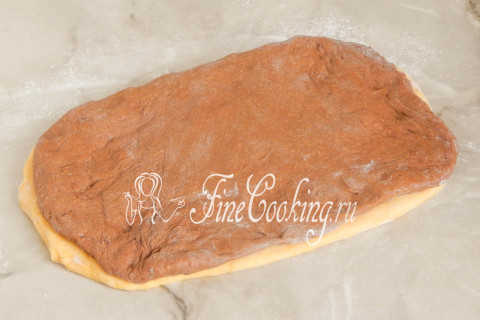
Similarly, we act with chocolate dough. After that, lay the brown layer on the pumpkin, not forgetting to shake off excess flour between them with a brush.
Step 13
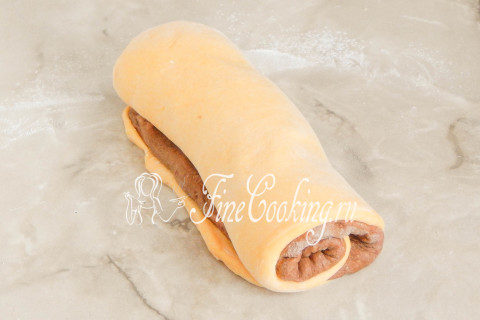
We turn both layers into a rather dense roll (on the narrow side), trying not to leave air between them. We pinch the longitudinal seam, the sides can be left as it is.
Step 14

We lay a roll from yeast dough in a suitable baking shape in size, which must be lubricated with vegetable oil. I have this special bakery form from high -quality food aluminum alloy.
Step 15
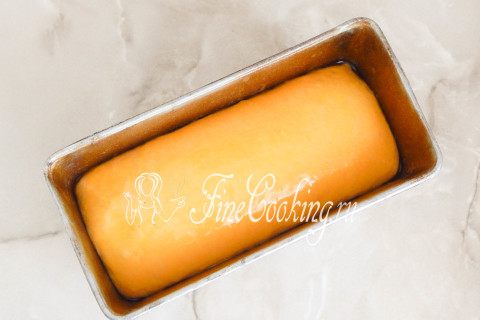
We give the workpiece to the warmth in the warmth for about an hour or until the dough grows 3 times. In the meantime, we warm the oven to 180 degrees. Before baking, lubricate the surface of the future bread with egg yolk (remember, did it stay when we did chocolate dough?).
Step 16
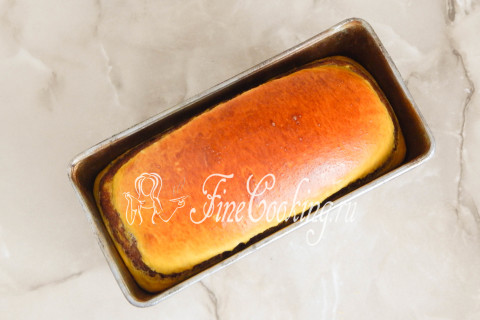
We bake pumpkin-chocolate bread at an average level at 180 degrees 30-35 minutes until appetizing rosy crust and full readiness.
Step 17
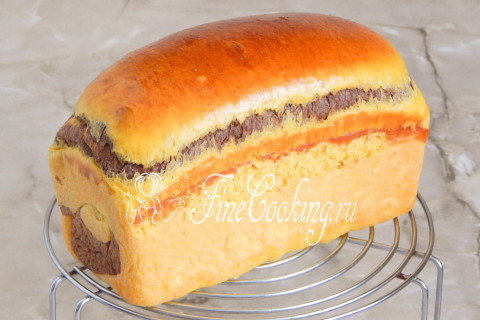
The finished bread (after cooling the loaf weighs 540 grams) we take out of the form and let it completely cool on the grill. If you have a very high bread, cool it on your side. I can’t help but dwell on one defect, which, I am sure, is visible to the naked look — my bread cracked in the roof area. This happens when the workpiece did not completely distance, but in this case I am sure that I have averted enough time for this. Having discussed the problem with Olenka (the author of this recipe), it turned out that it is best to bake this dessert bread in the form for cupcakes — then the release of the upper crust can be avoided. True, I have one more thought about this: he cracked just in the place where the yolk (which lubricated the workpiece) contacted the shape. In other words, when baking, the yolk baked and stuck to the wall of the form, thereby did not let the dough rise correctly. Exit: or carefully lubricate the workpiece with yellow on the very surface or not lubricate it at all. As an option, use milk or water as a humidifier, but then the crust will not be so ruddy.
Step 18
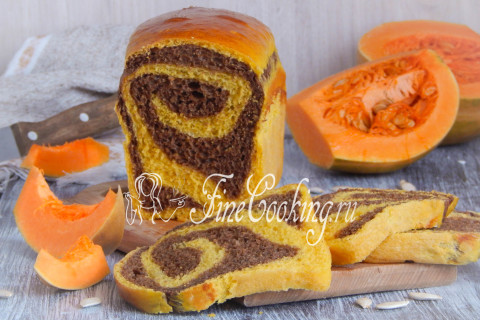
I hope that this simple recipe for original and delicious home bread is useful, and the result will please. Prepare for health, friends!