
Step 1
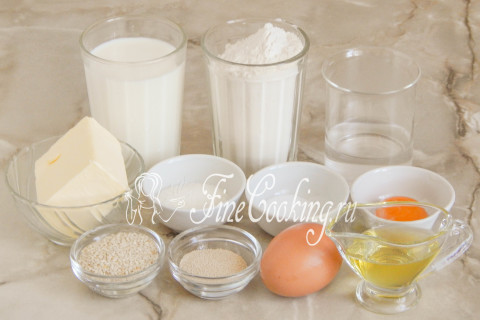
To prepare these unusually tasty baguits, we take the premium wheat flour, milk (any fat content), drinking water, butter, olive oil (can be replaced with any other vegetable), chicken eggs, salt, sugar and high -speed yeast. In addition, if desired, you can lubricate the blanks with egg yolk for beautiful ruddy color and sprinkle sesame seeds, if you want.
Step 2
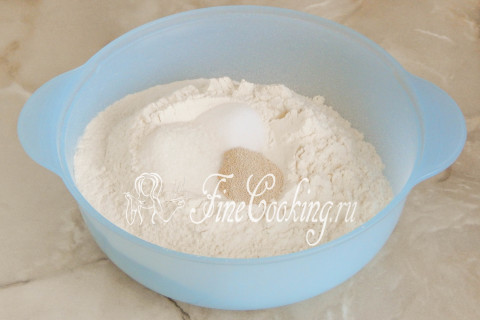
Sift (preferably twice) wheat flour in a bowl. Due to this, the flour is not only loosened and saturated with oxygen, but possible garbage will also leave. We will leave half a glass, since its humidity is different, so the dough also takes a different amount of flour (sometimes the difference can be very significant). Add fast yeast, granulated sugar and salt to flour. Mix everything thoroughly with a fork or a whisk.
Step 3
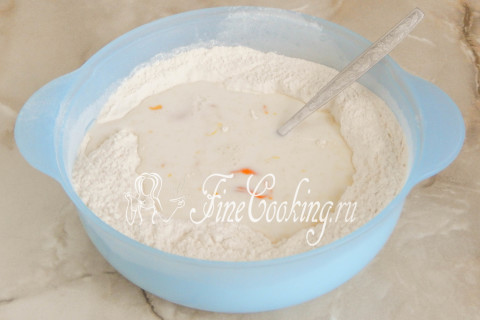
We make a hole in the flour and pour into it slightly warm drinking water, milk and break one middle chicken egg.
Step 4
First, you can mix the ingredients with a spoon or fork so that the flour is moistened, absorbing the liquid. And you want, you can immediately knead the dough with your hands. If there is a test or bread maker, be sure to use their help — this is easier and faster. Then add 1 tablespoon of vegetable oil and knead the dough.
Step 5
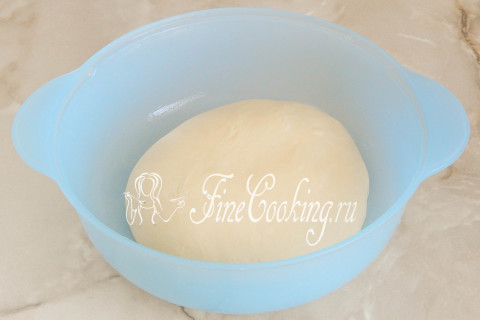
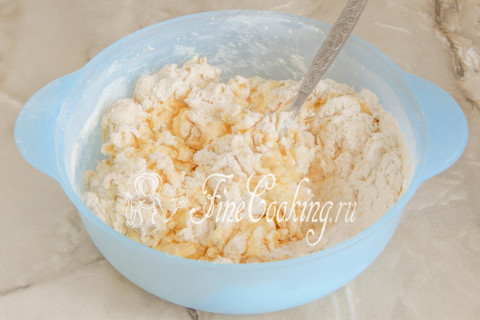
To knead the dough for puff baguettes for quite some time (at least 10, and preferably 15 minutes) and quite intensively. As a result, it will become smooth, homogeneous, very soft (like an earlobe) and delicate, while quite a little sticky. We round the dough into the ball and put it in a bowl, which we grease with a tablespoon of vegetable oil so that it does not stick to the dishes during fermentation. We send the dough to heat for 1 hour, after which we make a light degree, re -rounding and again in heat for another 1 hour. Where is it better to wander the test and what does a warm place mean? There are several options. First of all, in the oven with a light bulb turned on (it turns out about 28-30 degrees — the temperature ideal for fermentation of yeast dough). Then we tighten the bowl with the dough with cling film or cover with a towel made of natural fabric (flax is best suited) so that the surface does not be swollen and not covered with a crust. You can also let the dough wander in a microwave, in which we pre -boil a glass of water. The dough will rise with a door closed, and the glass will stand there. Then the bowl does not need to be closed with anything, since the water will evaporate, thereby maintaining the necessary humidity. Just make sure that no one inadvertently turns on the microwave, otherwise the dough will disappear and there will be no baguits.
Step 6
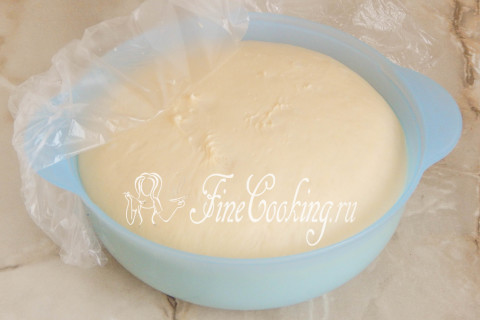
This is what the yeast dough looks after 1 hour of fermentation. It increased three times for sure.
Step 7
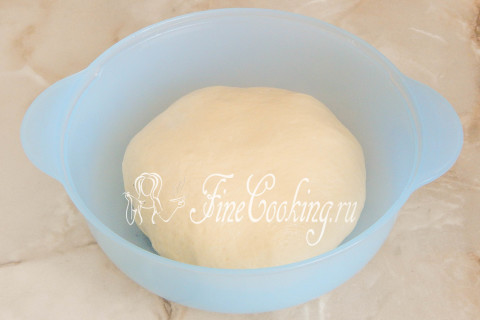
We crush it and again in heat for another 1 hour.
Step 8
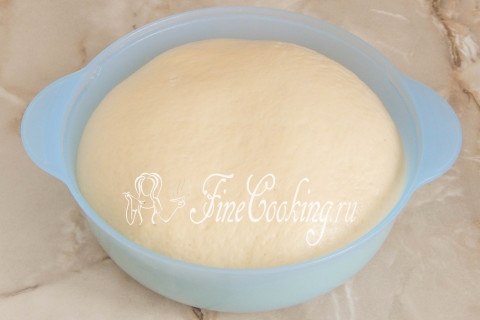
The dough will grow again in the amount of times, it will become very tender, directly through the pierced air bubbles.
Step 9
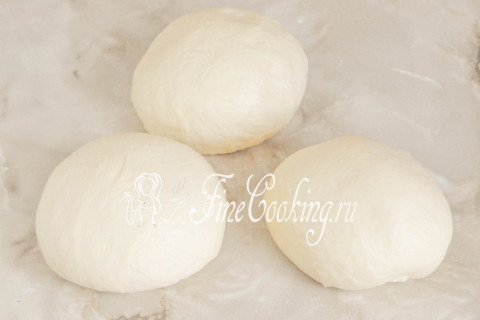
We divide the dough 3 parts, but it is possible by 2-4 — depending on the desired number of baguettes.
Step 10
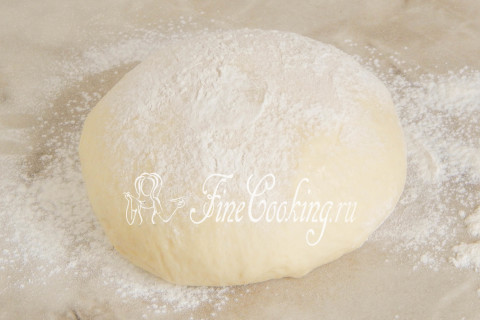
We take one piece of dough and send it a little with flour so that it is more convenient to roll it out. The remaining two parts of the dough are still covered with a film or towel so that they do not be bent.
Step 11
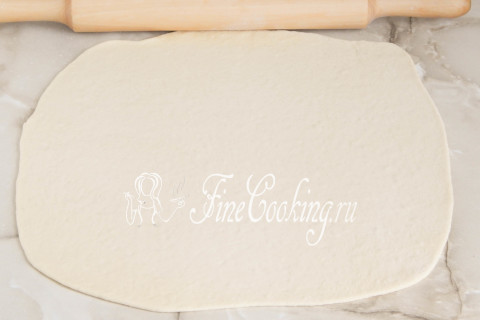
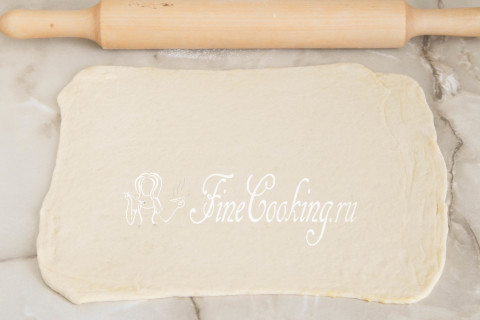
Roll out the bell of the dough into a thin rectangle or square. Moreover, the thinner you roll it, the more layered a ready -made baguette will turn out.
Step 12

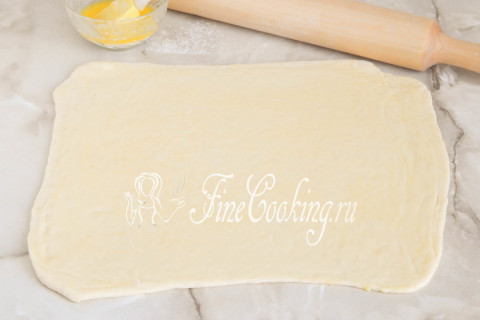
Now we will need butter, which we melted in advance and gave it completely to cool. Lubricate the dough layer with oil, trying to ensure that the entire surface is carefully smeared.
Step 13
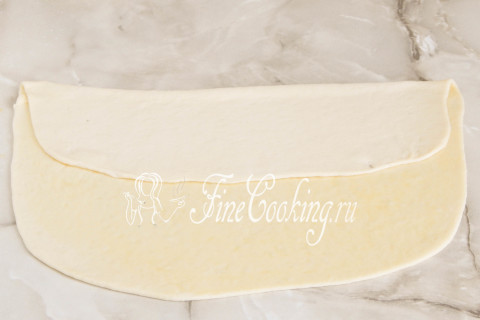
Next, you need to make it so that subsequently the baguettes are obtained with a large number of layers. To do this, you need to fold the dough. Visually, divide the layer into 3 parts and fold the far edge to the center by one third.
Step 14
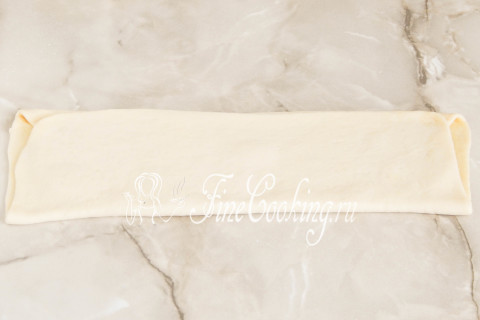
Cover the second side. The result is a long rectangle, in which there are already 3 layers of dough.
Step 15
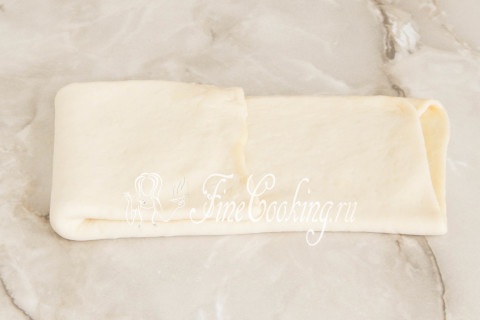
Similarly, we put it and exactly three times. First, one edge to the center by one third.
Step 16
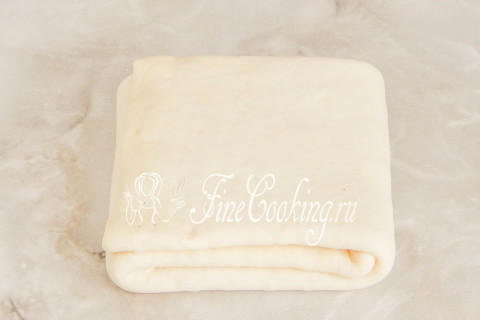
After that — the second edge. As a result, the layer contains already 9 layers of thinly rolled dough. Similarly, we act with other pieces of dough, turning them into such puff blanks and placing them alternately in the refrigerator for 20-25 minutes. Cold is necessary so that butter is frozen and does not absorb into the dough — so ready baking will turn out to be a puff.
Step 17
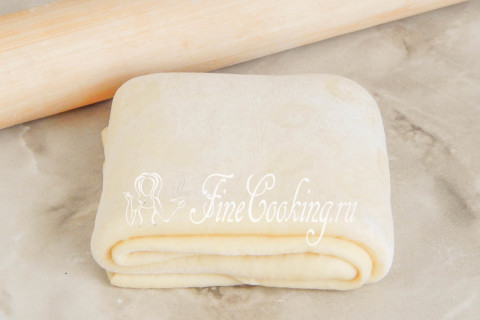
After the allotted time, we begin to get the blanks in the sequence in which we placed them in the refrigerator.
Step 18
Again, we repeat the rolling procedure — as thin as possible.
Step 19
Again, lubricate with melted butter — 100 grams are quite enough for the entire process and for the entire test.
Step 20
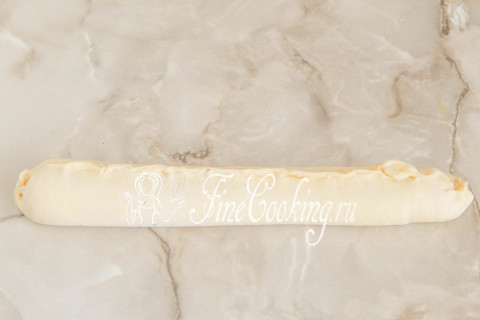
And now we do not fold the dough, but twist into a roll. It is not necessary to twist very tightly that layers of dough are visible in ready -made baguettes. Then we carefully pinch the seam so that the dough does not disperse during baking, and the baguettes are not deformed.
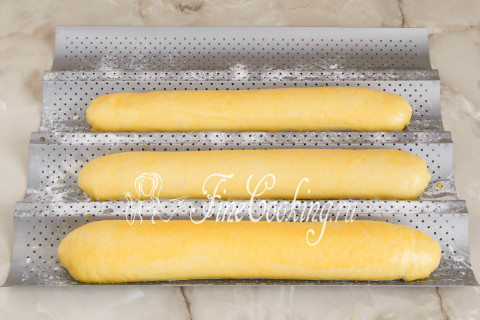
Step 21
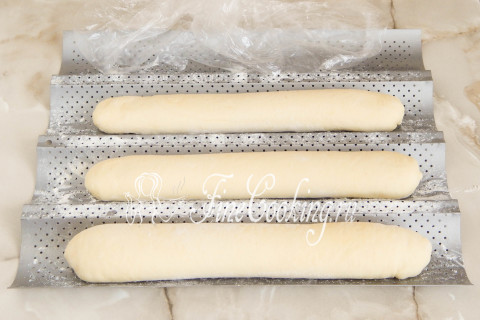
Similarly, we form the second and third piece of dough and roll the workpieces with our hands so that they are along the width of a baking sheet or baking shape. I have a special form for baguettes, which I sprinkle very little wheat flour (literally enough teaspoon). The baking sheet is covered with baking paper and sprinkle with flour a little. We shift the blanks with a seam down.
Step 22
Now you can lubricate future puff baguettes with a bolt egg yolk, which for a more liquid state, simply dilute with a teaspoon of water or milk. I have homemade chicken eggs, so the yolk also gives such a rich yellow color.
Step 23
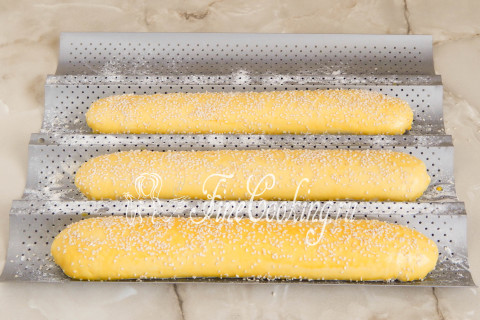
After that, you can sprinkle the surface of the workpieces with sesame seeds, but this is optional.
Step 24
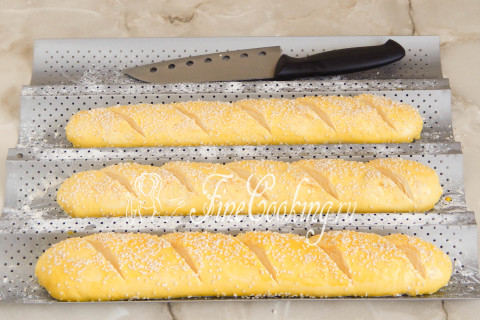
The most interesting (for me personally) — we make incisions! They will help not only to beautifully open the baguits during baking, but also not to break it (it is quite often for various reasons). With a sharp knife or blade (we should buy a scalpel for this purpose), we make several deep (exactly to the middle of the rolls) at an angle of 45 degrees. Just do not saw, but make one sharp and confident incision, otherwise the dough will reach behind the blade. We cover the workpieces with cling film and leave to stand up for 30-40 minutes in the heat. At this time, we immediately turn on the oven at 190 degrees.
Step 25
The baguettes came up, increased in volume and you can bake. By the way, my blanks are exactly the same size (I always weigh everything on the scales), but it may seem that the nearby is the most. This is an optical deception due to my «skill» to put a large object in the frame.
Step 26
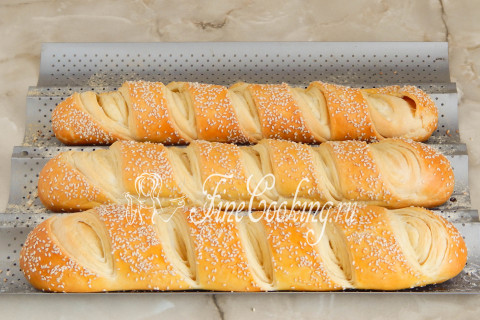
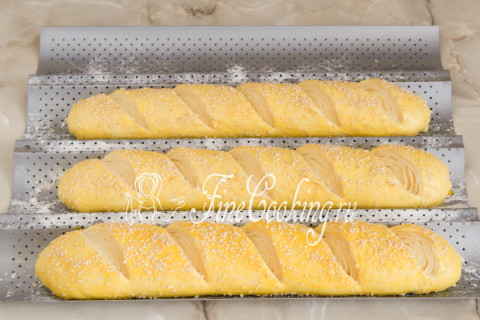
We send the workpieces to bake at 190 degrees at the average level of the oven for about 30-35 minutes. The bread is blundered and very appetizing. If you could only feel its aroma …
Step 27

It is difficult to describe the texture of ready -made puff baguettes in words, but I will try. First, crust! It is not that crispy — it is incredibly crunchy, directly crumbles around the mouth. In addition, sesame seeds also make their own. The aroma is delicate, thin, not even bread, but directly a bitky. The taste of the baguettes is such that you can easily plow one for the sitting (sinful, I repent — I cut it directly hot, photographed and ate). In general, if you like to cook homemade bread, be sure to try such baguits, I strongly recommend!