Detailed step -by -step recipe with photo: Step 1
-
Prepare the ingredients: flour, eggs, kefir, fresh and dried greens, spices. Of the specified number of components, 3 tortillas with a diameter of 19-20 cm will turn out. The temperature of the products does not matter. Onions can be taken fresh, but its number should be up to 2 tbsp. l. chopped.
Tip: I use dried green onions, since its aroma in this form remains unobtrusive and pleasant, and also does not load digestion and does not cause negative reactions in the presence of a sensitive stomach.
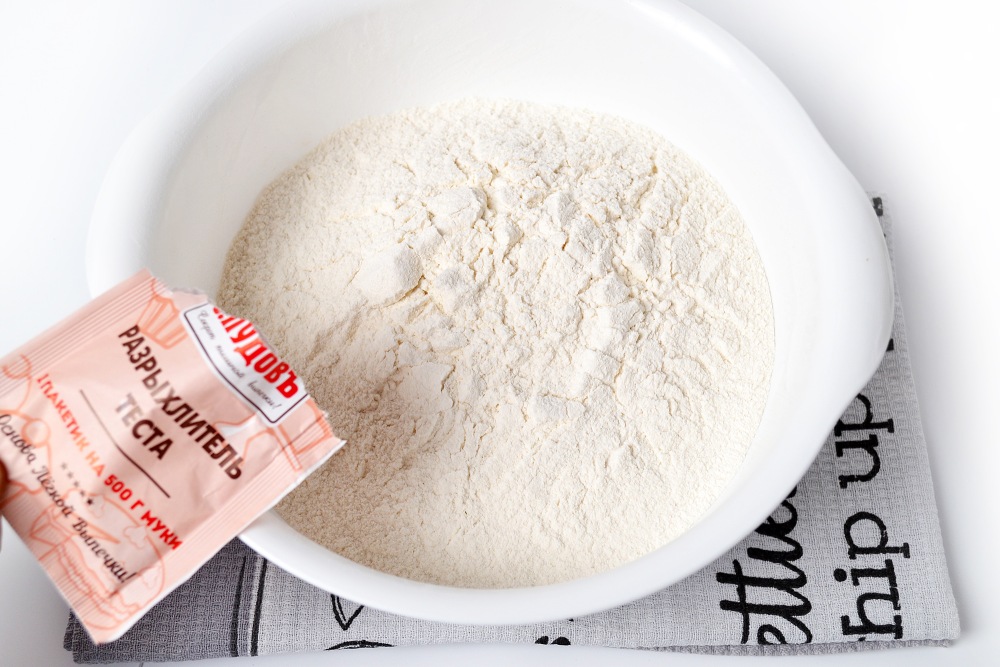
Instead of kefir, you can also take serum. However, kefir is usually easier to buy. Perennial flour can be replaced, however, add corn or chounteered flour partially, for example, take half of the total mass in the recipe and mixed with wheat. The baking powder can be replaced with 1 tsp. Soda without a hill. But I recommend using the baking powder — below the risk of «overdo it».
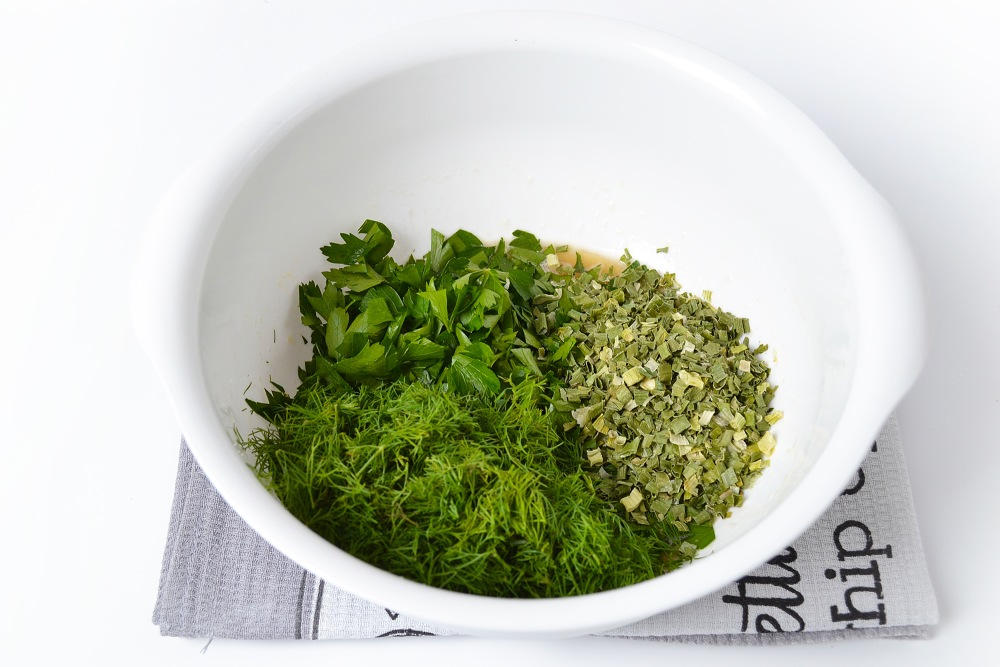
I use a mixture of greens, but if desired, you can cook cakes only with parsley or dill. And you can take a fresh purple basil or thyme — you will get a cake in the Italian style.
-
Step 2
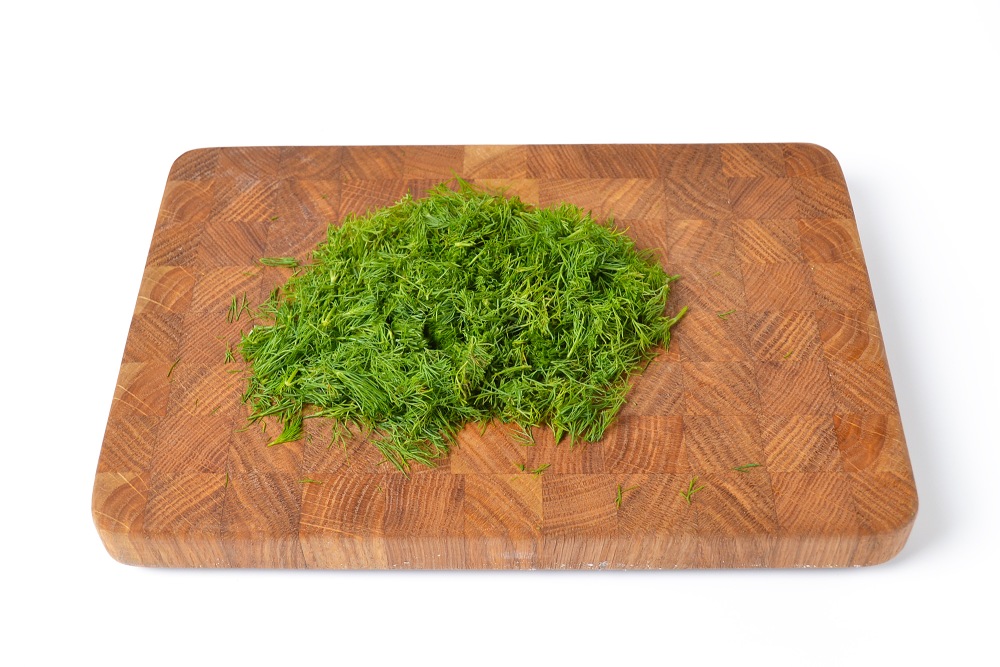
Clean the dill from thick stems and grind with a knife. The size of the cut is not particularly important.
Tip: I recommend that you remove hard sprigs of greens, as they will violate the consistency of the cakes.
You may be interesting:
How to freeze greens in cubes
-
Step 3
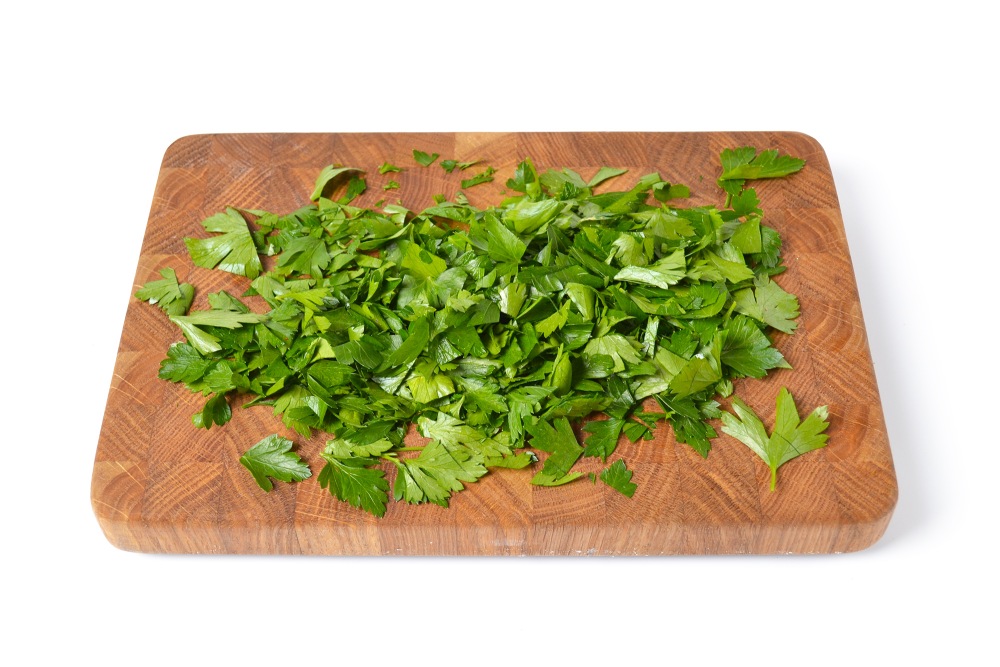
Parsley is also removed from the twigs and chop it with a knife large. If the leaves are small, you can not cut it at all.
At the same stage, you can turn on the oven at 220-230 degrees, the upper and lower heating without convection.
Watch the master class «How to spend in the kitchen no more than 1 hour a day and at the same time it is good and useful to feed» 👉🏻 here
-
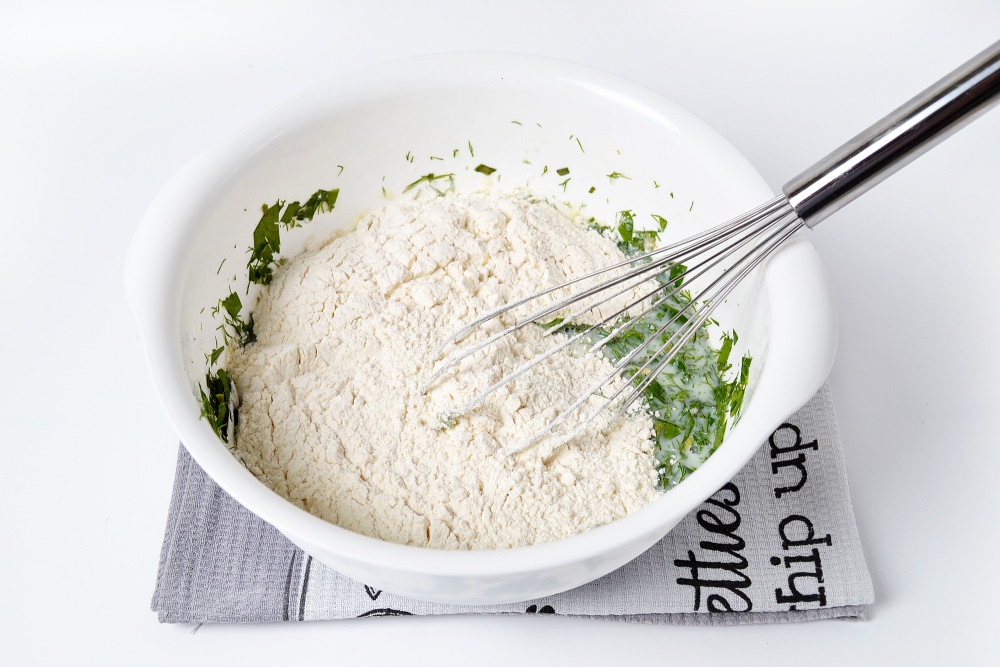
Step 4
Mix flour with baking a whisk so that the dry components unite well.
-
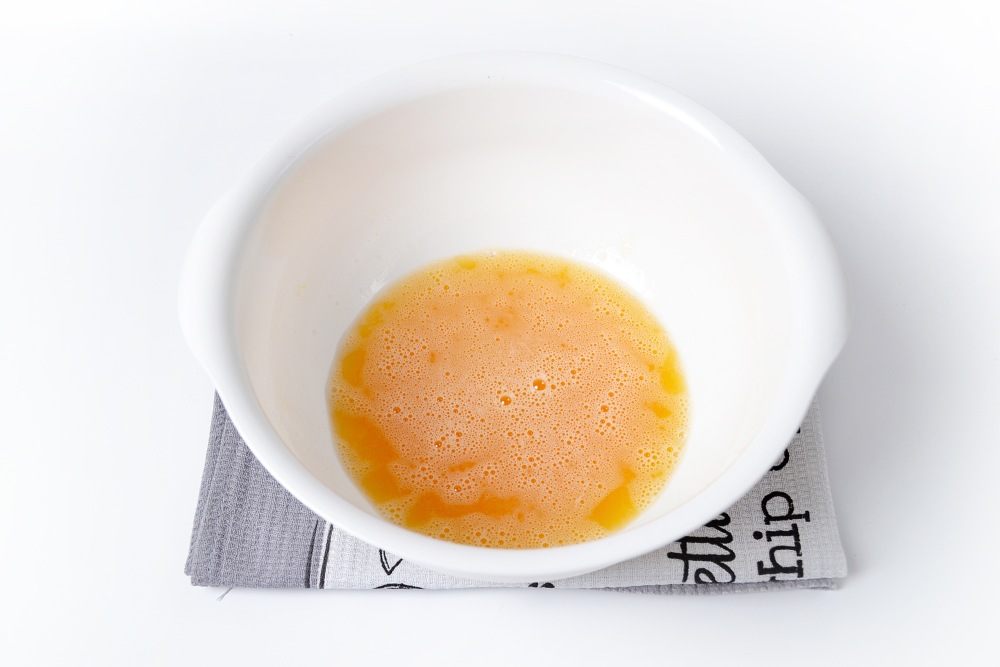
Step 5
In a deep bowl, whip eggs with sugar and salt.
-
Step 6
Add chopped dill, parsley and dried green onions. Mix thoroughly with a whisk.
Tip: the amount of greens can be reduced, but then the flour will be required by 50-70 g more.
-
Step 7
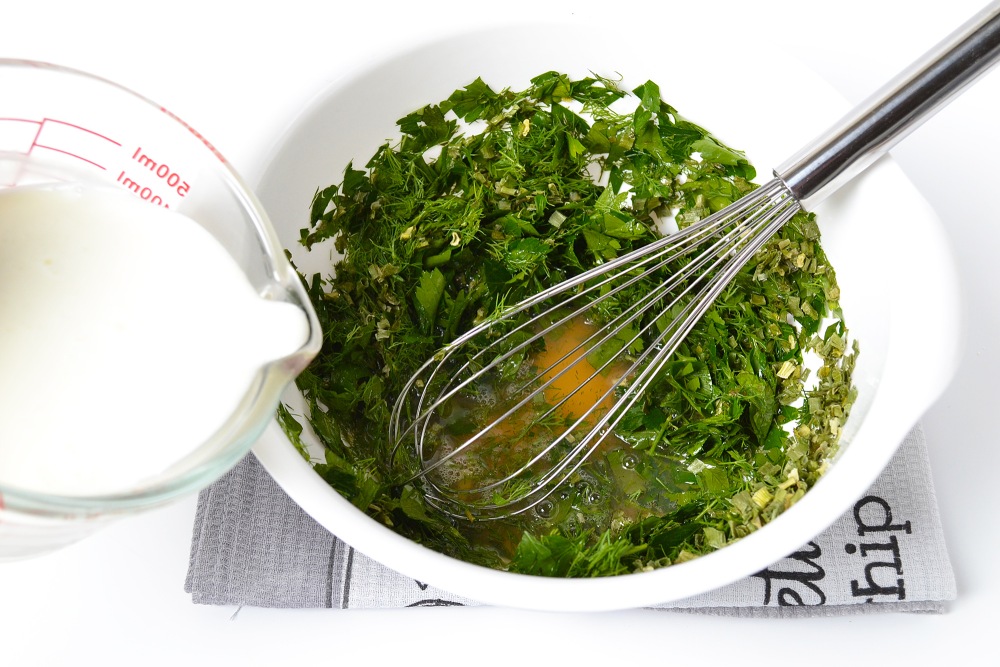
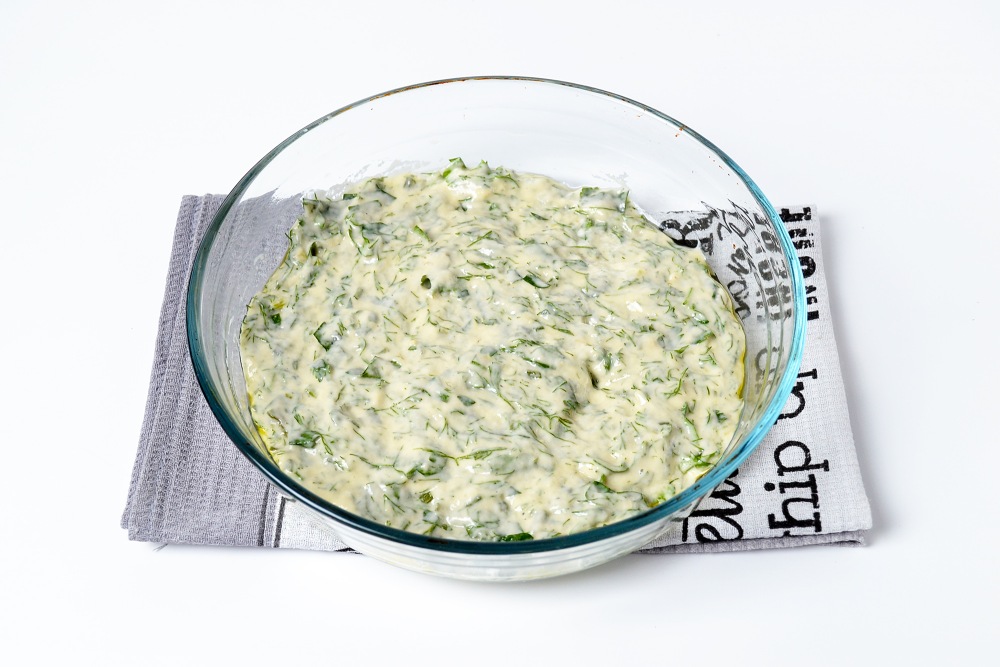
Pour kefir and mix once again with a whisk or spatula.
-
Step 8
Pour dry ingredients and mix first again with a whisk, then with a spatula. Pour the flour gradually so that you do not have to dilute. The dough should remain medium density, as for pancakes.
-
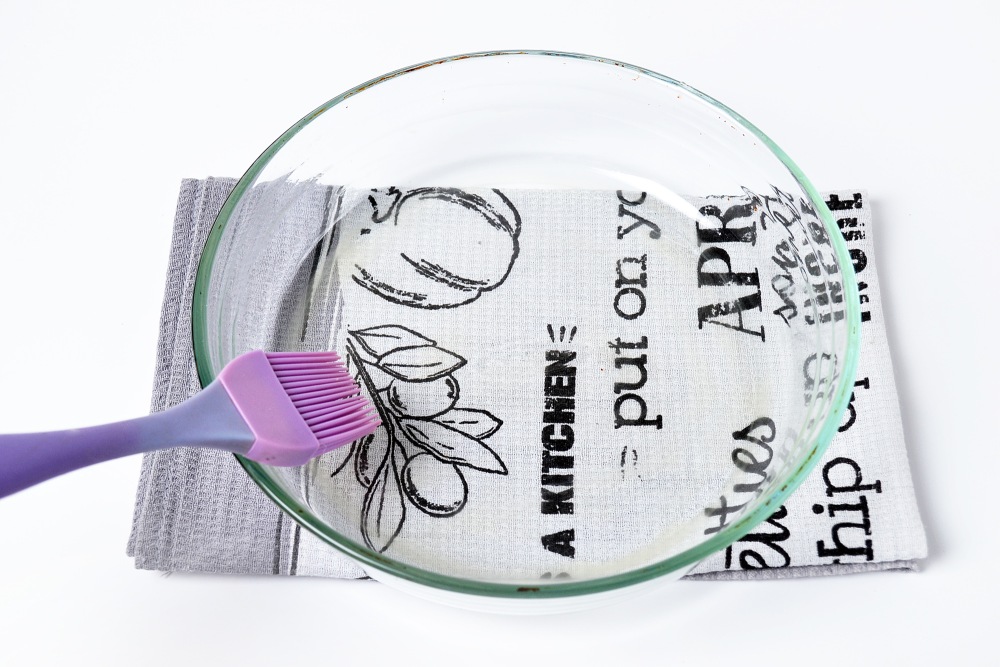
Step 9
Lubricate round glass or ceramic shape with vegetable or butter.
Tip: you can use a metal shape for baking or a pan with a removable handle, which can be heated to 230 degrees.
-
Step 10
Pour the dough into the shape and carefully distribute, trying not to touch the bottom so that the oil does not interfere in the dough. In front of each cake, if you cook more than 1 piece, you need to re -lubricate the shape.
-
Step 11
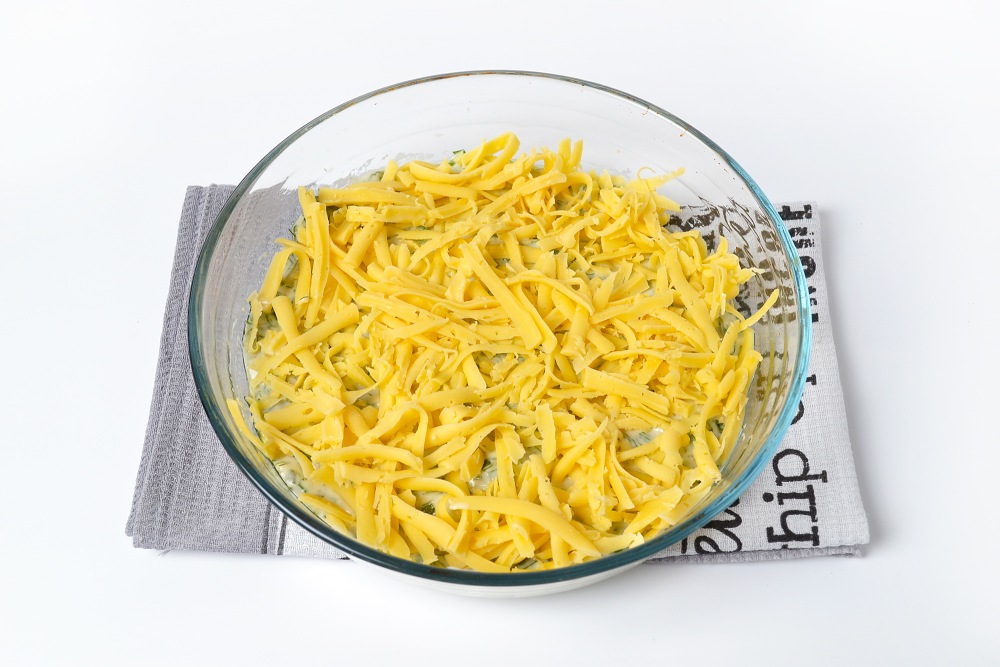
Sprinkle with grated cheese and put in an already preheated oven for 12-15 minutes.
Tip: cheese can be cut into small slices and decomposed on the surface, then an interesting cheese “drawing” will turn out.
-
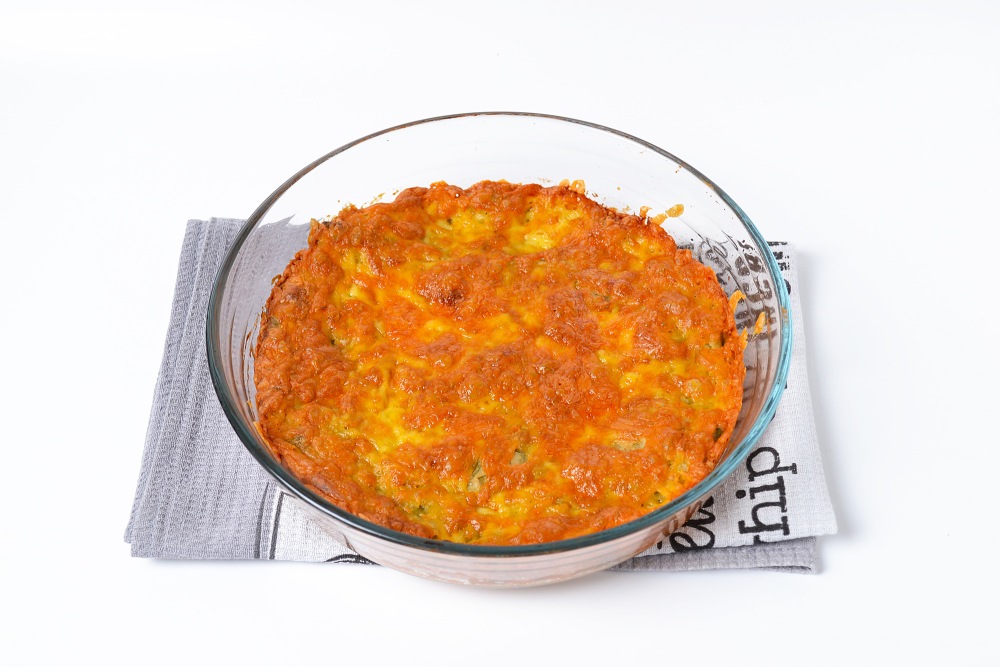
Step 12
Readiness to determine by the shade of the crust. It should be golden or slightly brown, but not pale. Put a hot cake from the mold to a cutting board or plate. Bake the rest of the cakes.
Tip: If there are 2 forms included in the oven, you can prepare 2 cakes at once. In the oven with convection, you can cook cakes at 3 levels, controlling the result visually.
-
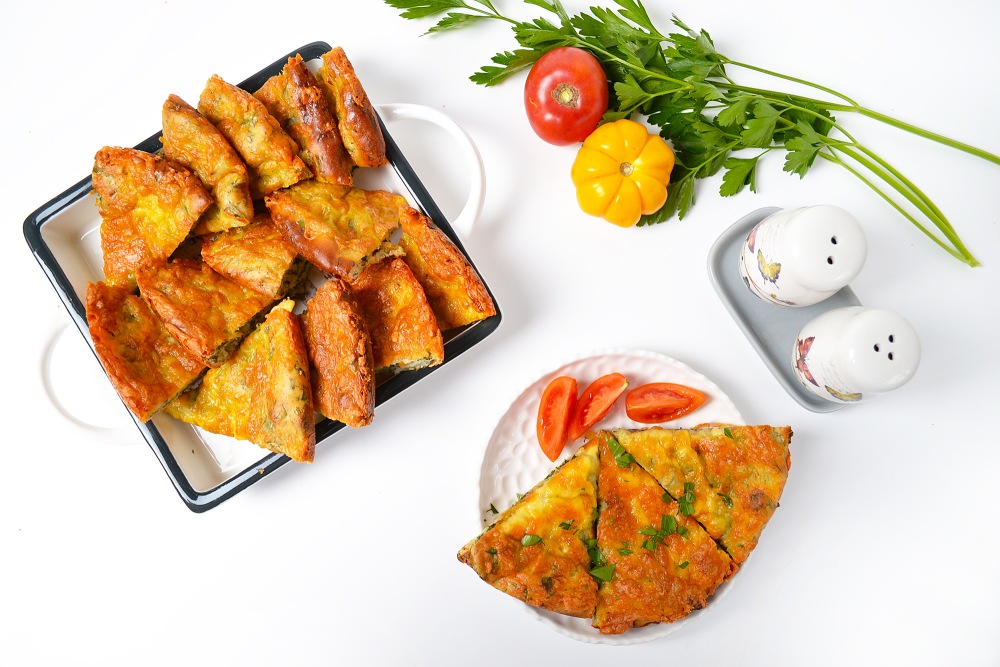
Step 13
A tortilla with herbs and cheese in the oven is ready. Cut it with a sharp knife and serve to the table. Very tasty in warm form and no worse — in cold.
Bon appetit!
📌 If you liked this home cake with herbs and cheese, look at our selection of others recipes of cakes — There are thin and magnificent options for every taste.