
Step 1
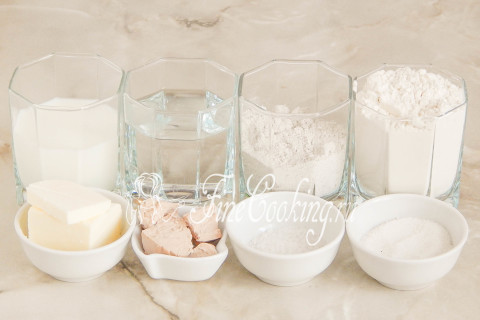
To prepare these simple yeast buns, we need the following ingredients: wheat and rye flour, water, milk, butter, yeast, salt and granulated sugar.
Step 2
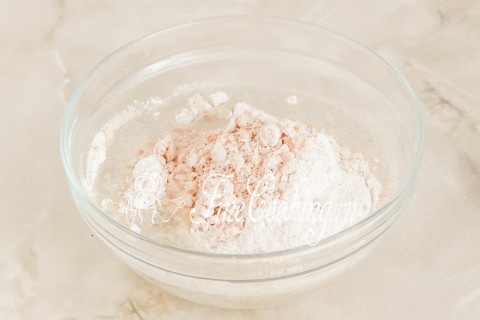
First, we will make a dough. Perhaps you ask for what is the dice and why it is needed. I won’t write a lot and for a long time that the bottom line is that this is a semi -finished product that is used to baking bread and other bakery products and increases the plasticity of the dough. In other words, this mixture of flour, water and yeast helps to achieve a more delicate and porous crumb, as well as a more saturated taste and aroma of finished baking. In this case, the academic is used liquid. In the suitable dishes, pour 150 milliliters of slightly warm water, add 50 grams of sifted rye flour, 1 tablespoon of sugar and crumble 20 grams of pressed yeast there.
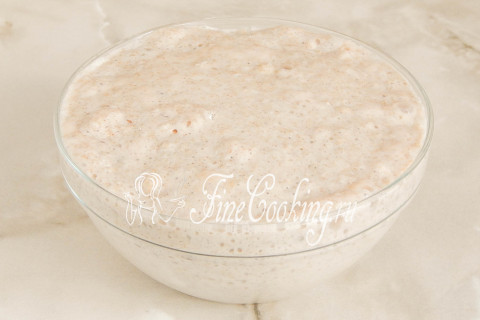
Step 3
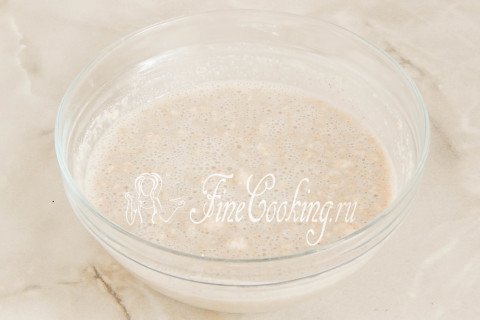
Mix everything thoroughly with a fork so that the mixture becomes as homogeneous as possible. If lumps remain, not scary. We leave the dough in a warm place for 20-30 minutes, until the mixture increases in the amount of 2-3 times.
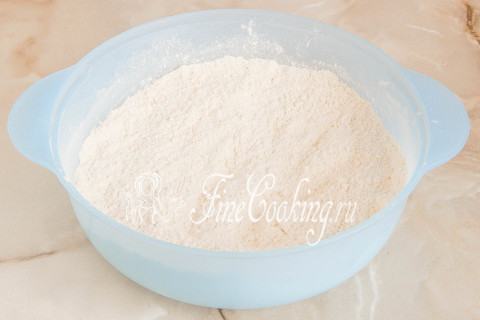
Step 4

Meanwhile, in a suitable for kneading and fermentation of dough, we sift the dishes (preferably twice) 400 grams of wheat flour. Thanks to this, it will not only loosen and is saturated with oxygen, but also possible the possible garbage. Flour may need more or less than indicated in the recipe. Add 1.5 teaspoons (or 1 teaspoon with a slide) of salt (preferably small grinding).
Step 5
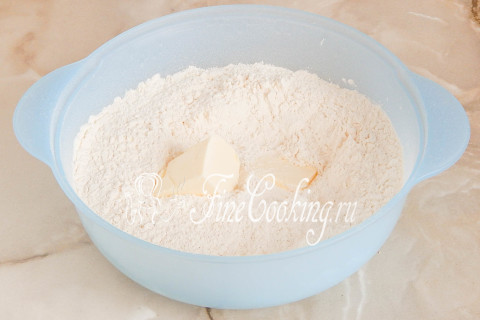
Mix everything thoroughly, then add 50 grams of soft butter to flour.
Step 6
We rub the butter with flour hands into small crumbs and wait until it is ready for the scope.
Step 7
I often write about the readiness of dough for work in baking recipes, but I repeat again. First of all, mature downs increases very well in volume. In addition, if you pick it up with a spoon or fork, you will notice that the acute is pierced through and through the air bubbles. But these are not all indicators of her readiness — it is recommended to enter the dough into the dough when it has already grown in volume and has already begun to sag a little (especially in the center). I deliberately write this in capital letters, as it is really important. I did not write pastries in recipes before, as she did not suspect that many may simply not know this nuance. In other words, the yeast had already managed to eat everything tasty in the composition of dough and was hungry, so it is time for them to eat again. And then we introduce them into the dough. I hope I clearly explained.
Step 8
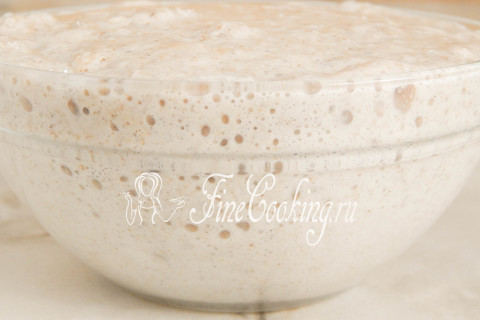
If you use dishes made of transparent glass or plastic, it will be clearly visible how bubble is the finished academic.
Step 9

Add it to the flour mixture.
Step 10

Mix everything, after which you need to add 100 milliliters of slightly warm milk.
Step 11
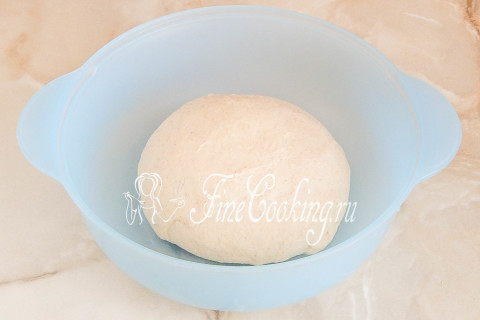
To knead the dough for this bread relatively long (tests will take place in 5-6 minutes, and with your hands you will have to work for about 10 minutes). As a result, it will become smooth, homogeneous, soft, not sticky. We round the dough into the ball and put it in a bowl, which we literally lubricate a drop of vegetable oil without smell, so that it does not stick to the dishes during fermentation. We send the dough to heat until it increases in volume at least by half. This can take both 30 minutes and more than an hour — it all depends on the activity of the yeast. Where is it better to wander the test and what does a warm place mean? There are several options. First of all, in the oven with a light bulb turned on (it turns out about 28-30 degrees — the temperature ideal for fermentation of yeast dough). Then we tighten the bowl with the dough with cling film or cover with a towel made of natural fabric (flax is best suited) so that the surface does not be swollen and not covered with a crust. You can also let the dough wander in a microwave, in which we pre -boil a glass of water. The dough will rise with a door closed, and the glass will stand there. Then the bowl does not need to be closed with anything, since the water will evaporate, thereby maintaining the necessary humidity. Just make sure that no one inadvertently turns on the microwave, otherwise the dough will disappear and there will be no homemade buns.
Step 12
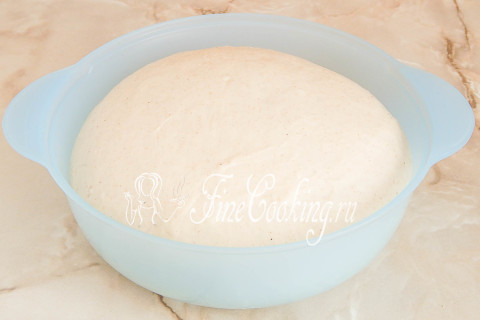
I got quite active yeast, so it took only 40 minutes to ferment the dough. Kolobok increased very well in volume — about 3 times.
Step 13
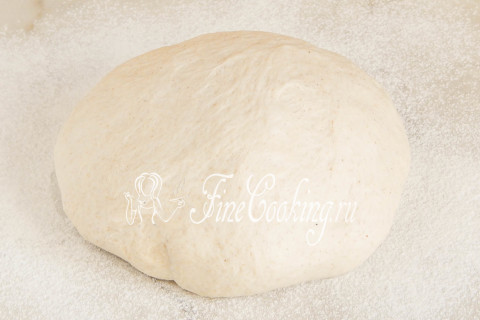
Now the dough needs to be divided into pieces of the same size. To do this, sprinkle the working surface with wheat flour a little (its number in the ingredients is not indicated) and lay out the dough, gently praying it and rounding it into the ball.
Step 14
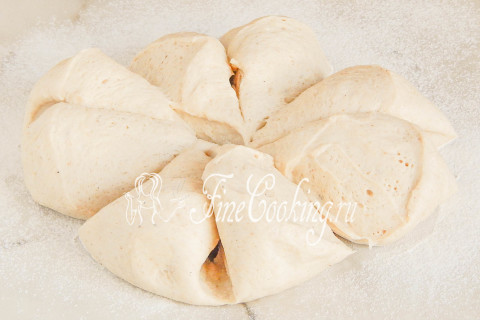
Divide the dough into 8 parts of the same size. I weighed the dough on the scales, it turned out 8 pieces of 98 grams each. Why is it so important that the buns to be the same size? First of all, they will need the same amount of time both for proof and baking. Well, and the aesthetic side is important — ready -made home -made wheat -rusty buns will be all as for selection.
Step 15
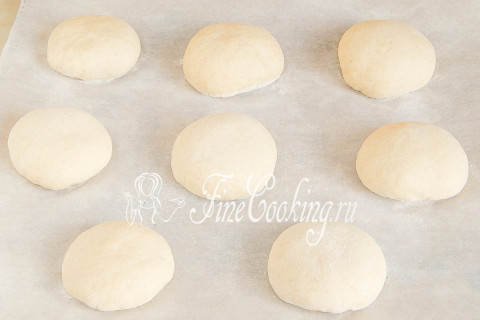
The molding of such buns is very simple and straightforward — we will make them just round. How to round the blanks can be viewed in the recipe for whole grains. We transfer the balls to the baking sheet, which I advise you to cover with baking paper and slightly sprinkle with flour, seam down. We cover the workpieces with a film, which must be rubbed with flour so that the dough is not stuck, and leave for 25-30 minutes. The time of proofing buns depends not only on the strength of the yeast, but also the temperature in the room.
Step 16
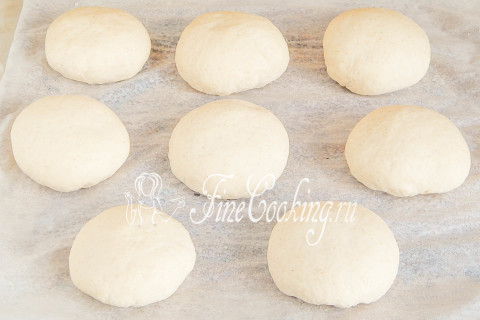
This is how my blanks looked after 30 minutes — it's time to bake them, sprinkled slightly with water. In advance (in 20-30 minutes) we did not forget to turn on the oven to heat up 200 degrees.
Step 17
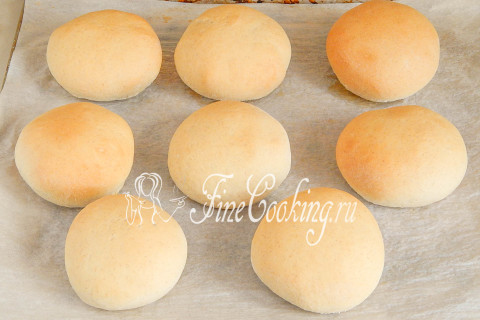
Bake wheat-rugal buns at 200 degrees at an average level of about 20-25 minutes to a light blush.
Step 18
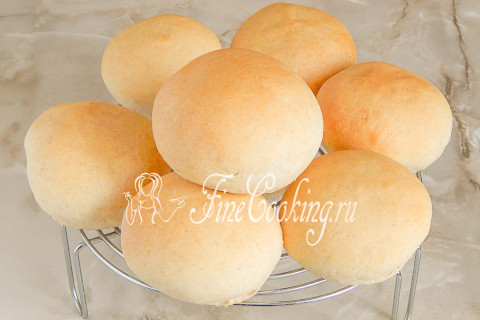
We remove the finished buns from the baking sheet and let them cool — you can serve.
Step 19
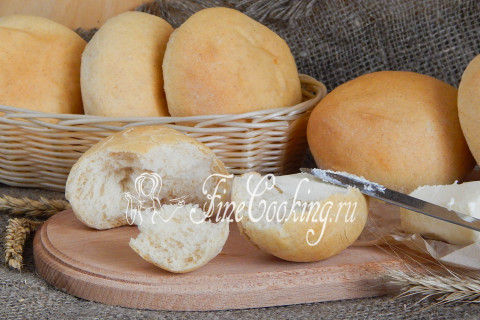
Wheat-rusty buns will perfectly go to both the first dishes and for the preparation of homemade sandwiches. They are good with butter and a cup of sweet black tea. Baking is very tender, fluffy, fragrant and tasty. Prepare for health, friends!