
Step 1
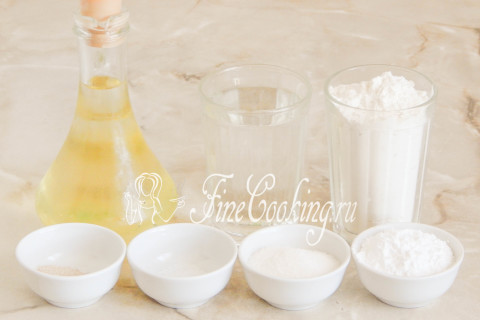
The following ingredients include the yeast dough for donuts: high -grade wheat flour, water, sugar, vegetable oil, salt and high -speed yeast (I will write about yeast a little lower). In addition, for the deep fat, you can not do without refined vegetable (I have sunflower) oil — it needs quite a lot. And we take sugar powder as a spill — I have it fragrant (homemade vanilla sugar chopped in a coffee grinder).
Step 2
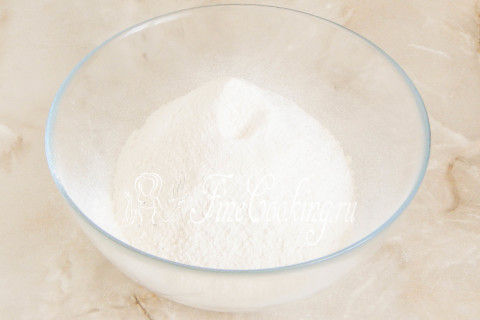
We make a yeast dough for future donuts: in a suitable dish, we sift (preferably twice) 400 grams of wheat flour. Thanks to this, it will not only loosen and is saturated with oxygen, but also possible the possible garbage. Flour may need more or less than indicated in the recipe.
Step 3
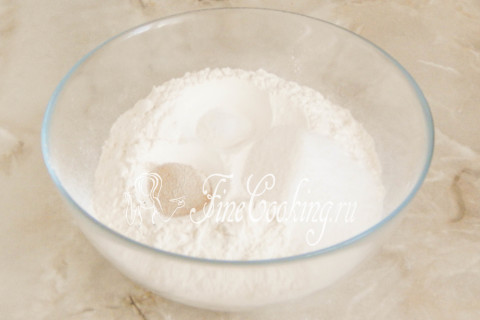
About yeast: it is not necessary to take precisely fast -acting ones — just dry are perfect (also 1 teaspoon without a hill — this is 3 grams) or pressed (it is needed 3 times more, that is, 9 grams). Such yeast is not immediately mixed with flour, but previously activated in a warm sweetish liquid for 10-15 minutes. In our case, you can slightly heat half a glass of water with a tablespoon of sugar and dissolve the yeast in it. Since I used fast -acting, I added them immediately to flour. We put 2 tablespoons (without a slide of sugar), 1 teaspoon of yeast and a quarter of a teaspoon of fine salt. We mix everything well so that dry ingredients are evenly distributed along the mixture.
Step 4
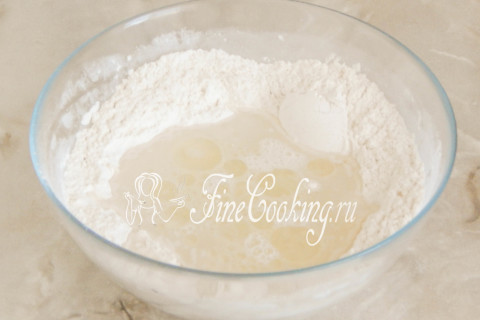
We make a hole in the flour and pour a little warm water there. The liquid should in no case be hot, otherwise you just cook the yeast and they will die.
Step 5
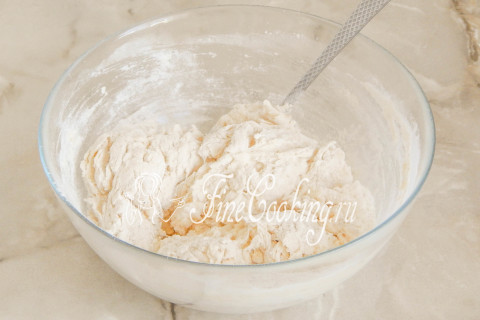
At the beginning of the batch of yeast dough, you can simply mix all the products with a fork, spoon or hand so that the flour moisturizes, absorbing the liquid into yourself. In the presence of a bread maker or dough, the process of batch is greatly simplified and your work is minimized. Add a tablespoon of refined vegetable oil and knead the dough.
Step 6
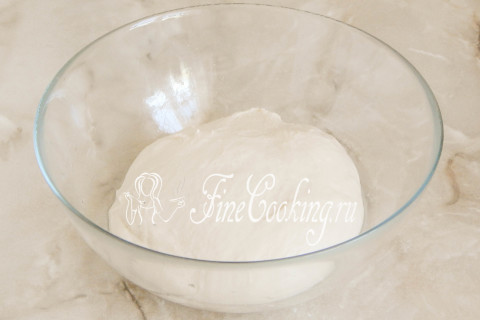
You need to knead the dough for quite some time (at least 10, and better than 15 minutes) and intensively. The electric assistant will cope for 7 minutes. As a result, the yeast dough should become completely homogeneous, smooth, very, very soft and delicate, while sticky. We round the dough and put in a bowl lubricated with a small amount of vegetable oil (it is not indicated in the ingredients) so that it does not stick to the dishes during fermentation. We send the dough to heat for about 1-1.5 hours. Where is it better to wander the test and what does a warm place mean? There are several options. First of all, in the oven with a light bulb turned on (it turns out about 28-30 degrees — the temperature ideal for fermentation of yeast dough). Then we tighten the bowl with the dough with cling film or cover with a towel made of natural fabric (flax is best suited) so that the surface does not be swollen and not covered with a crust. You can also let the dough wander in a microwave, in which we pre -boil a glass of water. The dough will rise with a door closed, and the glass will stand there. Then the bowl does not need to be closed with anything, since the water will evaporate, thereby maintaining the necessary humidity. Just make sure that no one inadvertently turns on the microwave, otherwise the dough will disappear and there will be no donuts.
Step 7
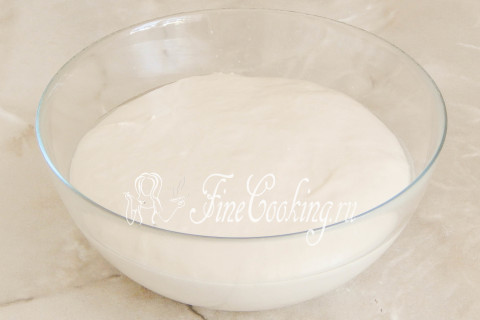
After about an hour (time — the concept of relative, it may take more or less) the yeast dough will grow perfectly, increasing in the amount of 3 times. If the dough rises weakly, then you come across old yeast — increase the fermentation time. My yeast dough has grown well after 1 hour 15 minutes.
Step 8

Sprinkle the working surface with flour with flour (I don’t indicate the amount, but about 0.5 cups are enough) and put the dough on it.
Step 9
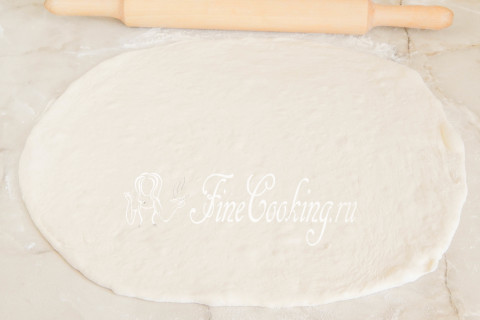
If necessary, powdering the table, the dough and a rolling pin with wheat flour, we roll the bun into a layer with a thickness of not more than 1 centimeter.
Step 10
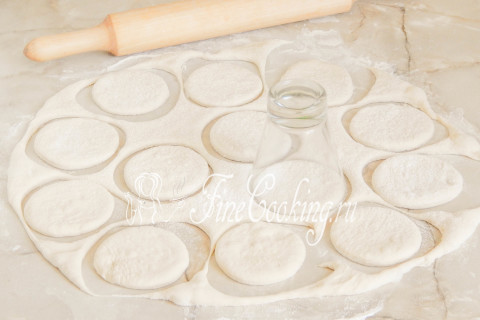
Using a special cutting down or a regular glass, cut out round blanks. Since the dough is very tender, it is also advisable to fad the sides of the glass with flour so as not to deform the blanks.
Step 11
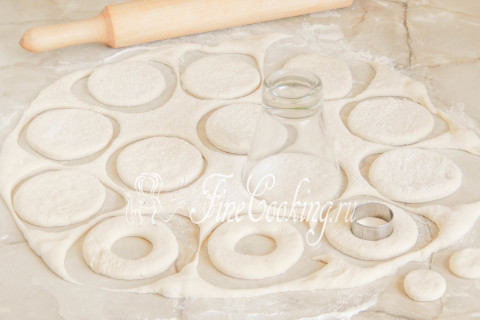
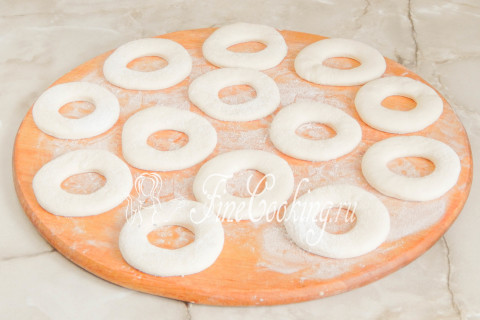
Then we will make holes in the circle — here you can use the cutting for the dough or use a glass of small diameter. As an option, you can do as follows: with a thumb of the hand, pour the workpiece exactly in the middle to the very bottom so that the hole forms. Then we take the workpiece in your hands, insert 2 index fingers into the hole parallel to each other. On the weight, scroll the workpiece on the fingers to expand the hole to the desired diameter.
Step 12
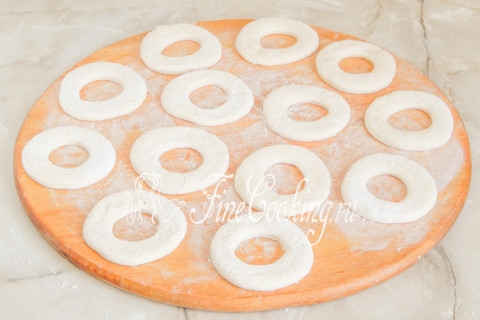
Thus, we form all future donuts with a hole. We collect the remains of the dough in the ball, again we roll out the rings until this dough is ended. In total, from the indicated number of products used, I got 20 donuts (only part on this board).
Step 13
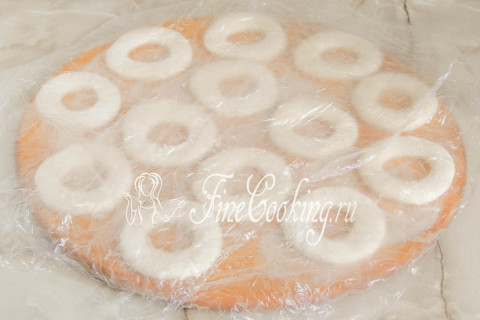
We cover the workpieces with a light towel made of natural fabric or cling film. We leave in a warm place for 30 minutes.
Step 14
During this time, the dough will stand out and the blanks will be rounded — it's time to fry them in fruit.
Step 15
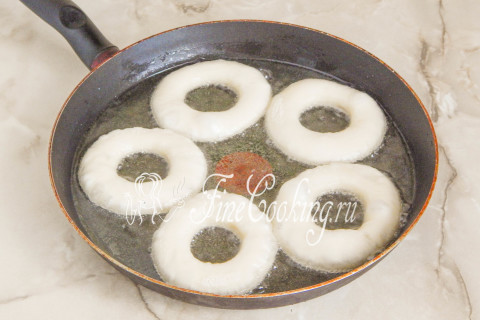
To do this, in advance (10 minutes before frying) we take a suitable dish (I have a deep pan with a diameter of 26 centimeters) and pour all vegetable oil without odor into it at once. There should be really a lot of oils so that the donuts do not lie at the bottom of the dishes, but swim in it. We heat the oil — ideally, it is believed that up to 160 degrees, but I warm it a little less. Honestly, I am not particularly strong in the intricacies of cooking in fruit, but I can definitely say one thing. If the oil is not enough to warm up, the blanks absorb it too much, and when overheating, the crust of donuts will burn, and inside the crumb will remain raw (not a fact, of course, but quite possible). We put several blanks in hot oil (so that they swim freely and do not come into contact with each other) and fry over medium heat until the lower side is slightly browned. Donuts are instantly swollen and rounded. Do not leave the stove — the process occurs quickly and requires your constant presence.
Step 16
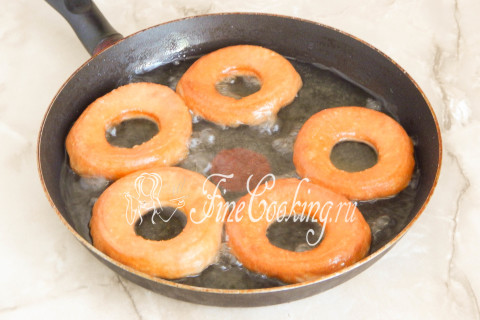
When the lower side of the donuts is browned, we carefully turn them over and fry deeper further. Personally, in the process of frying several times, I turn the donuts several times so that they are evenly covered with a blush crust and do not burn.
Step 17
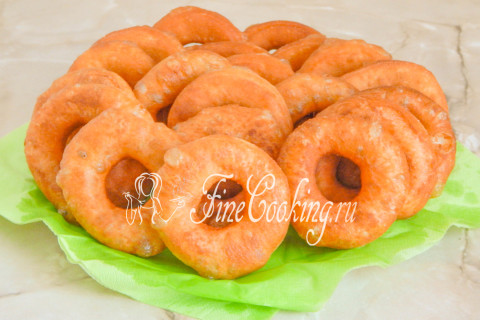
We put the finished donuts on a flat dish, which I advise you to cover with paper towels (they absorb excess oil). Similarly, fry the rest of the blanks and let them cool a little.
Step 18
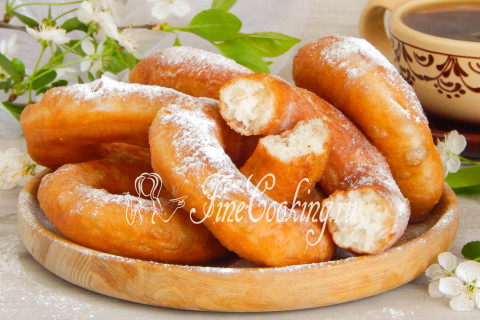
After that, we generously sprinkle donuts with a hole in the sugar powder and rather call our relatives to the table. Helen, thank you very much for the order! Friends, cook with pleasure and pleasant to you appetite!