Preparation: Step 1
-
Prepare the ingredients for a biscuit cake.
Eggs must be taken out in advance of their refrigerator and hold at room temperature to better whip the biscuit.
It is convenient to cook the cake in two stages. First bake the biscuit. And the next day, make a cream-chiz and collect a cake. The biscuit can also be prepared in advance and freeze it. To do this, wrap in the food film and put on a flat surface in the freezer. And before assembling the cake, defrost in the refrigerator. If you cook the cake right away, then you need to consider the time to cool down the biscuit. Before applying the cream, it should be completely cooled.
-
Step 2
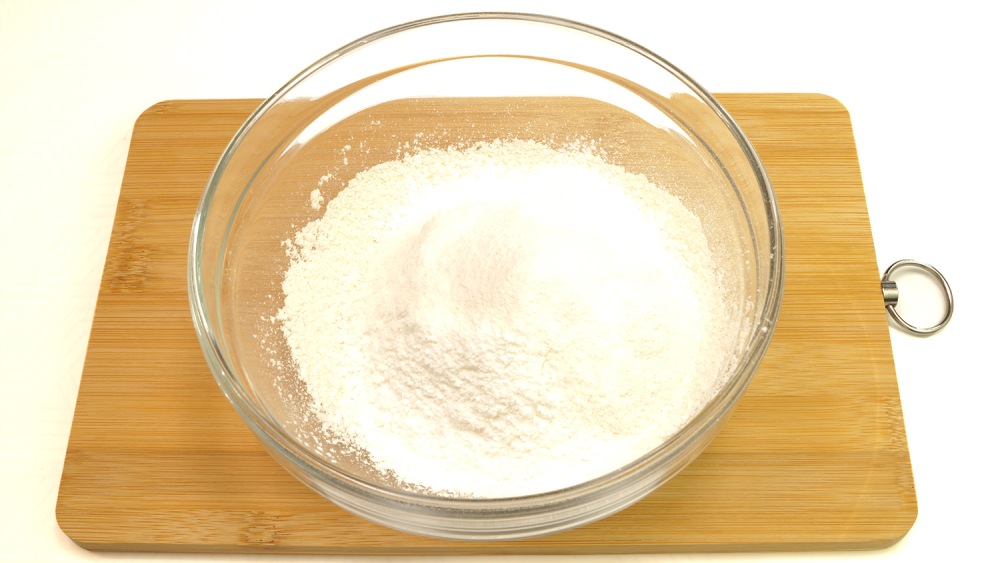
Turn on the oven at 160–170 ° C. Sift flour into a bowl, starch and baking powder — so the dough will turn out more airy. Stir well.
Watch the master class «How to spend in the kitchen no more than 1 hour a day and at the same time it is good and useful to feed» 👉🏻 here
-
Step 3
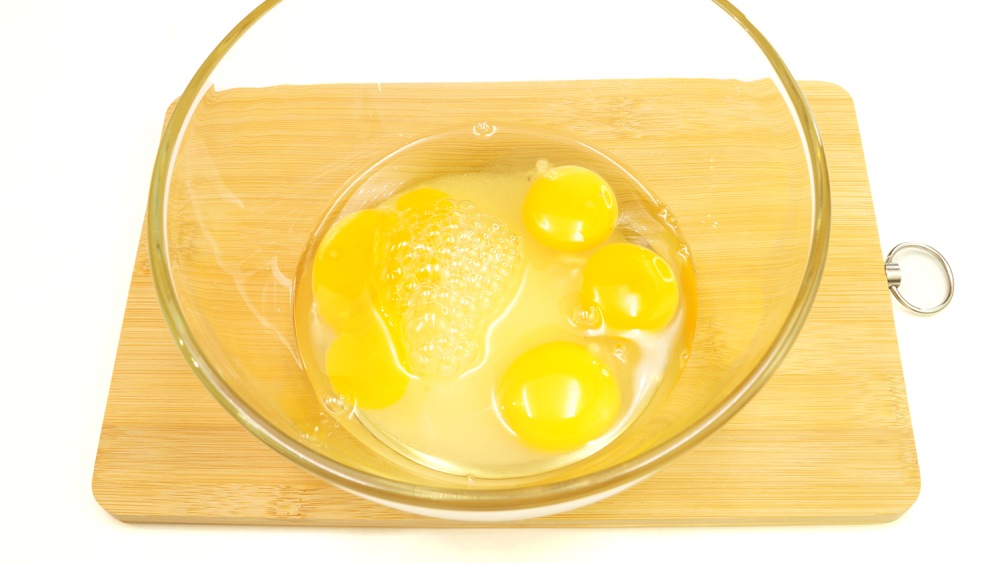
Break eggs into another bowl, add sugar and a pinch of salt.
-
Step 4
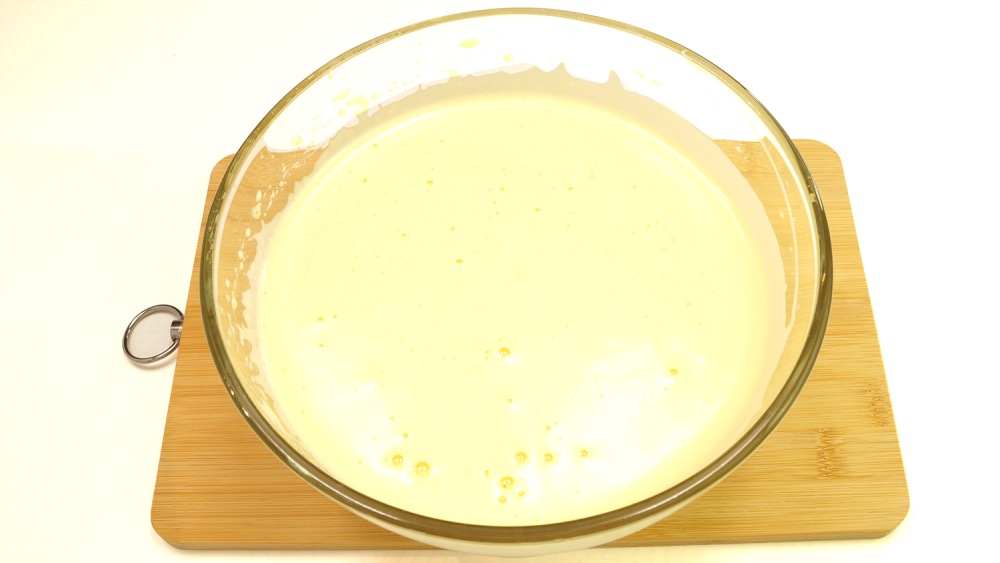
Beat the eggs with sugar until the mass increases by about 3 times. It takes an average of 7-10 minutes. But everyone has different mixers, so time can change.
-
Step 5
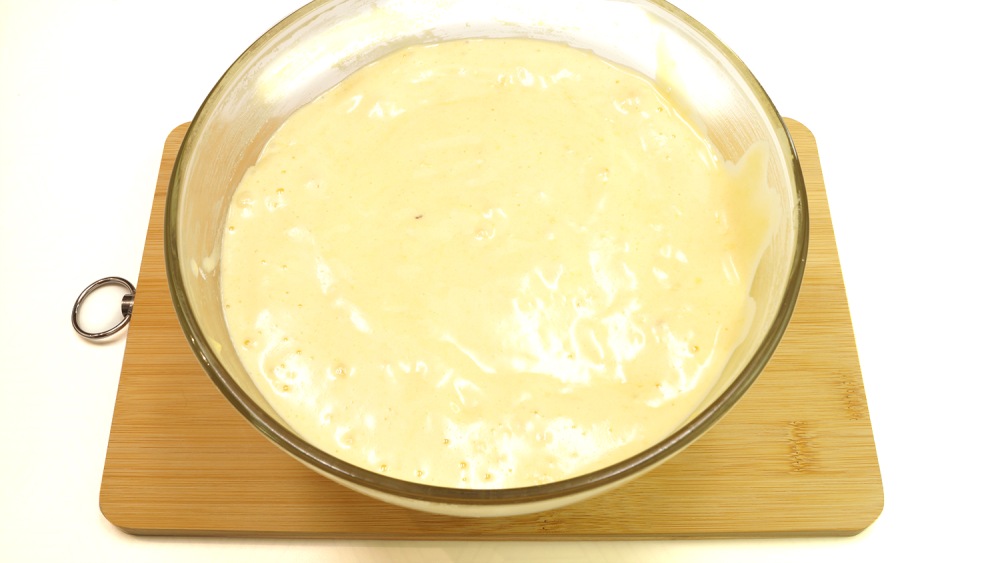
Gradually, pour dry ingredients in portions and gently knead with a silicone spatula with upward movements.
-
Step 6
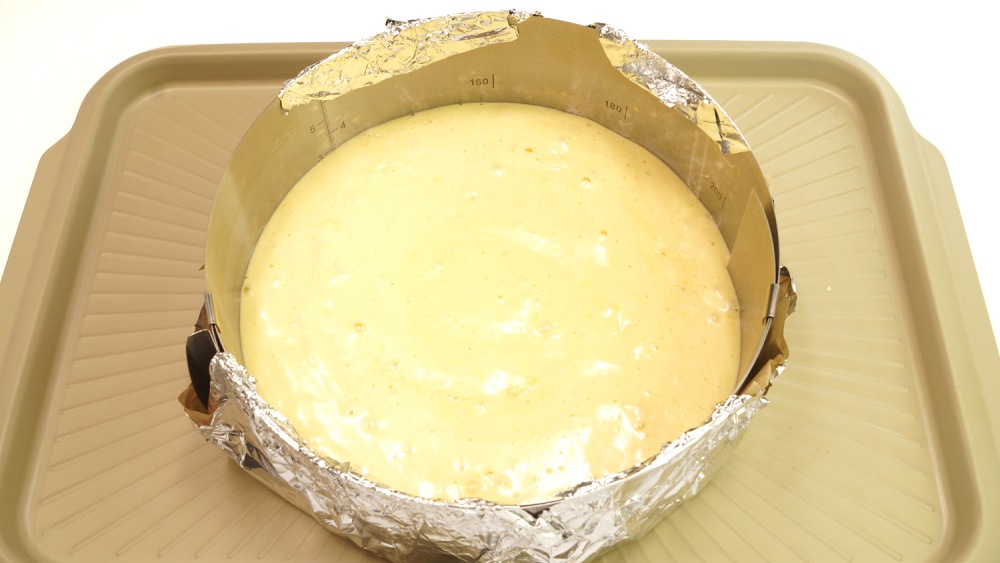
Pour the biscuit dough into a 22 cm with a diameter of 22 cm. Grease the usual shape with oil and sprinkle with rice flour. It is convenient to use a culinary ring for baking. The biscuit in it turns out to be more even. I usually steal a sheet of foil on the baking sheet, put the parchment on top, a little larger shape with a diameter, put the shape on it and fix it with foil on the sides so that the bottom is obtained.
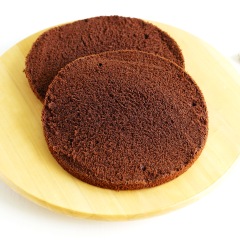
💡 Council: You can prepare a chocolate biscuit. So the cake with cottage cheese cream will be even more saturated to taste.
Chocolate biscuit for a cake
-
Step 7
Bake a cake for a cake at 160 degrees 50 minutes until golden.
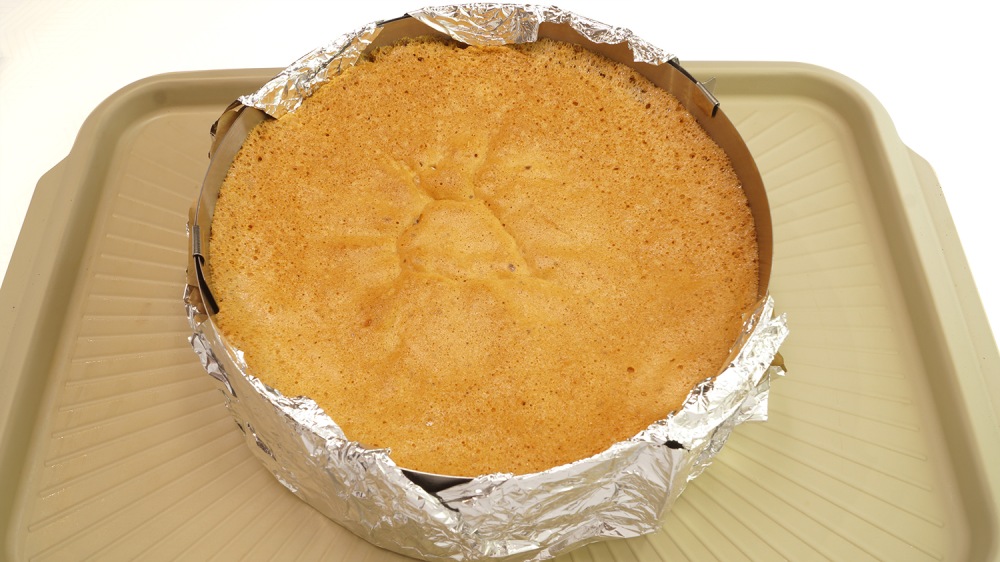
The finished biscuit can be held in a turned off the oven with an ajar with the door for another 10-15 minutes. But the first 30-40 minutes of baking the oven is better not to open so that the baking does not settle.
-
Step 8
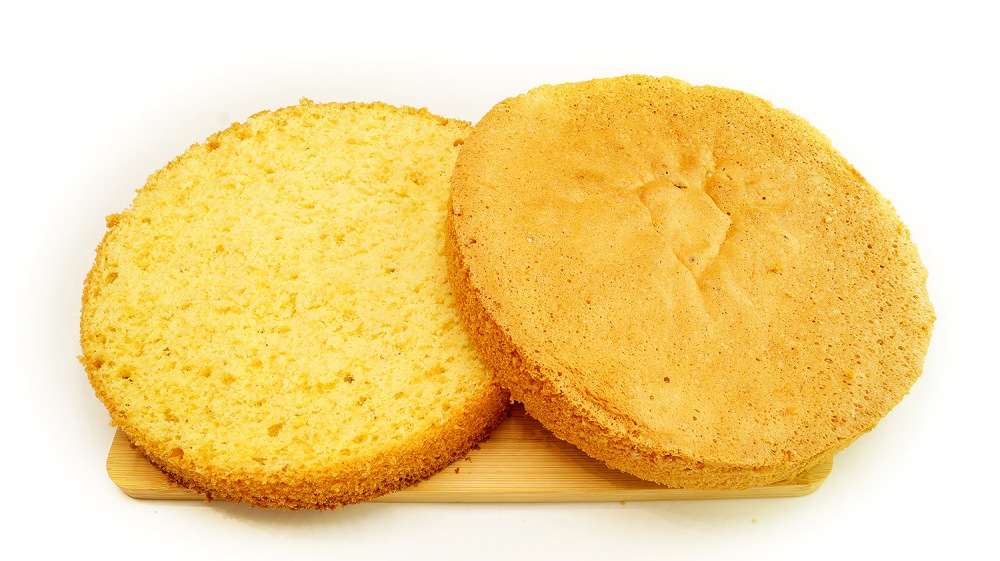
The biscuit is completely cooled in uniform. Then walk around the perimeter with a thin knife to separate it from the walls. Turn over, remove the foil, separate the parchment and remove the shape. If you cook the cake in two stages, then the cooled biscuit should be wrapped in a dietary film and put in the refrigerator at night.
Cut the biscuit into 2 cakes.
-
Step 9
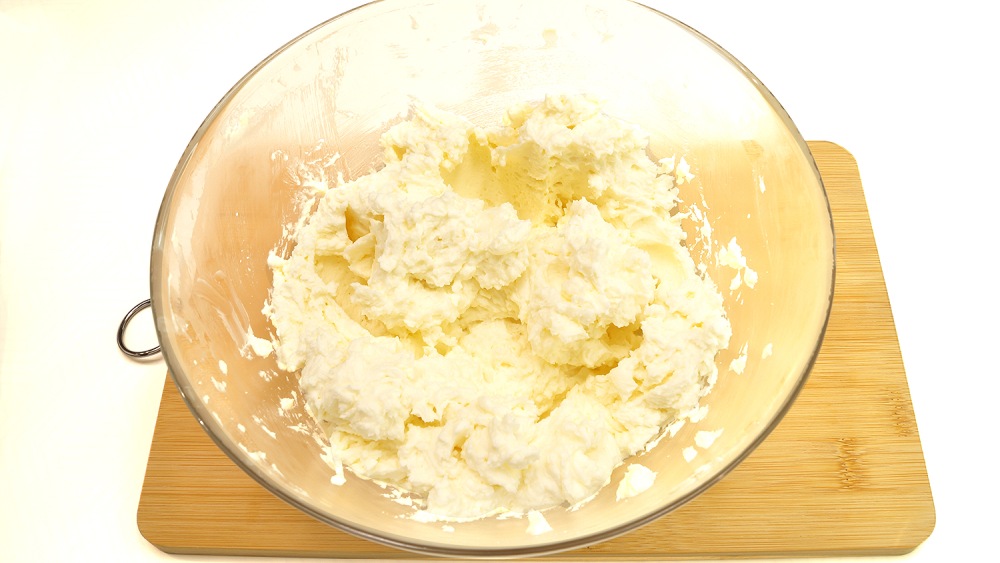
Before preparing a cream chiz, get the butter in advance from the refrigerator so that it becomes soft. Put the oil in the bowl, add sugar powder and beat with a mixer. The mass should turn white and become homogeneous.

-
Step 10
Connection of creamy curd cheese and beat at small speeds to a thick state.
-
Step 11
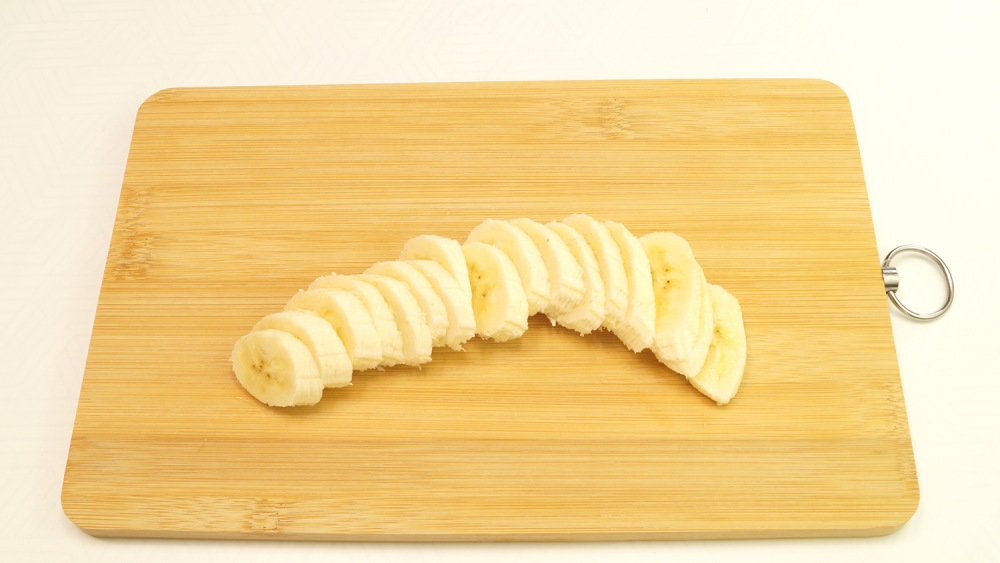
Cut the bananas into circles. They must be ripe.
How to store bananas at home?
-
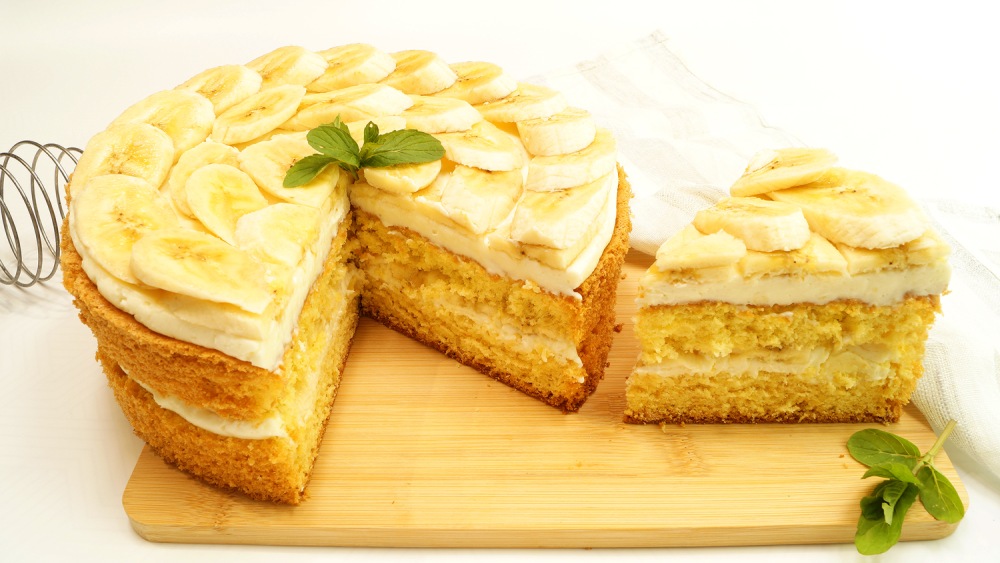
Step 12
Divide the cream into 2 parts. Lower cake smear 1 part of the cream. It is convenient to do this with a confectionery bag. Or an ordinary dense package. Apply cream in a spiral from the edges to the center and leve. Put pieces of bananas on top.
-
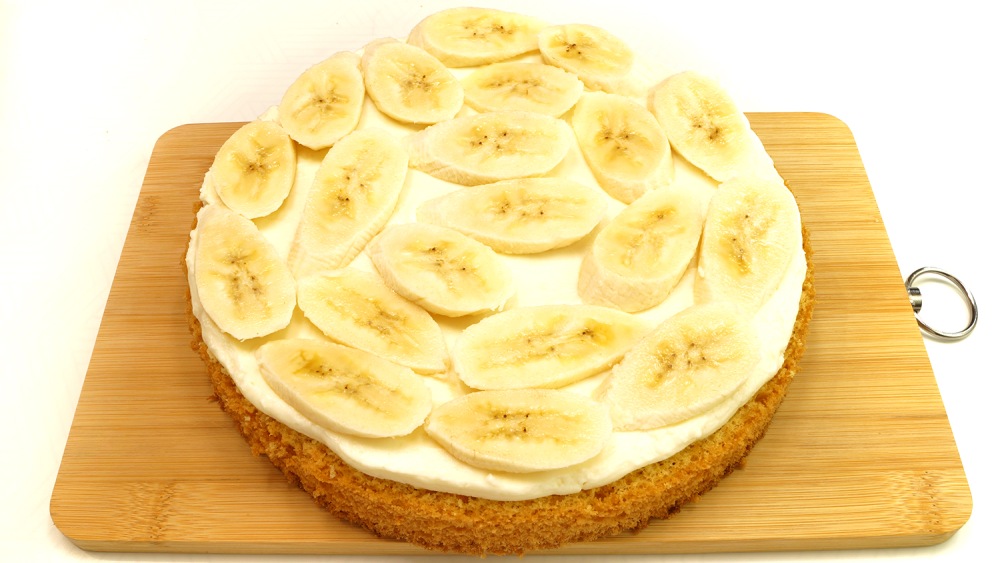
Step 13
Cover with the second cake. Apply the cream in the same way. If the cake is not given to the table immediately, then the top layer of bananas does not need to be laid out, because they quickly darken. It is necessary to lay out bananas on top and decorate with mint leaves immediately before serving.

-
Step 14
A biscuit cake with cottage cheese cream is prepared quite simply, but it turns out very tasty. Try to cook according to this recipe! Enjoy your appetite!
📌 Look at ours A selection of home biscuit cakes — There are many great ideas for inspiration.