Detailed step -by -step recipe with photo: Step 1
-
Prepare the ingredients: oil, milk and eggs for the dough need to be obtained in advance so that they become at room temperature. Cheese should be cooled before cooking cream.
Tip: instead of masquearpone, you can use any cream or cottage cheese. The main thing is that it is not too salty.
The recipe uses an alkalized cocoa that makes color and taste more saturated. It also does not have grains that often crunch on the teeth in ordinary cocoa. Of course, it can be replaced, but the shade of the biscuits will turn out to be lighter, and the taste is less saturated.
Chocolate is better to take dark or bitter, without additives and not porous. In extreme cases, milk is suitable, but the taste from it will be less saturated.
For the test, I use butter with a fat content of 72.5%, you can also take 82.5-83%, but due to cocoa in the composition it is not fundamentally here. The main thing is not to take margarine or a spread with low fat content.
Baking milk uses 2.5-3.6% fat. You can also dilute from dry-for 120 g it will require 110 g of water and 10-12 g of natural milk powder (non-solid).
-
Step 2
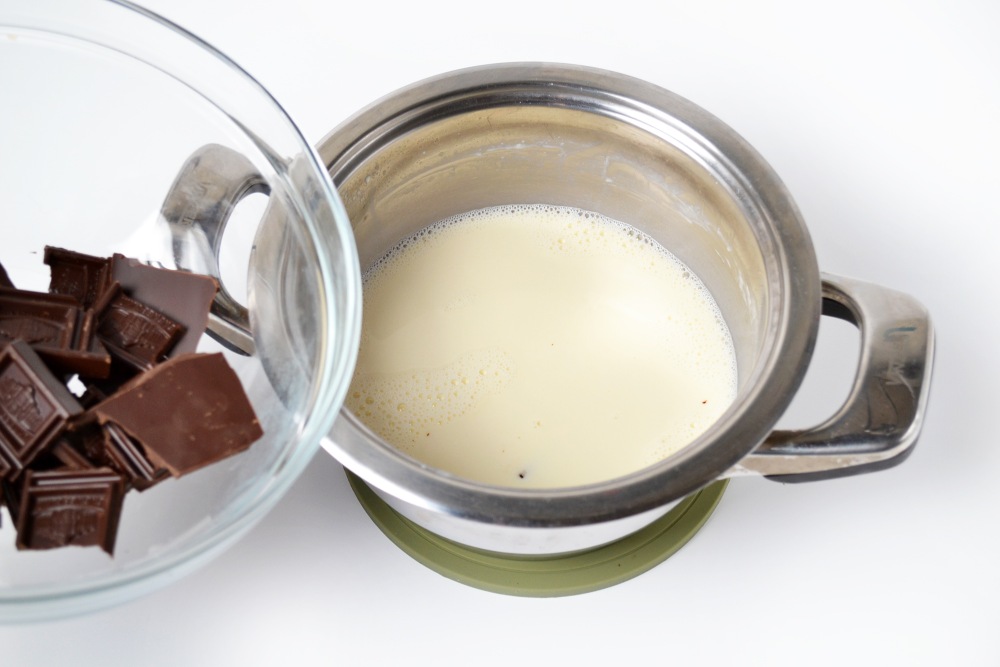
Pour cream into a small pan, shift broken chocolate. Put on medium heat (3/6 for an electric stove) and heat to a hot state, but do not boil.
-
Step 3
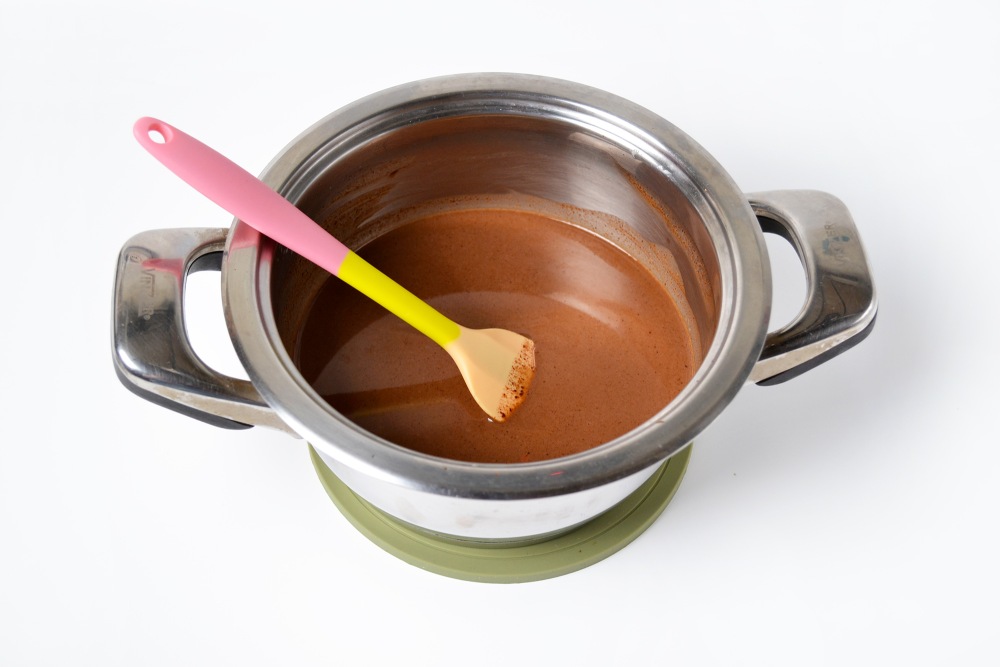
Dissolve the chocolate, stirring with a whisk or spatula. Remove from the stove when the cream is heated and steam will go. Thoroughly interfering, achieve complete dissolution of chocolate.
Tip: pay special attention when stirring the bottom and walls of the pan, the chocolate often remains not struck there.
Watch the master class «How to spend in the kitchen no more than 1 hour a day and at the same time it is good and useful to feed» 👉🏻 here
-
Step 4
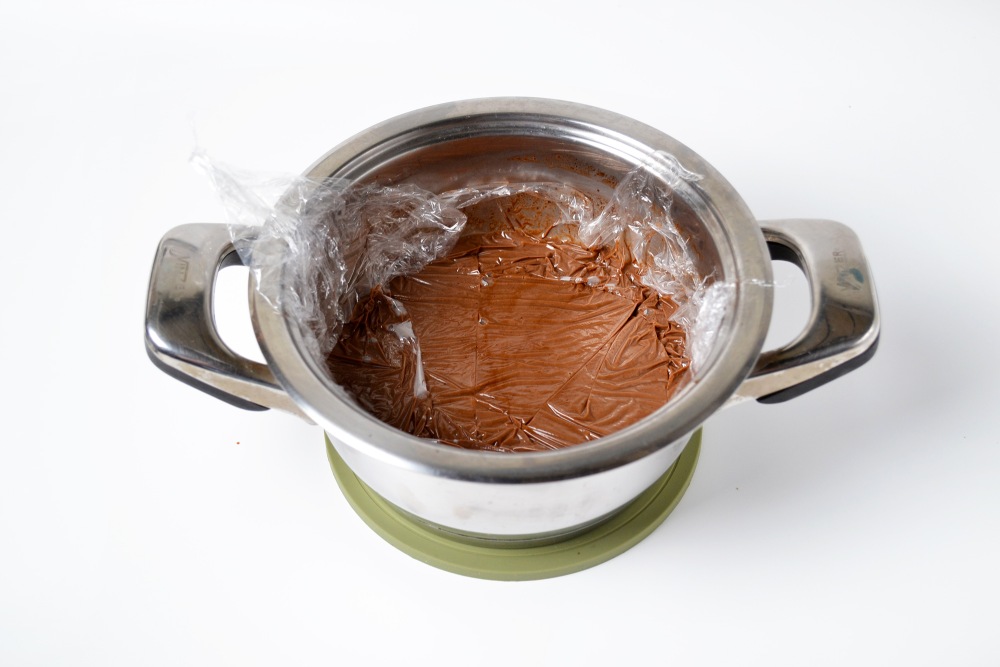
Cool the knitted cream with chocolate, cover with a film in contact and put in the refrigerator for at least 6 hours. Cover it tightly with a film so that the crust does not form.
Fact: The colder the mixture will be, the easier it is to beat the cream without risk to kill the cream.
-
Step 5
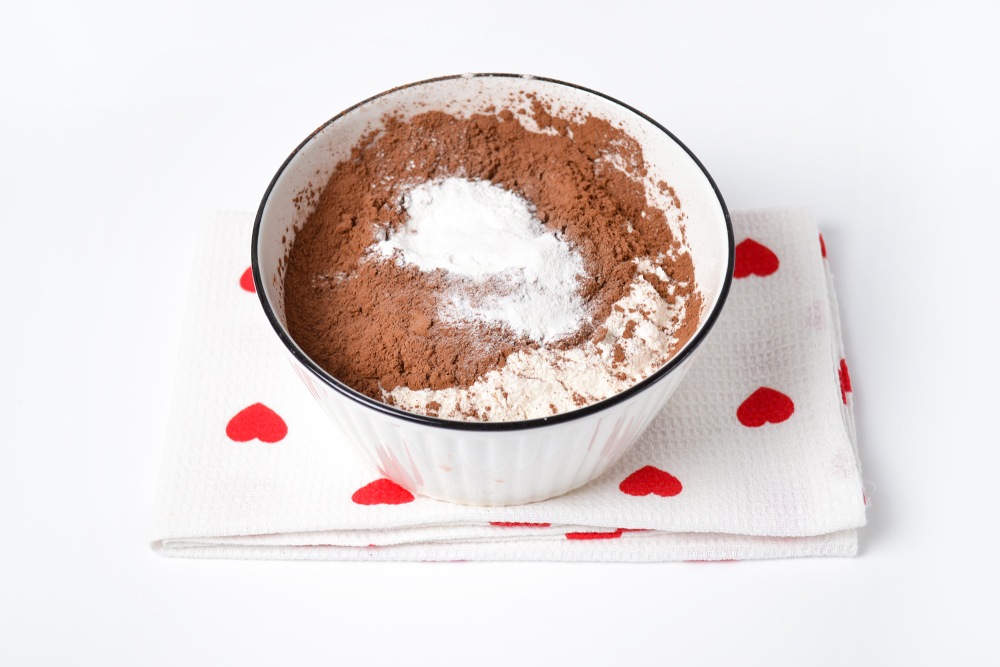
Combine flour, cocoa and baking powder in a bowl. Mix thoroughly with a whisk so that the components are evenly distributed.
-
Step 6
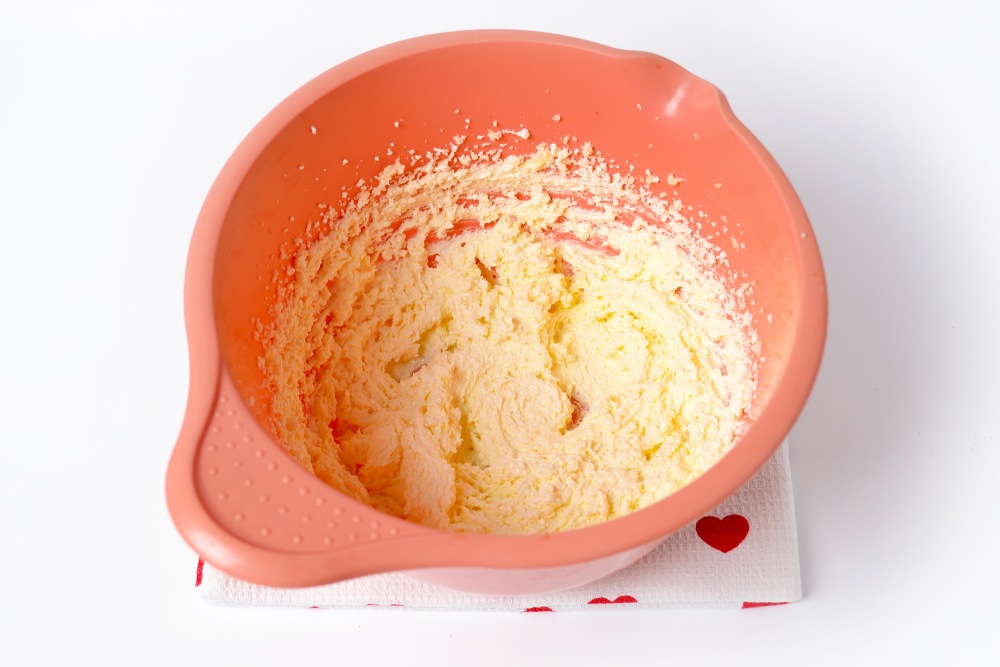
Beat soft oil with a mixer at high speeds for about 5-6 minutes. It will increase slightly in volume, and sugar will dissolve noticeably.
At this stage, you can already turn on the oven to heat up to 175-180 degrees.
-
Step 7
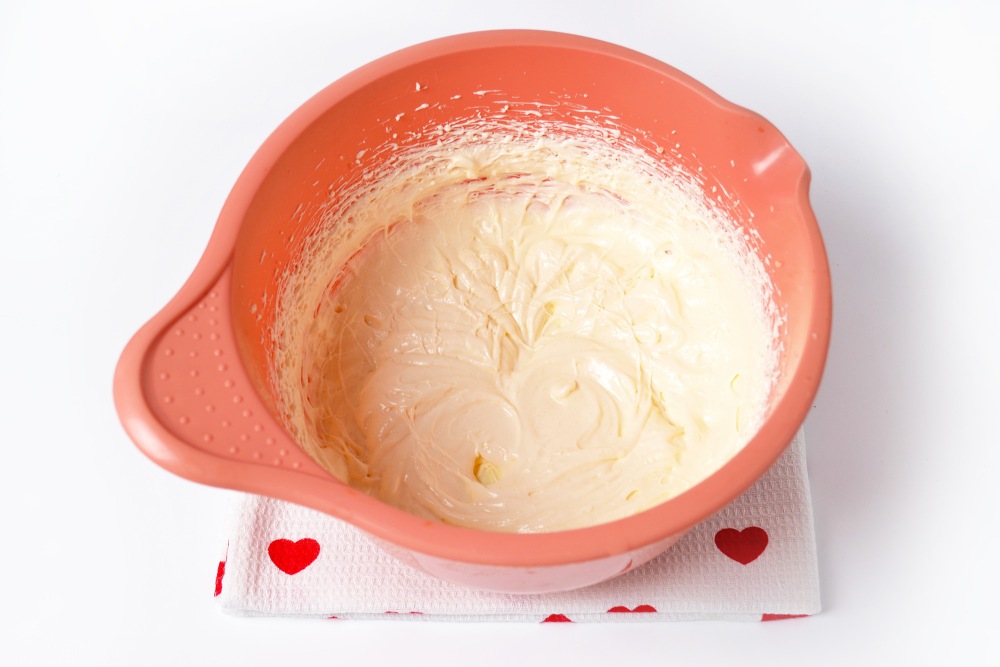
Add 2 eggs to the dough and beat for another 2-3 minutes to a smooth, shiny consistency.
Important: the better the mixture will be beaten, the more tender the dough will turn out.
-
Step 8
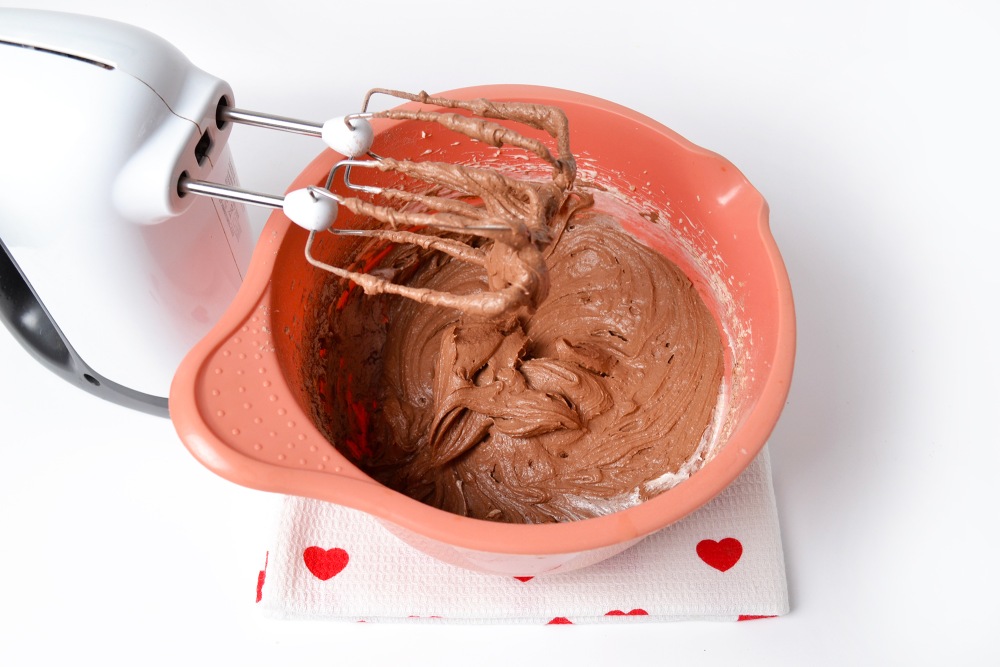
Pour dry ingredients into the workpiece and mix with a mixer at minimum speed so that the flour does not dust. It is not necessary to interfere with a long time, otherwise the dough will become tough. 30-40 seconds or impulses are enough until the ingredients are full.
-
Step 9
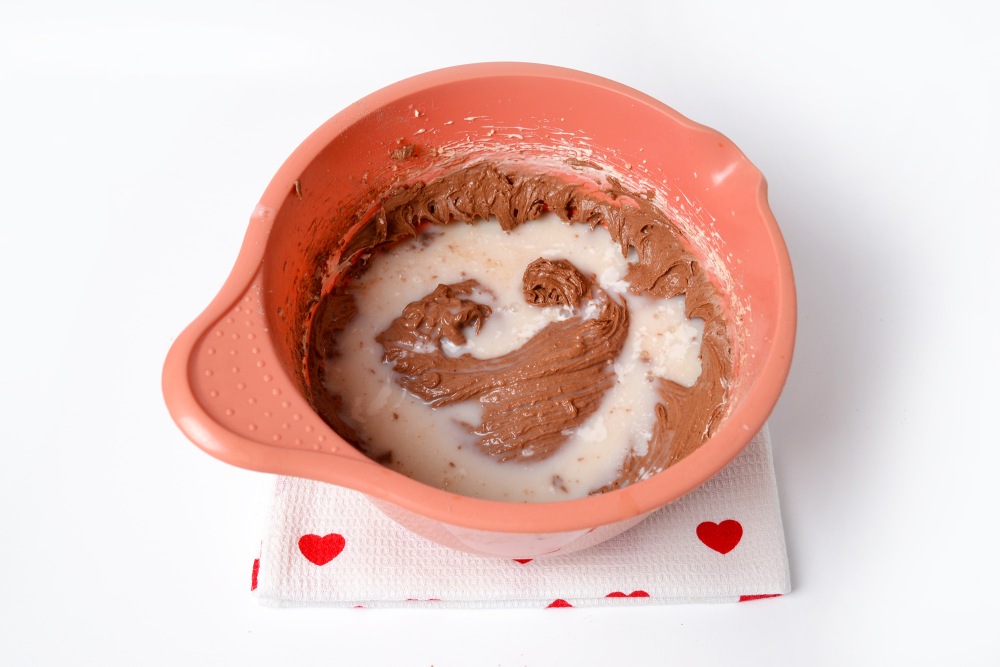
Pour milk and mix once again at small speeds for 15-20 seconds. Then remove the dough from the edges of the bowl with a spatula and mix thoroughly again.
-
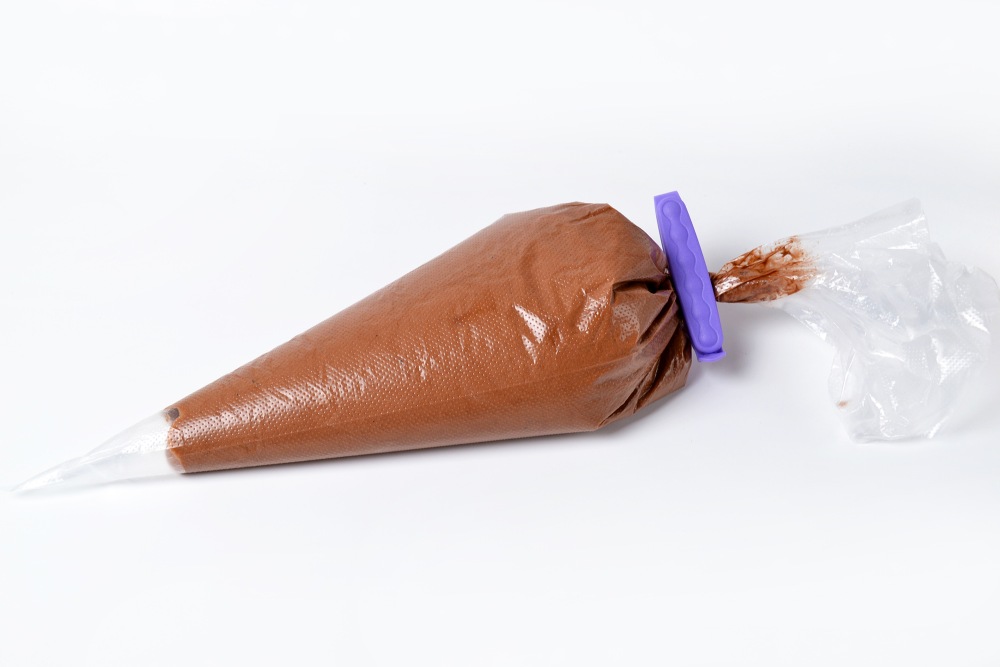
Step 10
Transfer the dough to a confectionery bag. Fix the trunk for packages on top or tie with a knot. Cut the tip so that the width at the cut site is from 1 to 1.5 cm.
-
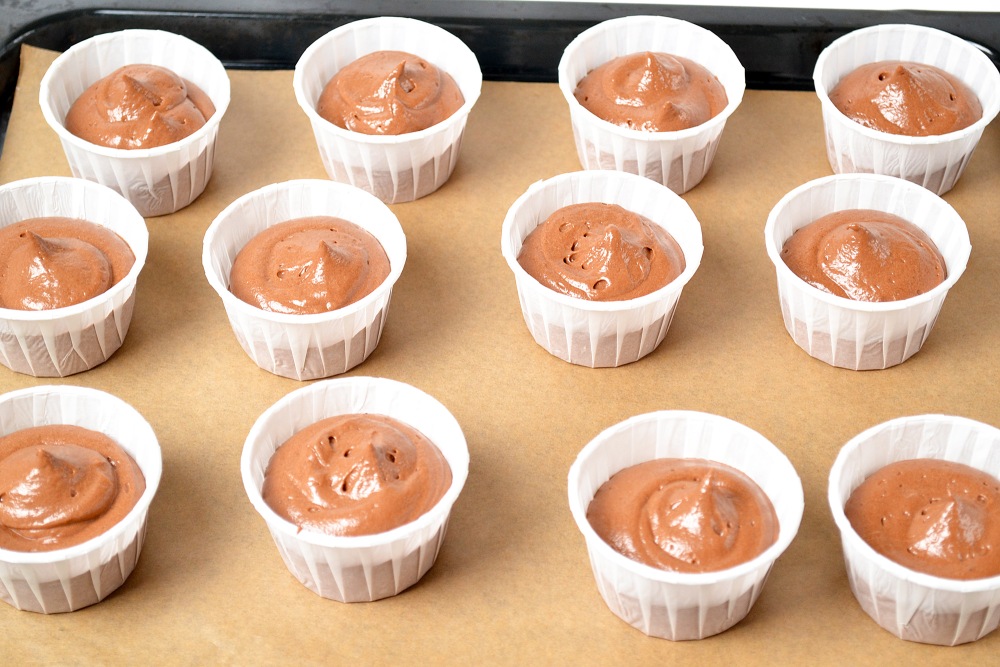
Step 11
Put the molds to the baking sheet on which the cupcakes will be baked. Pour the dough by about 2/3 of the total volume. The diameter of my molds is 6 cm at the top. It turned out 12 pieces.
Put a baking sheet with cupcakes in a preheated oven and bake for 25-35 minutes at 175 degrees.
Tip: focus on the features of your oven, you can check readiness after 25 minutes with a toothpick or a bamboo skewer. From the center of Biscuit, it should leave dry, without traces of liquid dough.
-
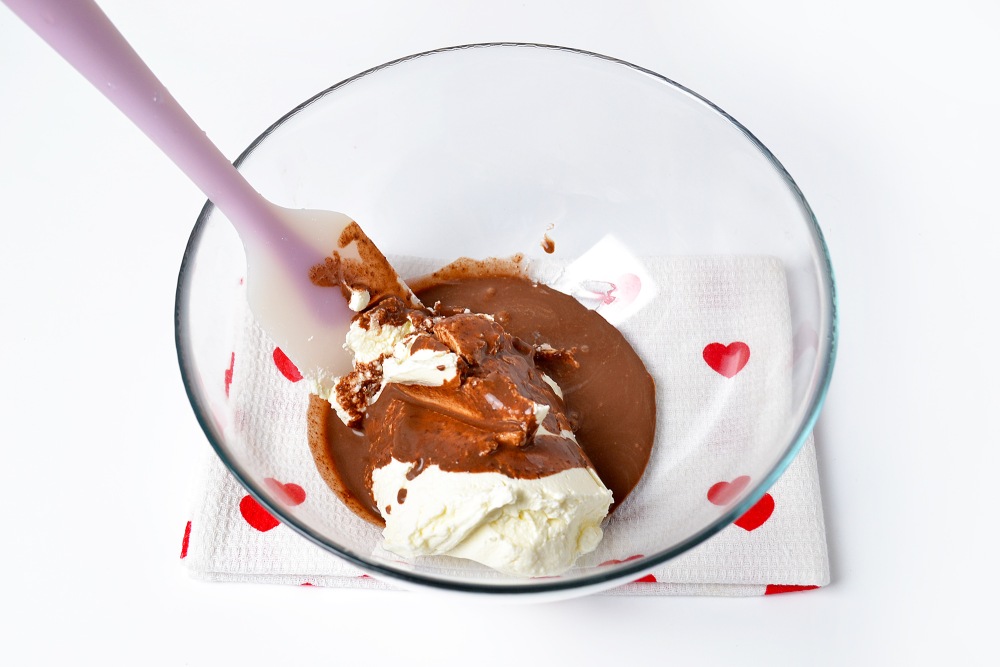
Step 12
Prepare the cream. Combine cold masquearpone with 2 tbsp. l. cooled creamy chocolate mixture. Mix a little with a mixer.
-
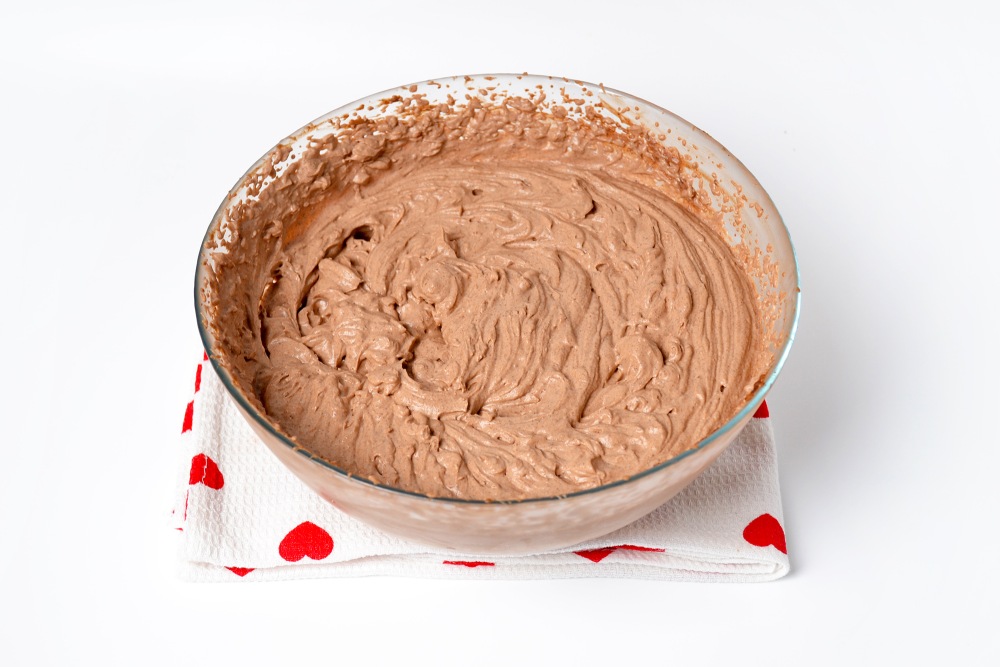
Step 13
Pour the rest of the creamy mixture and thoroughly beat first at medium speeds for 1-2 minutes, then at the maximum-for about 2-3 minutes. The cream should turn out to be thick — the corolla leave a noticeable mark that does not spread.
Tip: In order for the cream to whip it better and easier, you can first beat the creamy chocolate mixture until the consistency of the soft ice cream, and then mix it with cheese.
-
Step 14
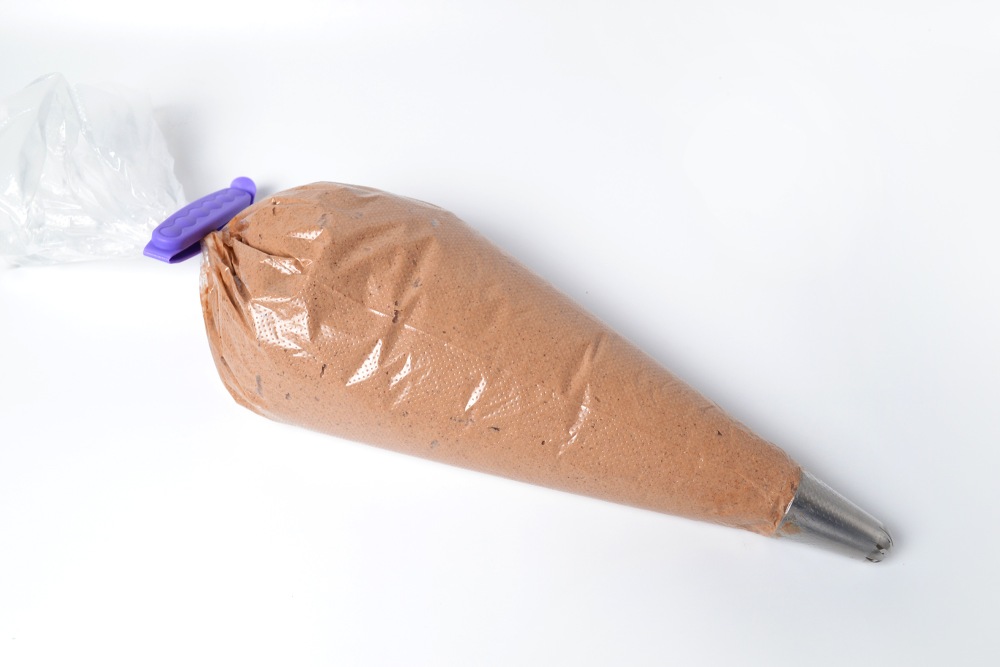
Transfer the cream to the confectionery bag, into which the nozzle is pre -installed. I am using a «closed star.» Remove in the cold for at least 1 hour.
-
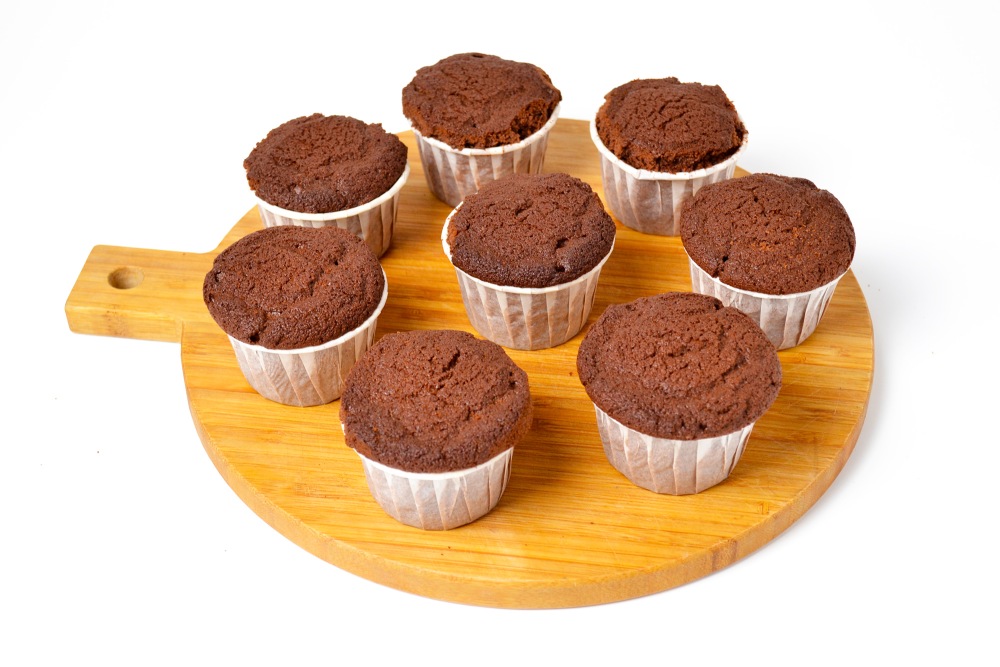
Step 15
Ready -made cupcakes are immediately removed from a baking sheet and rearrange on a lattice or wooden board. Completely cool.
Tip: you can put the cupcakes in the package and put in the refrigerator for 30-40 minutes. The cap will quickly become soft and it will be more convenient to work with it.
-
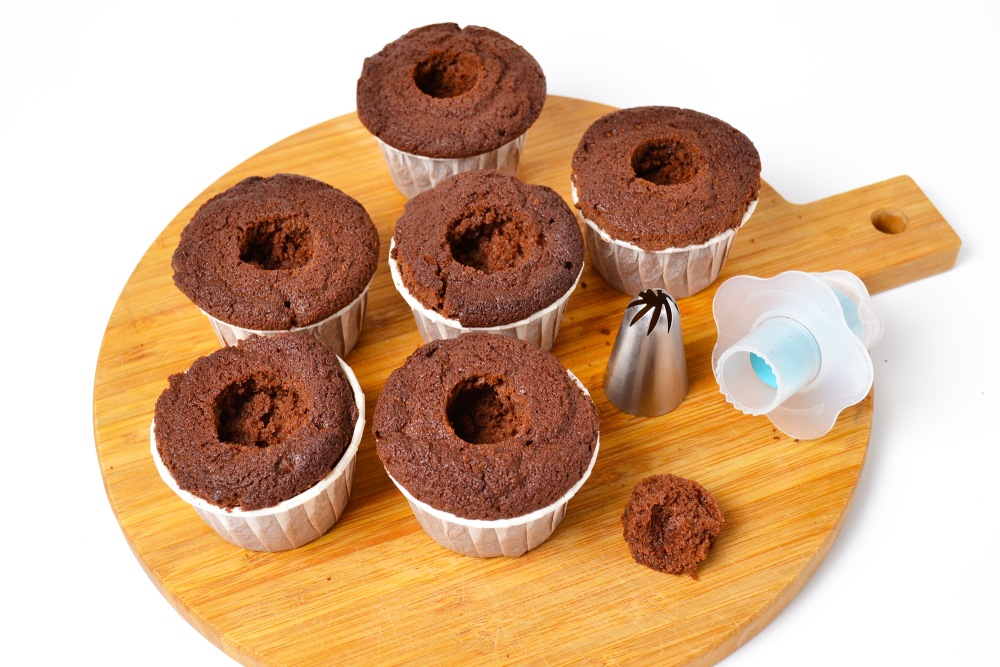
Step 16
Squeeze the middle with a plunger. Delicate chocolate dough is easily taken out.
Tip: You can use to remove the middle the back of the confectionery nozzle or a knife to remove the core of apples with a diameter of 1.5-2 cm.
-
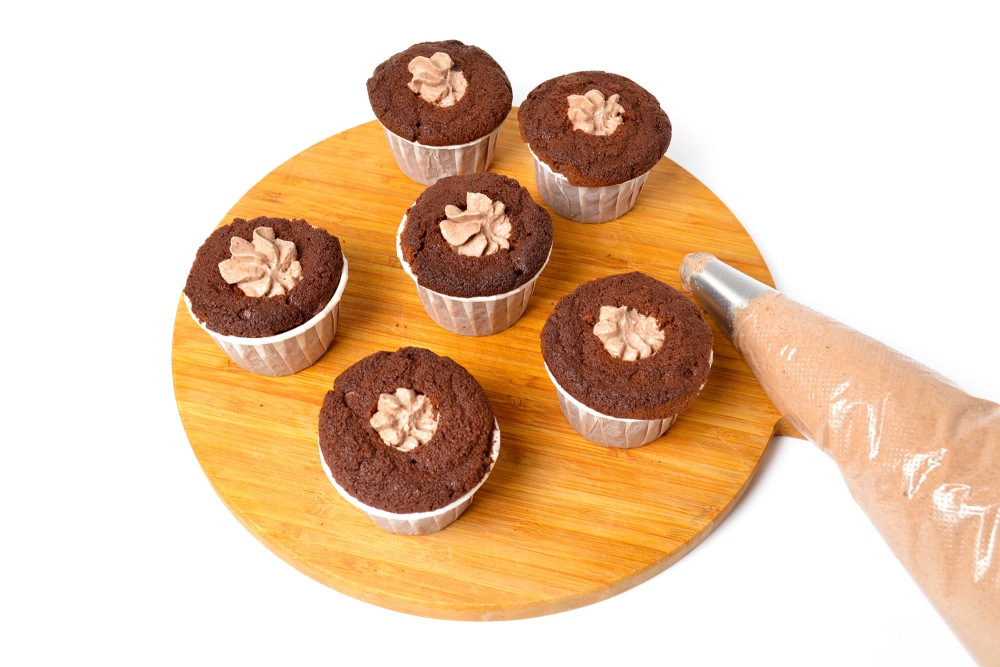
Step 17
First, fill with cream holes in the cupcakes.
You may be interesting:
Fast desserts: 10 recipes in haste
-
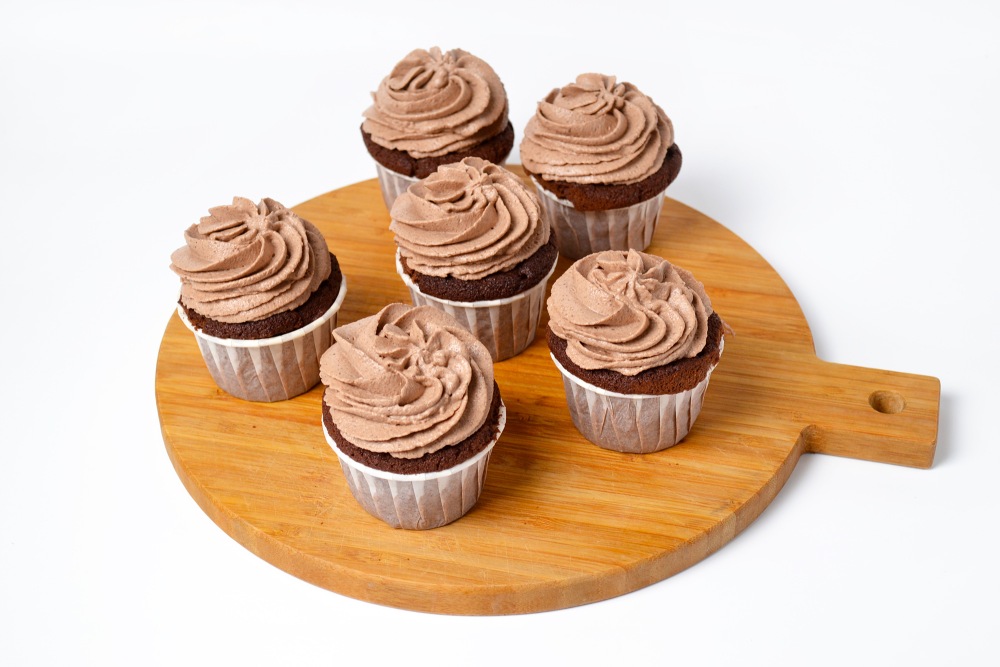
Step 18
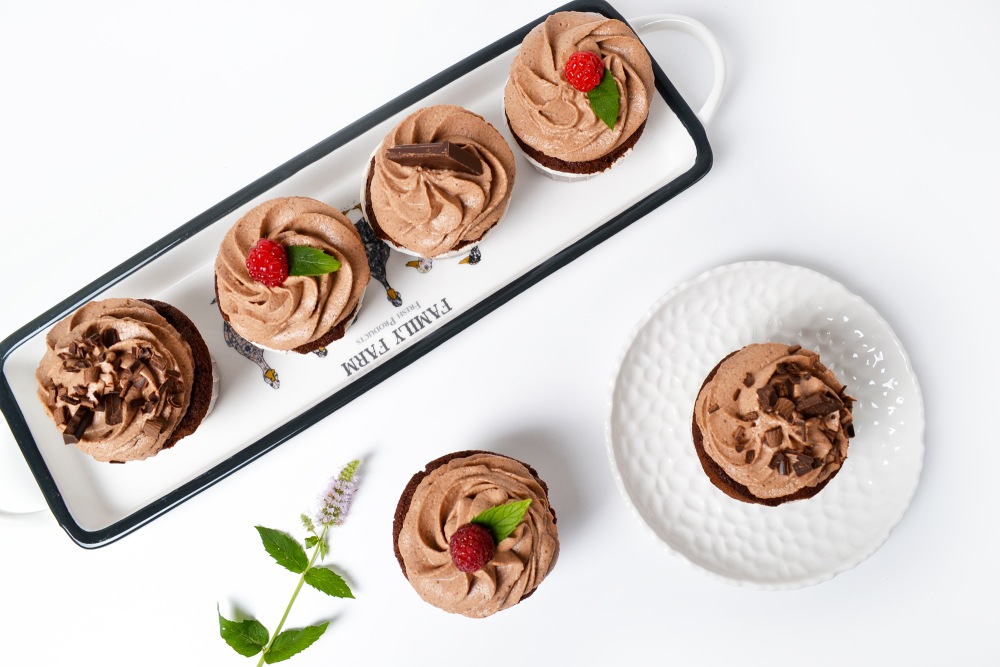
Form beautiful hats with the same cream. I make 2 turns of cream and end in the center so that there is no empty space. If you want more cream, then the amount of ingredients should be taken into account. From the specified volume, 12 hats are obtained, taking into account the filling. A little cream remains in the bag.
-
Step 19
Chocolate cupcakes at home are ready. Decorate to taste. I used raspberries, mint and natural chocolate. You can immediately serve to coffee or tea.
Nice tea party!
📌 If you liked these chocolate cupcakes, look at our selection Capcake recipes — There are many ideas for inspiration and sweet experiments.