Preparation: Step 1
-
Prepare the ingredients for the classic mouth of the mouth.
Choose flour — preferably whole -grain wheat. It will give the cakes a characteristic texture and nutty taste. If necessary, replace with ordinary flour, but preferably large grinding. Ghee oil is added for taste and softness, but it can be replaced with vegetable or not added at all.
To make the mouth of the mouth more fragrant, you can add a pinch of turmeric, caraway seeds, dried garlic or Garam Masala to the dough. And also — finely chopped greens: cilantro, dill or green onion. It will turn out a simple but interesting version of the Indian cake.
-
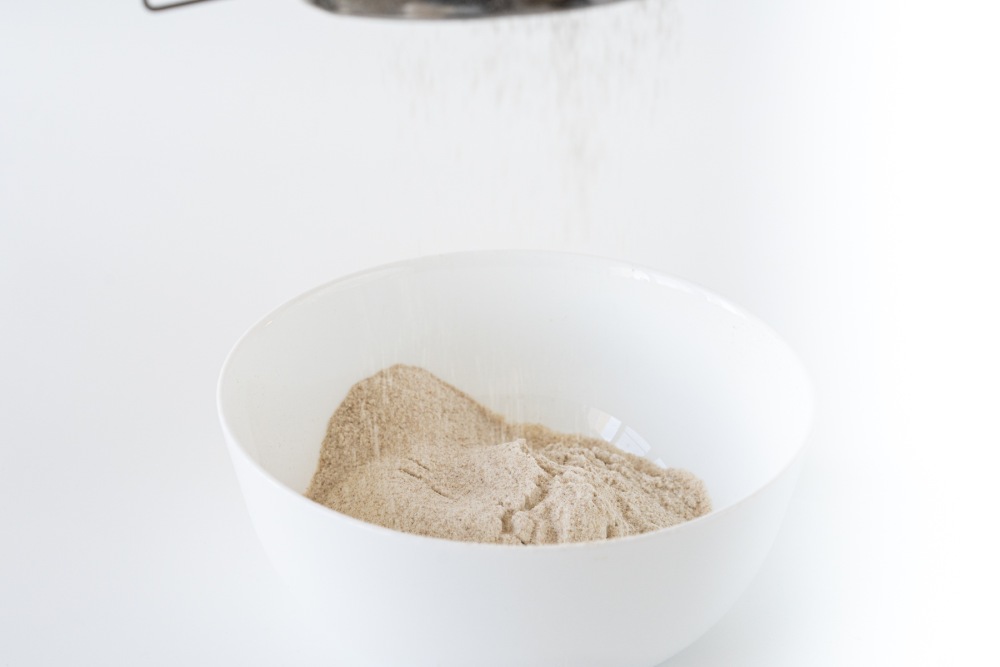
Step 2
Sift flour into a large bowl to remove lumps and saturate it with oxygen. This will improve the test texture. Add salt if you want slightly salted mouths. You can also leave them unsalted — this is a classic option.
-
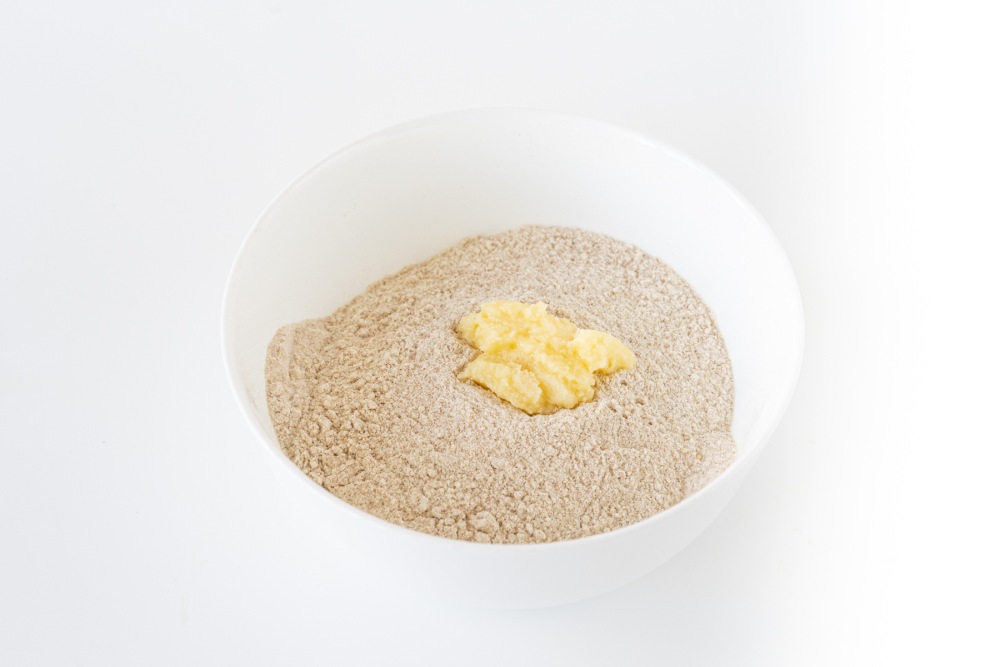
Step 3
Pour a little oil or ghee. This will make the dough softer and supple.
Watch the master class «How to spend in the kitchen no more than 1 hour a day and at the same time it is good and useful to feed» 👉🏻 here
-
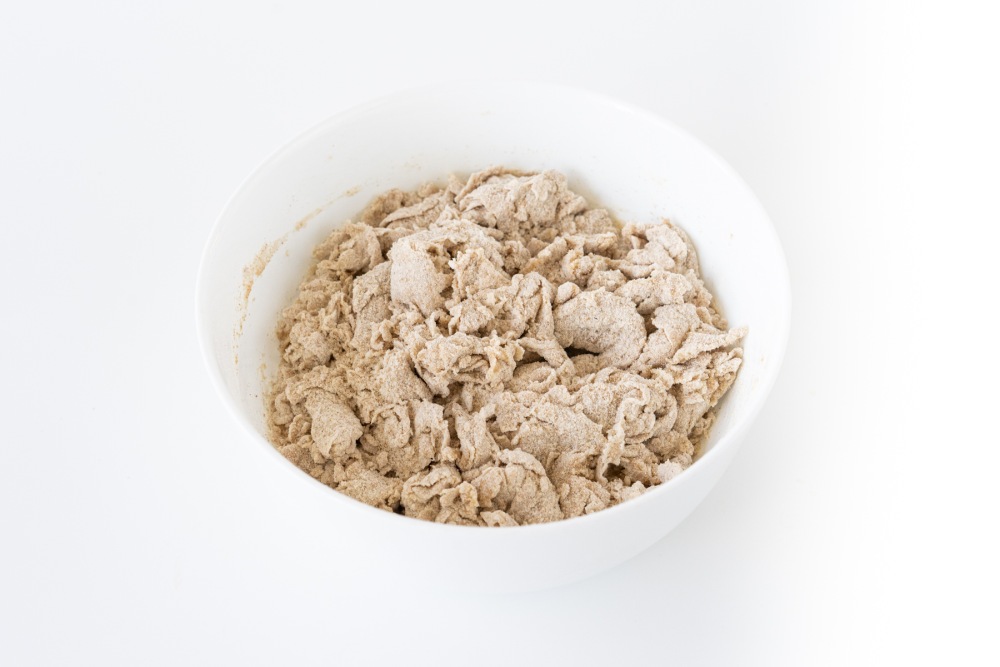
Step 4
Pour in first half the volume of water. Mix with a spoon or hand until the dough is gathered into a crumbling mass.
Do not pour everything at once-flour can absorb water differently depending on the humidity and its variety.
-
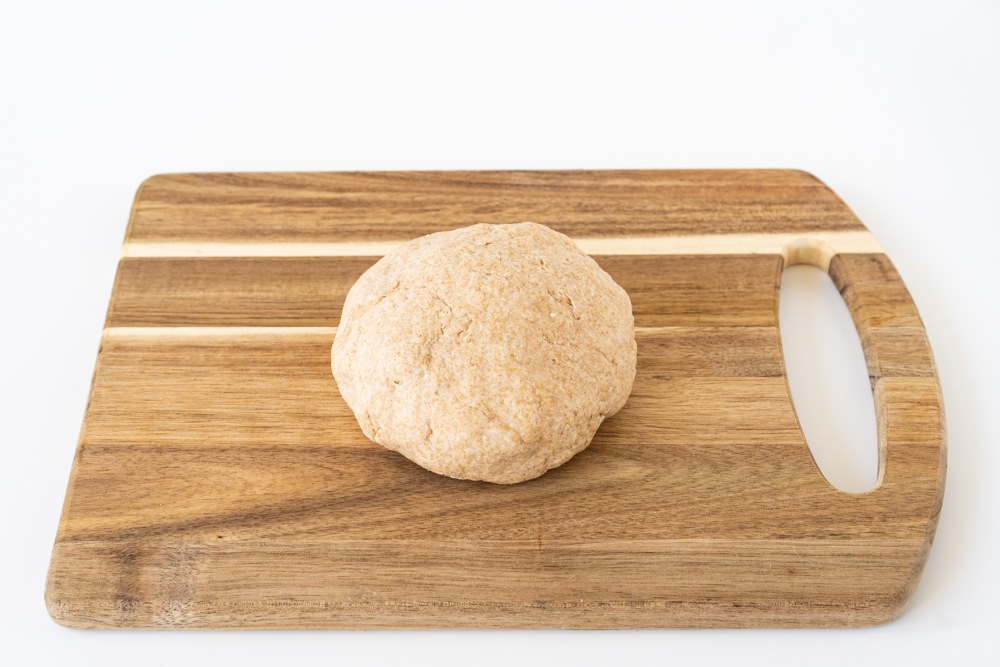
Step 5
Collect the dough in whom, start kneading it in a bowl. Add water a little, 1 tbsp. a spoon if the dough is too dry. Put the dough on the working surface and knead it with your hands for about 8-10 minutes, until it becomes smooth, elastic and soft, but not sticky.
Cover with a dough with a wet towel or food film. Leave rest for at least 30 minutes. This will help gluten relax, and mouths will be easier to roll out and not break.
-
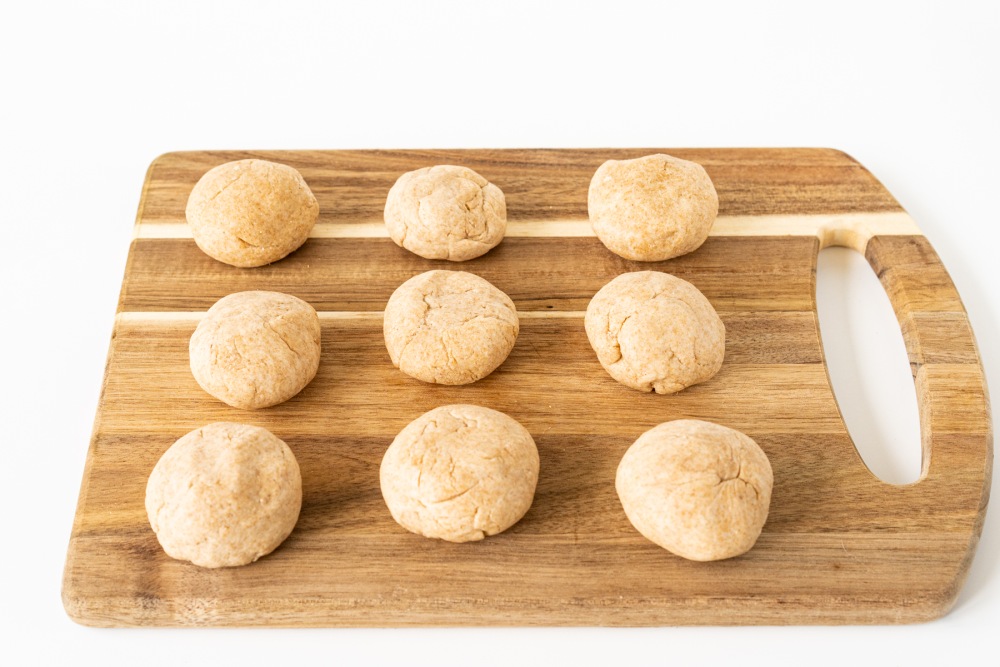
Step 6
Divide the dough into equal pieces (about 40-50 grams each), form balls from them.
You may be interesting:
👉🏻 Chicken Garam Masala
👉🏻 Kadhai chicken — Indian recipe
👉🏻 Chatny sauce: Classic recipe
-
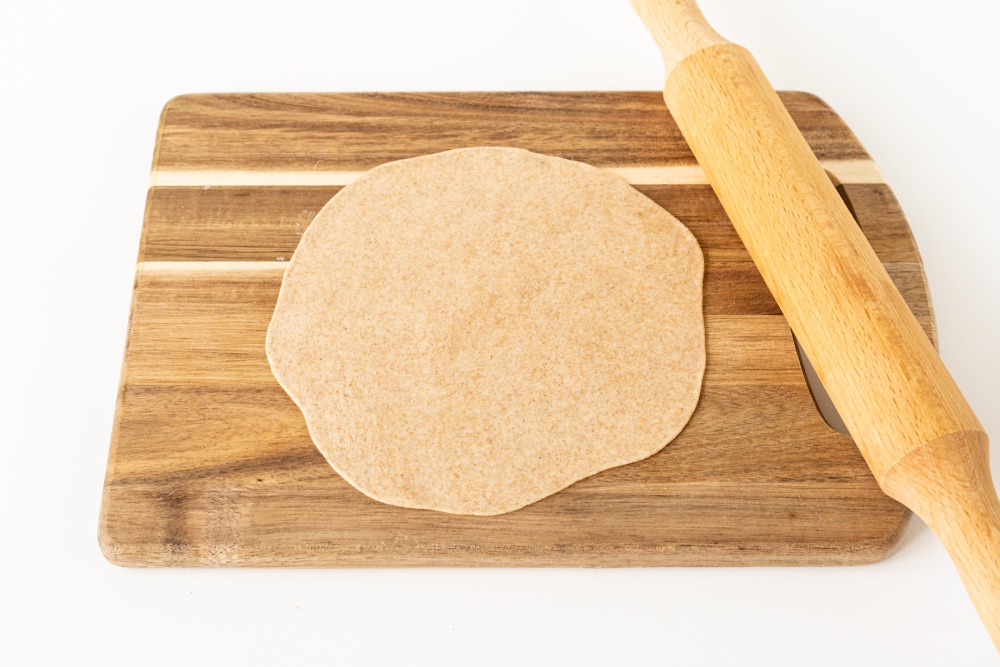
Step 7
Sprinkle the working surface with flour. Take one ball and roll out in a circle with a diameter of about 15 cm and 2 mm thick. Try to make the edges even, but do not strive for a perfect circle — it does not affect.
-
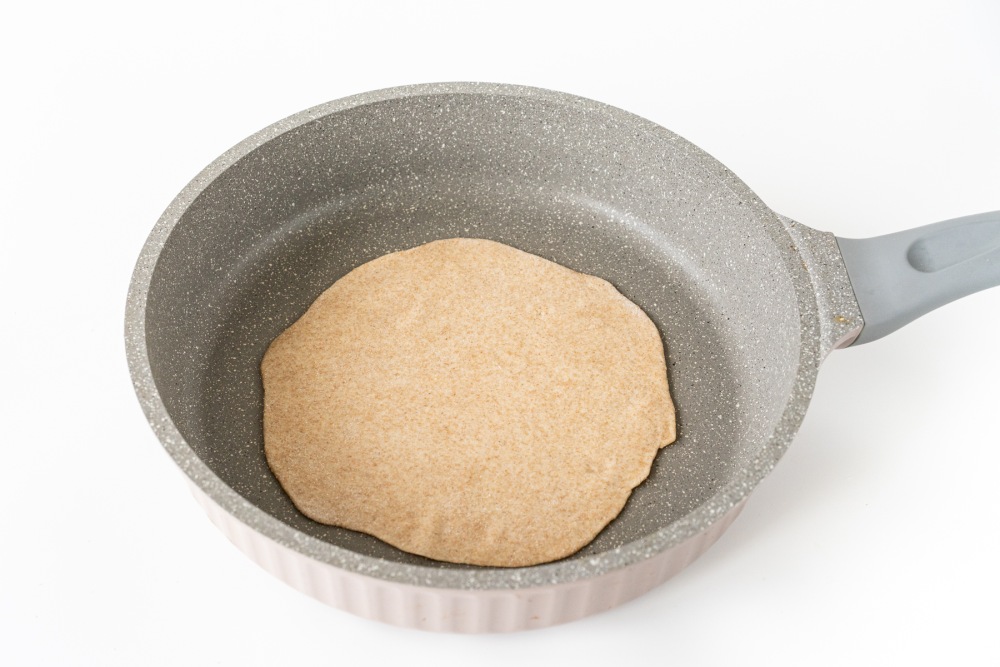
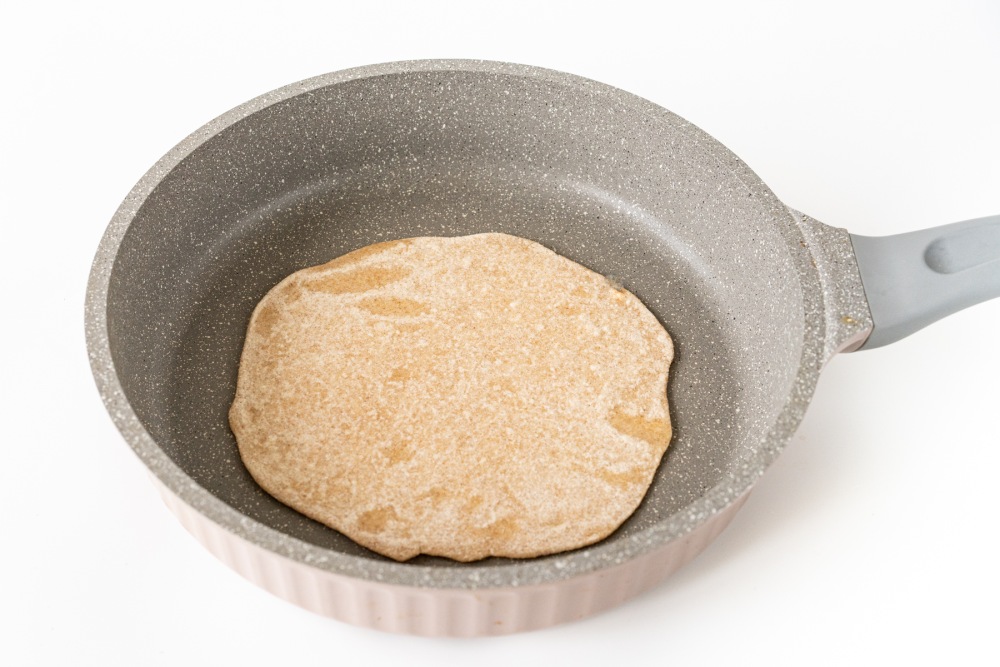
Step 8
Warm up a dry pan with a thick bottom (preferably cast iron) over medium heat to good temperature. You can check by dropping a drop of water — it should immediately evaporate.
Put the rolled crap on a hot pan without oil. Fry for about 30 seconds until the bubbles appear and the lower side will not become light brown.
-
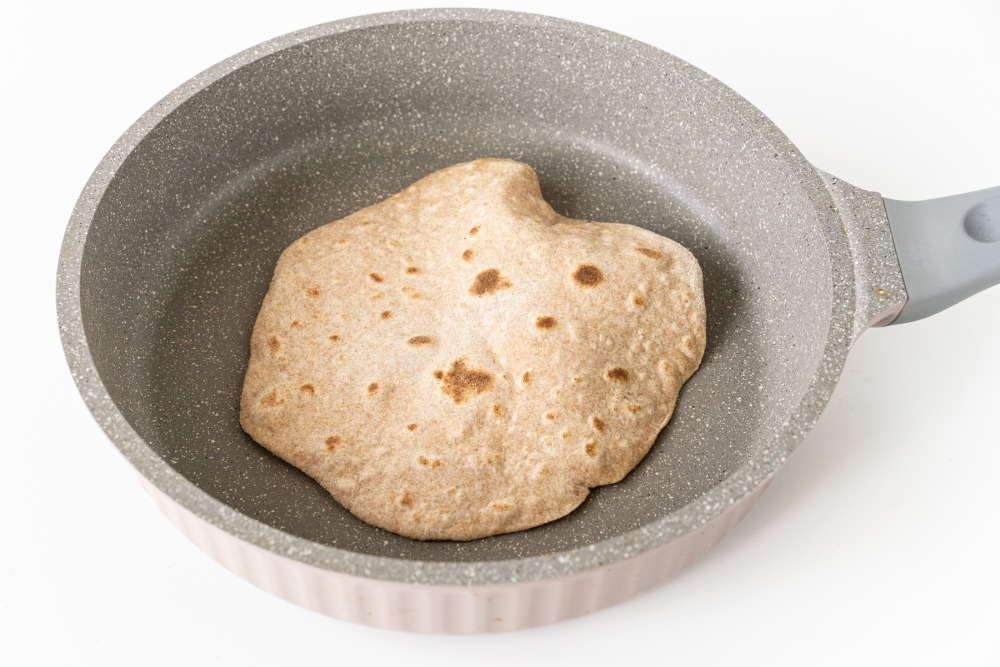
Step 9
Turn the mouth with a shoulder blade or tongs. Fry the second side for another 30-40 seconds until brown spots appear.
-
Step 10
Turn over again and press the spatula along the edges so that the mouth is evenly baked and begin to “pout”. This is a classic sign of the right mouth.
If the mouths do not inflate, it's okay. The main thing is that they are soft and baked.
-
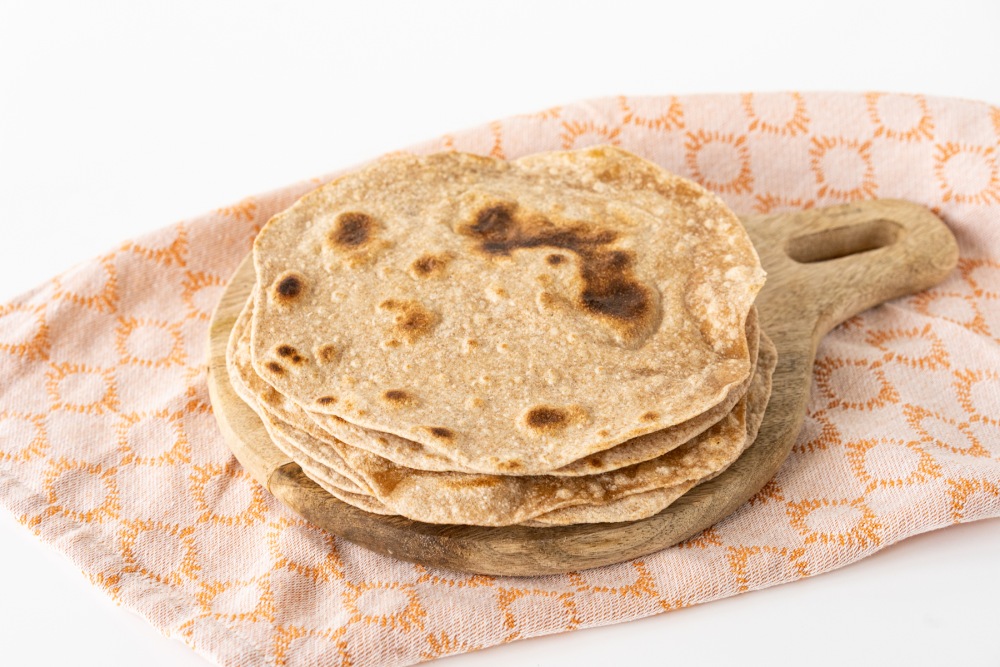
Step 11
Remove the mouth of the mouth from the pan and transfer to the plate or to the container with the lid so that they remain soft. You can also lubricate the surface with a small amount of oil or ghee as desired.
Repeat the process with the remaining balls of the dough.
-
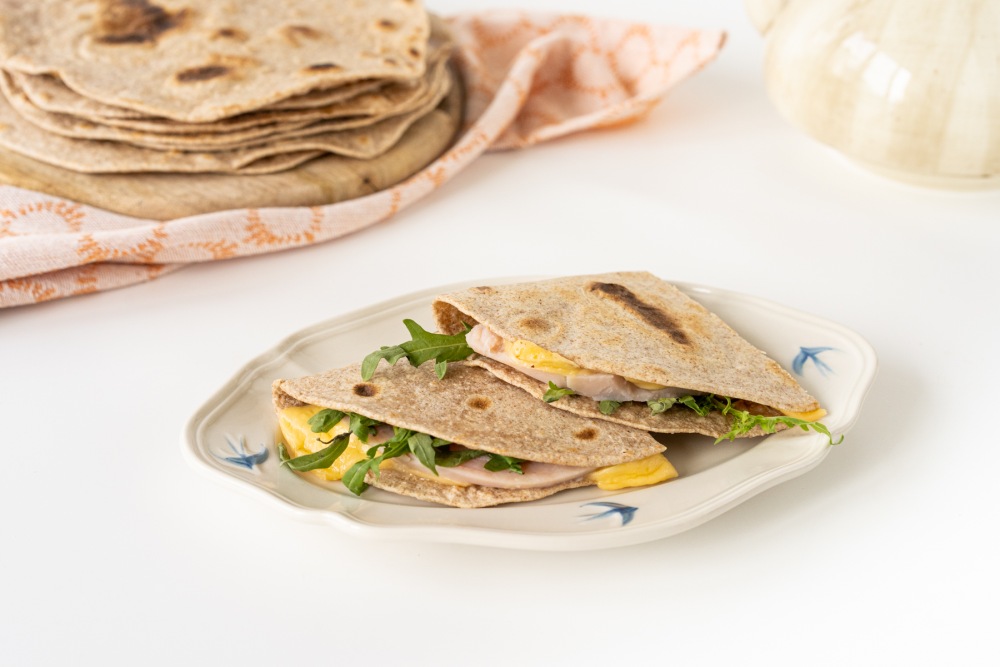
Step 12
Serve the classic mouths of the mouth hot, immediately after cooking. Such an Indian cake goes well with fillings — cheese, meat, herbs — or replaces bread.
The mouth should be cooked at least once, and you will cook them again and again. Bon appetit!
📌 If you like such simple cakes without yeast, be sure to look at our selection Mesh recipes at home — There are many ideas for inspiration!