
Step 1
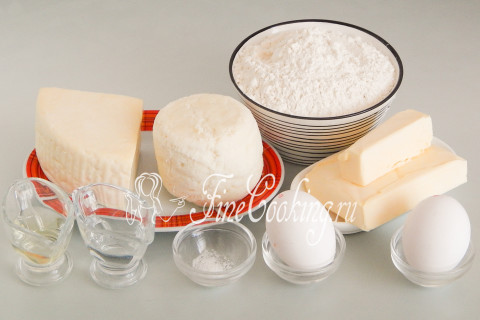
For the preparation of acom at home, we will need the following ingredients: wheat flour, chicken eggs (50-55 grams each), Adygea cheese and suluguni, butter, refined vegetable (I have sunflower) oil, water and salt.
Step 2
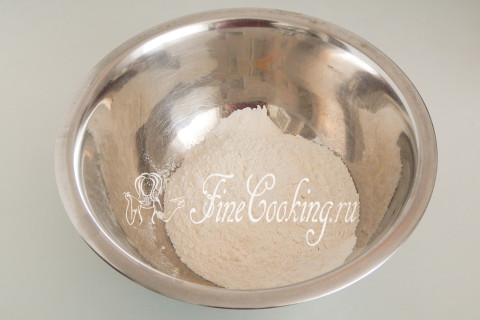
Sift 200 grams of wheat flour of the highest grade into the bowl, add a pinch of fine salt, mix.
Step 3
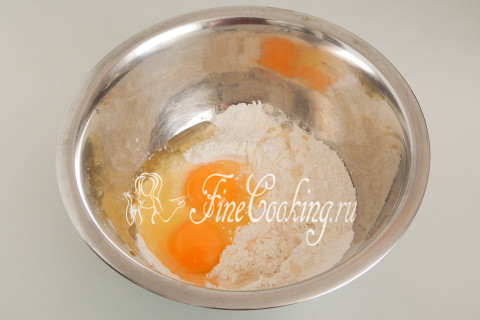
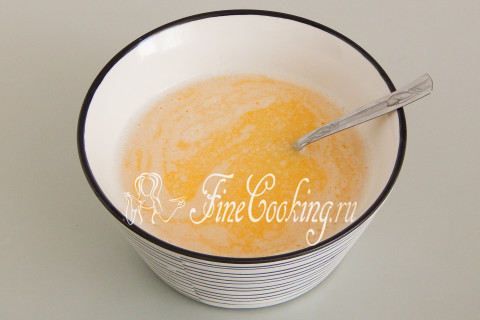
Next, we break up a couple of chicken eggs there. I use rather large eggs, so take 3 pieces very small.
Step 4
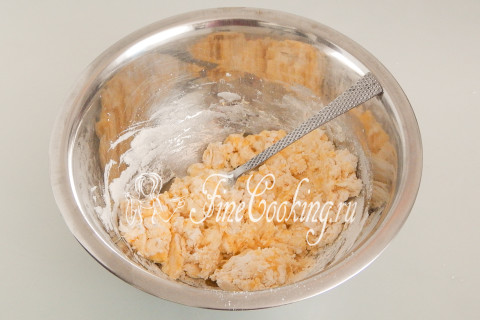
Mix eggs with flour — you can with a fork, you can with a hand. Then we pour here 1 tablespoon of vegetable oil and a couple of tablespoons of drinking water. Mix that all the ingredients turn into a soft, sticky and not very homogeneous lump.
Step 5
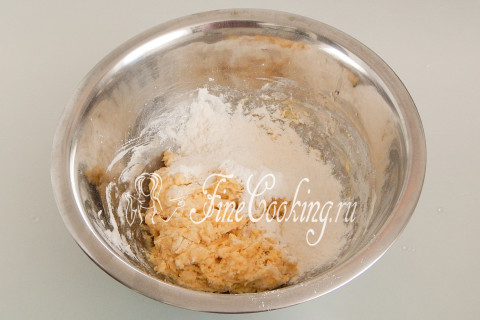
Gradually adding another 100 grams of sifted wheat flour, knead a smooth and dense dough. It is most convenient to do this on the work surface, that is, on the kitchen table. You don’t need to knead for a very long time — 5 minutes is enough.
Step 6
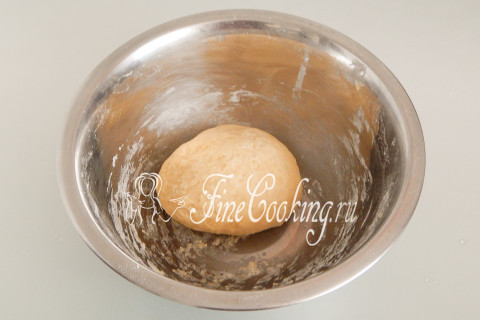
With a knead, a little more or less flour may be needed — it depends on its humidity. We round the dough and tighten the bowl with cling film (you can simply transfer the bun to the bag). We leave at room temperature for 20-40 minutes. During this time, gluten will develop in the dough in a sufficient degree for further work.
Step 7
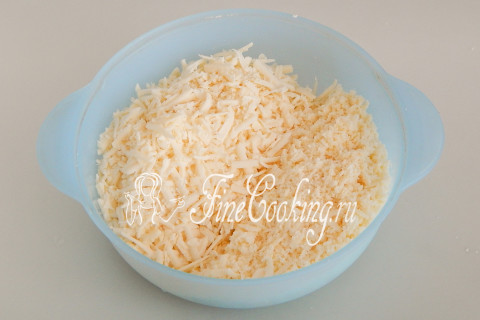
While the dough is resting, we will prepare the fillings for home achama. To do this, just grind 300 grams of Adyghe cheese and suluguni on a coarse grater.
Step 8
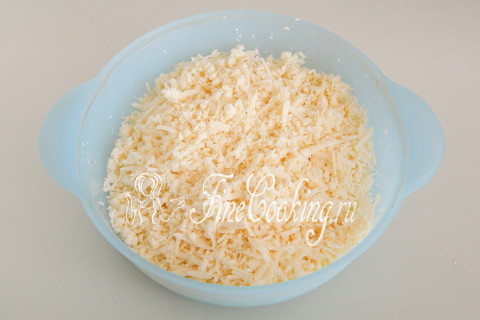
The filling should be salt enough, since the dough is fresh in taste. Add so much salt that you personally are delicious. Mix — the filling for acom is prepared. Since we will have 8 layers of dough in total, the fillings are 7 layers. Therefore, you can divide grated cheese into equal parts with the help of weights or wake the dough, so to speak, by eye.
Step 9
In a separate bowl you need to melt 200 grams of butter and let it cool. I do this in a microwave oven in defrosting mode, but you can easily and in a saucepan on the stove.
Step 10
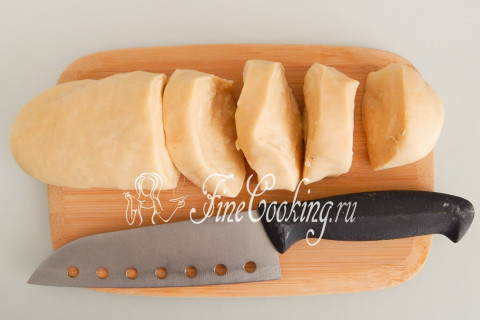
When the dough is departed, it will become very supple and elastic, while quite elastic. Using a knife, divide it into 8 identical parts. If you wish, you can use kitchen weights.
Step 11
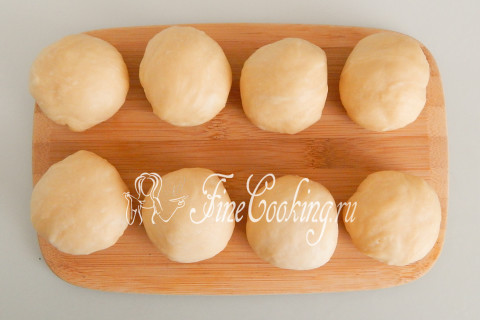
We roll each piece of dough into the ball and cover the workpieces with a cut of the food film or a kitchen towel so that they do not be bent and not covered with a crust.
Step 12
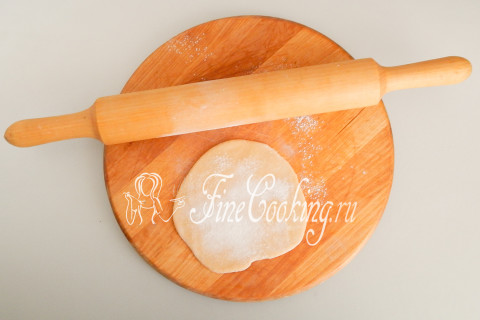
Now each ball of dough needs to roll out as thin as possible. Ideally, if the dough after rolling will even be shone (like the dough, for example). To do this, you need a little more wheat flour (I do not indicate its number in the ingredients, but I had about 2 tablespoons with a hill).
Step 13
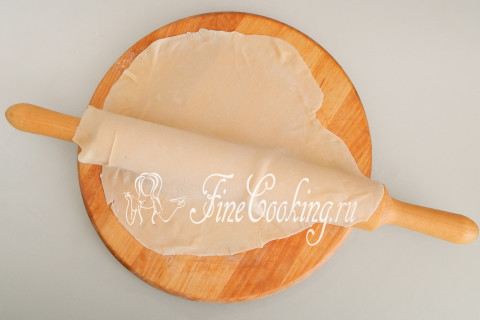
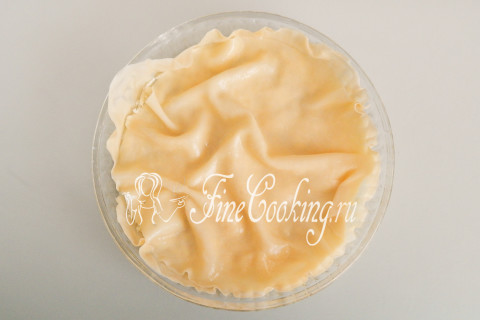
The shape of the rolled test depends on what you plan to bake the amchma. I have this round form for baking with a diameter of 24 centimeters, so I roll the dough into the finest cakes of a round shape of a slightly larger diameter so that there are folds. If your shape is square, oval or rectangular, roll the dough according to the same principle. Thus, we roll all 8 balls of dough thinly and, slightly sprinkled with flour so as not to stick together, leave on the table, covering with a towel. Two doughs in Achma will be baked in raw form, and the remaining 6 — previously boiled.
Step 14
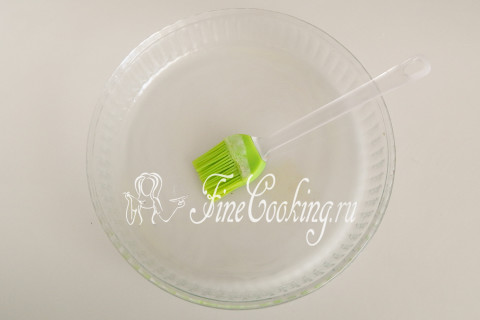
We take the baking dish and lubricate it with a small amount of melted butter.
Step 15
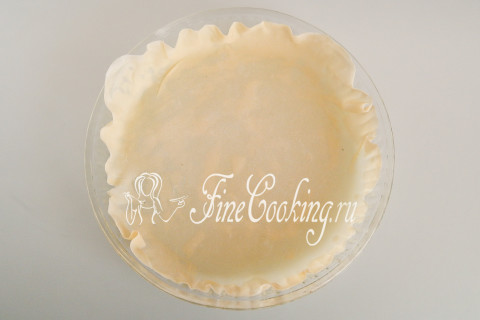
Put in the form the first rolled layer of the dough. You see, you must definitely make the sides so that during the baking process the oil does not flow out of the mold.
Step 16
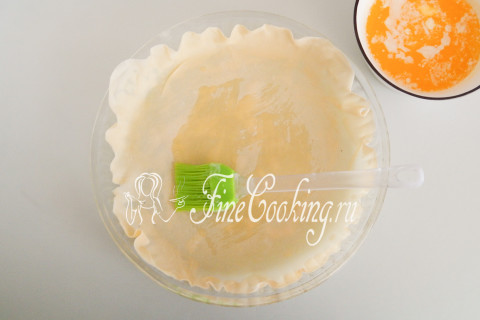
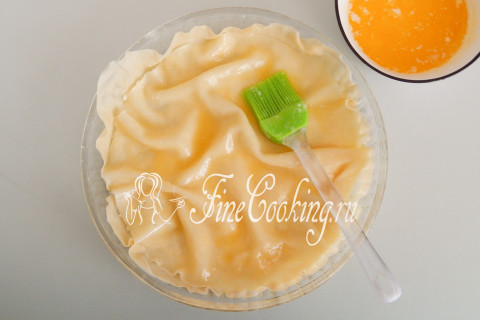
Lubricate the dough with butter.
Step 17
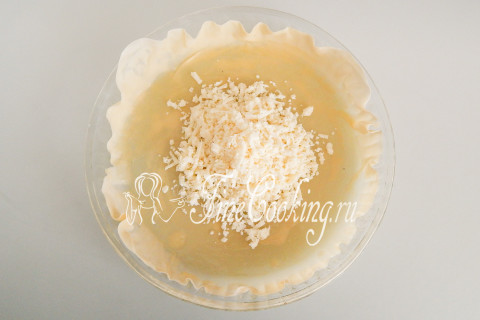
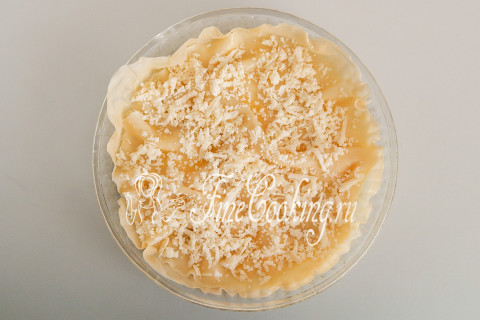
We take about the seventh part of the cheese filling.
Step 18
With an uniform layer, distribute it on top of the dough. So far we will leave the form on the table.
Step 19
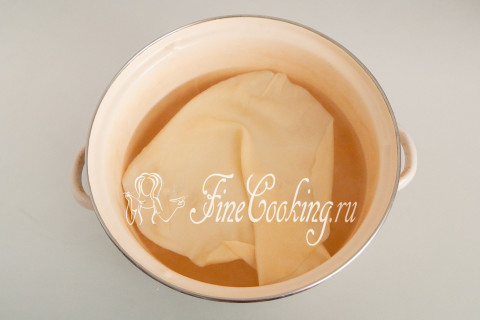
We go to the rest of the six rolled layers of the dough — they will need to boil. To do this, in a wide pan, we will bring water to a boil in advance (I have a four -liter pan with 2 liters of water here). In boiling water, we lower the dough layer with wave -like movements.
Step 20
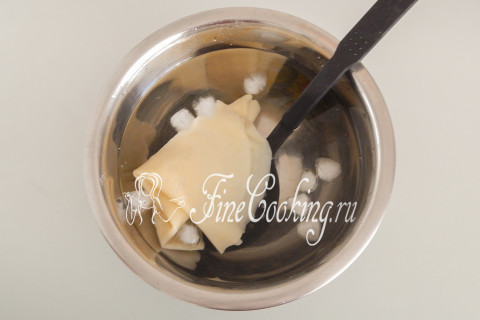
When the water is boiled again, we take out the boiled dough with a slotted spoon (or a coachman) and immediately transfer to a container with ice water (I add ice cubes). In literally 10 seconds, the dough cools.
Step 21
We take it out of the water, give it to drain the liquids and send the boiled layer to the baking dish. We lay with folds and waves, which will then look appetizing in the context of the finished acom.
Step 22
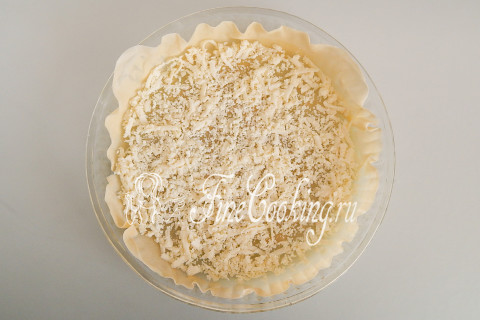
Lubricate the layer of dough with butter.
Step 23
And again we pour part of the cheese filling.
Step 24
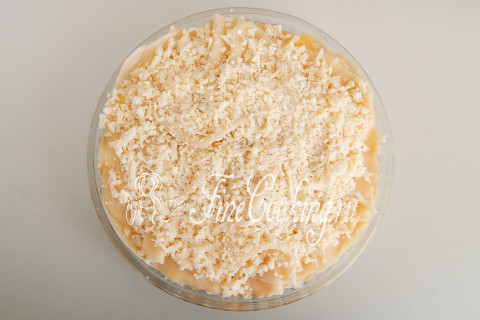
Thus, we collect the workpiece: a layer of raw dough, cheese filling, 6 layers of boiled dough with 6 layers of cheese filling. Do not forget to lubricate each dough layer with melted butter.
Step 25
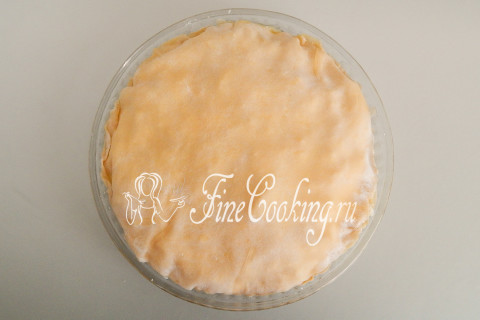
We cover the workpiece with the eighth layer of dough — it is raw. I read that the Georgian hostesses are put in the refrigerator for the night, and only the next day is baked. I prefer to cook homemade ACHMU right away.
Step 26
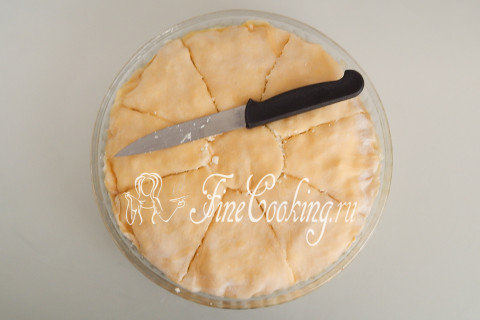
With a sharp knife, we cut the workpiece into 9 portioned parts — 8 segments and circle are obtained.
Step 27
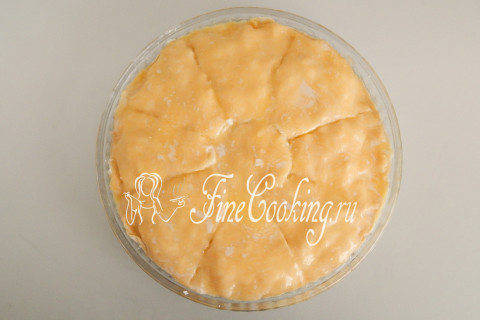
Lubricate the future ACMU with the remaining butter and pour it into the sections.
Step 28
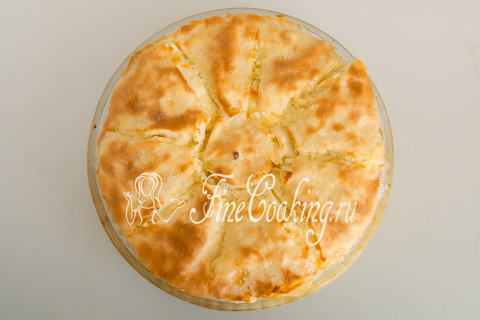
We bake homemade ACMU in a preheated oven for about 30-40 minutes at 200 degrees at an average level to dry beam. I have a gas oven, lower heating, without convection (it cannot be there by definition). In fact, inside the dough is already ready, so you need to give a crust to be browned, suluguni — to melt, and the clock is to absorb into the dough and filling.
Step 29
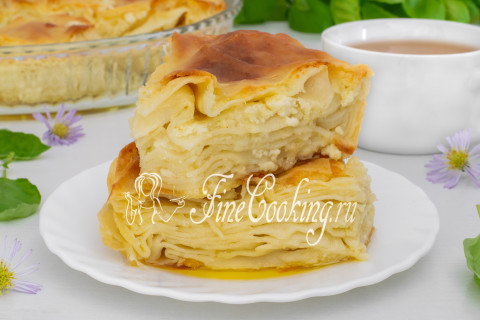
Serve a fragrant and hearty homemade ACMU hot. If you do not eat everything, store it in the refrigerator, and before serving, be sure to warm up in a microwave or oven. Lyudochka, thank you very much for this fabulous order. Prepare for health, friends, and pleasant to you appetite!