
Step 1

The recipe for Barvikhinsky bread includes the following ingredients: high -grade wheat flour, wheat croup (or cereal like mine), water, chicken egg, sugar, salt and pressed yeast.
Step 2
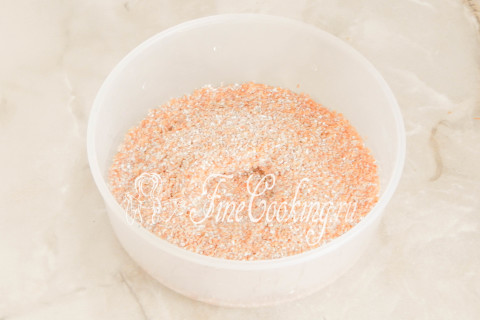
Cooking the lobe. We wash 200 grams of wheat croup or cereals under cold running water, throw it on a sieve so that the glass is liquid. Pour it into a suitable dish and fill it with 200 milliliters of steep boiling water. Mix and leave for at least 2 hours so that the croup is steamed and becomes soft enough. You can make a lobe in advance: in the evening, steam wheat croup (cereal) and leave at room temperature until the morning.
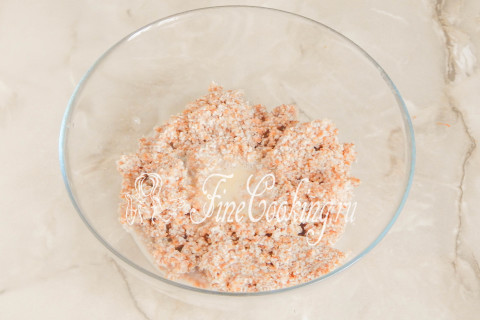
Step 3
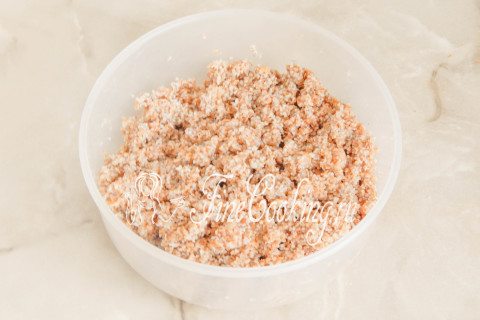
When the cereal absorbs all the water and swells, the lobe is ready.
Step 4
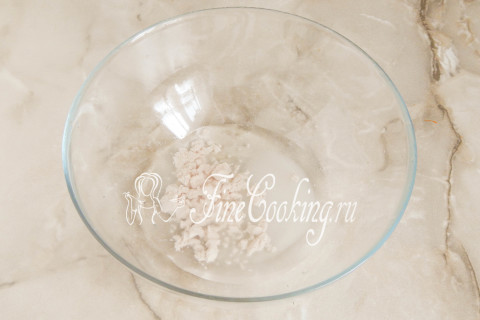
We activate the pressed yeast. Pour 80 milliliters of slightly warm water into the container for the batch of dough (or separate dishes), add 12 grams of sugar, crumble 14 grams of yeast.
Step 5
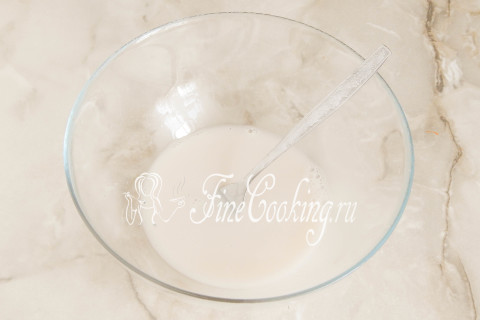
Mix everything thoroughly (spoon or fork) and let stand for 5-7 minutes. By the way, for this recipe, not only fresh, but dry or high-speed yeast, which will be required 3 times less (that is 4.5-5 grams) are suitable. With dry yeast works in the same way as with fresh ones. But with fast -acting you can work immediately, that is, mix them with wheat flour.
Step 6
Add the uric at room temperature to the yeast mixture, as well as 19 grams of chicken egg (shake the whole egg with a fork, and then take the amount you need for the preparation of Barvikhin bread). Mix everything.
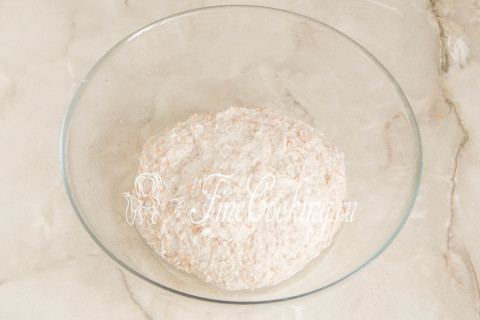
Step 7

It remains to add 200 grams of sifted wheat flour mixed with 8 grams of fine salt. You may need a little less or more flour — it depends on its quality (in particular moisture). It took me exactly 200 grams for the dough and literally a tablespoon for forming blanks.
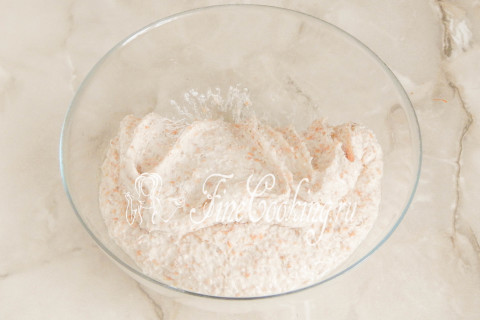
Step 8
It is best to knead the dough with a mixer or kitchen commander with a hook nozzle (5-7 minutes at an average speed), but with your hands it will also turn out no worse, but longer (10-12 minutes). It is advisable to lubricate a bowl in which the dough will roam with a small amount of vegetable oil — so the dough will not stick. As a result of the batch, a soft, delicate and rather sticky dough is obtained: we round it and leave it to wander in heat for 2.5 hours. In steps 9-17 — the dough during fermentation. Where is it better to wander the test and what does a warm place mean? There are several options. First of all, in the oven with a light bulb turned on (it turns out about 28-30 degrees — the temperature ideal for fermentation of yeast dough). Then we tighten the bowl with the dough with cling film or cover with a towel made of natural fabric (flax is best suited) so that the surface does not be swollen and not covered with a crust. You can also let the dough wander in a microwave, in which we pre -boil a glass of water. The dough will rise with a door closed, and the glass will stand there. Then the bowl does not need to be closed with anything, since the water will evaporate, thereby maintaining the necessary humidity. Just make sure that no one inadvertently turns on the microwave, otherwise the dough will disappear and house bread will not work.
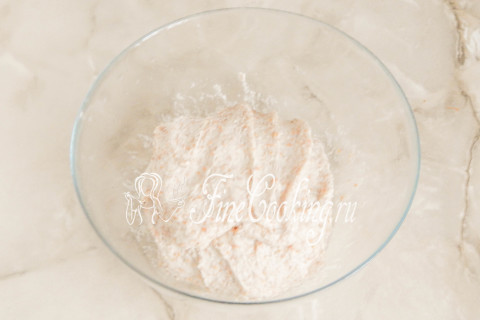
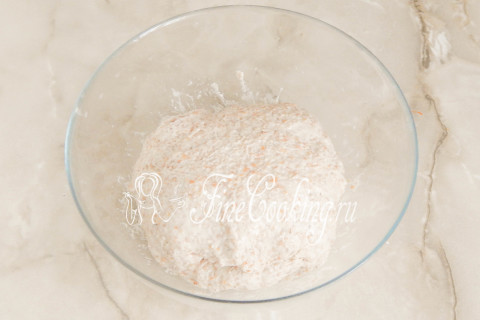
Step 9

After 1 hour of fermentation, the yeast dough will significantly increase in volume — at least twice.
Step 10
In this recipe for homemade bread, we will use a technique called «Stretch and Fold», which is translated from English means «stretch and add up.» That is how we will affect the dough (stretch and fold), due to which gluten will develop, and the dough itself is not only smooth, but also very fluffy. I must say that this is the best way of passive development of gluten in the test. I will try to show without a video in the photo how it looks in the process. So, we will moisten your hands a little with water, we take the far edge of the dough, spread it to the sides and fold it to the near side. At this stage, you will already notice the difference in the consistency and texture of the dough: it has become smooth, stretches well and does not break.
Step 11

We turn the bowl and repeat the manipulations: from the far edge we pull the dough with both hands (do not forget to moisten them in water after each time) and again put to the near side. Due to the fact that we smeared the dishes with oil, the dough practically does not stick to it, thereby the gluten frame will be perfectly preserved.
Step 12

It remains to stretch and fold the dough in a similar way twice more. We stretch and fold the dough to us from a narrower edge, then turn the bowl of 180 degrees and repeat the action.
Step 13
It turns out almost a square workpiece.
Step 14
It must be turned upside down, simultaneously giving the dough a slightly rounded shape. We leave the dough in the heat for another 30 minutes.
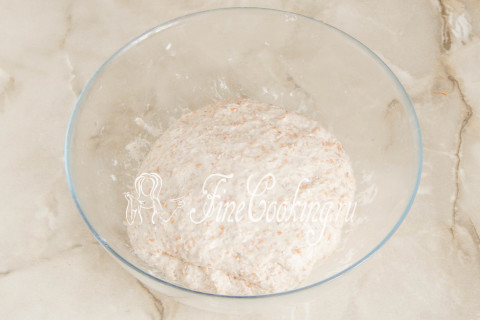
Step 15
The second time, the yeast dough for Barvikhinsky bread is even faster.
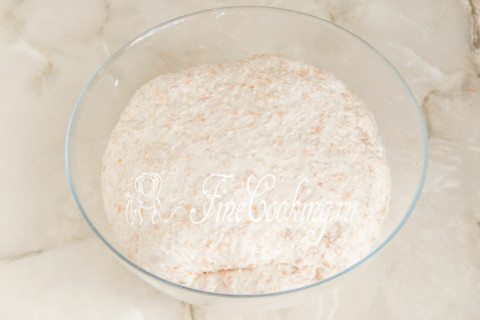
Step 16
We repeat the folding and leave the bun to wander for another 1 hour.
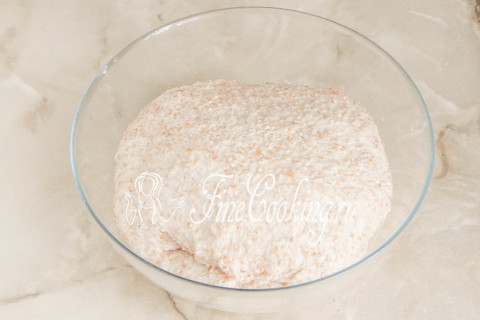
Step 17
This is how the dough looks after 2.5 hours of fermentation — this is the total time.
Step 18
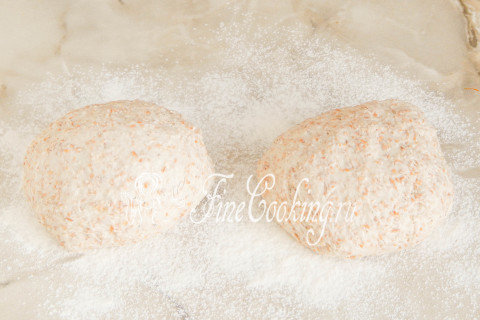
Sprinkle the working surface slightly with wheat flour. I decided to cook 2 small loafs, so I divided the dough into 2 equal parts. You can bake 1 large loaf. Walk pieces of dough.
Step 19
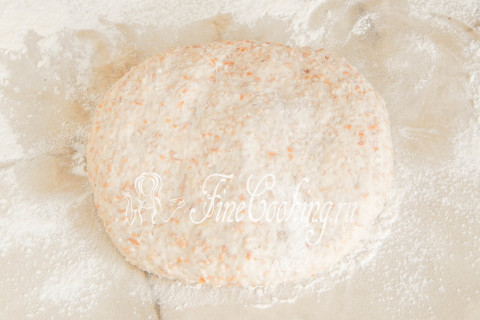
We take one piece of yeast dough and gently, knead it on the work surface.
Step 20
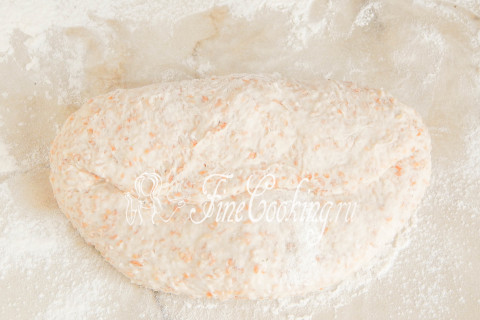
Visually divide the dough into 3 parts. We fold one edge to the center, sealed the seam with a short punching with the edge of the palm.
Step 21

Similarly, we repeat with the second end of the workpiece.
Step 22
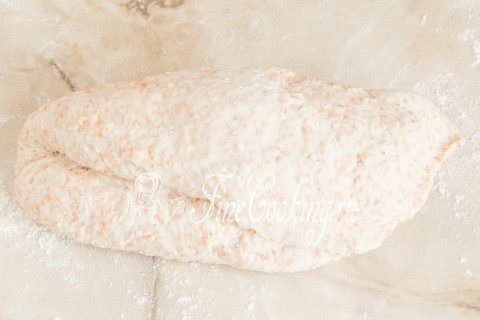
Now fold the dough in the seam in half and also seal the seam.
Step 23
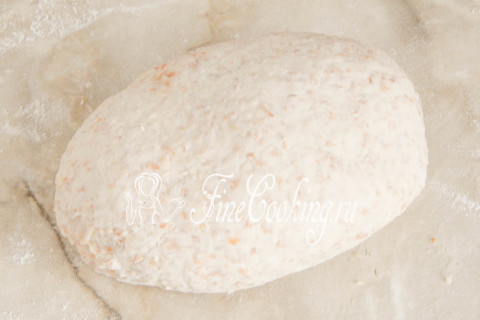
We roll up the workpiece, giving it the shape of an oval. Similarly, we form a second piece of dough.
Step 24
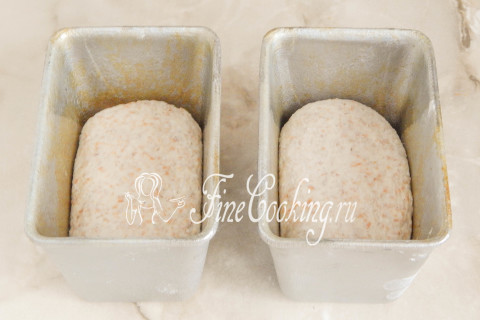
Now we lay the blanks in the form/baking shape, which we lubricate with a small amount of vegetable (I have sunflower) oil. I also did not indicate him in the ingredients — there is literally a teaspoon. Here I use my favorite target molds for small loafs. You can bake Barvikhinsky bread in any suitable shape, but consider that the dough during baking will grow two times for sure. We cover the workpiece with a towel or cling film and leave the distance for 40-45 minutes at room temperature. Time again depends on the temperature in the kitchen and the activity of yeast. The main thing is that the dough grows well. At this time, we smear the oven (210 degrees).
Step 25
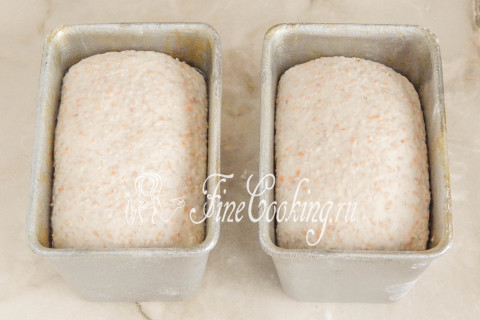
When the workpiece doubles or slightly more, you can put future bread in a hot oven. Additionally, slightly sprinkle the surface of the dough with water from the spray gun.
Step 26
We bake Barvikhinsky bread at 210 degrees about 75-80 minutes at an average level for steam. In other words, this wheat bread is needed at a relatively high temperature and high humidity. Steam can be created in two ways. Firstly, just throw several large ice cubes in the already warmed oven at the very bottom. Or put a bowl of water on the bottom in advance. By the way, if you bake bread in the form of one large loaf, time may need a little more — focus on the appearance of the product and the nature of your oven.
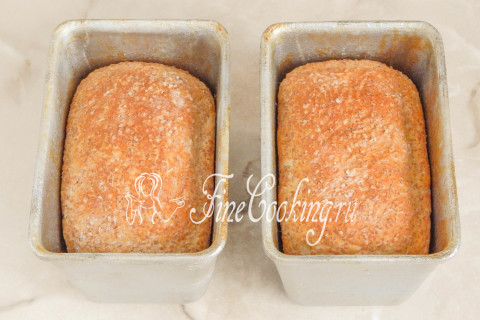
Step 27
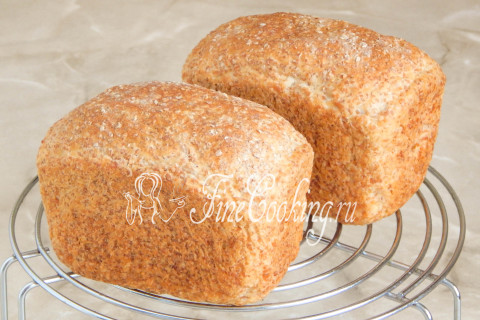
We immediately remove the finished loafs from the forms, cool on the grate and enjoy fresh, fragrant, delicate and very tasty pastries.
Step 28
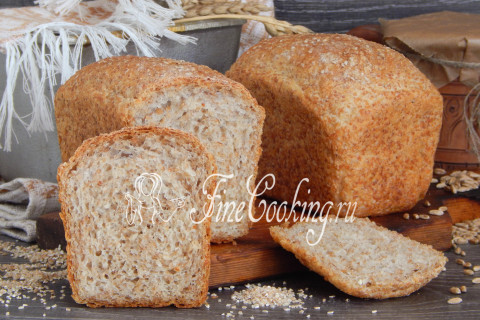
Unusually attractive Barvikhinsky bread with a crisp, delicate, air, almost weightless crumbs — tasty and fragrant baking at home. Svetik, thank you very much for reminding me of such a wonderful bread. Prepare for health, friends!