
Step 1
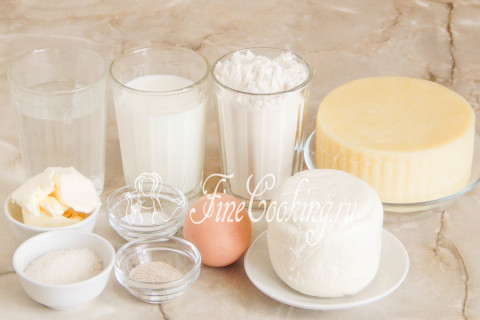
To prepare delicious and satisfying Ossetian pies, we will need the ingredients such as: wheat flour, water, milk of any fat content, salt, sugar, yeast, butter (with fat content of at least 72%), medium -sized chicken, Adyghe cheese and suluguni.
Step 2
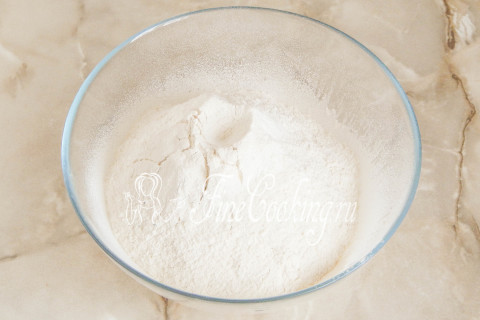
First, we will make a yeast dough. It can be kneaded on the working surface (kitchen table) or in a large bowl — so more convenient. We sift (preferably twice) wheat flour of the highest grade. Thanks to this, the flour is not only loosened and saturated with oxygen, but possible garbage will also leave. You may need a little less or more flour — it depends on its quality (in particular moisture). That is why I would advise you to use not all the flour at once, but take 450 grams to begin — then you will navigate the consistency of the dough.
Step 3
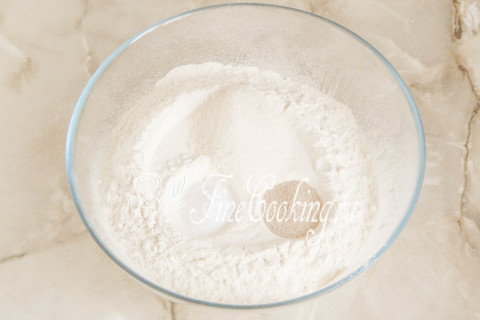
Add 1 teaspoon without a hill (this is 3 grams) of high -speed yeast, 1.5 tablespoons of sugar and 1 teaspoon of small salt without a hill. Mix everything thoroughly with a fork, a whisk or hand so that all the dry components are evenly distributed according to the mixture. About yeast: it is not necessary to take precisely fast -acting ones — just dry (also 3 grams) or pressed (3 times more, that is, 9 grams) are perfectly suitable. Such yeast is not immediately mixed with wheat flour, but in advance is activated in a warm sweetish liquid for 10-15 minutes. In our case, you can slightly heat half a glass of water with sugar and dissolve the yeast in it.
Step 4
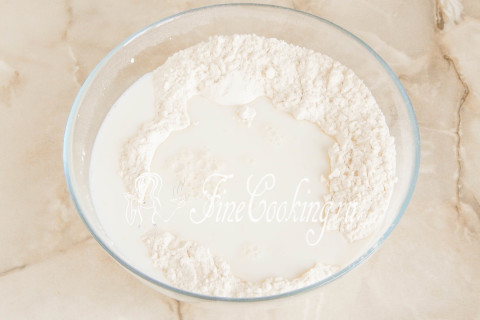
In the flour mixture, we make a recess and pour 180 milliliters of warm (not hot, namely pleasant warm) milk and 160 milliliters of drinking water. Mix everything with your hand or spoon so that the flour is moistened.
Step 5
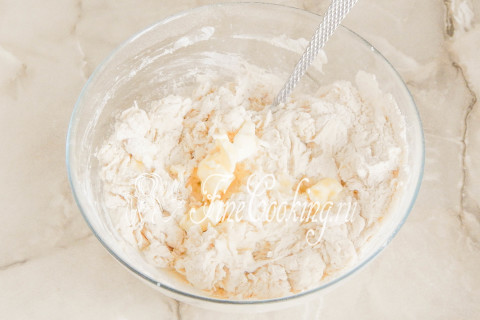
When you get such flour lumps, you can introduce soft butter (50 grams). We begin the knead of the dough with our hands or with the help of dough (bread makers).
Step 6

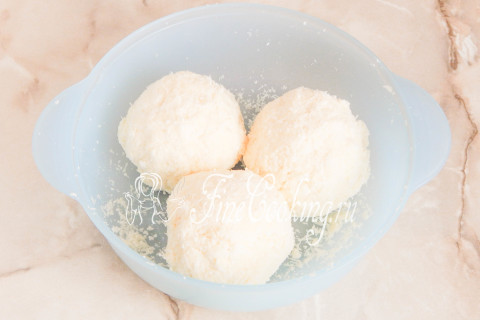
The batch of yeast dough for Ossetian pies should be intense and quite long — at least 10 minutes. The result is a smooth, homogeneous dough that sticks a little to the hands. In the process of kneading, adjust the amount of wheat flour — it takes me exactly 500 grams. We roll the dough into the ball and leave it in a bowl, which is desirable to slightly grease with refined vegetable oil (so that the dough does not stick). We send the bun to heat for 2 hours, while after about 1 hour of fermentation you need to make a light fence and re -rounding. Where is it better to wander the test and what does a warm place mean? There are several options. First of all, in the oven with a light bulb turned on (it turns out about 28-30 degrees — the temperature ideal for fermentation of yeast dough). Then we tighten the bowl with the dough with cling film or cover with a towel made of natural fabric (flax is best suited) so that the surface does not be swollen and not covered with a crust. You can also let the dough wander in a microwave, in which we pre -boil a glass of water. The dough will rise with a door closed, and the glass will stand there. Then the bowl does not need to be closed with anything, since the water will evaporate, thereby maintaining the necessary humidity. Just make sure that no one inadvertently turns on the microwave, otherwise the dough will disappear and Ossetian pies will not work.
Step 7
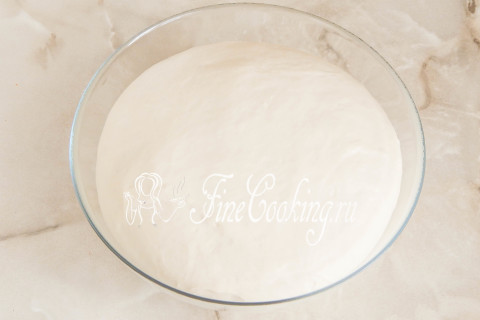
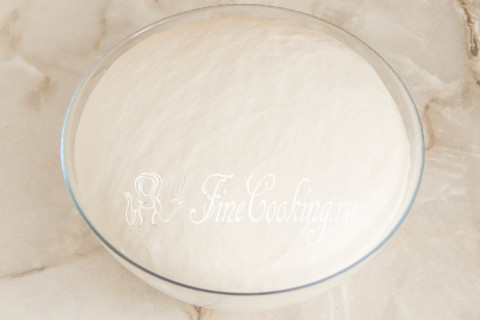
This is what the yeast dough looks like, which spent the warmth of 1 hour — it increased by 2.5 times.
Step 8
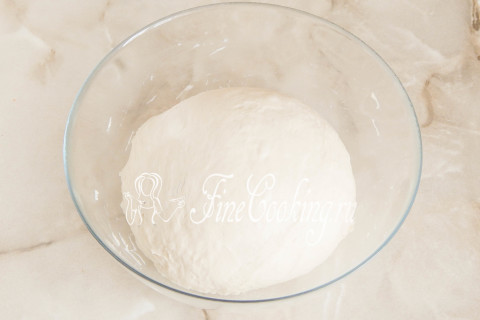
To remove the excess gas from the dough, we crush it, round it and give re -fermentation for about an hour.
Step 9
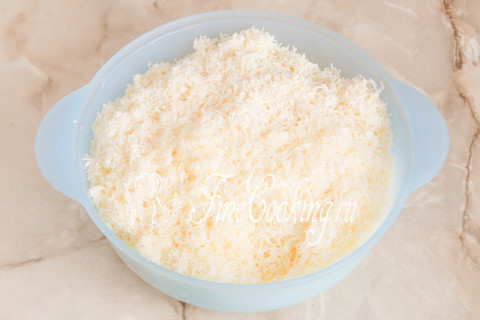
While the dough wanders, you need to prepare the filling for Ossetian pies. To do this, just chop the suluguni (500 grams) and Adyghe cheese (400 grams) on a fine grater. Both types of cheese are carefully mixed. By the way, you can choose other proportions for yourself — for example, more suluguni and less than Adyghe. It is important that in total it turns out 900 grams of filling.
Step 10
Since we will have 3 pieces of Ossetian pies, we divide the filling into 3 equal parts (300 grams each). We make such rather dense balls of cheese chips and leave the filling on the table in anticipation of forming blanks.
Step 11
After the second fermentation, the yeast dough should grow even more. By the way, I want to talk a little about the time of fermentation of the yeast dough and the proofing of the workpieces. I hope you understand that this concept is relative. What does it mean? Well, for example, the recipe says that the test should be given to rest for 1 hour. You understand that 1 hour is the time that the author of this recipe was needed. +/- 10-15 minutes- quite acceptable deviation, the entire time of fermentation of the yeast test depends on many factors. Freshness (and as a result of activity) of yeast, the quality of flour, the temperature in the room, the amount of dough — this all affects the time of fermentation and proofing. Therefore, never clearly follow these recommendations — you must feel the dough, understand what he needs and then you will cook it purely intuitively.
Step 12
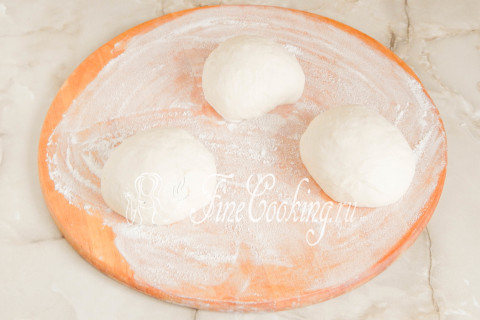
I advise you to sprinkle the working surface with wheat flour (this additional amount is not included in the list of necessary ingredients), since the dough is quite sticky. We divide the dough into three equal parts (300 grams each), each of which is rounded, rolling into a neat ball. We cover the workpieces with a cling film or a light towel (so that the surface of the dough does not get bored) and leave at room temperature to rest for about 10 minutes. During this time, the gluten will relax and the dough will become more supple, it will be better to stretch.
Step 13
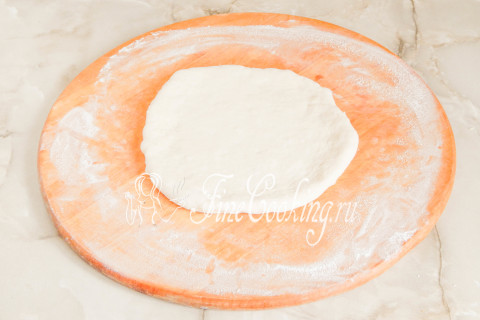
When the dough is flying, we take one ball of dough (the rest for a while we transfer the refrigerator to slow down the fermentation processes) and stretch it a little with our hands into a flat round layer.
Step 14
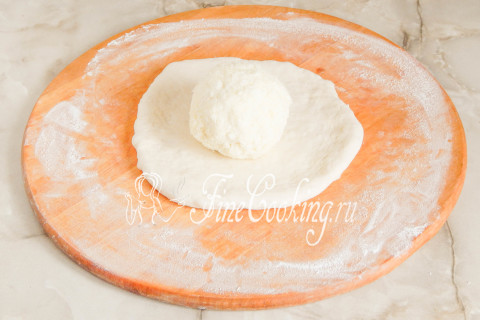
In the center we put one ball of cheese.
Step 15
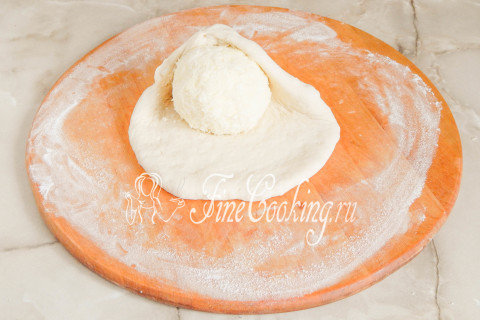
Now we begin to collect the edges of the dough to the center, as if trying to hide the filling.
Step 16
This yeast dough is very supple and tender, so it stretches well. We tightly pinch the seam so that the cheese ball of the floor is reliably hidden under a layer of dough.
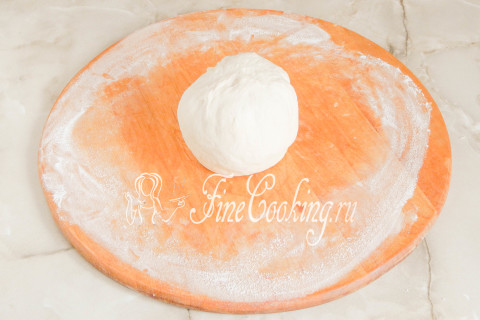
Step 17
We turn the workpiece with a seam down and carefully flatten it into a flat cake (I have 25 centimeters with a diameter, but you can stretch it up to 40 centimeters if you like very thin Ossetian pies). In the cake, the ratio of the test and filling is 1: 1 — 300 by 300 grams.
Step 18
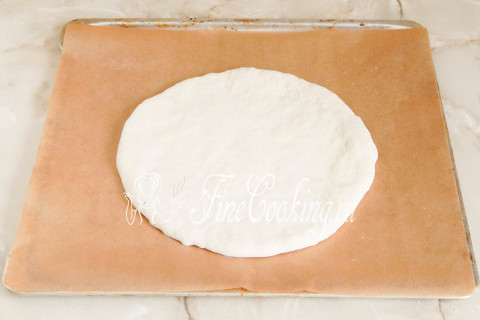
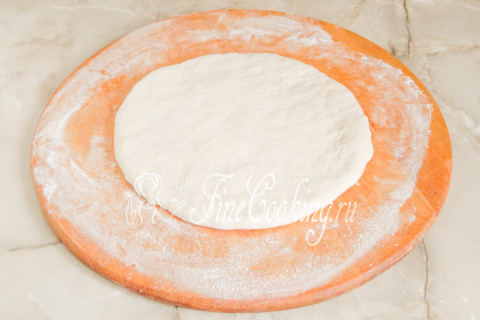
We transfer the workpiece to a baking sheet covered with parchment paper. If the baking paper is of high quality, it does not need to be lubricated.
Step 19
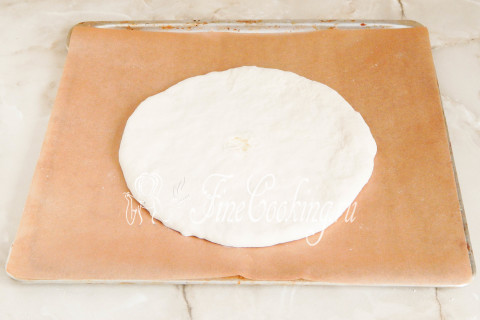
In the center of the cake, we make a hole so that steam comes out during the baking process — just carefully tear the dough with your fingers.
Step 20
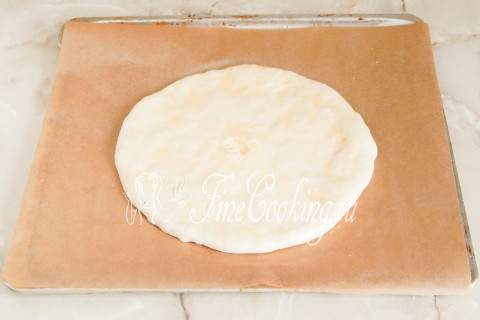
We break the chicken egg into a bowl or a cup, chat with a fork. We lubricate the future pie with a chilled egg, so that during the baking it becomes beautiful and ruddy. By the way, Ossetian pies, as a rule, are not lubricated with an egg before baking, but I personally like it so much.
Step 21
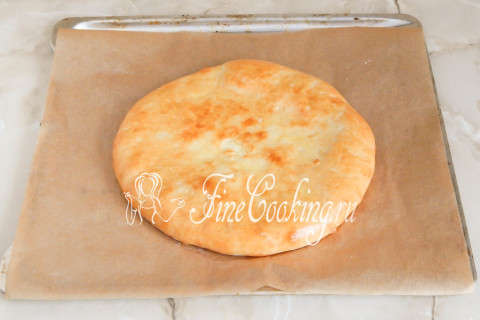
We prepare a cake in a preheated oven at 190 degrees for 20-25 minutes before blackmail.
Step 22
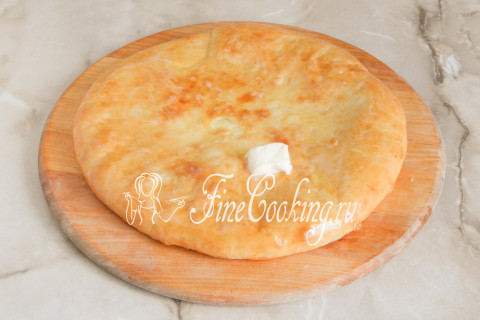
Remove the finished pie from the baking sheet and lubricate with hot a piece of butter (due to this, the crust will become soft and delicate). We cover the cake with a light towel — let it rest for about 5 minutes.
Step 23
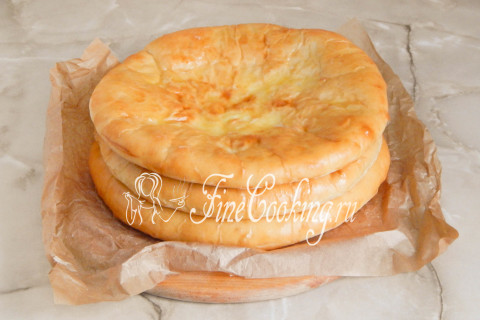
Similarly, prepare the other 2 pieces. It is most convenient for me to act as follows: as soon as the first pie is in the oven, I immediately take out the second ball of dough from the refrigerator and form it into a cake. In 20 minutes, while the first pie is baking, the second is already formed and manages to relax a bit before baking. So it is with the third pie.
Step 24
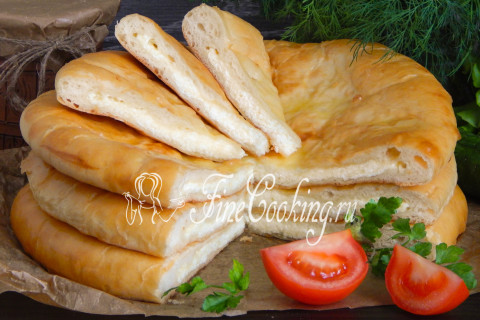
Sonya, from the whole family, thank you for this delicious order — there is still an Ossetian cake with meat ahead! Prepare for health, friends, and pleasant to you appetite!