
Step 1
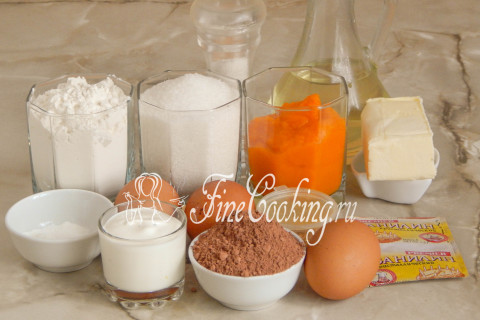
We will prepare this fragrant and delicious home baking of products such as: wheat flour, sugar, pumpkin puree, chicken eggs, refined vegetable (I have sunflower) and butter, sour cream (any fat content), cocoa-powder, salt and vanillin (you can replace the teaspoon of vanilla sugar). Here I give the ingredients for two types of dough (pumpkin and chocolate, and I will show and write in steps how much and what is needed for everyone). Immediately turn on the oven heat (180 degrees).
Step 2
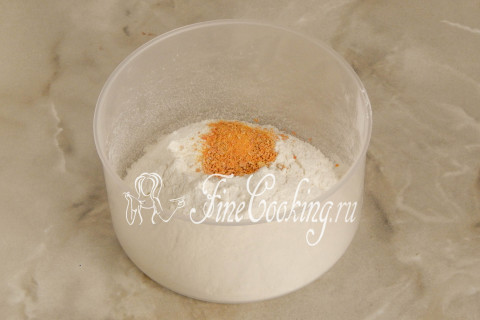
So, first we will prepare a pumpkin dough, although you can start with chocolate — this is not fundamentally. In a bowl we connect 130 grams of sifted wheat flour with a pinch of salt, vanillin, a teaspoon of orange zest and a teaspoon of baking powder. Mix everything thoroughly. This is a loose part of the pumpkin dough while we leave it.
Step 3
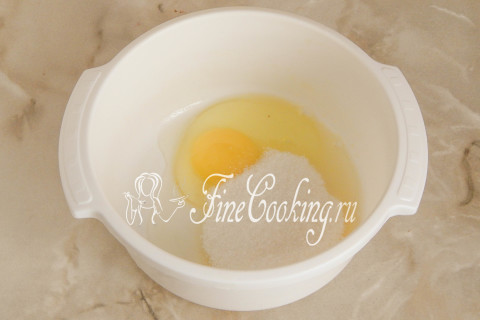
In another bowl we break one chicken egg and pour 80 grams of sugar there.
Step 4
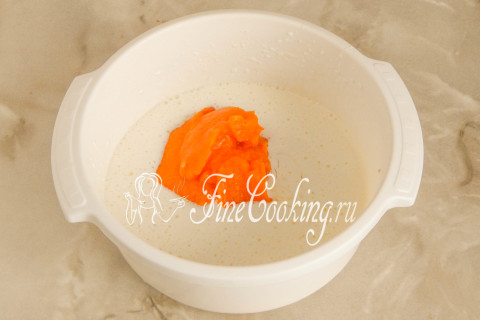
Beat everything with a mixer or a whisk to a lush foam and the dissolution of grains of sugar. Then we add 125 grams of pumpkin puree and 50 milliliters of refined vegetable oil. Mix again or beat a little with a mixer until smooth.
Step 5
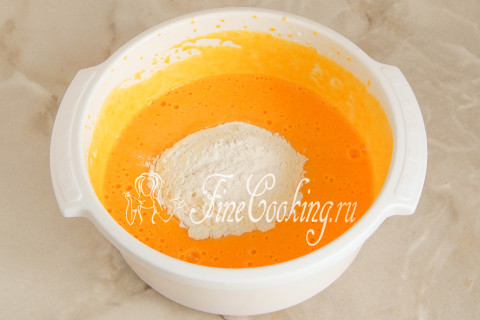
Finally, pour a dry mixture from step 2 into a liquid pumpkin mass.
Step 6
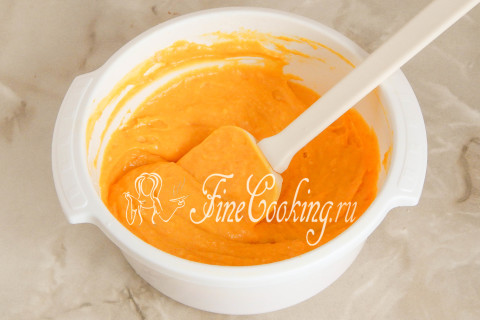
Mix all the ingredients to get a homogeneous dough. For a long time, it is not necessary to interfere with the cupcake dough so that the finished product does not work hard and dense. Everything, the orange dough is ready while we leave it.
Step 7
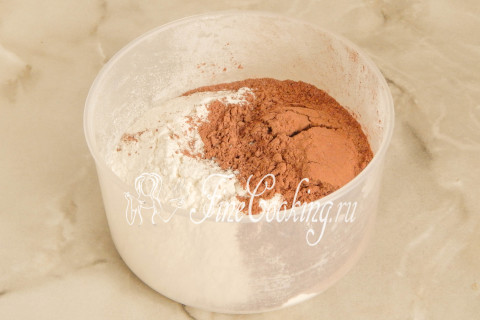
We go to the second test — chocolate. In a bowl we connect 125 grams of sifted wheat flour with a pinch of vanillin and salt, as well as a teaspoon of baking powder and 30 grams of cocoa powder.
Step 8
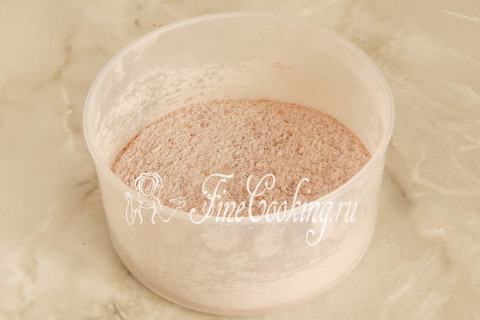
We mix everything well so that all the bulk components are connected. This is a dry basis for chocolate dough.
Step 9
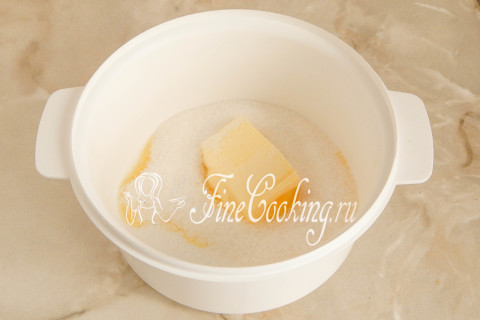
In another bowl we put 70 grams of soft butter and 120 grams of granulated sugar. Remove the oil in advance from the refrigerator.
Step 10
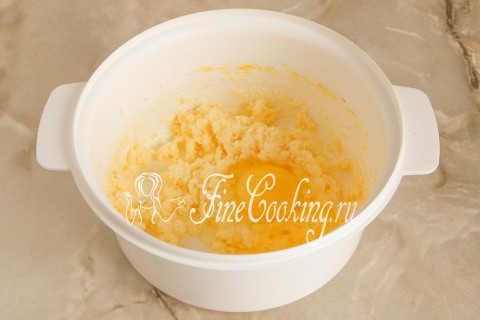
We rub oil with sugar for a couple of minutes, then add 2 chicken eggs one at a time. The second only after the first egg has been interfered.
Step 11
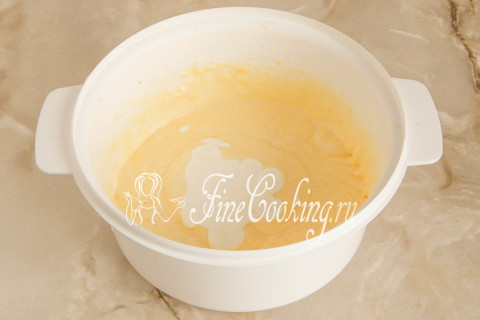
Next we put 50 grams of sour cream (the fat content does not matter, I had 10%). Mix again.
Step 12
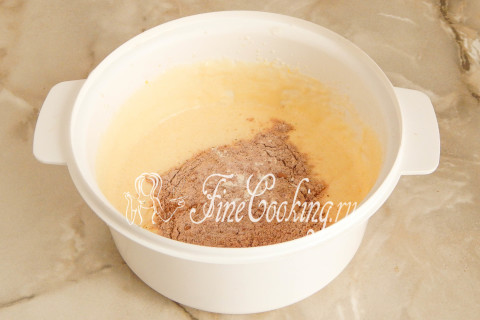
And now add a dry flour mixture with a cocoa powder to the liquid base.
Step 13
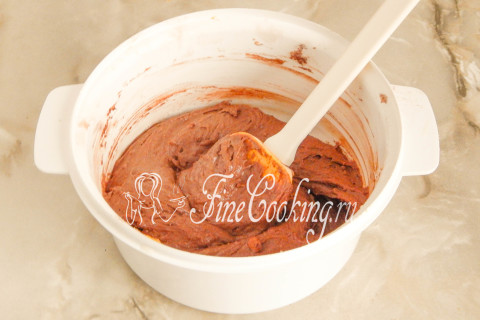
Again, quickly mix everything and get a chocolate dough for our autumn cupcake.
Step 14
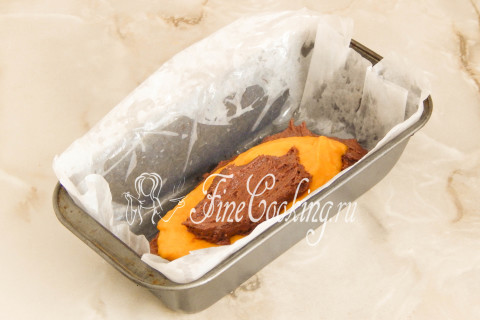
It is time to spread the dough in a baking dish, which must first be covered with parchment. I just moisten the paper with water, squeeze it and then it fits perfectly in any shape. We spread through a tablespoon of each type of dough until it ends.
Step 15
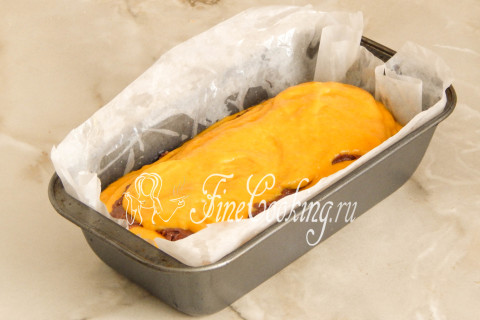
Thus, we filled half the form (I have 10×20 centimeters).
Step 16
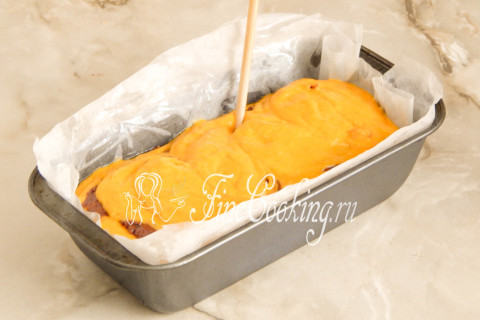
Now, if desired, you can make a drawing inside the dough. It is randomly spent throughout the depths with a wooden stick, just not long, so that both types of dough are not mixed.
Step 17
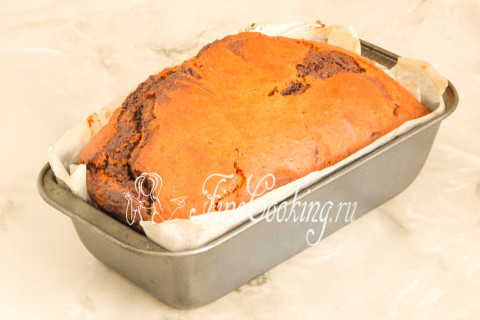
We bake the chocolate-tied cupcake in the preheated oven for 50-60 minutes at 180 degrees.
Step 18
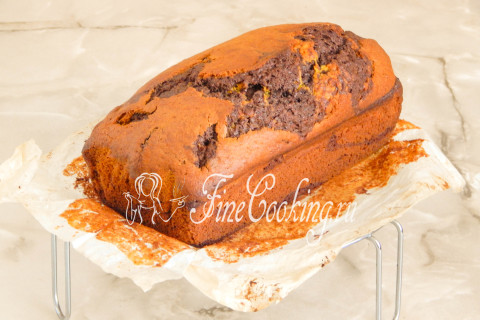
Then we take out the finished cupcake from the oven and release first from the shape, then from the baking paper. Let him cool on a bars.
Step 19
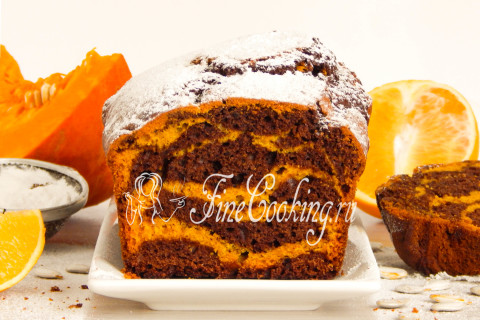
We really like this pastries, so I advise you. Even my pumpkin lovers broke the cupcake in two accounts and said that there was little spectla. In fact, the taste and smell of pumpkin in this cupcake is completely absent, but it gives baking color and juiciness.