
Step 1
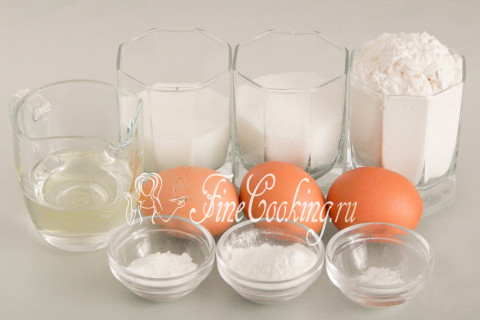
Let's start, perhaps, with the preparation of a chiffon biscuit. We will need the following ingredients: chicken eggs (large — 55-60 grams each), wheat flour of the highest grade, granulated sugar and vanilla sugar, refined sunflower oil, milk of any fat content (I took 2.5%), baking powder and slightly salt. All products should be at room temperature.
Step 2
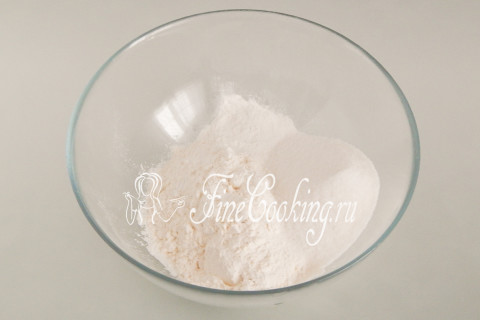
First of all, it is important to prepare a dry mixture for a biscuit dough. In a suitable container of decent (2-3 liters) volume we pour 130 grams of sifted wheat flour of the highest grade, add 80 grams of sugar (20 grams will be needed later), 1.5 teaspoons of the baking powder and a pinch of fine salt. How to make a home looser of dough for the future, read here.
Step 3
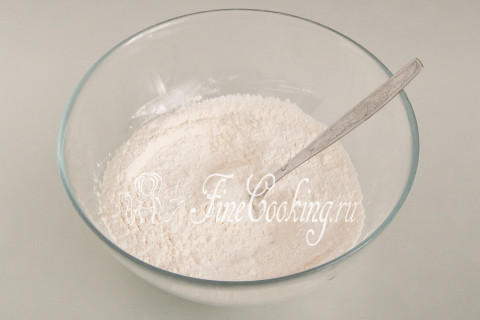
Mix everything thoroughly with a spoon, fork or whisk, so that dry ingredients are evenly distributed according to the mixture.
Step 4
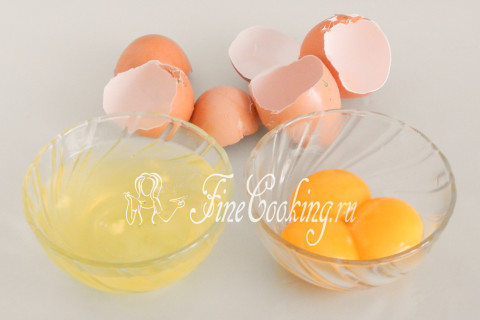
Wash and carefully dry chicken eggs (3 pieces). Then carefully separate the proteins from the yolks and put them in different dishes. Personally, it is most convenient for me to do it with my hands: I break the eggs, pour it into my palm and pass the protein through my fingers. Pure yolk remains in the palm of your hand — I transfer it into a separate bowl.
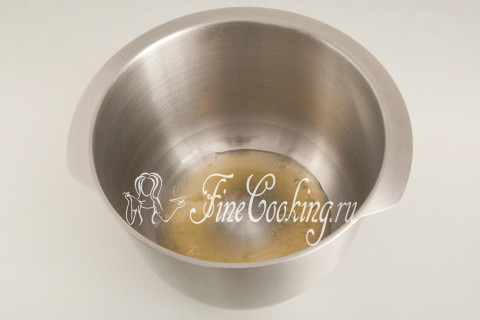
Step 5
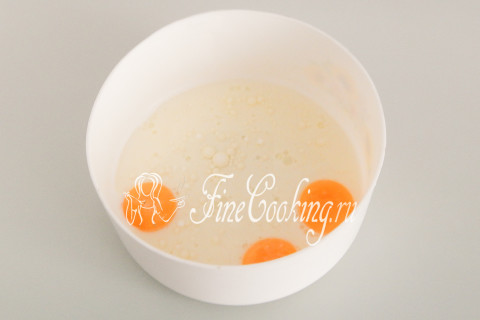
We transfer the egg yolks to a bowl, add 80 milliliters of milk and 50 milliliters of vegetable (in my case of sunflower) oil without smell.
Step 6
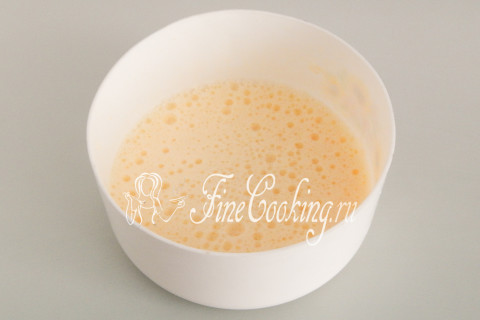
Beat everything with a mixer or manual whisk so that the liquid mass becomes homogeneous. With the help of a mixer, it will be fast — literally 30 seconds.
Step 7
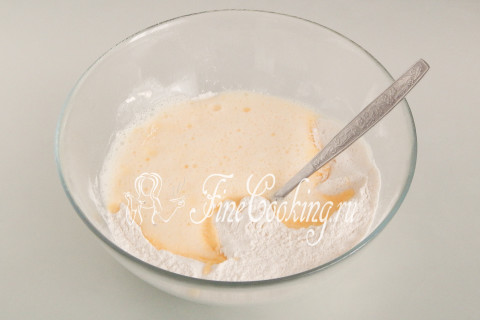
We pour the liquid base to the dry flour mixture.
Step 8
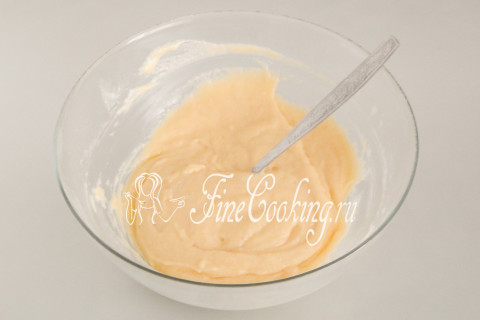
Mix everything to smoothness and homogeneity. You can do this with a mixer, but everything turns out easily and quickly even with the help of a regular fork. The workpiece for the future chiffon biscuit is ready, it's time to move to egg proteins.
Step 9
For whipping proteins, always take clean, low -fat and dry dishes. Verels should also be prepared in a similar way. Beat the proteins with a mixer to a light foam, after which we gradually pour 20 grams of sugar (remember, it remained in step 5) and 1 teaspoon of vanilla sugar.
Step 10
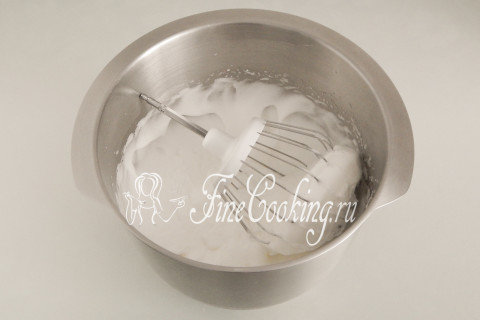
Beat at high speeds until a rather dense and snow -white mass is formed. If you turn the bowl, the squirrels will not budge. One of the guarantors of a high and lush biscuit is high -quality whipped egg proteins!
Step 11
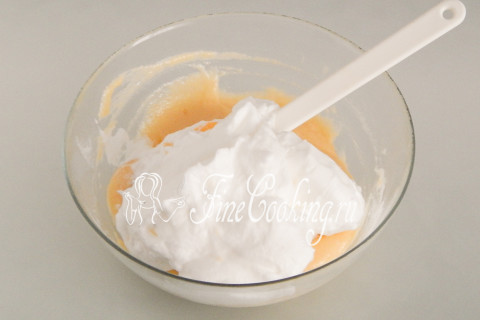
We shift the whipped proteins to the yellow-mock blank.
Step 12
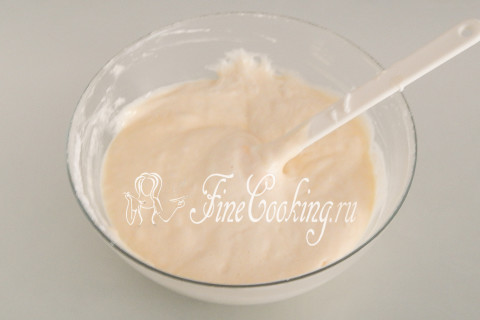
With a spatula, gently, but quickly decorating (folding) movements in a circle, intervene proteins in the basis. Our task is to saturate the dough with magic air bubbles that are in whipped proteins, while trying to maintain the volume as much as possible.
Step 13
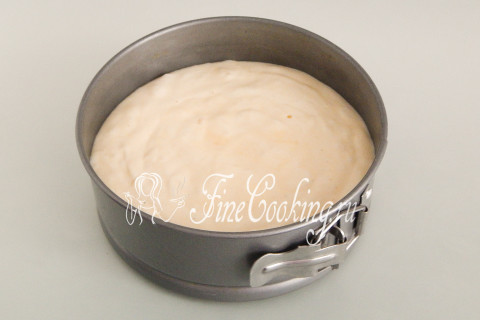
We transfer the biscuit dough to a pre -prepared baking form. For so many ingredients used, a detachable round shape with a diameter of 18-22 centimeters is suitable. In my case, with a diameter of exactly 20 centimeters. For a chiffon biscuit recipe, it is not necessary to lubricate the form: it is enough to lay the bottom of the parchment paper. We take a small piece of paper and put it on the bottom of the shape. Put the ring on top and close it. With proper preparation, biscuit dough flows with lazy wide ribbon. I advise you several times very carefully and easily tap on the table on the table (be sure to put a soft towel on the surface) to release large bubbles from the dough.
Step 14
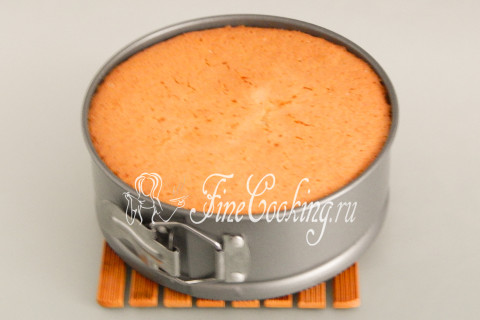
We put the form with a biscuit dough in a preheated oven to an average level and prepare at 160 degrees about 50 minutes to dry beam. Once again, I remind you: I have a gas oven, lower heating, without convection. At the end of the baking, the biscuit will rise very well (I had a beautiful hat above the side of about 1 centimeter), but then it will settle slightly — this is normal. Let the finished biscuit stand in the shut-off oven with an ajar with the door for 5-7 minutes, after which we take out the shape and cool the pastries.
Step 15
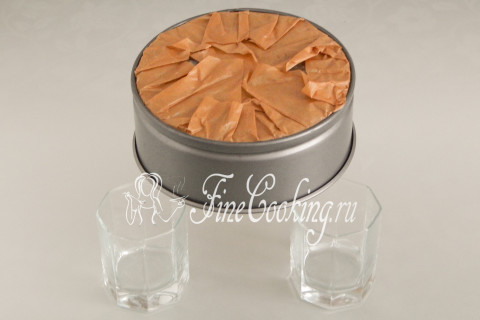
Cool the chiffon biscuit I advise in an inverted form. To do this, take 3-4 cups or mugs (be sure to the same height) and place the shape in an inverted form on them, trying not to melt the biscuit.
Step 16
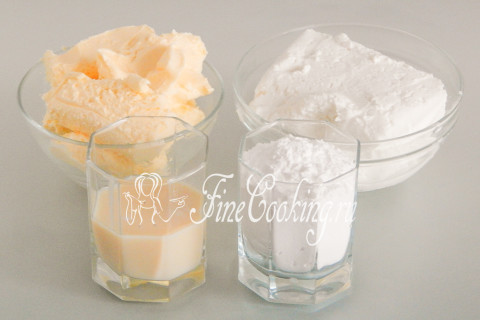
While the biscuit cools down, we will prepare a simple, but very tasty cottage cheese cream. We will need the following ingredients: cottage cheese (I use 5%fat, but it will be great with 9-11%), butter (in my case 82.5%, but 72%), condensed milk with sugar and sugar powder. All products for the cream must be of one temperature.
Step 17
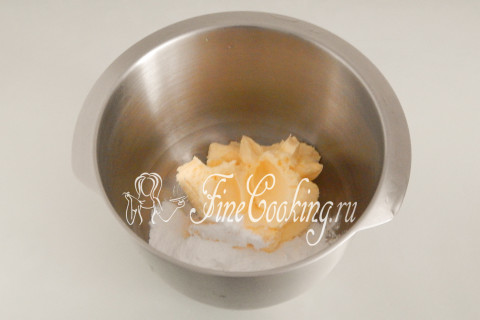
Put 300 grams of soft butter in a whipping container and add 100 grams of powdered sugar.
Step 18

Beat oil with sugar powder with a whisk — wide or narrow (not so important). Since I have a planetary mixer, the process does not require my participation. My assistant whipped oil with powdered sugar for 10 minutes: at first at low speed (so that the powder does not scatter), after which on the highest. I advise a manual mixer a little longer — about 15 minutes. However, the whipping time depends on the power of your electrical appliance.
Step 19
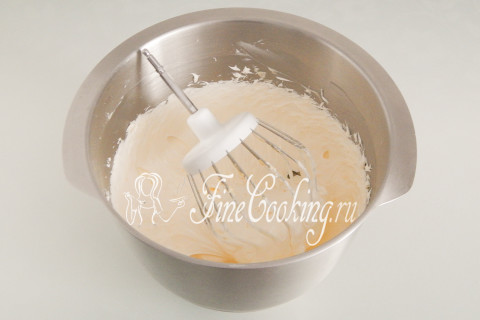
So the oil with powdered sugar is ready. It marked noticeably, increased well in volume, became airy and smooth.
Step 20
Just look, what a delicate and glossy beauty!
Step 21
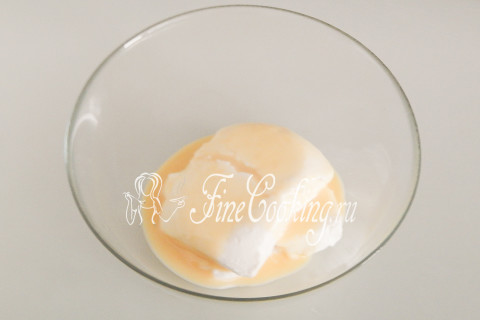
In another bowl, we connect 400 grams of cottage cheese and 100 grams of condensed milk.
Step 22
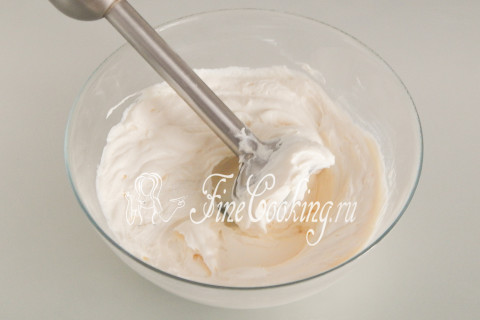
We need to get a completely homogeneous curd mass, so a submersible blender will help us perfectly. In literally 1-2 minutes, cottage cheese with condensed milk will turn into a delicate and smooth cream. As an option (if you do not have a submersible blender), you can wipe the cottage cheese through a sieve (preferably twice), and then thoroughly mix it with a condensed milk with a mixer or just a spatula.
Step 23
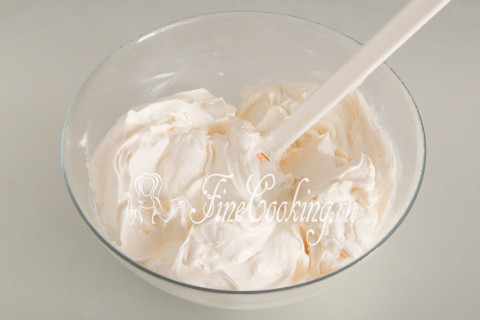
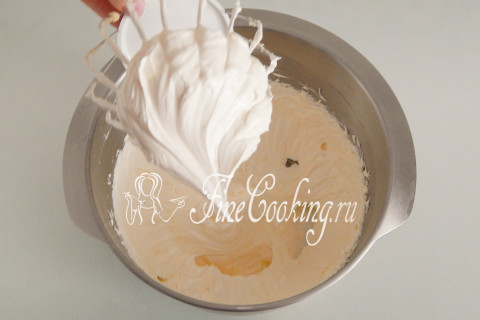
It remains to combine the curd base and whipped oil. We shift the oil (you can also cottage cheese — this is not important) to the cottage cheese and simply mix everything with a spatula.
Step 24
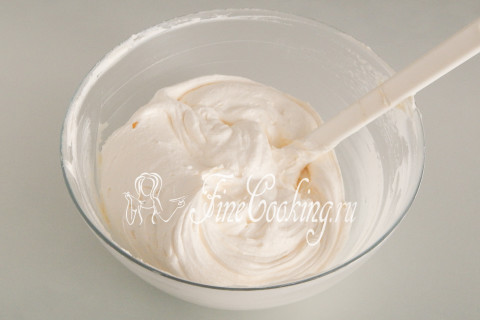
The result is a delicate, tasty and hearty curd cream. It will be 900 grams — a decent amount. That is why, if you do not like a lot of cream in cakes, you can reduce all the ingredients by 2 times — you get 2 thin layers of filling and light coating of sides and top.
Step 25
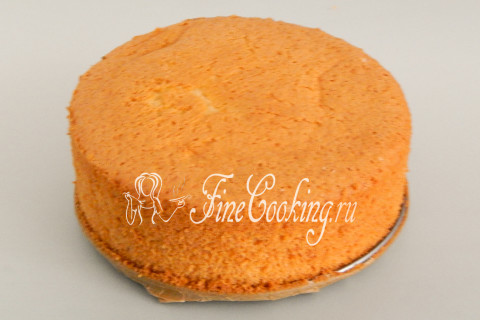
When the chiffon biscuit cools completely, cut it out of the mold with a thin long knife (along the wall). Then carefully remove the parchment paper from the bottom of the biscuit. For lovers of valuable culinary information: the weight of the finished biscuit is 450 grams, the height is 5 centimeters, the diameter is 20 centimeters.
Step 26
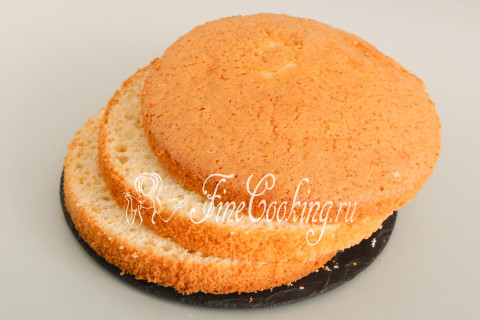
The biscuit itself is cut into 3 identical cakes. I do this like this: at first I make shallow cuts with a knife-knife around the circle, after which I cut the biscuit using a conventional thread. As an option, you can use a special string, but when working with it, it is advisable to have a couple more hands.
Step 27
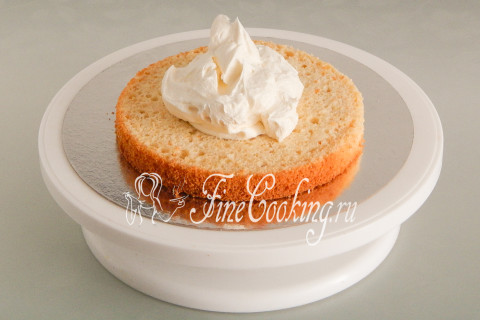
To assemble a biscuit cake, we use a flat dish or a special substrate. We put the lower cake in the center, and on top — part of the curd cream. In this recipe, I did not weigh the cream when I divided it into portions, so focus on your eye. By the way, the chiffon biscuit always turns out to be quite juicy and does not require impregnation, but many like wet cakes, so if you wish, you can additionally soak the cakes. The easiest option is water+sugar (like a flavor and a taste supplement — citrus juice), you can use sweet tea, water jam, compote …
Step 28
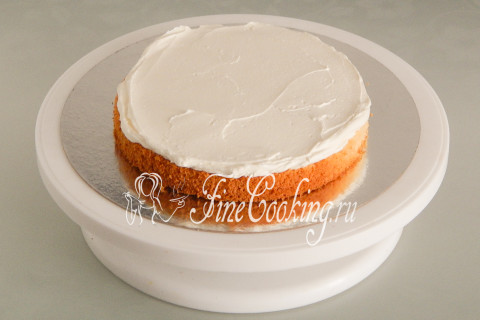
Using a culinary spatula or shoulder blade, evenly distribute the cream along the cream.
Step 29
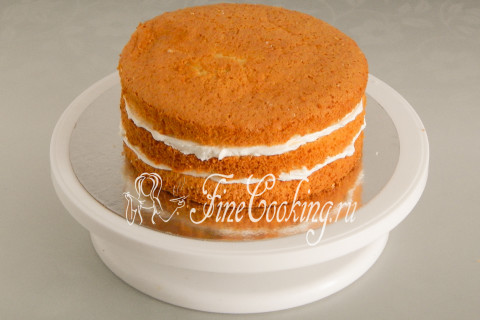
Thus, we collect the entire workpiece: three biscuit cakes and two layers of cottage cheese cream. The upper cake of the biscuit will be riding.
Step 30
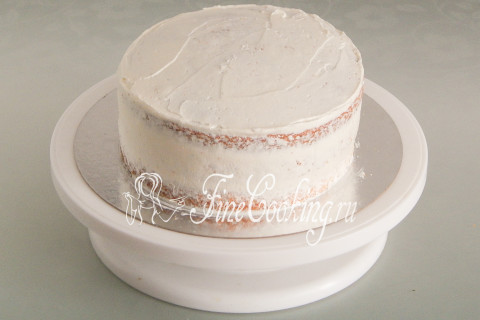
Now we take another part of the cream and cover it with the sides and the top of the workpiece. We apply a small amount and align with a spatula or scraper. Such manipulations are needed only if you want to make a cake with the maximum smooth coating. We place the workpiece in the freezer for 15 minutes — during this time the oil in the cream hardens and it will be much more convenient to work.
Step 31

We cover the frozen cake with another part of the cream and align it: sides and top.
Step 32
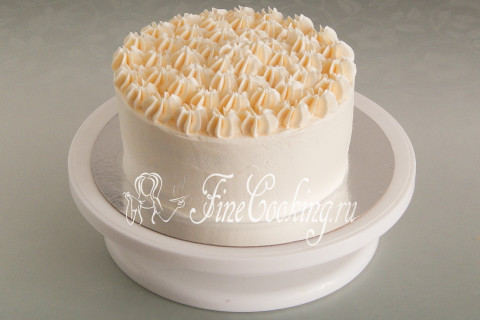
If you repeat after me, there will still be a cream. I put it on top of the cake in the form of such flowers. In finished form, a biscuit cake weighs 1350 grams.
Step 33
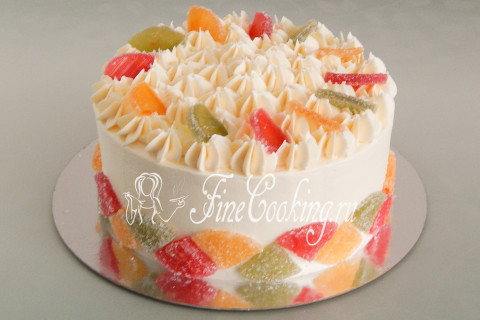
So that the dessert does not look boring, I decided to add a little joyful moments — I decorated with slices of multi -colored marmalade. Your cake can easily become berry, nut, chocolate …
Step 34
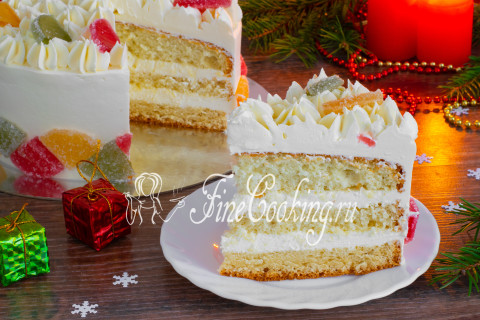
Before serving, you need to store such a cake in the refrigerator (preferably no more than 2 days), but before treating you, be sure to warm it up at room temperature for about half an hour. During this time, butter will soften and the cream will again be soft and delicate. Prepare for health, friends, and pleasant to you appetite!