
Step 1
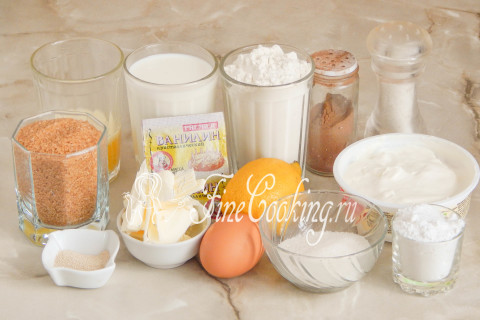
Sinnabon's bun recipe includes quite a few ingredients, but do not be alarmed — they are all quite affordable. So, for the preparation of yeast dough, take the wheat flour of the highest grade, milk of any fat content, one chicken egg of medium size, granulated sugar, butter (it needs to be melted in advance), salt, a pinch of vanillin (you can replace a teaspoon of vanilla sugar) and high -speed yeast (I will write a little lower). By the way, the original uses 2 times more yeast, but this is completely useless. In addition, for the filling we need brown reed sugar (if you do not have it, use simple white), ground cinnamon and soft (take it out of the refrigerator in an hour) butter. For a delicious lipstick, which we will cover the finished buns, you need any cream cheese (I have a masquearpone, you can take Philadelphia, but any domestic unsolved analogue, such as Almette), sugar powder, slightly milk and lemon juice.
Step 2
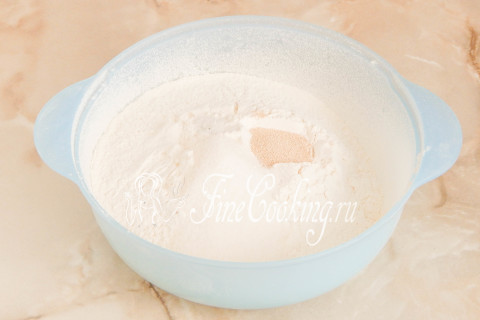
Let's start with the preparation of yeast dough for Sinnabon buns. About yeast: it is not necessary to take precisely fast -acting ones — just dry are perfect (also 3 grams — this is a teaspoon without a hill) or pressed (it is needed 3 times more, that is, 9 grams). Such yeast is not immediately mixed with flour, but previously activated in a warm sweetish liquid for 10-15 minutes. In our case, you can slightly heat half a glass of milk with a tablespoon of sugar and dissolve the yeast in it. Since I used fast -acting, I added them immediately to the flour, which I pre -sought twice. We put 3 tablespoons of sugar, a pinch of vanillin for aroma and 3/4 teaspoon of small salt. We mix everything well so that dry ingredients are evenly distributed along the mixture.
Step 3
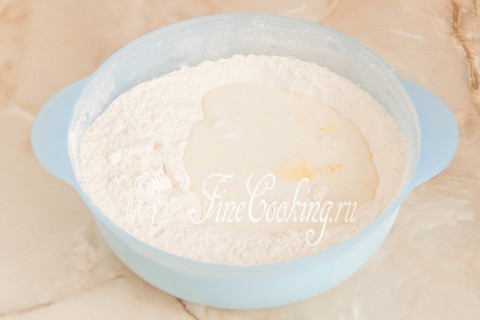
We make a recess in the center and pour warm (not hot, namely pleasant warm) milk into it. We also put the chicken egg there, which can be blushed with a fork. Mix everything with your hand or spoon so that the flour is moistened.
Step 4
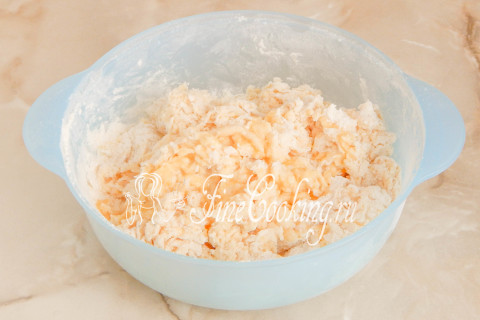
When you get such flour lumps, you can introduce melted, slightly warm butter. We begin the knead of the dough with our hands or with the help of dough (bread makers).
Step 5
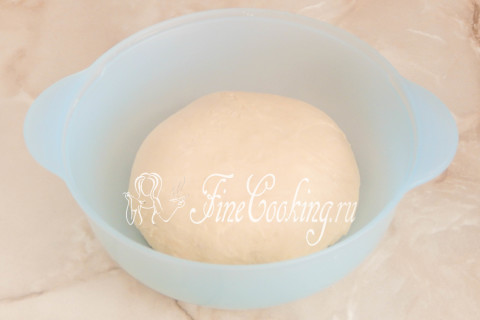
To knead this yeast dough needs for a long time — at least 10 minutes, and even better longer. As a result, you will get a smooth, completely homogeneous dough. It should not be too soft or sticky. Such a yeast dough holds its shape perfectly, it is elastic and elastic. In the process of kneading, you may need a little more or slightly less flour than I indicated in the ingredients — it depends on its humidity. We roll up the dough into the ball and leave it in a bowl (I am always my dishes in which the dough roams — I just do not like dirty). We send the dough to the heat for 40 minutes, after which we make a light grinder, re -rounding and again in heat for another 50 minutes. Where is it better to wander the test and what does a warm place mean? There are several options. First of all, in the oven with a light bulb turned on (it turns out about 28-30 degrees — the temperature ideal for fermentation of yeast dough). Then we tighten the bowl with the dough with cling film or cover with a towel made of natural fabric (flax is best suited) so that the surface does not be swollen and not covered with a crust. You can also let the dough wander in a microwave, in which we pre -boil a glass of water. The dough will rise with a door closed, and the glass will stand there. Then the bowl does not need to be closed with anything, since the water will evaporate, thereby maintaining the necessary humidity. Just make sure that no one inadvertently turns on the microwave, otherwise the dough will disappear and there will be no buns.
Step 6
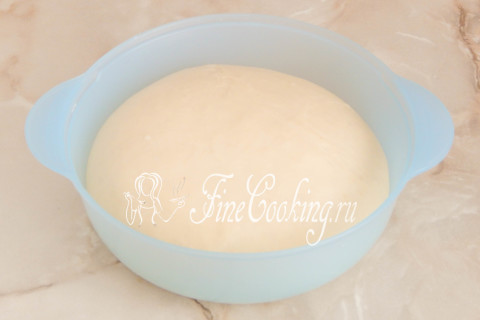
After 40 minutes, the dough is well suited — it will grow in volume at least 2 times.
Step 7
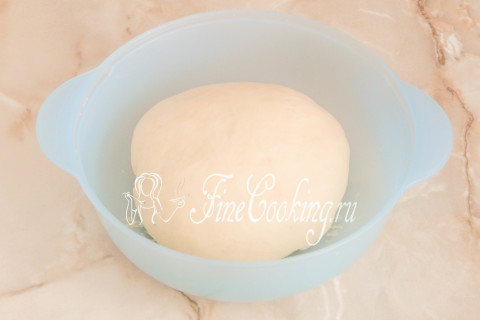
We crush it, round it and again from heat for 50 minutes.
Step 8
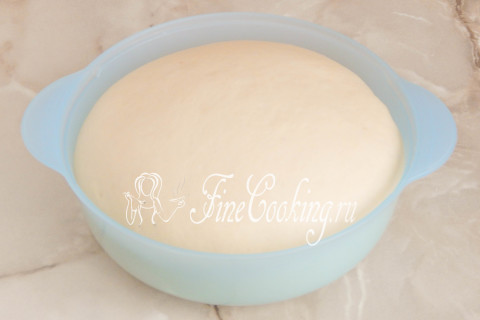
For the second time, the yeast dough will grow even more — exactly 3 times, and maybe 4 times. By the way, I want to talk a little about the time of fermentation of the yeast dough and the proofing of the workpieces. I hope you understand that this concept is relative. What does it mean? Well, for example, the recipe says that the test should be given to rest for 1 hour. You understand that 1 hour is the time that the author of this recipe was needed. +/- 10-15 minutes- quite acceptable deviation, the entire time of fermentation of the yeast test depends on many factors. Freshness (and as a result of activity) of yeast, the quality of flour, the temperature in the room, the amount of dough — this all affects the time of fermentation and proofing. Therefore, never clearly follow these recommendations — you must feel the dough, understand what he needs and then you will cook it purely intuitively.
Step 9

We finished with the lyrics: go to the molding of future buns. We spread the yeast dough on the work surface. It is completely not sticky, so we do not need an additional amount of flour for the head.
Step 10
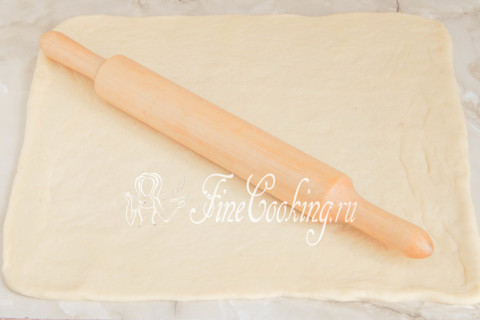
If you attribute yourself to culinary aesthetes (and I'm sure that it is) and you don’t care how beautiful the finished pastries will look, you will have to calculate a little. Take an approximately how many buns you need to get (I have 8 pieces) and what size you will need to bake (I took a rectangular 30×20 centimeters). Now you need to understand what heights the blanks will be — I had 5 centimeters each. Constantly with the help of a rolling pin, roll out the dough into a rectangle, the side of which will be 40 centimeters along the larger edge. The second side is not so important, but try to roll out the dough rather thinly (not thicker than 7 mm). The dough is very supple and elastic, it can be trimmed with a palm or stretched out with your hands.
Step 11
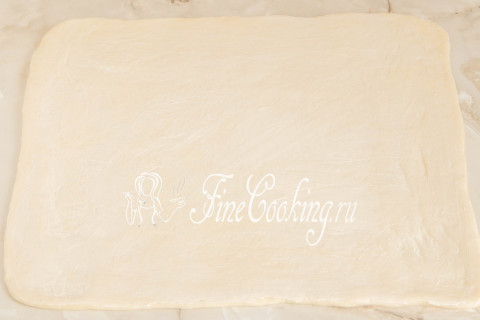
Lubricate the dough layer with soft butter (45 grams). At first I did it with a brush, but it is much more convenient and faster to lubricate the dough right with my hand. To the very edge!
Step 12

We make the filling (I would call it sprinkle): just connect brown sugar and ground cinnamon.
Step 13
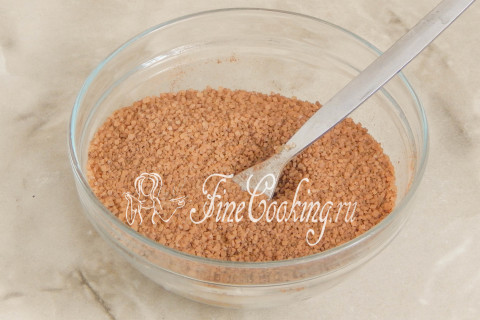
Mix everything with a fork or spoon. If reed sugar is not available to you, feel free to take the usual white, but due to the brown, the finished baking will have a pleasant caramel taste and aroma.
Step 14
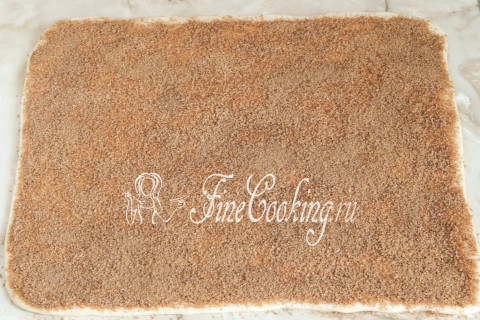
On all surfaces of the dough, distribute fragrant sweet sprinkling — just pour it and level it with the palm.
Step 15

It remains to carefully twist the layer of dough into a dense roll. Do not forget that you need to twist from the wide side (one that is 40 centimeters).
Step 16
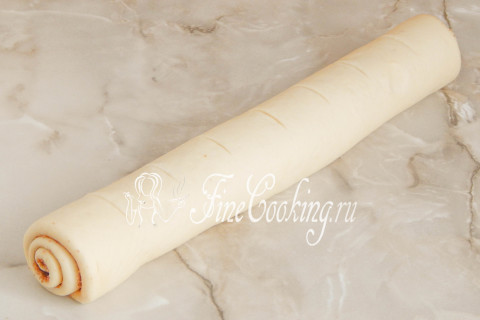
Now it will be necessary to cut this roll. To make everything perfect, pre -measure it using a ruler — each blank of 5 centimeters. But you understand that it was I who did this. You can not bother and do as you like. With a knife, we make visible notches by which we will share the roll.
Step 17
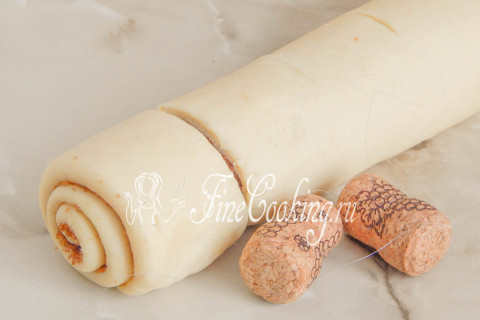
I don’t advise you to cut the workpieces with a knife — it will not work perfectly evenly and beautifully, since the dough will be deformed. There is a way out: use a thread or a fishing line. I came up with this device: I took a piece of thin fishing line and tied both ends to the traffic jams from wine. Very convenient — no need to wind the fishing line on the fingers. We cut the roll as follows: lift the workpiece and run the fishing line (by the level of notch). Now we raise both ends of the fishing line, twist their cross-steam and breed to the sides. Thus, a neat and even piece of roll is cut off in one motion. Similarly, divide the rest of the blanks.
Step 18
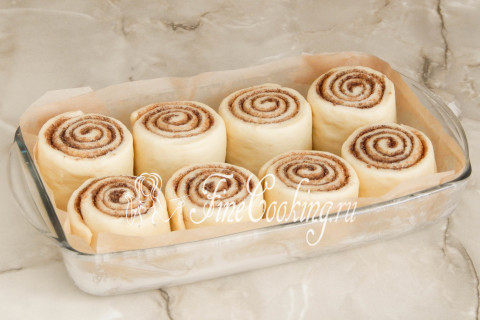
We lay the baking dish with parchment paper (you do not need to lubricate with oil) and transfer the blanks upwards to it. Future buns will increase significantly in volume, so there should be a place between the blanks. We give mini-roulettes to rest for 30-35 minutes in a warm place (cover the workpieces with a towel or cling film).
Step 19
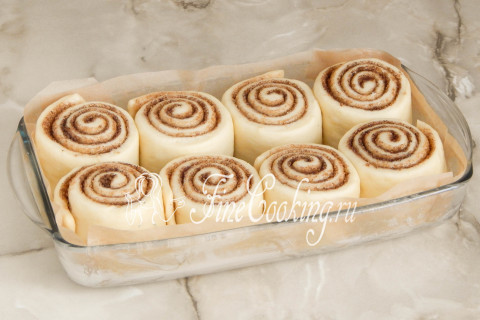
During this time, the dough will stand out and the blanks will be rounded — while they bake them. It is not necessary to lubricate the surface — this is a butter of the yeast dough will be browned independently.
Step 20
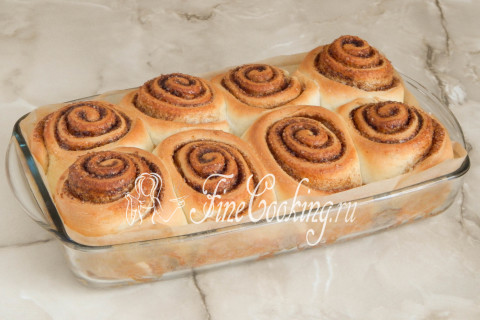
We cook Sinnabon buns in a preheated oven for 25-30 minutes at 180 degrees. Remember what I wrote about time? In this case, the cooking time can also vary — it all depends on your oven. The main indicator of the readiness of the buns is their appearance — as soon as they are browned and you like it, everything is ready. It is important not to overdry pastries and then the finished dough will be juicy, delicate and soft. We take out the buns and give them about 5-10 minutes to cool.
Step 21
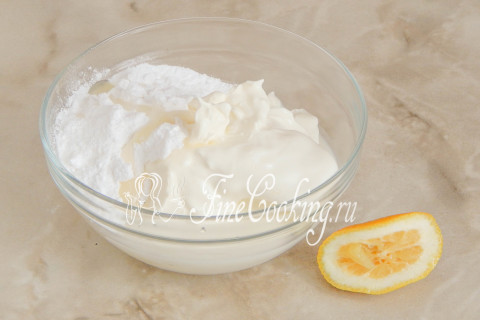
At this time, we will prepare the cream lipstick — it is unrealistically tasty, believe me. In a bowl, connect any cream cheese, powdered sugar, milk and lemon juice.
Step 22
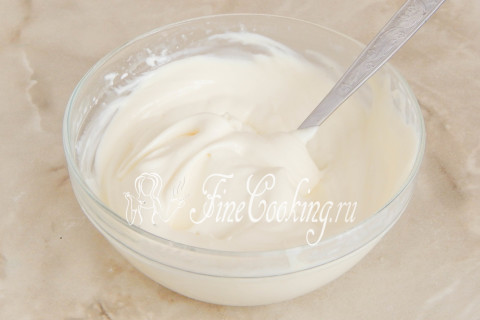
We mix everything with a spoon or fork — the lipstick is ready. Try it to taste — maybe you will have little sugar (although I doubt it) or want to add more lemon juice. It is not worth making a lipstick with a liquid — according to the consistency, it turns out like thick fat sour cream.
Step 23
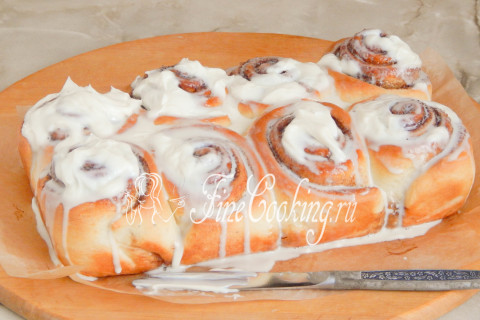
We take out the buns from the mold and leave them on paper. We cover the warm pastries with a cream lipstick, simply smearing it on top. Due to heat, the lipstick will begin to melt, drain, falling into the cuts of the rolls and impregnating them. You can let the rolls cool completely, but you can hardly resist the newly prepared, still warm home baking.
Step 24
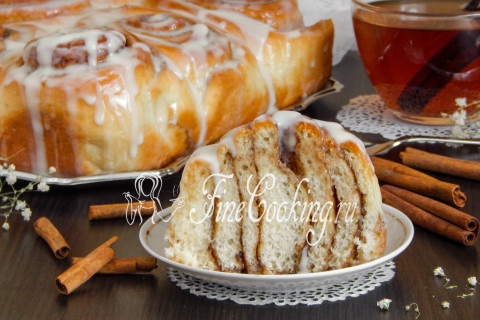
Just delightful, incredibly fragrant and breathtaking (they deserve such epithets 100%, believe me) delicious Sinnabon buns — this is the top of bliss for lovers of yeast pastries. The most insanely, insanely soft and just fabulous dough that melts in the mouth, a fragrant cinnamon -caramel layer and an incomparable creamy lipstick … If you have not tried it, prepare these buns — I guarantee you, you will love them the first and forever!