Detailed step -by -step recipe with photo: Step 1
-
Prepare the ingredients: 2-3 hours before cooking, get butter and eggs from the refrigerator. They should become the same temperature. From the specified amount, 9-10 of the cookies are obtained. If the oil lies in the freezer, it should be removed for 4 hours. Be sure to take high -quality oil with a fat content of at least 72.5%. The best result is from oil 82.5-83% fat.
Tip: when using oil from 82.5% fat, vanillin can be excluded. The natural aroma of oil here will be much more interesting and pleasant.
Chocolate can be taken to taste: bitter, dark or milk. It is advisable not to use porous chocolate tiles.
I use simple white sugar, but the recipe is permissible to use brown (for example, 40 g of white and 30 g of brown).
-
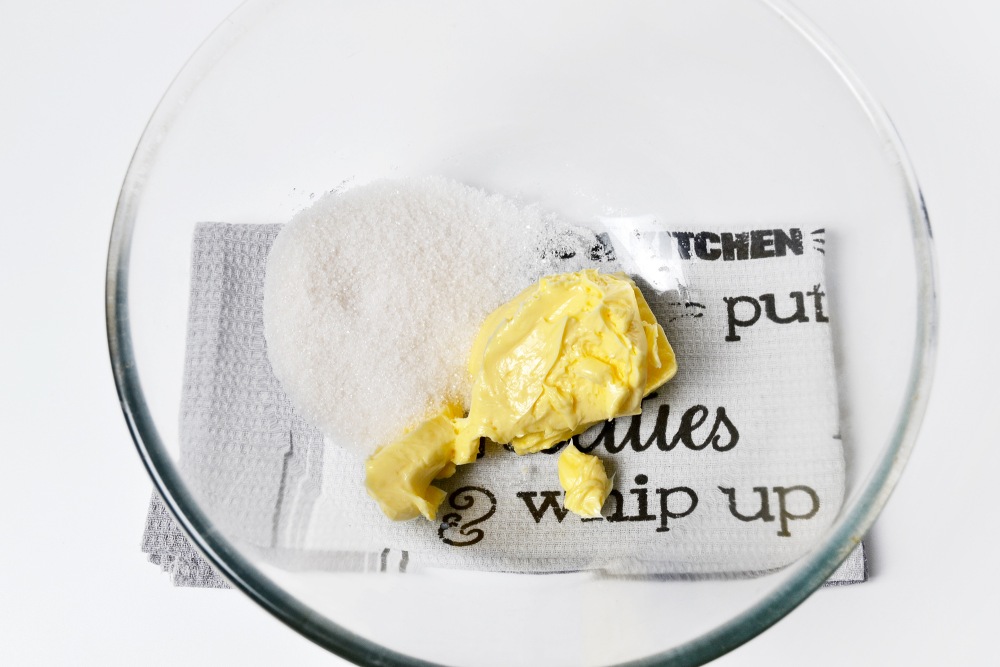
Step 2
In a deep bowl, combine oil and sugar, beat with a mixer or whisk until it is uniform about 3-4 minutes. Part of the sugar should dissolve.
-
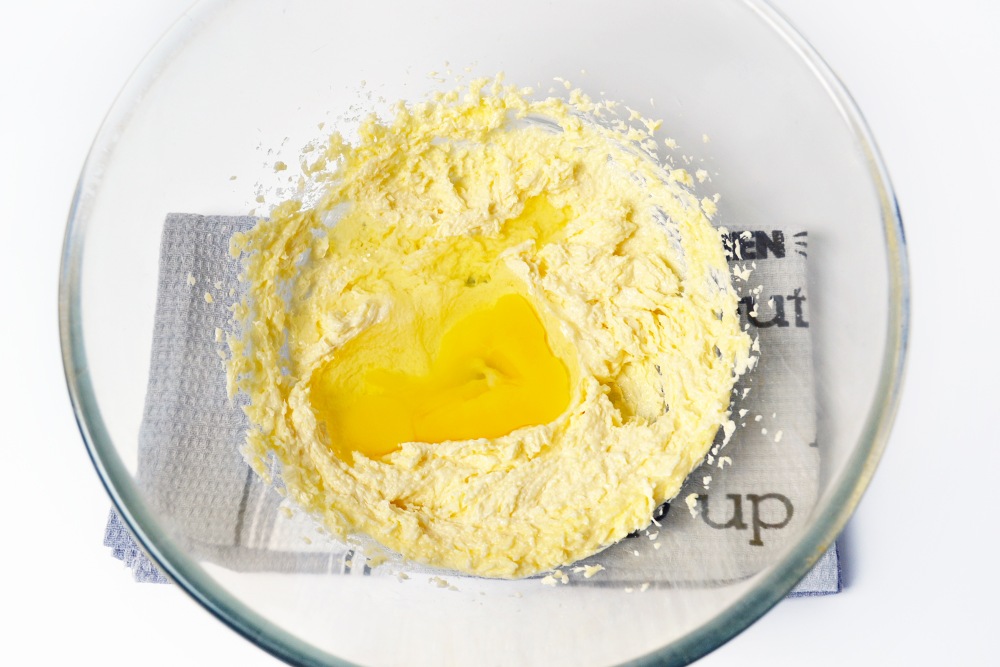
Step 3
Add the egg and once again mix thoroughly with a mixer or whisk until smooth and splendor for about 2 minutes.
Watch the master class «How to spend in the kitchen no more than 1 hour a day and at the same time it is good and useful to feed» 👉🏻 here
-
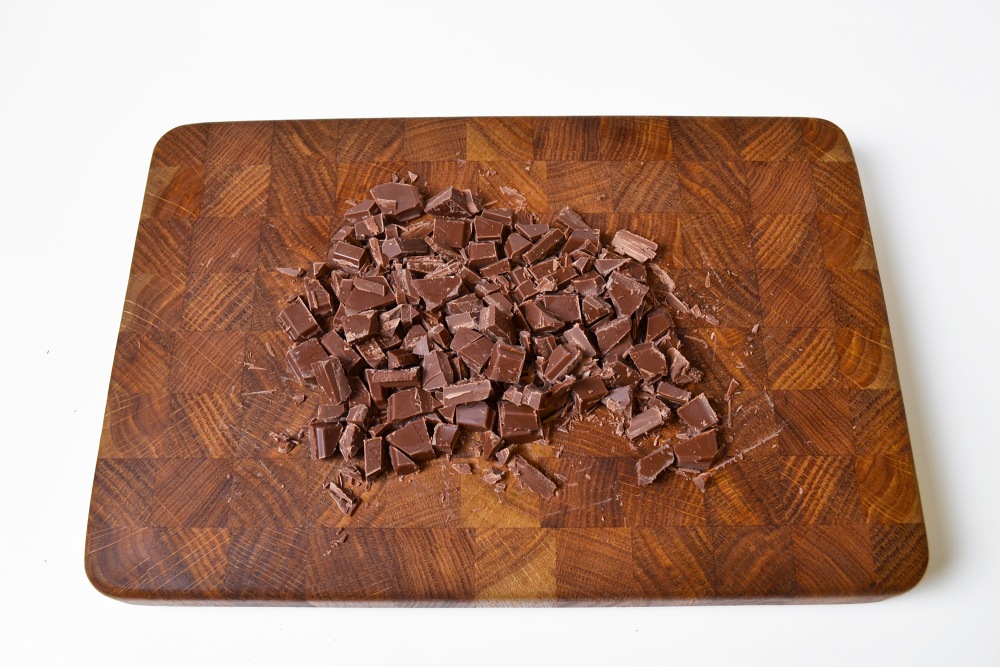
Step 4
Chop the chocolate into small pieces.
Tip: for the recipe, chocolate drops (drops) of small size are perfect.
-
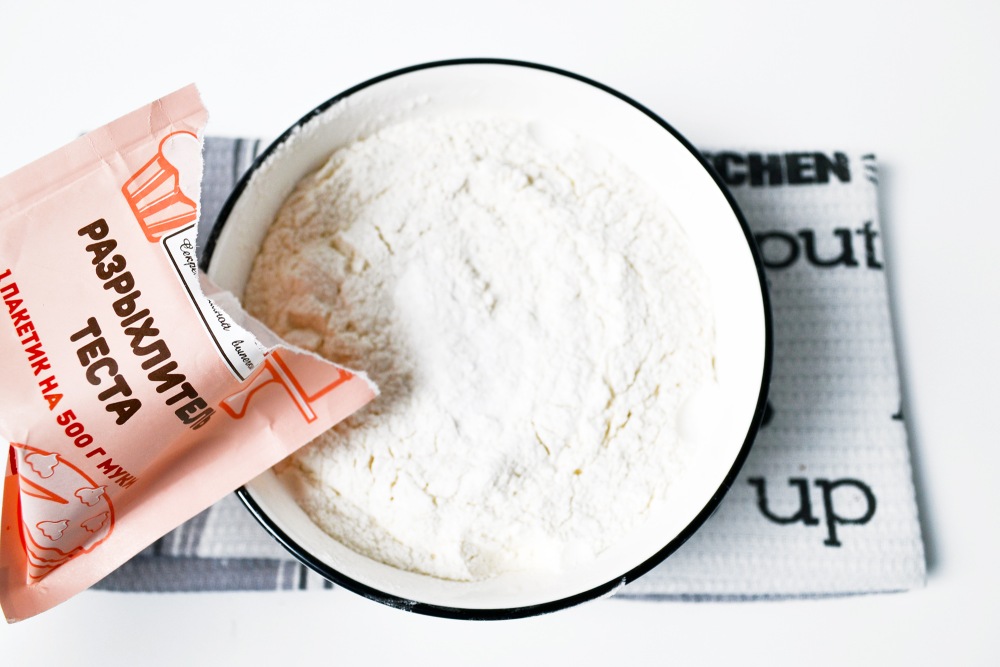
Step 5
Combine flour with salt, vanilla and baking powder.
-
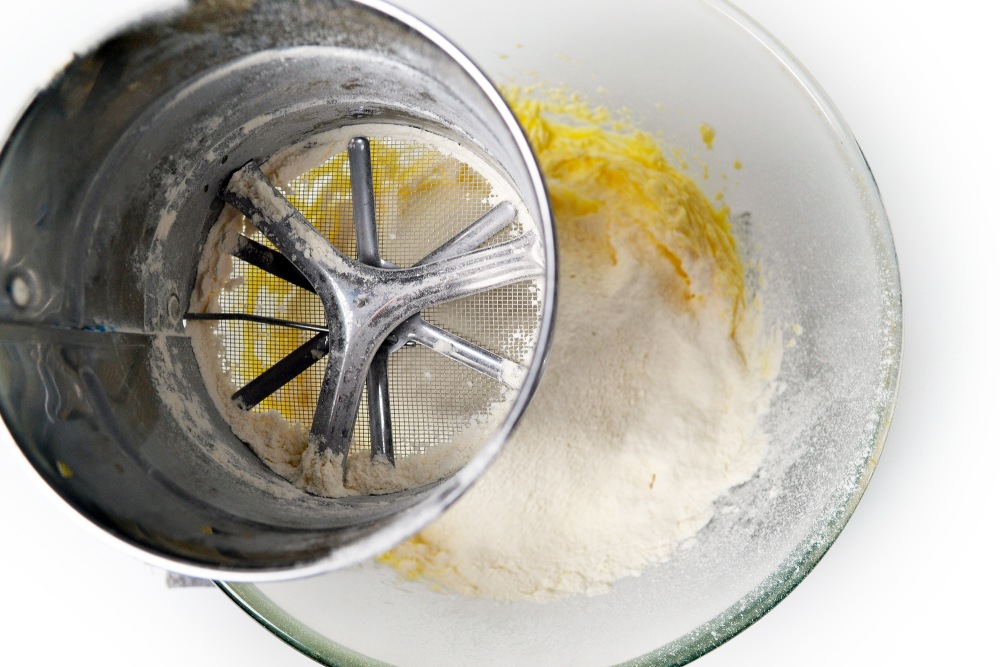
Step 6
Sift a dry mixture to whipped oil.
Important: sifting flour helps the liver better to rise.
-
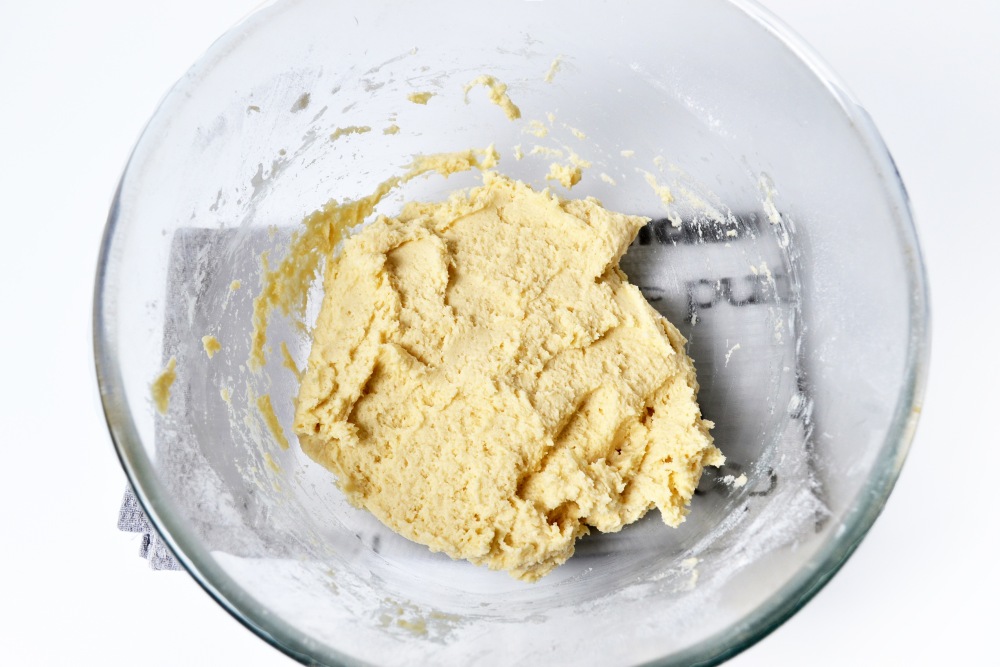
Step 7
Stir the dough with flour until smooth. At this stage, it is better to use a shoulder blade, not a mixer.
-
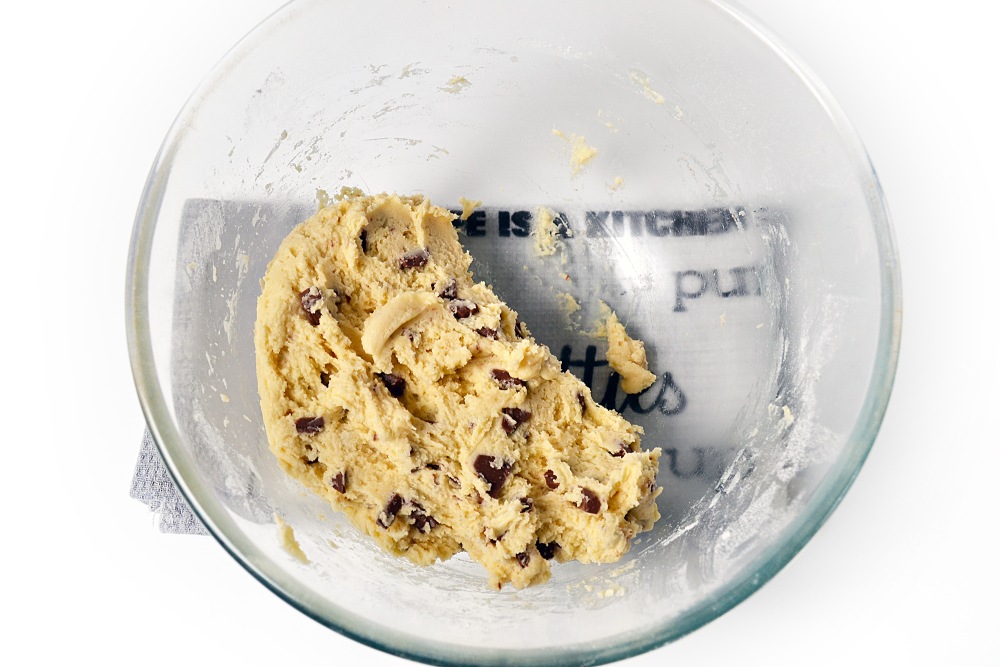
Step 8
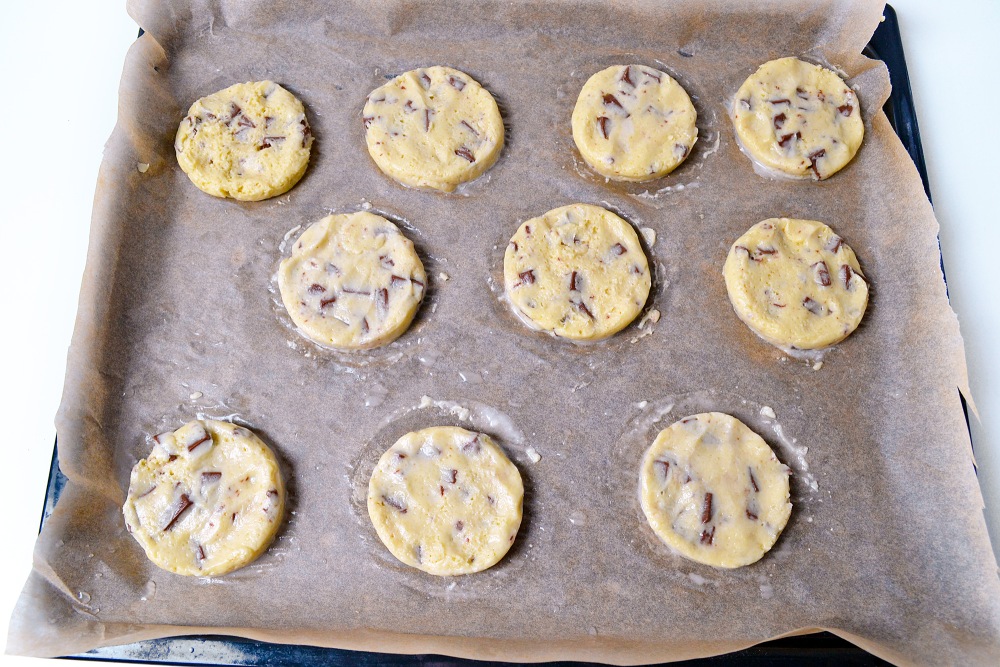
Combine the mass with chocolate pieces and mix several more times so that they are distributed by the test. Put in the refrigerator for 15 minutes. At this stage, you can turn on the oven to warm up to 190 degrees. And prepare a baking sheet covered with parchment.
Important: use siliconized parchment, nothing will stick to it. If you doubt the quality, lubricate the paper with a drop of vegetable oil so that the cookies do not stick.
-
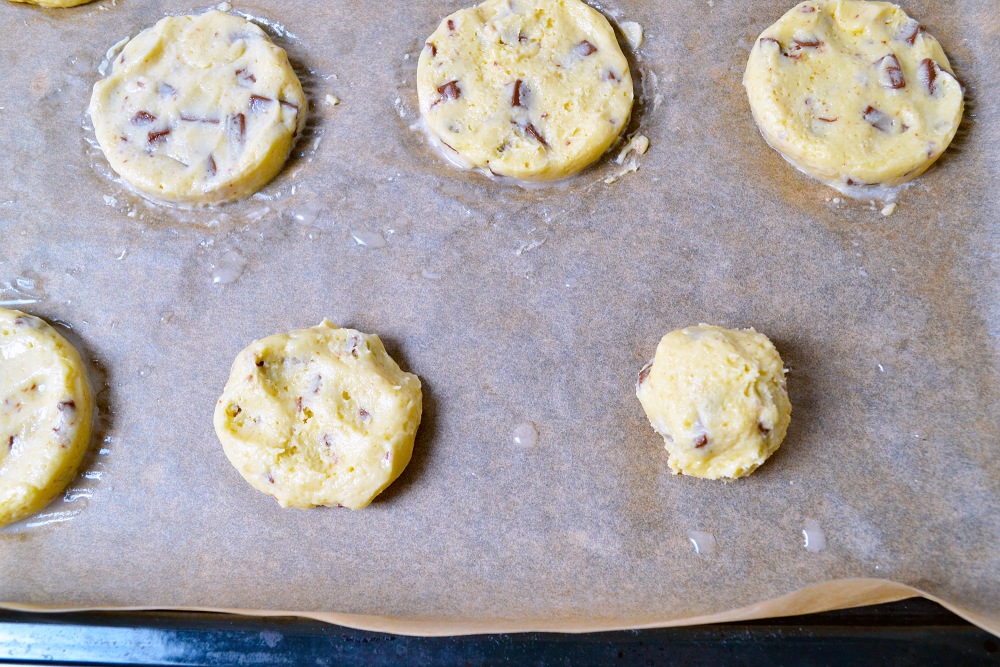
Step 9
Form balls from the dough and put them on parchment at a distance from each other. It is better to do this with damp hands so that the dough is not very lofty. I use kitchen scales, measuring 50 g of dough for each cookies.
Important: if you want more magnificent cookies, do not crush the balls strongly, just press them slightly with your hand, as in the photo on the right (the thickness remains about 2 cm). If you want more flat cookies, add it. In any case, the thickness should be at least 1 cm, I chose this option.
-
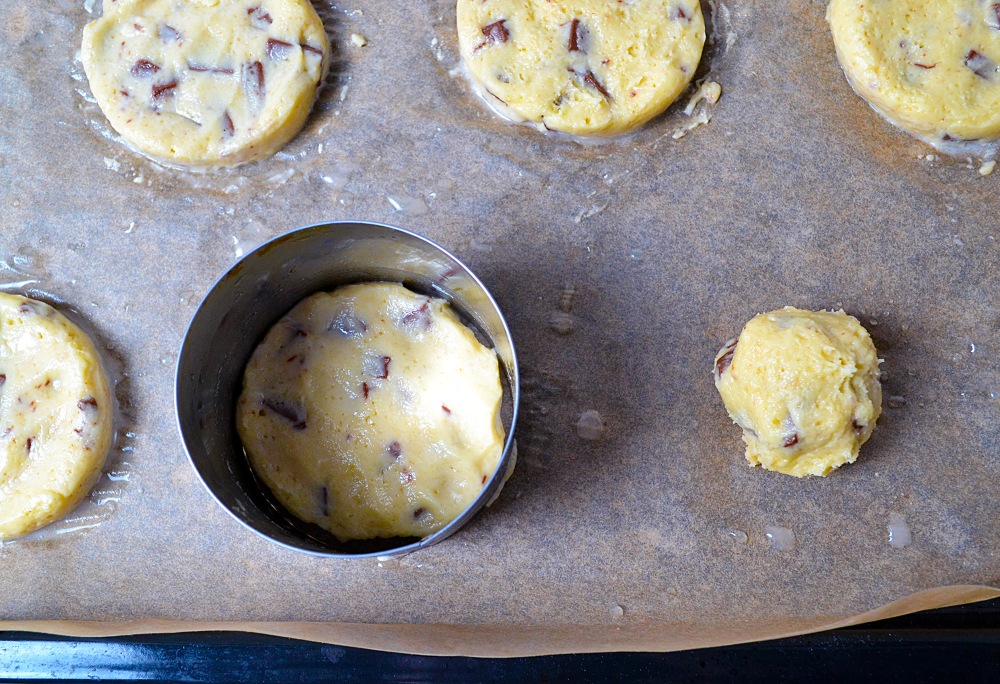
Step 10
You can tear the edges of the cookies with a confectionery form with a diameter of 6-7 cm. Put a shape and make several circular movements, as if smoothing and twisting the edges of the cookies inside.
-
Step 11
Form all cookies and send to the preheated oven for 15-17 minutes. Upper and lower heating without convection.
-
Step 12
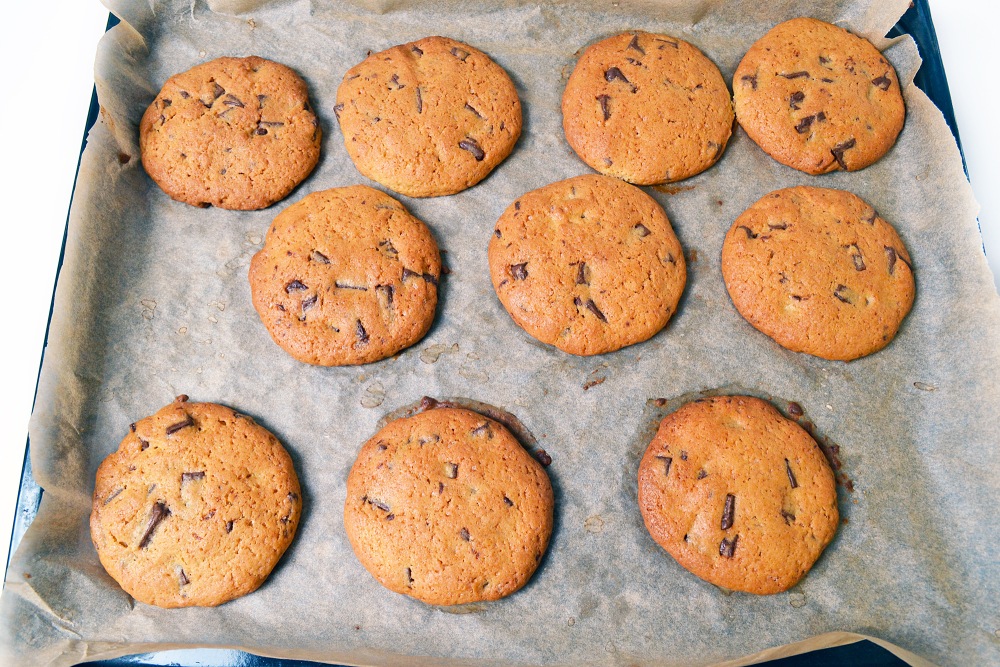
Get cookies from the oven. They should be still soft, with a golden, but not too dark crust. The rule works with this cookie: if I’m not sure if you need to bake further, then it's time to shoot! It is better to remove the parchment with the cookie with a baking sheet by shifting a wooden board to a grate or suitable size.
-
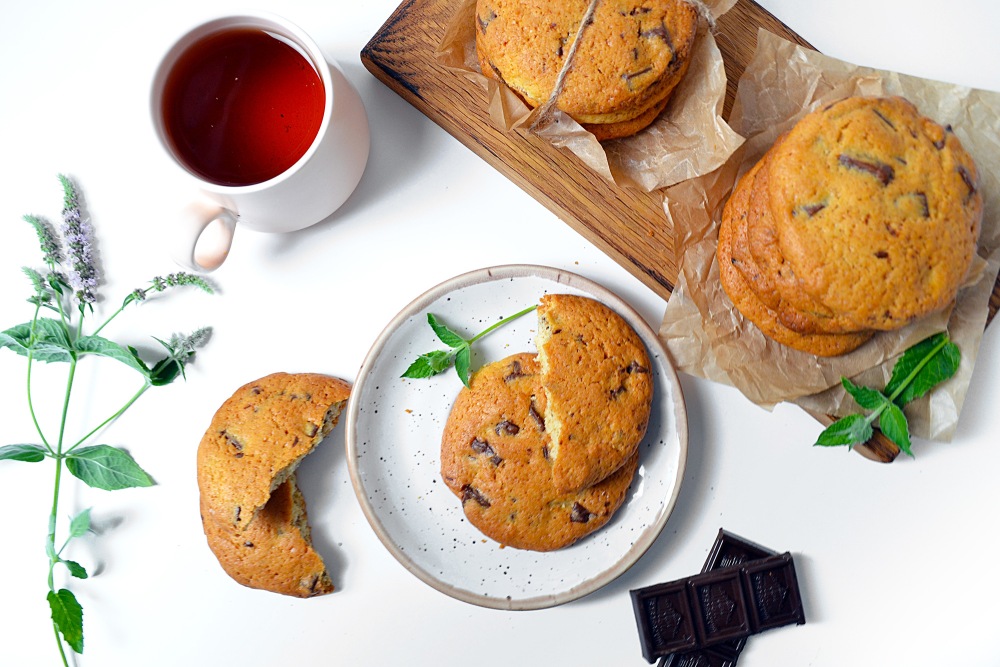
Step 13
Classic cookies Kukis with chocolate are ready. You need to cool it a little before serving. After 15-20 minutes, the cookies will become almost room temperature, preserving the crunchy crust and slight softness inside. The thicker the cookies, the softer inside it will be.
Nice tea party!
🍪 Do you like chocolate baking? Look at our selection! They are waiting for you there The best recipes of chocolate cookies — With pieces of chocolate, cocoa, nuts, soft inside and crispy crust outside. Step -by -step instructions, simple products and an excellent result the first time.