Detailed step -by -step recipe with photo: Step 1
-
Prepare the necessary ingredients for the recipe for the Soviet cake anthill, as in childhood.
To prepare the dough and cream, I highly recommend choosing an oil with a fat content of 82.5%. Oil with less fat content will not give the rich taste and the desired texture that is necessary for the “anthill”. Read the composition carefully! The oil should be natural, without vegetable fats or other additives.
Thick, sweet, with a characteristic caramel taste, boiled condensed milk — a key component of the cream for the “anthill”. Pay attention to the composition of condensed milk. It is best to choose a product without preservatives and additives. Ideally, it should consist only of milk, sugar and milk fat. Some manufacturers add vegetable oils to condensed milk, which worsens the taste and texture of the cream. A good condensed milk should be thick, but not too hard. If the condensed milk is too liquid, the cream may not keep shape, and if it is too hard, the cream will be too viscous.
-
Step 2
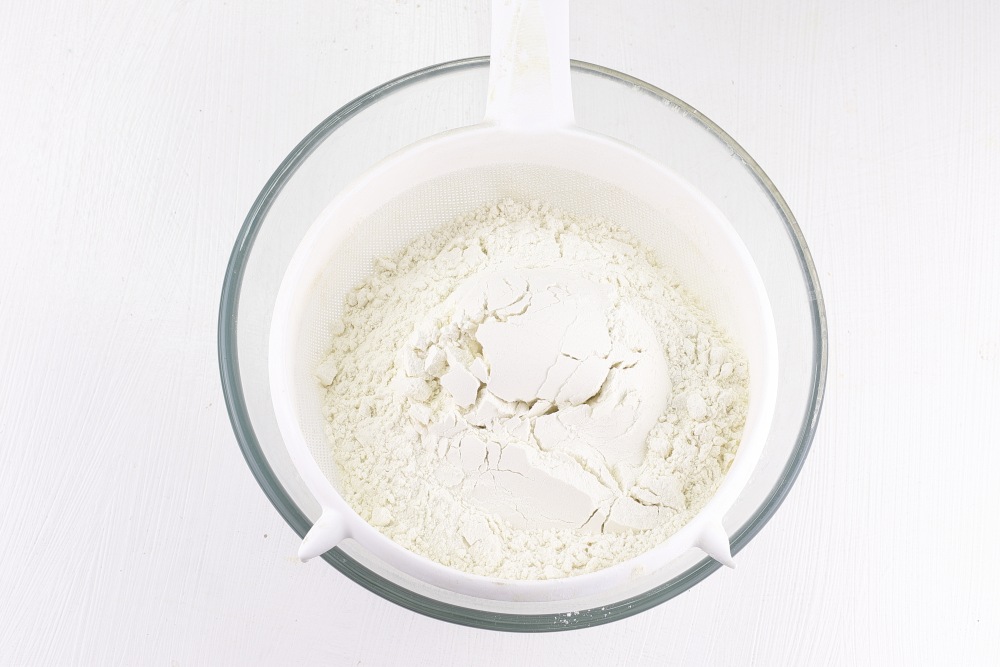
Sift flour in a deep bowl.
Sometimes there may be small pebbles or other impurities in flour. Sifting helps to get rid of such impurities and make the dough cleaner. Sifting not only eliminates lumps, but also “loosen” flour, making it more air. This will give the test a lighter and easier texture. If the recipe uses baking powder or soda, sifting helps to evenly distribute them by flour, which improves the final result.
Watch the master class «How to spend in the kitchen no more than 1 hour a day and at the same time it is good and useful to feed» 👉🏻 here
-
Step 3
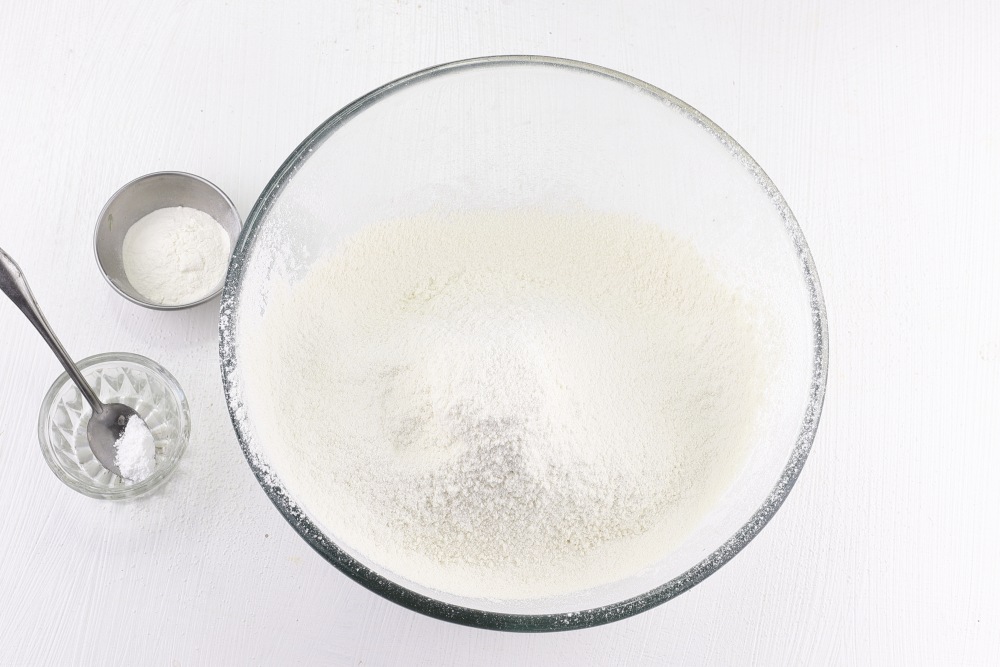
Pour the baking powder and vanillin to the sifted flour. The baking powder helps the test to rise, making it airy and tender. It works due to the release of carbon dioxide, which helps the test rise, preventing it from being too dense. Vanilin adds the cake a sweet, aromatic taste that perfectly reveals the taste of the whole dough.
-
Step 4
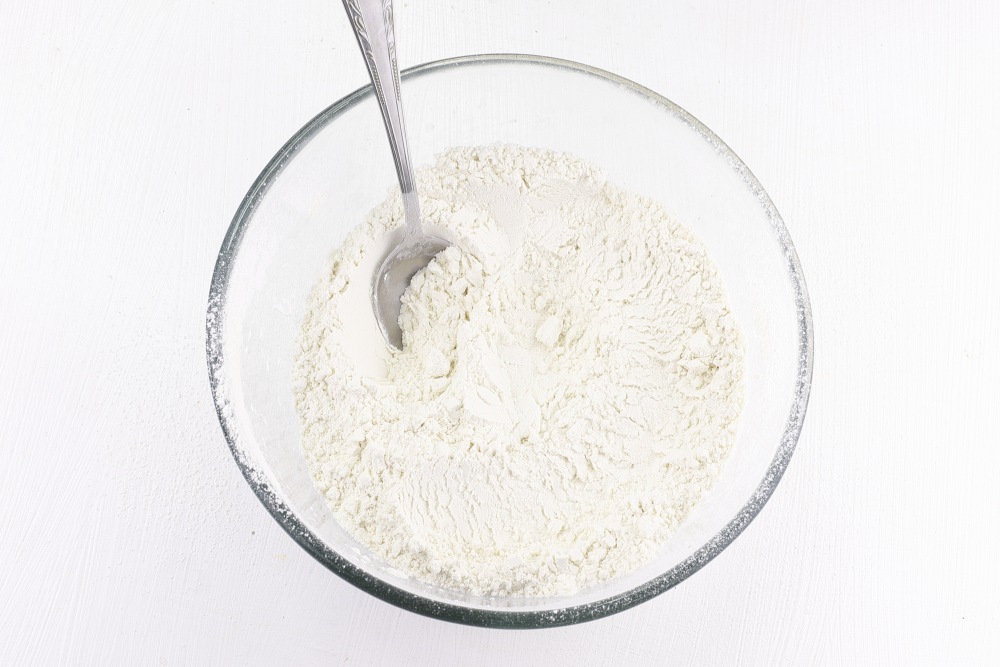
Using a spoon or corolla, mix well so that the baking powder and vanillin are evenly distributed throughout the flour.
-
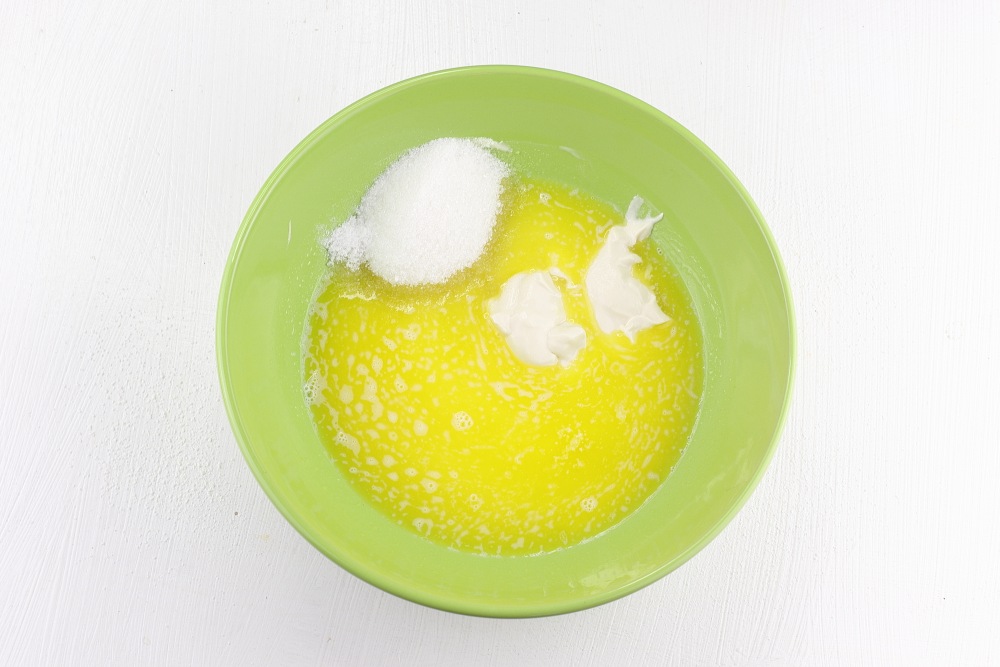
Step 5
Melt the butter (200 g) in the microwave and cool to room temperature. Add sour cream of any fat content, sugar and salt to the oil. If there is no microwave, the oil can be melted in a water bath. Salt balances the taste and emphasizes the sweetness of the cake. Sour cream gives the dough additional humidity, softness and light sourness, which makes the cake especially tender.
-
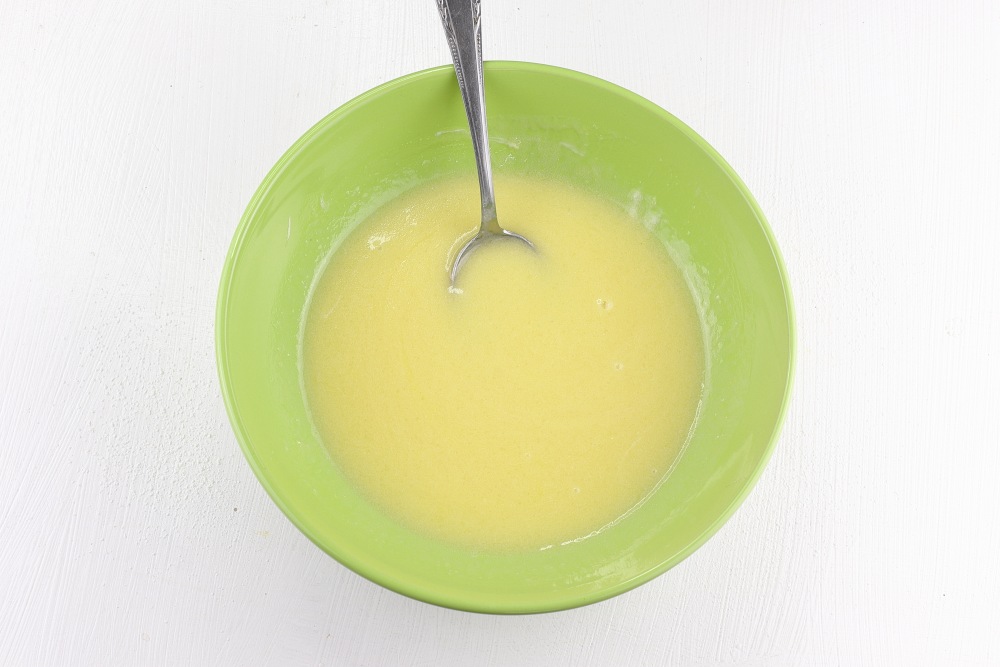
Step 6
Mix all the ingredients until smooth, so that grains of sugar and salt dissolve.
-
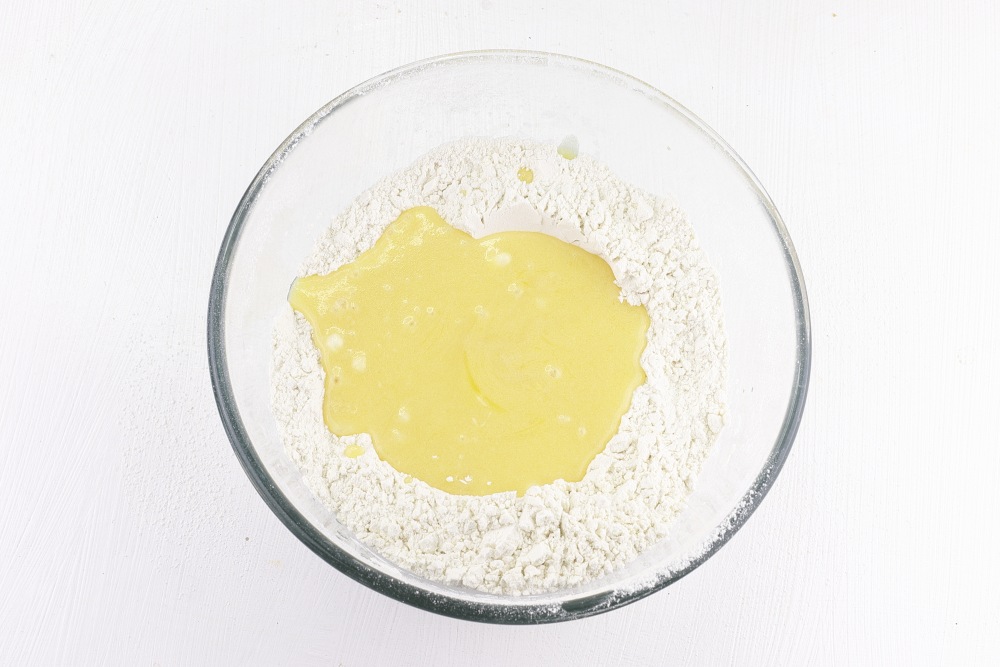
Step 7
Add liquid ingredients to flour mass. It is best to add liquid mass in several stages. Do not pour the fluid at once, otherwise the dough can become too liquid, and it will be impossible to achieve the desired consistency.
-
Step 8
Mix a spoon so that all dry ingredients become wet.
-
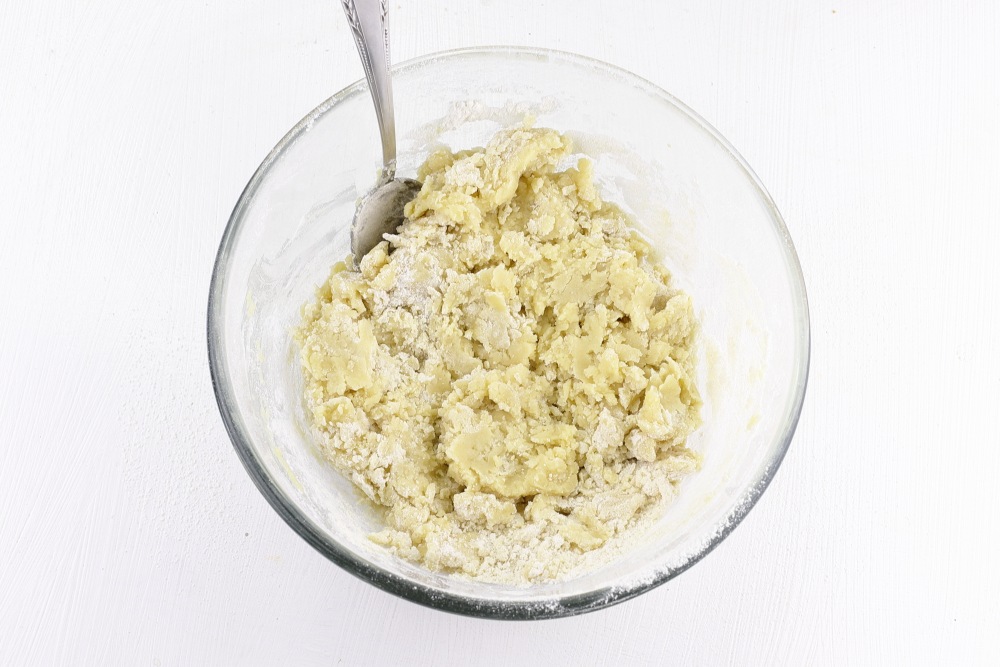
Step 9
Knead the dough with your hands, collecting it in a ball. It is not necessary to knead for a long time, enough for all the ingredients to gather in one.

-
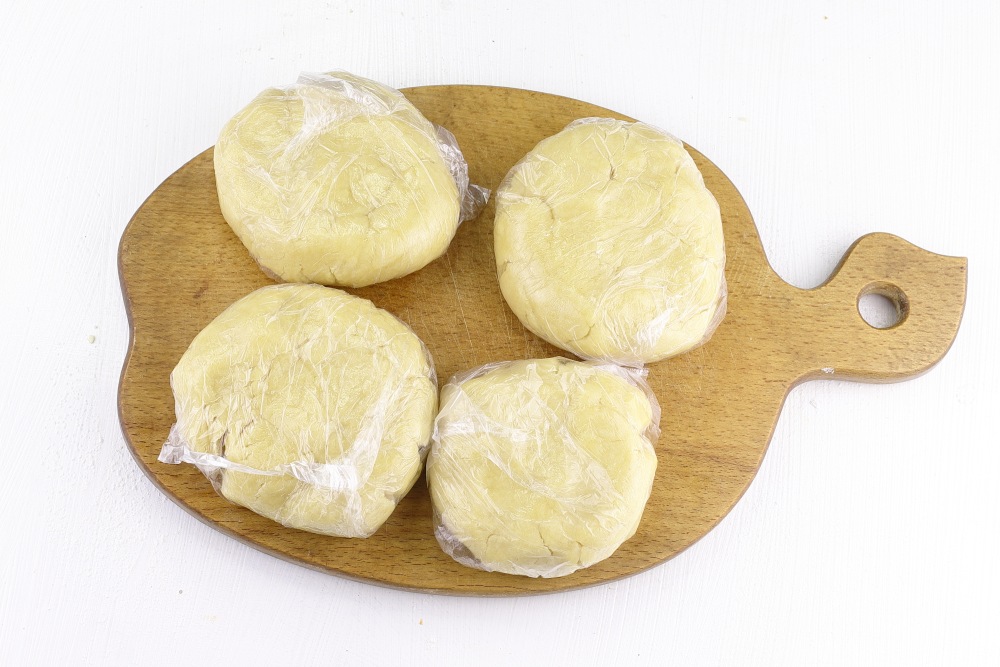
Step 10
Divide the dough into four parts so that it freezes faster and evenly. Wrap each portion of dough into a plastic bag, a bag for freezing or food film. Wrap tightly so that the dough does not contact with the air, and the film holds moisture inside. If you use a package for freezing, squeeze out excess air from it.
Send to the freezer for 30-60 minutes. Place them so that there is space between them, and they do not stick together with each other. This will provide uniform freezing. The dough should become well solid.
-
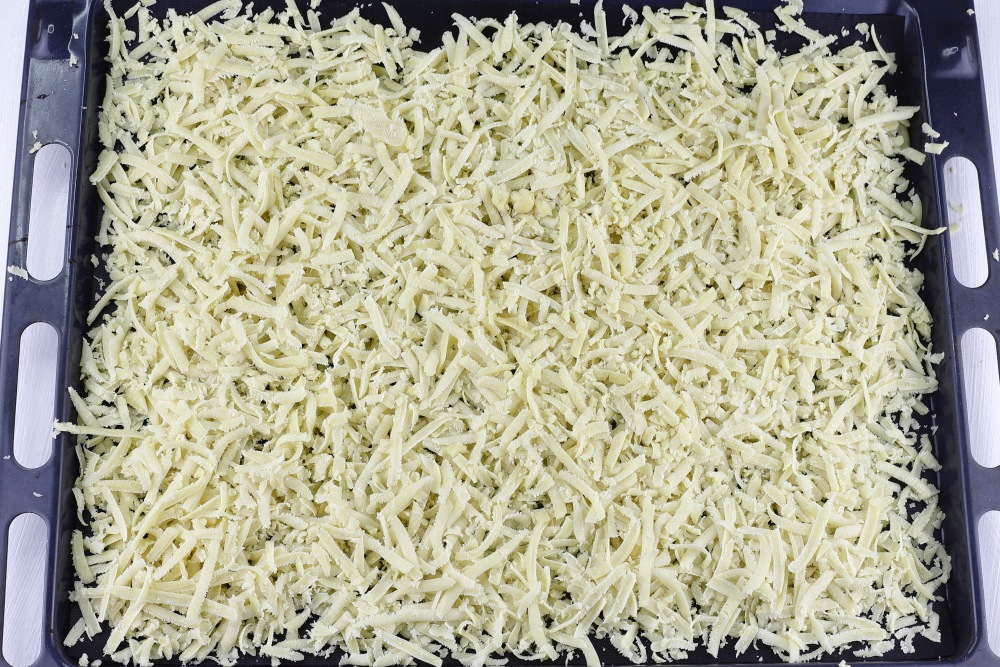
Step 11
Cover the baking sheet in size of 30×40 cm with a parchment or anti -stick rug. Get a frozen dough from the freezer and grate on a coarse grater on the parchment throughout the bottom of the baking sheet. When rubbing, try to distribute the dough around the bottom of the baking sheet evenly so that there are no sections with a thicker or thin layer. This is important so that the dough is baking evenly. You can slightly pat the baking sheet on the table so that the dough is a little stopped.
Send a hot oven for 20-25 minutes at a temperature of 180 ° C. The dough should become golden and slightly crispy. The baking time can vary depending on the characteristics of your oven, so follow the process. It is important that the dough does not burn — it should be exactly golden.
-
Step 12
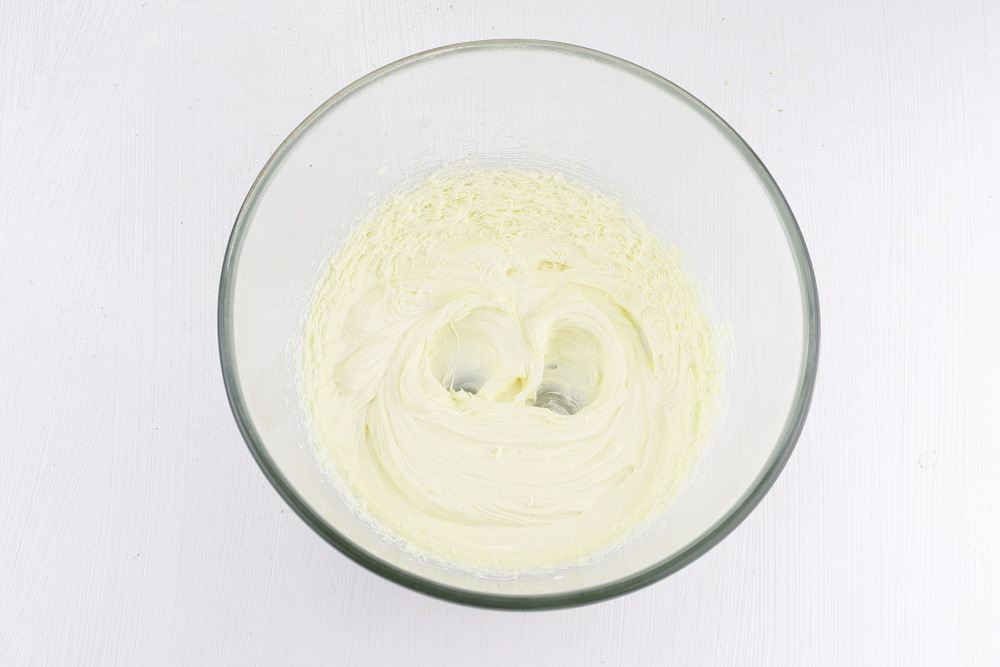
Mote the soft butter (180g) to a deep bowl to avoid oil spray during whipping. Pay attention that the oil should be soft, but not melted. It is best to leave the oil at room temperature for 20-30 minutes before whipping, so that it becomes soft enough for convenient whipping.
Start whipping at low speed so that the oil does not spray, and then increase the speed to medium. Beat for about 2-3 minutes. During this time, oil should become light, lush and light. It will change the color from a more yellow to light cream, and the texture will become smooth and airy. Beating the oil to a splendor allows you to create an air base that will give the cream lightness.
How to check butter
-
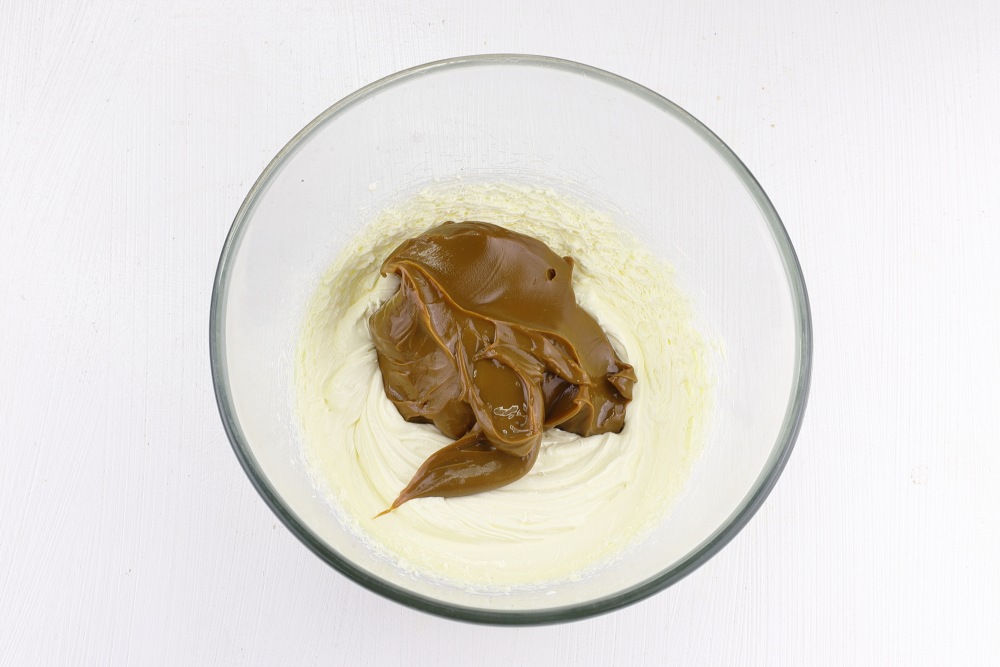
Step 13
Add boiled, condensed milk to the oil, which will give the cream a rich taste and consistency. Thipped milk will not only improve the texture, but also make the cream sweet, fragrant and soft.
Cakes with condensed milk: 10 simple recipes
-
Step 14
Turn on the mixer at low speed so that the ingredients do not spray throughout the kitchen. Beat the cream for 3-4 minutes, until a homogeneous and smooth mass is obtained. Condensed milk should be completely connected to oil, leaving no lumps. The cream should be dense enough, but at the same time soft and silky.

-
Step 15
Baked sand cake get out of the oven. Cool to room temperature. Leave the cake open so that it cools evenly. If it is covered, for example, with a towel, this can create condensate, and the cake will become soft and lose the crispy texture. The cooled cake will be more crispy than hot, and retain the desired consistency when mixing with cream.

-
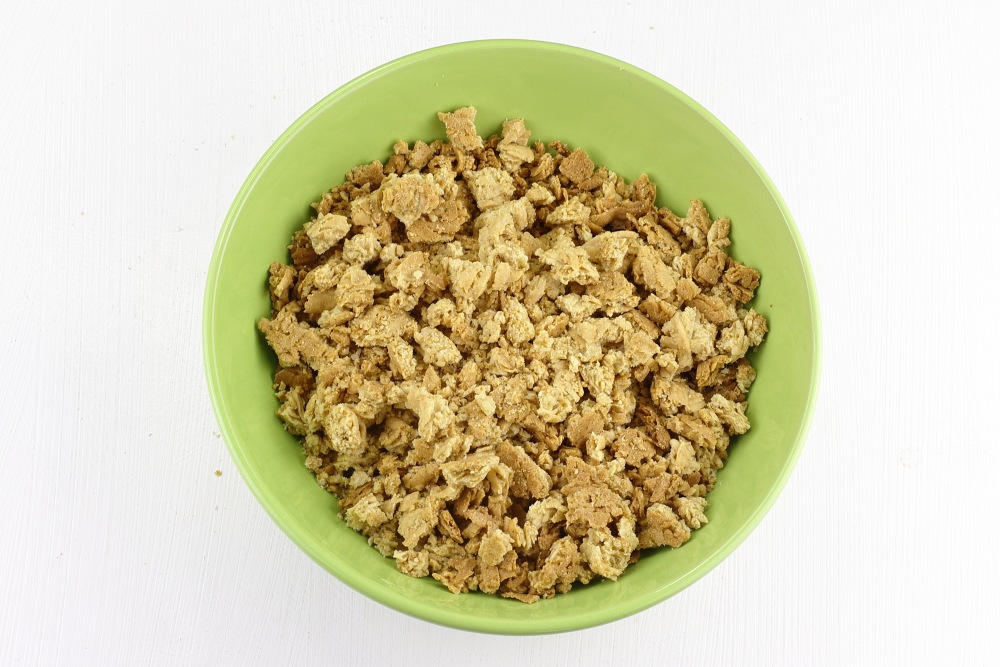
Step 16
Break the cooled sand base on pieces, preferably with your hands. By breaking it manually, you can get pieces of different sizes — from large to small ones. This will give the cake the texture of the «ant mounds.» If you want the pieces to be more the same, you can use a spoon or spatula, but it will be more convenient to work with your hands. Break the baby on a variety of pieces — some can be small and tiny, while others can be a little larger.
-
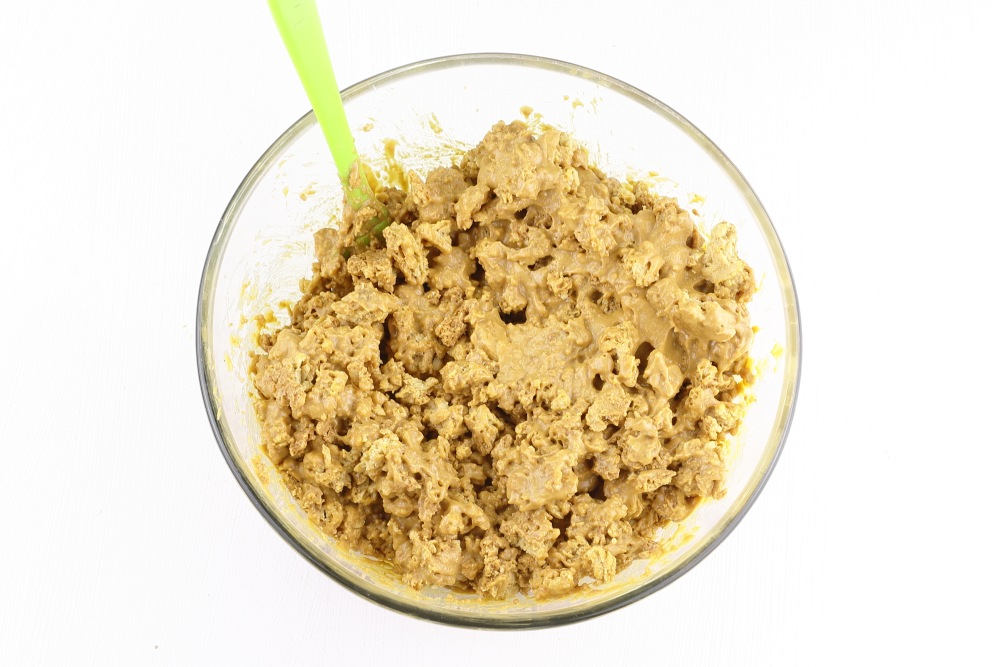
Step 17
Pour sandy crumbs into a bowl of cream.

-
Step 18
Stir well. Use a blade or a wooden spoon. You need to mix carefully, but thoroughly enough so that each side of the baby is covered with cream.
-
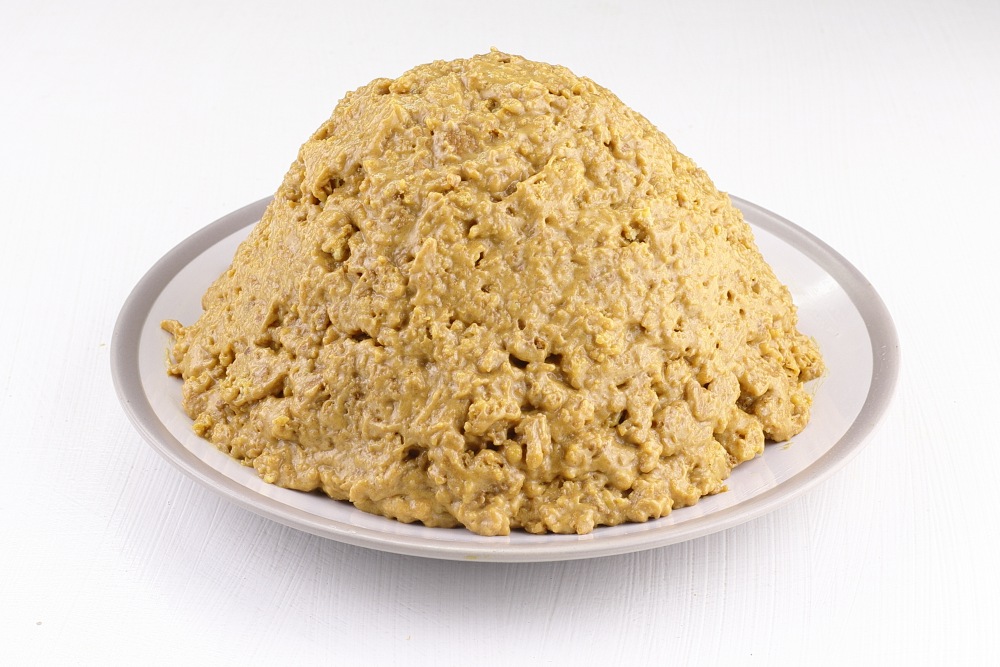
Step 19
Put the sand mass on a flat plate, forming a hill resembling an anthill. It is convenient to use a spoon for work.
-
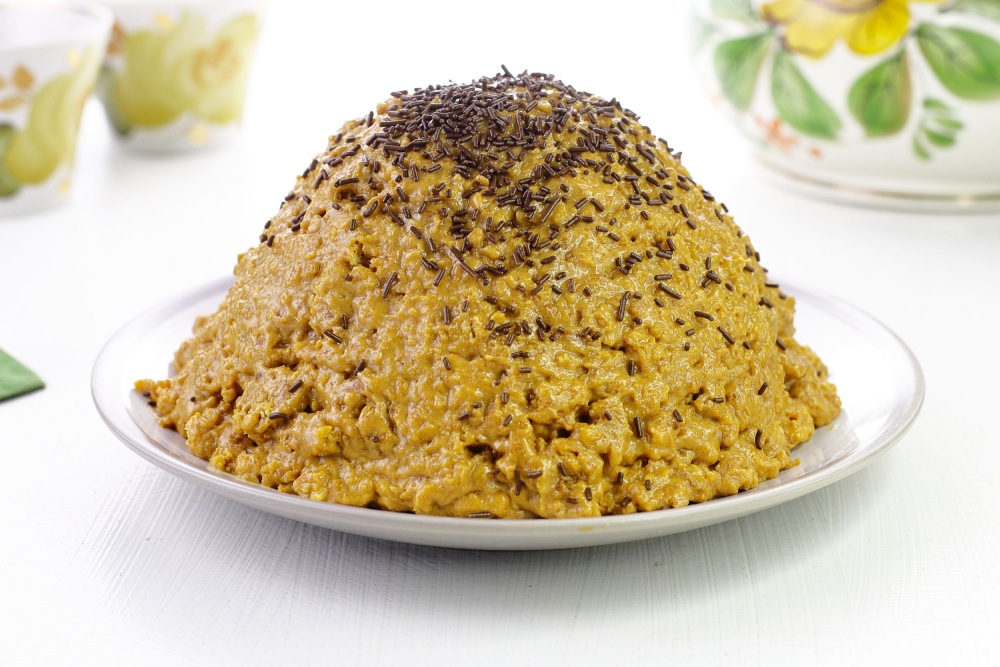
Step 20
The Soviet cake is anthill, as is ready in childhood.
Sprinkle with chocolate sprinkle on top, imitating ants. To simulate ants, it is better to use chocolate sprinkling dark or milk chocolate. It can be both ready -made sprinkling, or finely grated chocolate. Send the refrigerator for 5-6 hours for impregnation. During this time, all sandy crumbs will soak well, and the cake will become easier to cut. The longer it costs in the refrigerator, the tastier and more saturated its taste will be.
Nice tea party!
📌 If you liked the anthill cake, look at our selection classic cakes — There are many delicious ideas for home pastries.