Detailed step -by -step recipe with photo: Step 1
-
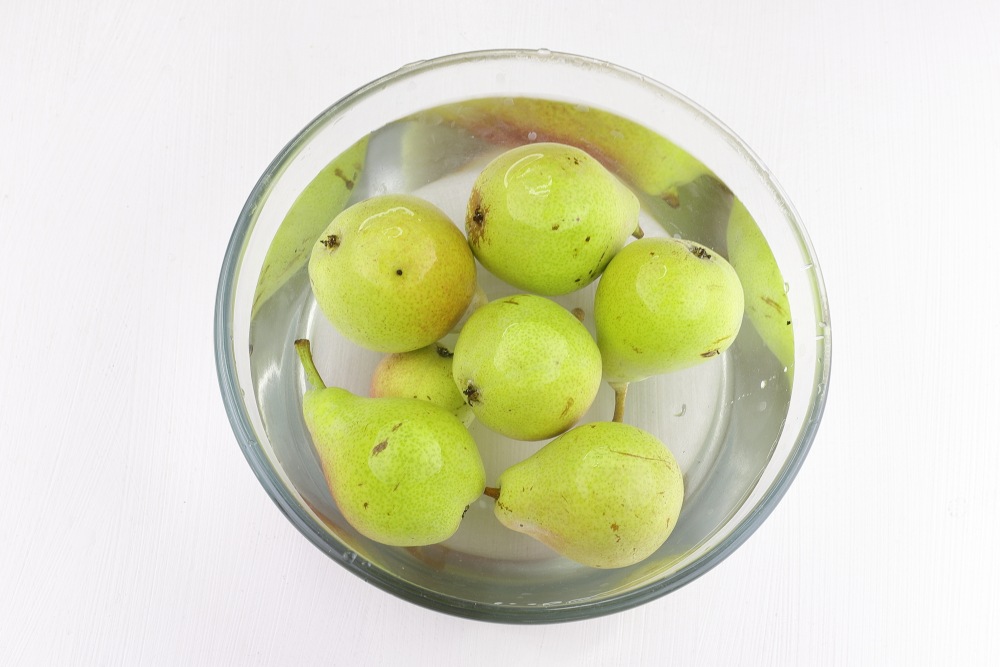
Ripe, juicy and sweet pears with a pronounced aroma are best suited for the recipe. It is important to choose such varieties that are well squeezed and give a lot of juice. The pears with dense, but at the same time with juicy pulp, which are not too soft, but not too hard, are perfect. Here are a few varieties of pears that are perfect for cooking juice.
Bere Bosk — Great pear with thin skin, sweet taste and pleasant texture. It will give the juice special softness and aroma.
Conference — Sweet, with a small sourness, squeezes well, giving a lot of juice. This variety makes the drink saturated and fragrant.
Lukashovka — Late winter variety with thin skin and a large amount of juice. Ideal for conservation.
Alexandria — Soft and juicy pear with a rich taste. In the juice, this variety will open truly bright and fragrant.
Klappa beauty — One of the most popular for juice, as it gives a lot of juice, and the taste is rich and sweet.
If you do not have a certain variety, choose those pears that taste sweet and juicy. They are best suited for juice, since the more sugar and juice in the fruit, the tastier the finished drink will be. It is important that the fruits are not overripe or damaged, as this may affect the taste and quality of juice.
In this recipe, I do not use sugar, because the pears themselves are quite sweet, and their natural sweetness is perfectly revealed in the juice. In addition, I prefer to maintain a natural taste of fruits so as not to overload the drink with excess sugar. In addition, such juice is much more useful, since it will not have extra calories and added preservatives, which makes it ideal for those who follow their health or simply prefer natural products. If you want to add sweets, you can always do this later, when pouring juice to glasses, adding honey or sugar to taste.
-
Step 2
Rinse the pears well under running water. After that, they should be dried with a paper towel so that excess moisture does not remain on the surface, which can affect the process of squeezing juice. Sort the pears by removing all damaged and overripe fruits. It is important that each fruit is ripe and in good condition, otherwise it may affect the taste of juice and its storage. It is also worth paying attention to the fruits with spots or traces of diseases — it is better to postpone such pears. After all suitable pears are selected, you can proceed to their preparation.
You may be interesting:
How to freeze pears
-
Step 3
Peel pears from the peel with a knife or vegetable product.
Watch the master class «How to spend in the kitchen no more than 1 hour a day and at the same time it is good and useful to feed» 👉🏻 here

-
Step 4
Cut the pears peeled from the skin into four parts, gently removing the core with seeds. This can be done using a knife or a special tool for cutting seeds. Pear seeds contain a small amount of bitterness, which can affect the taste of juice, so it is important to remove them. The weight of the peeled pear is 1.9 kg.
Other recipes with pears, see 👉🏻 HERE

-
Step 5
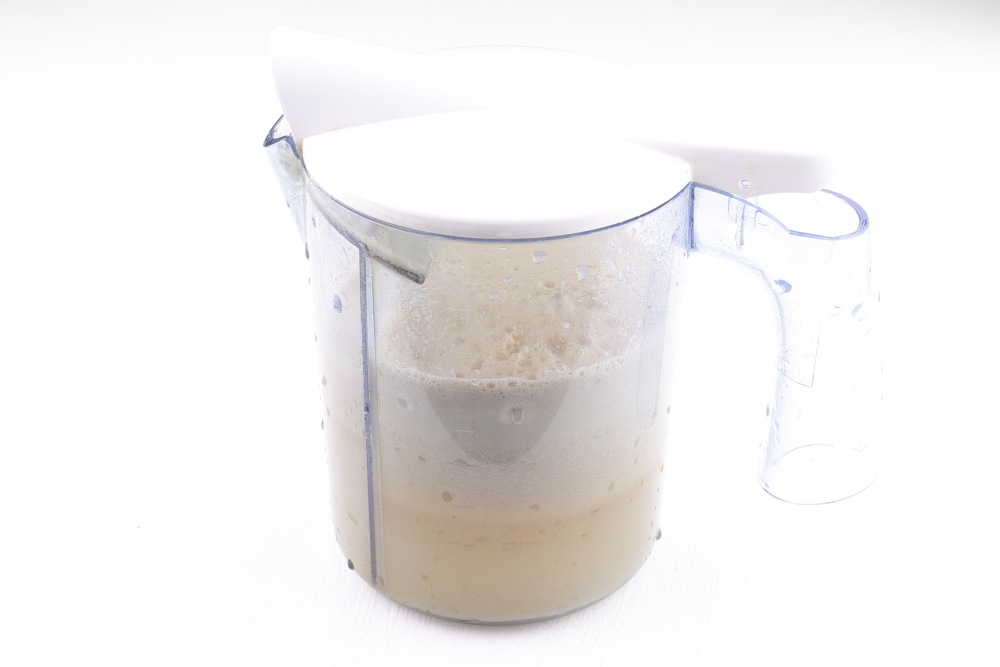
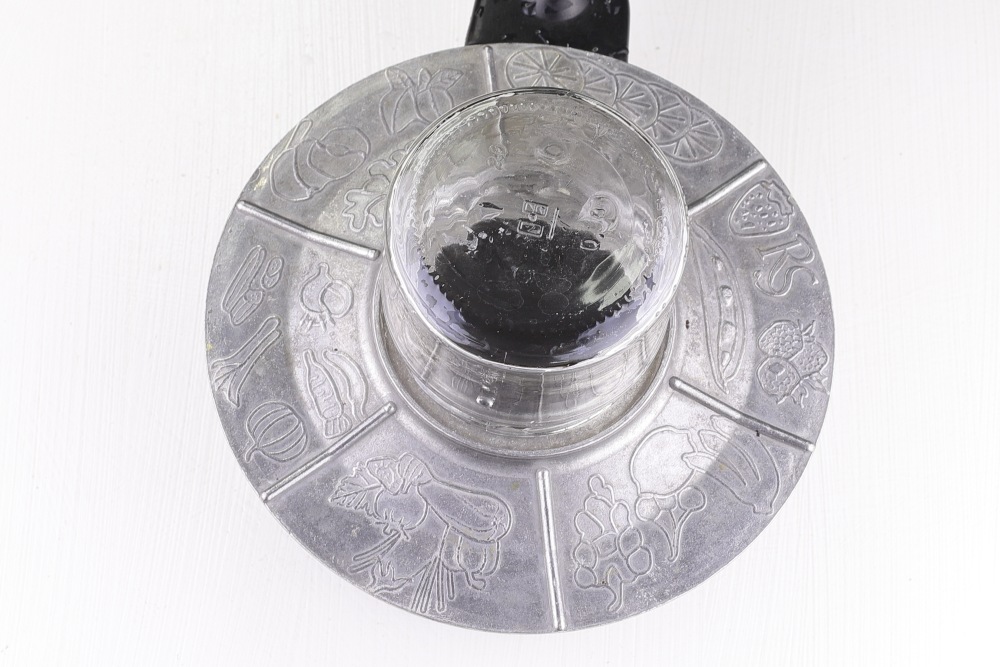
Pass the pears through the juicer, carefully making sure that the fruits are spent well. If you have a juicer with a manual drive, you can press the fruits a little to remove more juice.
If you use an electric juicer, just load the chopped pears into the device and let it do your job. It is important to make sure that the juicer copes with the dense pulp of the pears, so sometimes it is worth carrying out the procedure twice, especially if the fruits are very juicy.
-
Step 6
Strain the juice in a saucepan for cooking through a small strainer or gauze to remove the remains of the pulp and get the cleanest, transparent pear juice. Filtering helps to get rid of small fibers and particles that can make the drink muddy or less pleasant in taste. If you need to get particularly pure juice, you can repeat the procedure several times, passing it through a sieve or gauze, folded in several layers. From this amount it turned out 1 liter of juice.

-
Step 7
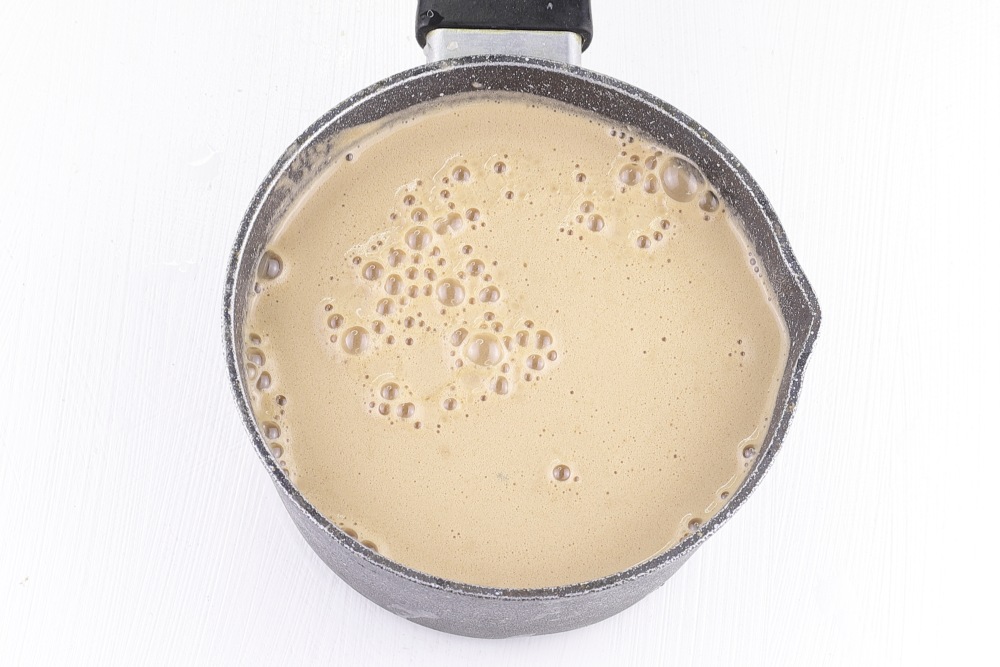
Send a pan with juice to the fire and bring to a boil, stirring periodically. As soon as he begins to boil, reduce fire and boil the juice for 2-3 minutes. This is necessary in order to slightly sterilize the drink, killing possible bacteria and extend the shelf life. It is important not to overheat the juice so as not to lose its taste and aroma.
-
Step 8
Prepare cans with lids. I prefer to use small jars with screw lids, as they are convenient for storage and give the drink a more compact look. The container needs to be washed well with a detergent, rinse thoroughly.
After that, sterilize. I usually sterilize the banks with steam, holding them over pots with boiling water for 10 minutes to destroy all microbes and bacteria that can ruin the juice. It is also important to carefully process the lids, and for this I boil them in water for 10 minutes. This approach guarantees that banks will be sterile and juice — safe for long -term storage.
-
Step 9
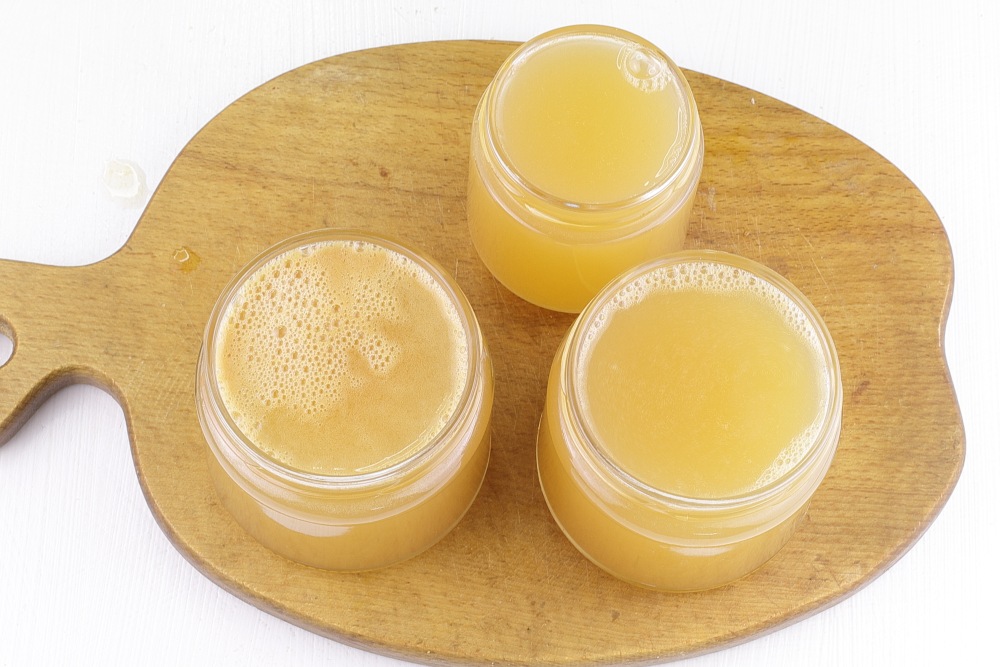
Pour the boiled juice in sterile jars to the very top, leaving a minimum of air in the bank to prevent the development of bacteria and maintain the freshness of the juice. It is best to do this while the juice is still hot, so that it immediately sealed the banks. For convenience, you can use a special funnel to avoid straits. Pouring the juice, make sure that the edges of the cans remain clean.
-
Step 10
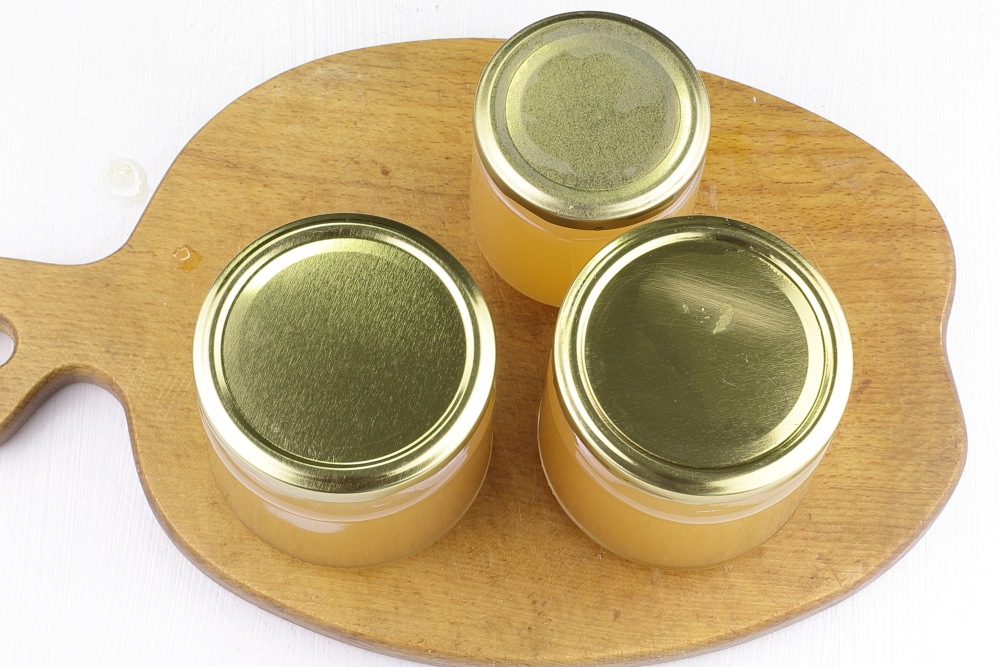
Cover the jars tightly with lids, making sure that the cover completely adjacent to the neck of the jar and there are no cracks through which the air can get. It is important that the tightness is ideal so that the juice is not exposed to bacteria and mold.
-
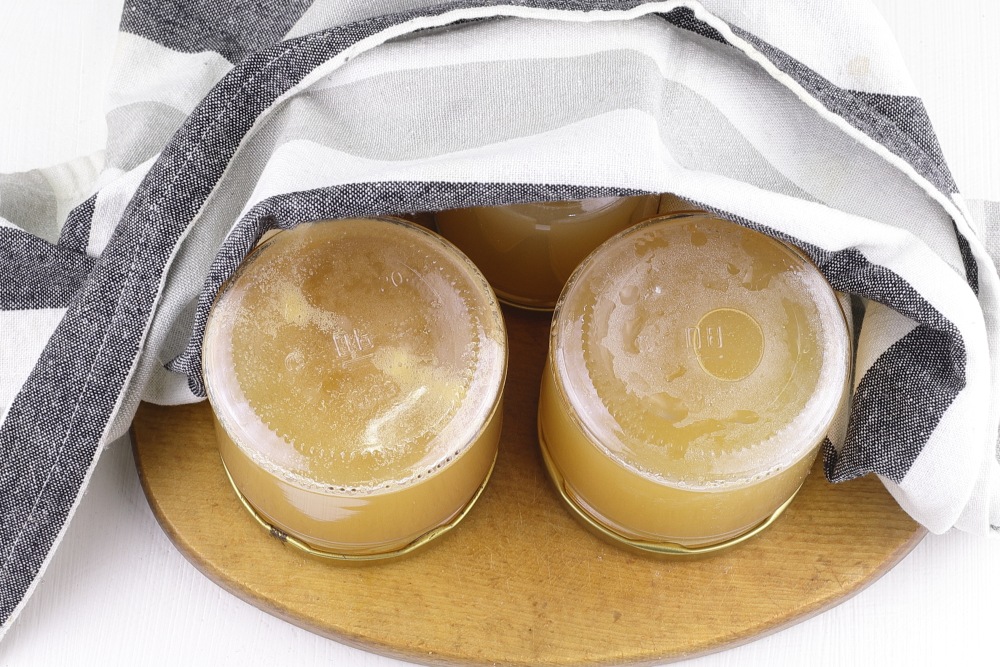
Step 11
Turn the jars down down to create a vacuum and make sure that the cover was well fixed. After that, it is good to wrap the banks in a warm blanket or a blanket so that the cooling process occurs gradually. This will help maintain heat and provide additional sterilization of the contents due to the temperature difference.
Leave jars in this form until completely cooled, which usually takes several hours. When the juice has cooled to room temperature, you can move jars to a dark cool place, for example, to a basement or cabinet, far from sunlight. There, juice will be stored until winter, maintaining its freshness and aroma.
-
Step 12
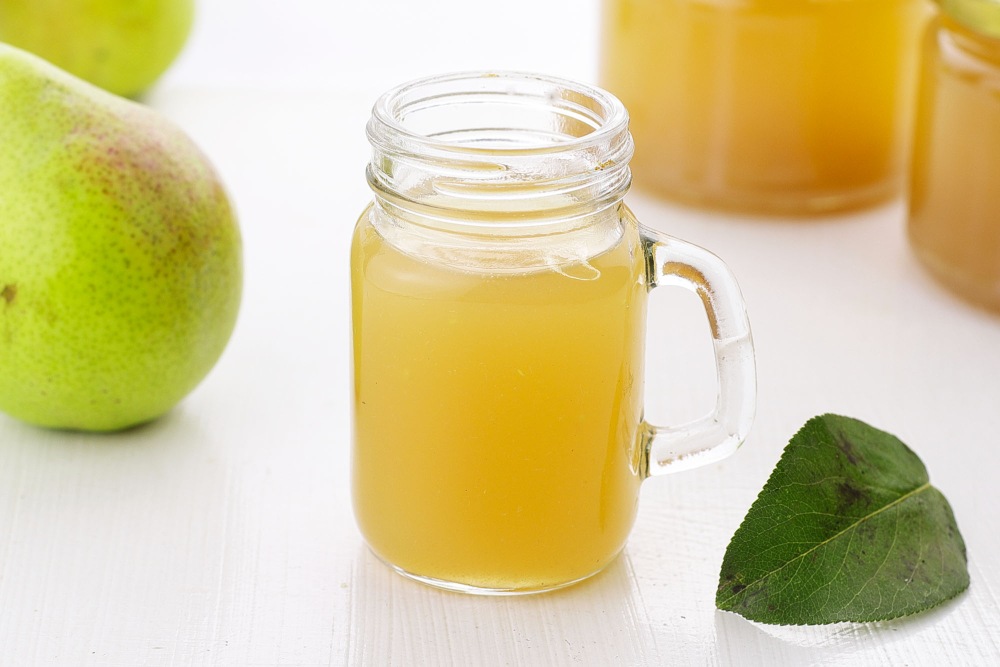
Pear juice for the winter is ready. Bon appetit!
📌 Look at our selection Recipes of fruit blanks for the winter — There are many ideas for delicious and healthy drinks and desserts.